
 Save 15% on your 1st Autoship learn more

 Email us
 Live Chat
 FAQs
FAQs





Introduction
You just finished a great grooming session and your dog looks fantastic. You look down at the brush and see a thick mat of fur, grey dust, and skin flakes trapped in the bristles. It is a common sight for any pet owner who keeps up with a regular brushing routine. At BaxterBoo, we know that the tools you use are just as important as the technique you apply. A dirty brush does more than just look messy. It can redeposit oils, spread bacteria, and even cause skin irritation on your pup. This guide covers everything you need to know about keeping your grooming kit in top shape. We will walk through the best cleaning methods for every brush type and explain why hygiene matters for your dog’s health. Taking care of your tools ensures they last longer and keep your dog’s coat shining.
Why Clean Brushes Matter for Your Dog’s Skin
A dog brush is a magnet for more than just hair. Every time you pull it through your dog’s coat, it picks up sebum, which is the natural oil produced by the skin. It also collects dander, outdoor allergens, and tiny bits of dirt. Over time, these materials build up at the base of the bristles. If you do not clean the brush, you are essentially scrubbing old, rancid oils and bacteria back onto your dog’s clean skin.
This buildup can lead to several issues. For dogs with sensitive skin, a dirty brush can trigger contact dermatitis or small breakouts. If your dog has a minor scratch, the bacteria on a grimy brush could lead to a secondary infection. Furthermore, a clogged brush simply does not work as well. The bristles cannot reach through the fur to the skin to stimulate blood flow or distribute fresh oils.
Key Takeaway: Keeping grooming tools clean prevents the spread of bacteria and ensures that the brush can effectively remove dead hair and distribute healthy natural oils.
The Basic Kit for Cleaning Your Grooming Tools
You do not need fancy equipment to keep your brushes clean. Most items are likely already in your home. You will need a few basic supplies to do a thorough job.
- A fine-tooth comb or a dedicated brush cleaning rake.
- Gentle pet shampoo or a mild dish soap.
- White vinegar or apple cider vinegar for disinfecting.
- An old toothbrush for scrubbing the base.
- A clean, dry towel.
- A large bowl or a clean sink.
Having these items ready makes the process quick and easy. We recommend doing a deep clean at least once a month. If your dog has skin issues or allergies, you may want to clean them every week.
Step 1: Removing Trapped Hair and Debris
The first step is always to get the hair out. If you skip this, the hair will turn into a soggy, tangled mess when you add water. It will also prevent the soap from reaching the base of the bristles where the real dirt lives.
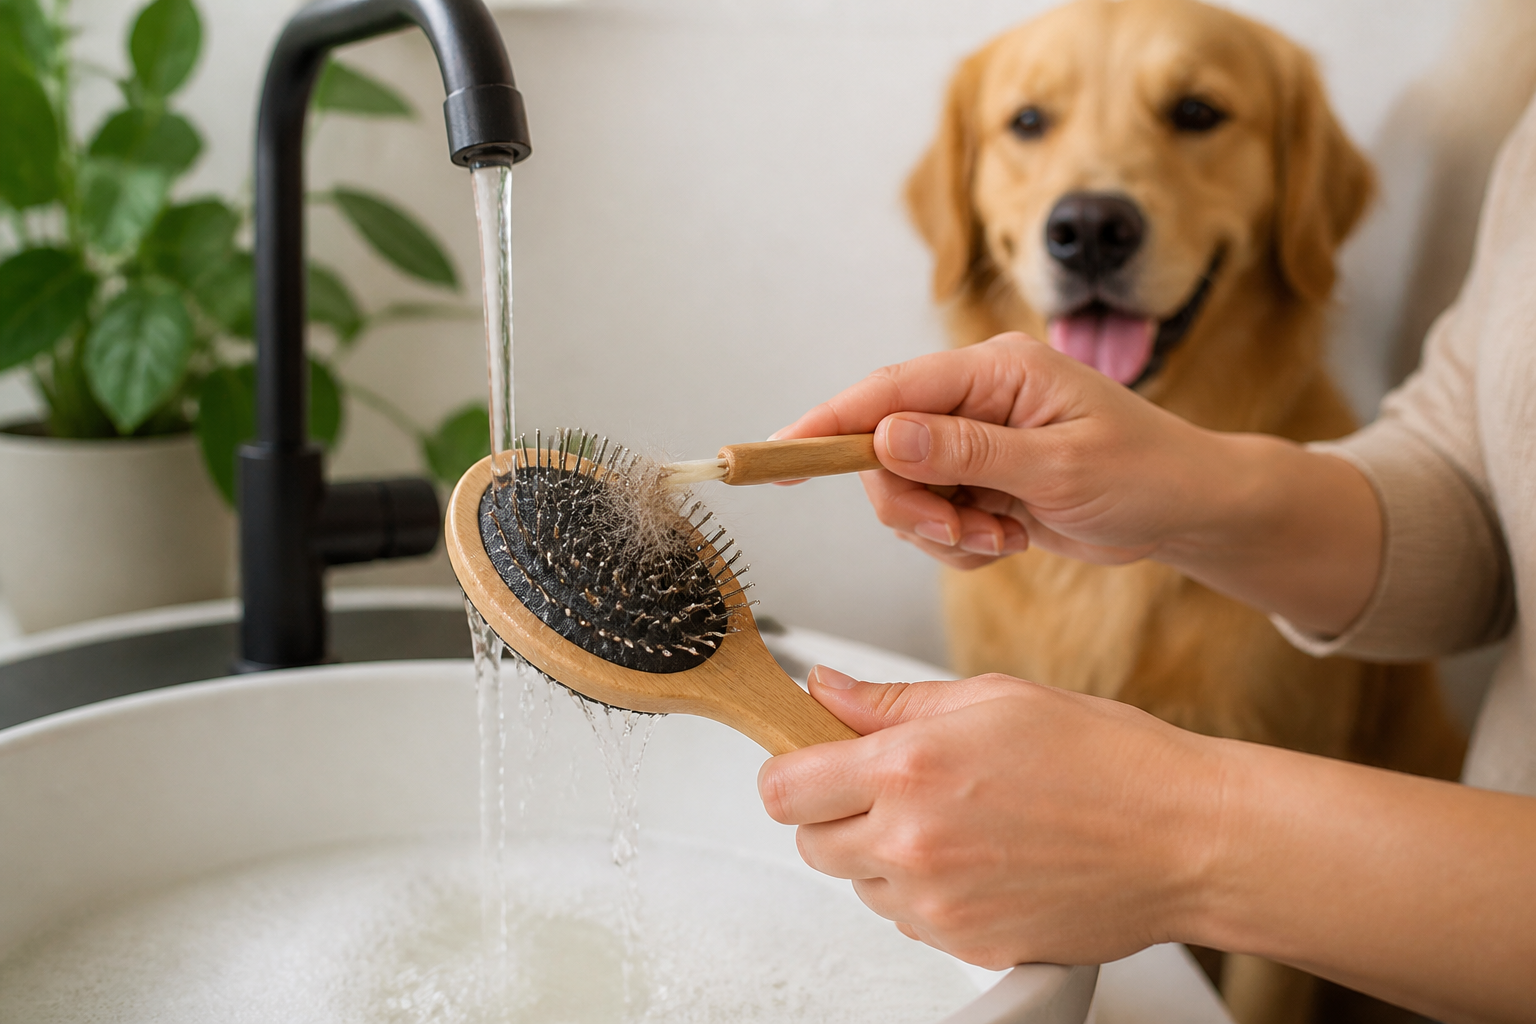
Start by using your fingers to pull away the largest clumps of fur. For a slicker brush with fine wire bristles, this can be tricky. Use a metal comb or a toothpick to gently lift the hair from the bottom of the pins. Slide the comb along the base and lift upward. You should see the entire "pelt" of hair start to lift away from the brush.
For bristle brushes, an old toothbrush works well to flick out dander and dust. Simply run the toothbrush through the bristles in the opposite direction of the grain. This loosens the deep-seated dust that sits near the handle.
Quick Answer: To remove hair from a dog brush, use a fine-tooth metal comb or a brush rake to lift the fur from the base of the bristles. For slicker brushes, a toothpick can help reach into tight spots without bending the wire pins.
Step 2: Preparing a Cleaning Solution
Once the hair is gone, you need to tackle the oils and skin cells. A simple mixture of warm water and pet shampoo is usually the best choice. Pet shampoo is formulated to break down the specific types of oils dogs produce. It is also gentle enough that any residue left behind will not irritate your dog’s skin during the next grooming session. For more grooming tools and brush options, browse our dog brushes and combs collection.
If the brush is particularly greasy or has a smell, you can add a splash of vinegar. Vinegar is a natural degreaser and helps kill some types of bacteria. Avoid using harsh household chemicals like bleach or strong detergents. these can damage the glue holding the bristles in place. They can also degrade the rubber pads found on many slicker and pin brushes.
Step 3: The Soaking Process
Fill your bowl with the warm, soapy water. Place your plastic or metal brushes into the water. Let them soak for about 10 to 15 minutes. This time allows the soap to penetrate the layers of oil and loosen the dirt.
Be very careful with the materials of your brush. If you have a brush with a wooden handle, do not submerge it. Wood is porous and will soak up the water. This leads to cracking, warping, and eventually mold growth inside the handle. For wooden brushes, only dip the bristles into the water or use a damp cloth to wipe the handle.
If the brush has a soft rubber pad behind the pins, avoid a long soak. Water can get trapped inside the air pocket of the pad. This trapped moisture is a breeding ground for mold and mildew. Instead, dip the bristles and use your toothbrush to scrub without fully submerging the head.
Vet Tip: If your dog is currently dealing with a fungal infection like ringworm or a parasitic issue like fleas, you must disinfect your tools after every single use. Consult your veterinarian for the best medical-grade disinfectant to ensure you are not re-infecting your pet.
Step 4: Scrubbing and Rinsing
After the soak, take your old toothbrush and give the brush a good scrub. Pay close attention to the area where the bristles meet the base. This is where most of the grime accumulates. Use circular motions to get between the pins.
Once you are satisfied that the dirt is gone, rinse the brush thoroughly under warm running water. It is vital to remove all soap residue. Leftover soap can dry on the bristles and cause the brush to feel sticky. This will actually attract more dirt the next time you use it. Rinse until the water runs clear and there are no bubbles.
Step 5: Drying Your Brushes Properly
Drying is the most important step for the longevity of your tools. If you store a wet brush, the metal pins can rust and the wood or rubber parts can rot.
First, shake the brush vigorously to remove as much water as possible. Then, lay it down on a clean towel. Always place the brush with the bristles facing down. This allows the water to drain out of the holes in the pad or the handle rather than seeping deeper into the tool.
Keep the brushes in a well-ventilated area. Do not put them in a closed drawer while they are damp. It may take a full 24 hours for a dense bristle brush to dry completely. Make sure it is bone dry before you use it on your dog again.
Special Care for Different Brush Types
Not all brushes are built the same way. The materials determine how much water and heat the tool can handle. At BaxterBoo, we carry a wide variety of brands like Kong and Coastal, and each has its own care requirements.
Slicker Brushes
Slicker brushes have fine wire pins. These pins are often made of stainless steel, but they can still be bent easily. When cleaning a slicker brush, be gentle with your comb or rake. If you bend the pins, they can become sharp and scratch your dog's skin. Ensure the rubber pad is dry to prevent the glue from failing. A self-cleaning option, such as the Master Grooming Tools Self-Cleaning Slicker Brush, can make loose-hair removal easier.
Bristle Brushes
These often use natural boar hair or synthetic nylon. They are very dense and trap a lot of dust. They require the most scrubbing and the longest drying time. Because the bristles are so close together, air does not circulate well through them. You might use a blow dryer on a cool setting to speed up the process.
Rubber Curry Brushes
These are the easiest to clean. Tools like the Kong ZoomGroom are made of solid rubber. You can soak these completely or even run them through the dishwasher on the top rack if the manufacturer allows it. They do not have pads or pins that trap water, so they dry very quickly.
Pin Brushes
Pin brushes look like human hairbrushes. They often have tiny balls on the ends of the pins to protect the skin. Check these balls regularly to make sure they are not chipping off. If the balls are gone, the metal can be quite sharp. Cleaning these is straightforward, but avoid soaking the handle if it is made of wood.
Handling Contamination and Pests
If you discover fleas or a skin infection while grooming, your cleaning routine must change. You are no longer just cleaning dirt. You are sanitizing. For additional reading about flea concerns, see this guide to flea and tick prevention products.
For flea infestations, use very hot water and a shampoo designed to kill fleas. You should also consider a dip in a diluted bleach solution (one part bleach to ten parts water) if the brush is entirely plastic and metal. However, bleach can be hard on your tools.
If your dog has a skin condition that requires medicated treatment, check our pet pharmacy. Through our partnership with Pet's Choice, we offer FDA-approved medications and prescription shampoos that can help. Always clean your brushes after applying these treatments to keep the medication from building up on the bristles.
Bottom line: High-heat cleaning and stronger disinfectants are necessary if your dog has fleas or a skin infection to prevent the problem from recurring.
When to Replace Your Dog's Brush
Even with the best care, grooming tools do not last forever. You should inspect your gear every time you clean it. There are a few clear signs that it is time to shop for a replacement.
- Missing or bent pins: If a slicker or pin brush has lost its protective tips or has bent wires, it can cause "brush burn." This is painful for your dog and can cause them to hate grooming sessions.
- Cracked handles: A crack in a plastic or wood handle can trap bacteria that you cannot reach. It also makes the brush unstable.
- Persistent smell: If a brush still smells like mildew or wet dog after a deep clean, mold has likely grown inside the pad. Throw it away immediately.
- Loose bristles: If your bristle brush is shedding more than your dog, it is no longer effective.
Using quality brands like Safari or our selection of BASS Brushes can extend the time between replacements. Investing in a good tool and maintaining it is always cheaper than buying cheap brushes every few months.
Storing Your Grooming Gear
Proper storage prevents your tools from getting dirty between uses. Do not leave brushes sitting on the edge of the tub or in a damp bathroom. The humidity will eventually damage the metal and wood.
Keep your brushes in a dedicated grooming bag or a plastic bin with a lid. Ensure the bristles are not being crushed by other heavy items like large bottles of shampoo. If you have multiple pets, consider having a separate set of brushes for each one. This prevents the transfer of skin oils or any undiagnosed skin issues from one dog to another.
Using the Right Cleaning Products
We often get asked if human hair products are okay for dog brushes. While a human shampoo will not hurt the brush, it is not the best at breaking down the specific proteins in dog dander. Using a pet-specific shampoo is usually the most effective route. For related bathing guidance, read these dos and don'ts for bathing your dog.
For a deeper clean, some owners use alcohol wipes on the pins of the brush. This is a great way to sanitize without using a lot of water. Simply wipe down each row of pins. This is especially helpful for professional groomers or multi-dog households where quick sanitization is needed between pets.
Key Takeaway: Proper drying and storage are just as important as the washing process to prevent rust and mold growth on your dog's grooming tools.
The Professional Touch: Maintenance Tips
Professional groomers often use a "coolant" or "lubricant" spray on their metal tools. While this is mostly for clippers, a light touch of a pet-safe silicone spray can help keep metal pins from rusting if you live in a very humid environment. Just be sure to wipe off any excess so it doesn't make your dog's fur greasy.
If you find that your brushes are wearing out too fast, check your cleaning frequency. Over-cleaning with harsh soaps can be just as bad as never cleaning at all. A quick hair removal after every session and a deep wash once a month is the sweet spot for most home groomers.
Conclusion
Cleaning your dog's brush is a small task that makes a big impact on their comfort and health. By removing old hair, scrubbing away oils, and drying the tools properly, you protect your dog's skin and ensure your grooming sessions are effective. Remember to avoid soaking wood or rubber pads and always dry brushes with the bristles facing down. If you notice your dog has persistent skin irritation or redness after grooming, it is a good idea to consult your veterinarian. They can help determine if the issue is a skin allergy or an infection. Our pharmacy offers a range of prescription skin supports through our Pet's Choice partnership for those ongoing health needs. Keep your tools clean, and your dog will thank you with a shiny, healthy coat and a happy tail wag. Check out our full selection of grooming supplies and brushes to find the best fit for your dog's coat type.
FAQ
How often should I clean my dog's brush?
You should remove the hair from the bristles after every single grooming session. A deep clean with soapy water should be done once every two to four weeks depending on how often you use it. If your dog has skin issues or is very active outdoors, weekly cleaning is recommended.
Can I use dish soap to wash a dog brush?
Yes, a mild dish soap is effective at breaking down the oils and grease trapped in the bristles. However, ensure you rinse the brush completely to remove all soap residue. If your dog has very sensitive skin, using their regular pet shampoo is a safer alternative to avoid irritation.
Is it safe to soak a wooden dog brush?
No, you should never fully submerge a wooden brush in water. The wood will absorb the moisture, which leads to warping, cracking, and the growth of mold. Instead, only dip the bristles into the cleaning solution or use a damp cloth and an old toothbrush to clean the area.
How do I get the smell out of a grooming brush?
A mixture of equal parts warm water and white vinegar is the best way to eliminate odors. Let the bristles soak in this solution for ten minutes to neutralize smells and kill bacteria. Always ensure the brush dries completely in a well-ventilated area with the bristles facing down to prevent new odors from developing.






