
 Save 15% on your 1st Autoship learn more

 Email us
 Live Chat
 FAQs
FAQs





Introduction
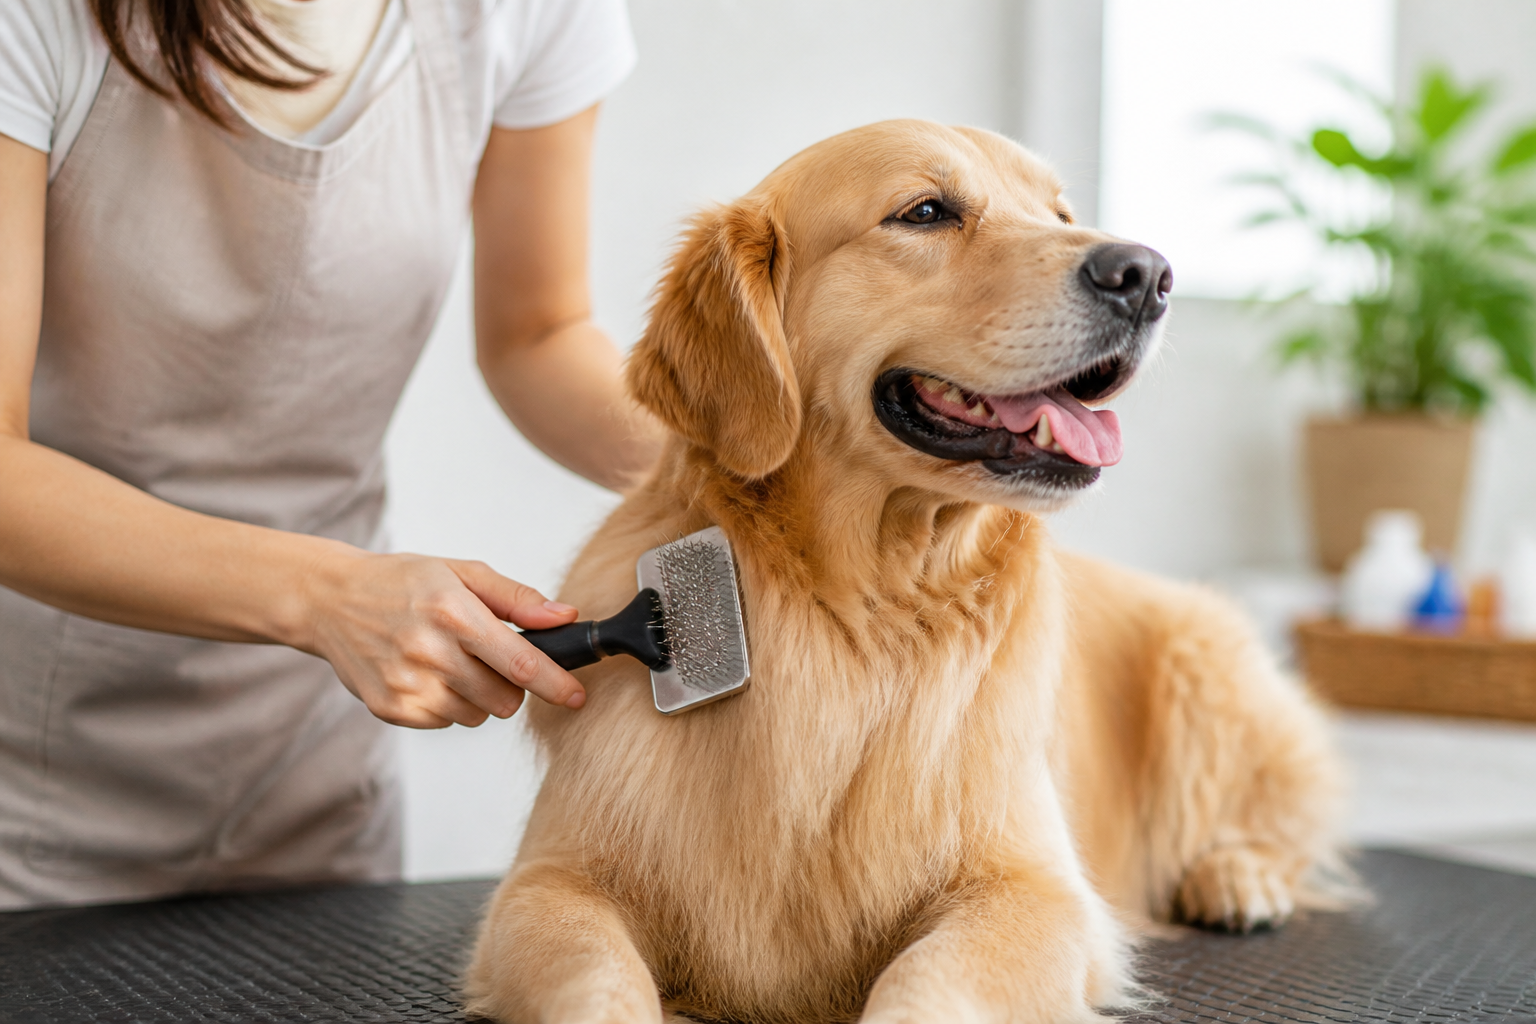
You are standing in the grooming aisle or looking through your supplies at home, holding a rectangular brush with hundreds of tiny wire pins. You run your thumb over the bristles and feel their sharpness, leading to a natural question: does a slicker brush hurt dogs? It is a common worry for pet parents who want to maintain a healthy coat without causing their companion any distress. At BaxterBoo, we believe that the right tools should make life better for your pet, not more difficult. This guide covers everything you need to know about slicker brush safety, from proper technique to choosing the right bristle tension for your dog's specific coat type. We will explain why these brushes are essential for many breeds and how you can ensure every grooming session is a comfortable, bonding experience for you and your dog.
Understanding the Slicker Brush Design
A slicker brush is easily identified by its rectangular or slightly curved head filled with fine, short wire bristles. These bristles are not straight. They are usually angled or slightly hooked. This specific design allows the brush to grab onto loose fur, dander, and debris deep within the coat without needing to press hard against the skin.
The primary purpose of a slicker brush is to remove mats, tangles, and dead undercoat. Because the wires are so thin and densely packed, they can navigate through thick fur that a standard bristle brush would simply slide over. While the wires look intimidating, they are designed to be flexible. When used with a light touch, the pins bend and move, which helps prevent them from poking the skin.
Many professional groomers consider the slicker brush their most important tool. It is particularly effective for dogs with long hair, curly coats, or thick double coats. It helps fluff the fur, giving your dog that "just-groomed" look while ensuring the skin can breathe by removing trapped dead hair. You can compare options in our dog brushes and combs collection.
Quick Answer: A slicker brush does not hurt dogs when used correctly with a light hand and proper technique. However, it can cause discomfort or "brush burn" if you apply too much pressure, brush the same spot repeatedly, or use a firm-bristled brush on a dog with very thin skin.
Common Causes of Grooming Discomfort
If a dog yelps or pulls away during a grooming session, the brush itself is rarely the only culprit. Several factors contribute to whether a slicker brush feels like a massage or a painful chore.
Excessive Pressure
One of the most frequent mistakes is treating a dog's coat like a carpet that needs deep scrubbing. The pins on a slicker brush are designed to work through the hair, not to be scraped across the epidermis. If you press the brush head firmly into the dog's body, those fine wires will scratch the skin.
Repetitive Motion in One Spot
Even with light pressure, brushing the same three-inch area over and over can cause irritation. This is often called brush burn. The skin becomes red, sensitive, and can even develop small scabs. It is better to move across the body in sections rather than focusing intensely on one patch for too long.
Tugging on Existing Mats
If your dog already has tight mats, any brush will cause pain. Mats are often rooted close to the skin. When the brush catches a mat, it pulls the skin tight, which is painful for the dog. In these cases, the discomfort comes from the tension on the skin rather than the bristles themselves. A specialized mat and tangle splitter for dogs and cats may be useful for manageable tangles.
Using the Wrong Tension
Slicker brushes come in different levels of firmness. A brush designed for a thick-coated Alaskan Malamute will be far too stiff for a thin-skinned Italian Greyhound. Using a firm brush on a dog with a fine, single coat is a quick way to cause accidental scratches.
Matching the Brush to Your Dog's Coat Type
Not all slicker brushes are created equal. Choosing the right one depends entirely on what kind of hair your dog grows. At BaxterBoo, we recommend looking at the "give" or flexibility of the pins before you buy. For one cushioned option, consider the Master Grooming Tools Universal Slicker Brush for Dogs and Cats.
| Coat Type | Recommended Slicker Type | Example Breeds |
|---|---|---|
| Curly or Woolly | Firm bristles with long pins | Poodles, Doodles, Bichon Frise |
| Double Coat | Medium to firm bristles | Huskies, Golden Retrievers, German Shepherds |
| Silky or Fine | Soft, flexible bristles | Yorkies, Maltese, Cocker Spaniels |
| Wiry | Medium bristles | Schnauzers, Terriers |
| Short/Smooth | Softest slicker or a rubber brush | Labradors, Boxers, Beagles |
For dogs with very sensitive skin or very short coats, you might even look for a slicker brush with "coated" tips. These have tiny plastic or rubber drops on the end of each wire to provide a buffer. However, many groomers find that uncoated tips are more effective at grabbing the undercoat as long as the user is gentle.
Key Takeaway: The thickness of your dog's coat should dictate the firmness of the brush. Thicker, denser coats require firmer pins to reach the skin, while fine or thin coats need soft, flexible pins to avoid irritation.
The Importance of Lubrication
One of the biggest secrets to a pain-free grooming session is never brushing a dry coat. Brushing dry hair increases friction and static electricity. This friction can cause the hair to snap or break, which creates a jagged texture that leads to more tangles in the future. Static electricity also makes the hair stand up and move toward the brush, which can lead to accidental skin contact.
Using a detangling spray or a leave-in conditioner acts as a lubricant. It allows the pins of the slicker brush to glide through the hair shafts effortlessly. This significantly reduces the amount of pulling on your dog's skin. A product such as Top Performance GloCoat Pet Conditioner and Detangler Spray is designed for damp coats and trouble spots.
Vet Tip: If you notice your dog has persistent skin redness, itching, or a dull coat regardless of your grooming routine, consult your veterinarian. These can be signs of environmental allergies or nutritional deficiencies. Our pet pharmacy carries prescription products that your veterinarian may recommend.
Step-by-Step: How to Use a Slicker Brush Painlessly
To ensure you are using the tool correctly, follow a method that prioritizes the dog's comfort. This technique is often taught to new groomers to help them develop a "soft touch."
Step 1: Mist the coat.
Lightly spray your dog with a grooming or detangling mist. You do not need to soak the fur. A light dampness is enough to reduce static and provide lubrication.
Step 2: Hold the brush correctly.
Do not grip the brush handle in your fist like a hammer. Instead, hold it lightly between your thumb and fingers, much like you would hold a pencil or a violin bow. This grip naturally limits how much pressure you can apply.
Step 3: Use the "Pat and Pull" method.
Instead of long, sweeping strokes, use a gentle patting motion. Lay the bristles against a section of hair and pull gently away from the skin in the direction of hair growth. If you feel resistance, do not yank. Stop and work that small section more slowly.
Step 4: Check your progress with a comb.
After brushing a section, run a metal "Greyhound" comb through the hair. If the comb slides through, you have successfully detangled that area. If it catches, go back with the slicker brush using very short, light strokes.
Step 5: Reward frequently.
Give your dog small, high-value treats throughout the process. This helps them associate the sight of the slicker brush with something positive.
Bottom line: Controlled, short strokes are much safer and more effective than long, forceful ones.
Sensitive Areas and Safety Precautions
There are certain parts of a dog's body where a slicker brush should be used with extreme caution or not at all. The skin in these areas is much thinner and more prone to injury.
- The Face: Avoid using a full-sized slicker brush near the eyes, nose, and mouth. One sudden movement from your dog could lead to a poke in the eye. Use a tiny "face and ear" slicker or a simple comb for these areas.
- The Armpits and Groin: The skin here is very stretchy and thin. It is incredibly easy to catch a fold of skin in the wire bristles.
- The Hock and Joints: Where the bone is close to the surface, the pins have no "padding" from muscle or fat. Be very careful over the elbows and lower legs.
- The Tail: Treat the tail like the spine. Move slowly and follow the direction of the hair.
If you encounter a mat that is tight against the skin, do not try to "rip" it out with the slicker brush. This is the most common way dogs get hurt during grooming.
Note: Never use household scissors to cut out a mat. Dog skin is incredibly thin and can easily be pulled up into the mat. You may accidentally cut the skin without realizing it. If a mat is too tight to brush out, seek help from a professional groomer or use specialized safety clippers.
Signs Your Dog Is Uncomfortable
Even if you think you are being gentle, your dog is the final judge of the experience. Learning to read their body language can prevent an accidental injury and keep the trust between you intact.
Watch for these subtle signs of stress:
- Lip Licking: If there is no food around and your dog is licking their lips, they are likely feeling anxious.
- Yawning: This is a common displacement behavior for dogs under stress.
- Whale Eye: You can see the whites of the dog's eyes as they try to watch the brush without moving their head.
- Tensing Muscles: If your dog feels like a statue under your hand, they are bracing for discomfort.
- Turning the Head: This is a polite way of saying "I would like you to stop that."
If your dog displays these signs, take a break. Let them walk around, give them a treat, and try again later with even less pressure. Some dogs may have had a bad experience in the past and require "counter-conditioning." This involves just touching them with the back of the brush and giving a treat, slowly working up to a single stroke.
Maintaining Your Grooming Tools
A damaged slicker brush can be a dangerous one. Over time, the wire pins can become bent, lose their protective tips, or even break off. A broken pin can have a sharp, jagged edge that will scratch the skin regardless of how gentle you are.
Check your brush before every use. Run your own palm over it. If you feel any "snags" or sharp pokes that feel different from the rest of the brush, it is time for a replacement. Our Master Grooming Tools selection includes multiple brush styles and grooming tools.
You should also keep the brush clean. Hair and dander trapped in the bristles can harbor bacteria. Most slicker brushes can be cleaned by removing the hair after every session and occasionally washing the bristles with warm, soapy water. Ensure the brush is completely dry before using it again to prevent the wooden or plastic backing from trapping moisture.
Managing Skin Irritation and Health
Sometimes, even with the best technique, a dog’s skin can react. This might happen if the dog has a pre-existing condition like dry skin or seasonal allergies. If you notice the skin looks flaky, red, or bumpy after brushing, it might not be the brush at all.
For dogs with ongoing skin issues, we recommend checking with your veterinarian to rule out underlying causes. Through our partnership with Pet's Choice, the BaxterBoo pharmacy offers a streamlined way to get the prescription diets and medications your vet recommends.
If you are a member of our MVP Rewards program, you can earn points on every grooming tool, supplement, and bag of food you purchase. This makes it easier to keep a full kit of high-quality tools on hand so you always have the right brush for the job.
Conclusion
A slicker brush is an incredibly effective tool for maintaining a beautiful, healthy coat, and it should never be a source of pain for your dog. By choosing the right bristle tension, using plenty of detangling spray, and mastering the "pat and pull" technique, you can ensure your pet remains comfortable. Remember to always avoid sensitive areas and keep a close eye on your dog's body language for any signs of stress. Grooming should be a time of connection and care. With the right approach and high-quality tools from our dog grooming collection, you can keep your dog's fur mat-free and their skin healthy.
- Always use a detangling spray to provide lubrication.
- Hold the brush lightly to avoid applying too much pressure.
- Match the pin firmness to your dog's specific coat type.
- Check the brush regularly for bent or broken wires.
Bottom line: Success with a slicker brush comes down to technique and patience, not force.
FAQ
How often should I use a slicker brush on my dog?
For most long-haired or double-coated breeds, using a slicker brush two to three times a week is ideal for preventing mats. Dogs with curly coats, like Poodles or Doodles, may require daily brushing to keep their curls from tangling. If your dog has a short, smooth coat, once a week is usually enough to manage shedding.
Can I use a slicker brush on a puppy?
Yes, you can use a slicker brush on a puppy, but you should choose a "soft" version specifically designed for sensitive skin. Start with very short sessions of just a few seconds and plenty of treats. This helps the puppy get used to the sensation of the bristles before their adult coat comes in and requires more intensive grooming.
What should I do if my dog already has a large mat?
If you find a large mat, do not try to pull it out with the slicker brush, as this will be painful. Instead, apply a generous amount of detangling spray and try to gently pick the mat apart with your fingers or the end of a metal comb. If the mat is tight against the skin, it is safest to have a professional groomer or vet remove it to avoid cutting the skin.
Is it normal for my dog's skin to look slightly pink after brushing?
A very slight pinkness can sometimes occur due to increased blood flow to the skin, similar to a massage. However, if the skin looks bright red, has scratches, or if your dog is licking the area excessively, you have likely applied too much pressure or brushed the same spot too many times. This is "brush burn," and you should give the skin time to heal before brushing that area again.






