
 Save 15% on your 1st Autoship learn more

 Email us
 Live Chat
 FAQs





Introduction
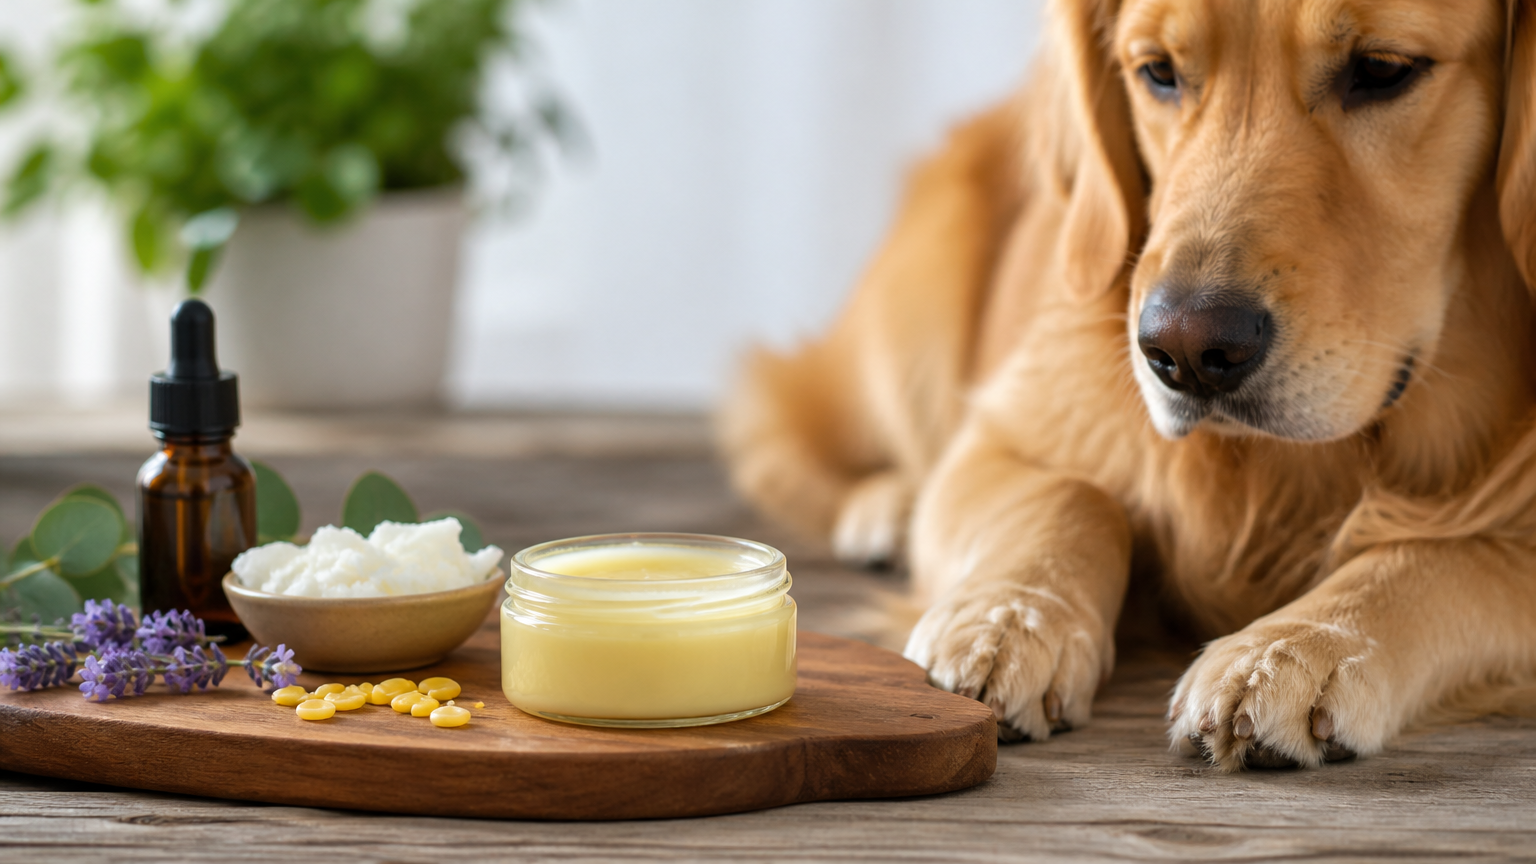
Dry, rough paw pads can leave you wondering if your dog needs a little extra care after walks. A simple dog paw balm recipe uses olive oil, coconut oil and beeswax to make a spreadable balm for mildly dry, intact pads. It leaves out shea butter, fragrances and essential oils.
At BaxterBoo, we know that making your own balm is only one part of paw care. Snow, sidewalk salt and hot pavement call for different precautions, and a sore or injured paw needs more than a moisturizer. We’ll walk through the recipe, a beeswax-free option and ways to use either carefully. The main point: keep the ingredients simple and use balm on healthy skin, not as a treatment for injury.
An Easy Homemade Dog Paw Balm Recipe
This recipe makes a small batch with three ingredients. The beeswax helps the oils set into a balm you can scoop from a tin. It contains no shea butter, so it also works for owners who prefer to leave that ingredient out.
You’ll need:
- 2 tablespoons plain olive oil
- 3 tablespoons plain coconut oil
- 4 teaspoons beeswax
- A double boiler or a heat-safe bowl set over a pan of water
- A clean, dry tin or small jar with a lid
- A clean spoon for stirring
Choose plain ingredients without added fragrance or flavoring. Check the coconut oil label rather than assuming every jar contains only coconut oil.
How to Make the Balm
Step 1: Prepare the container. Wash and thoroughly dry the tin or jar and your stirring spoon. Keep your dog away from the stove and hot mixture.
Step 2: Set up a double boiler. Put water in the lower pan and place the heat-safe bowl or upper pan over it. Add the olive oil, coconut oil and beeswax to the upper container.
Step 3: Melt the ingredients gently. Warm the water over low heat and stir the mixture until the beeswax melts. Do not leave the stove unattended.
Step 4: Pour and cool. Carefully pour the melted mixture into the tin or jar. Leave it undisturbed until it has cooled completely and set before putting the lid on.
Step 5: Label the container. Write the ingredients and the date you made it on the label. Store it closed in a cool, dry place, out of your dog’s reach.
Temperature can change the texture. If the balm softens in a warm room, move it somewhere cooler. If it is firm, warm a small amount between your fingers before applying it.
Dog Paw Balm




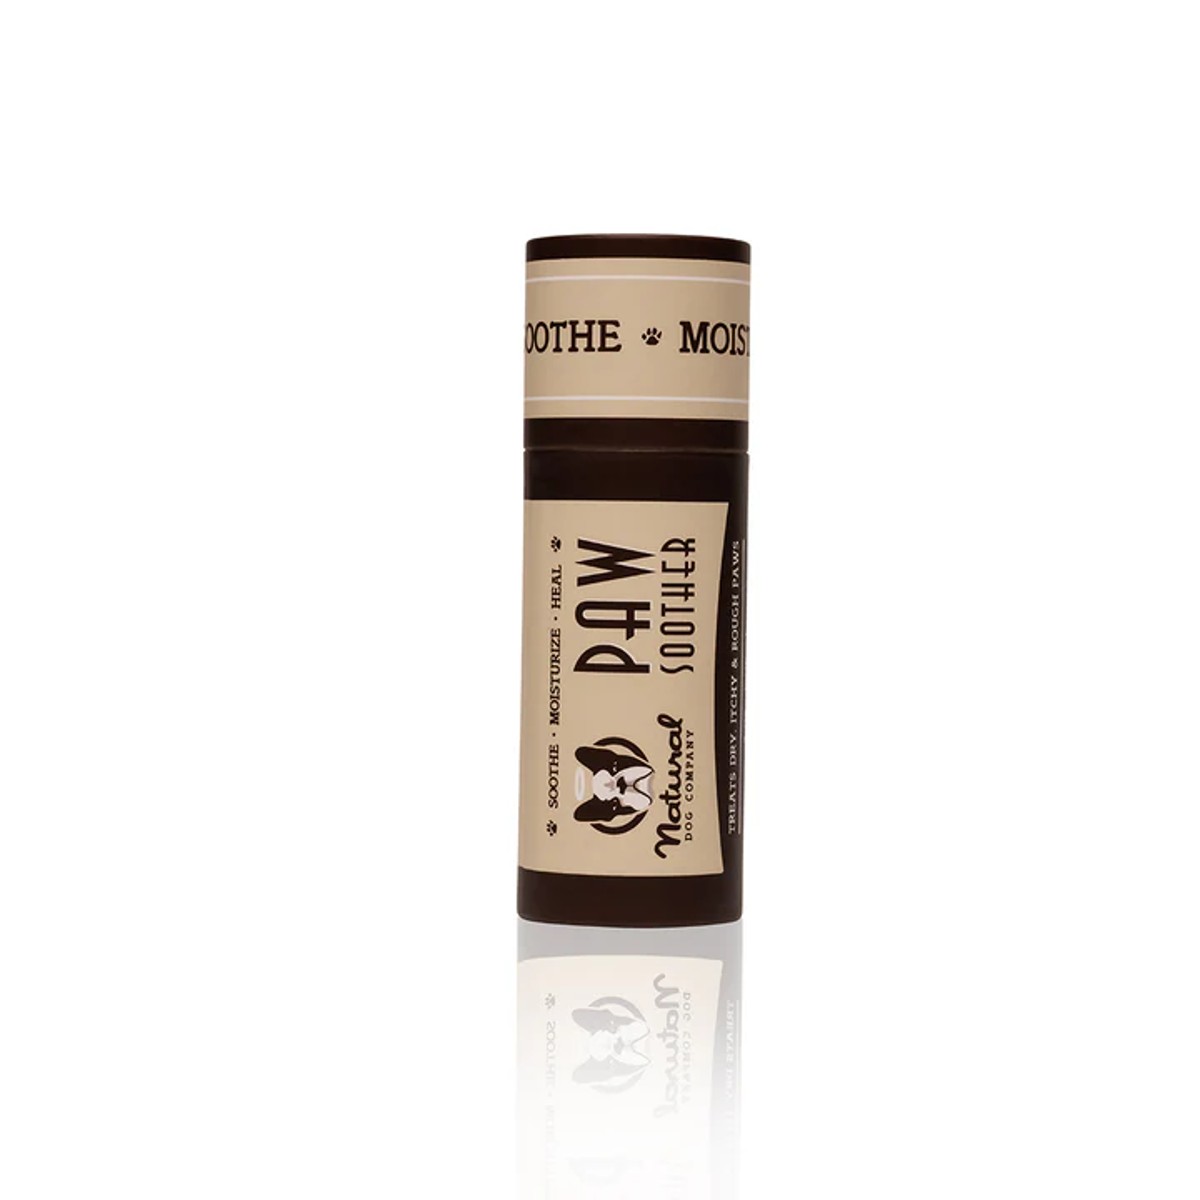
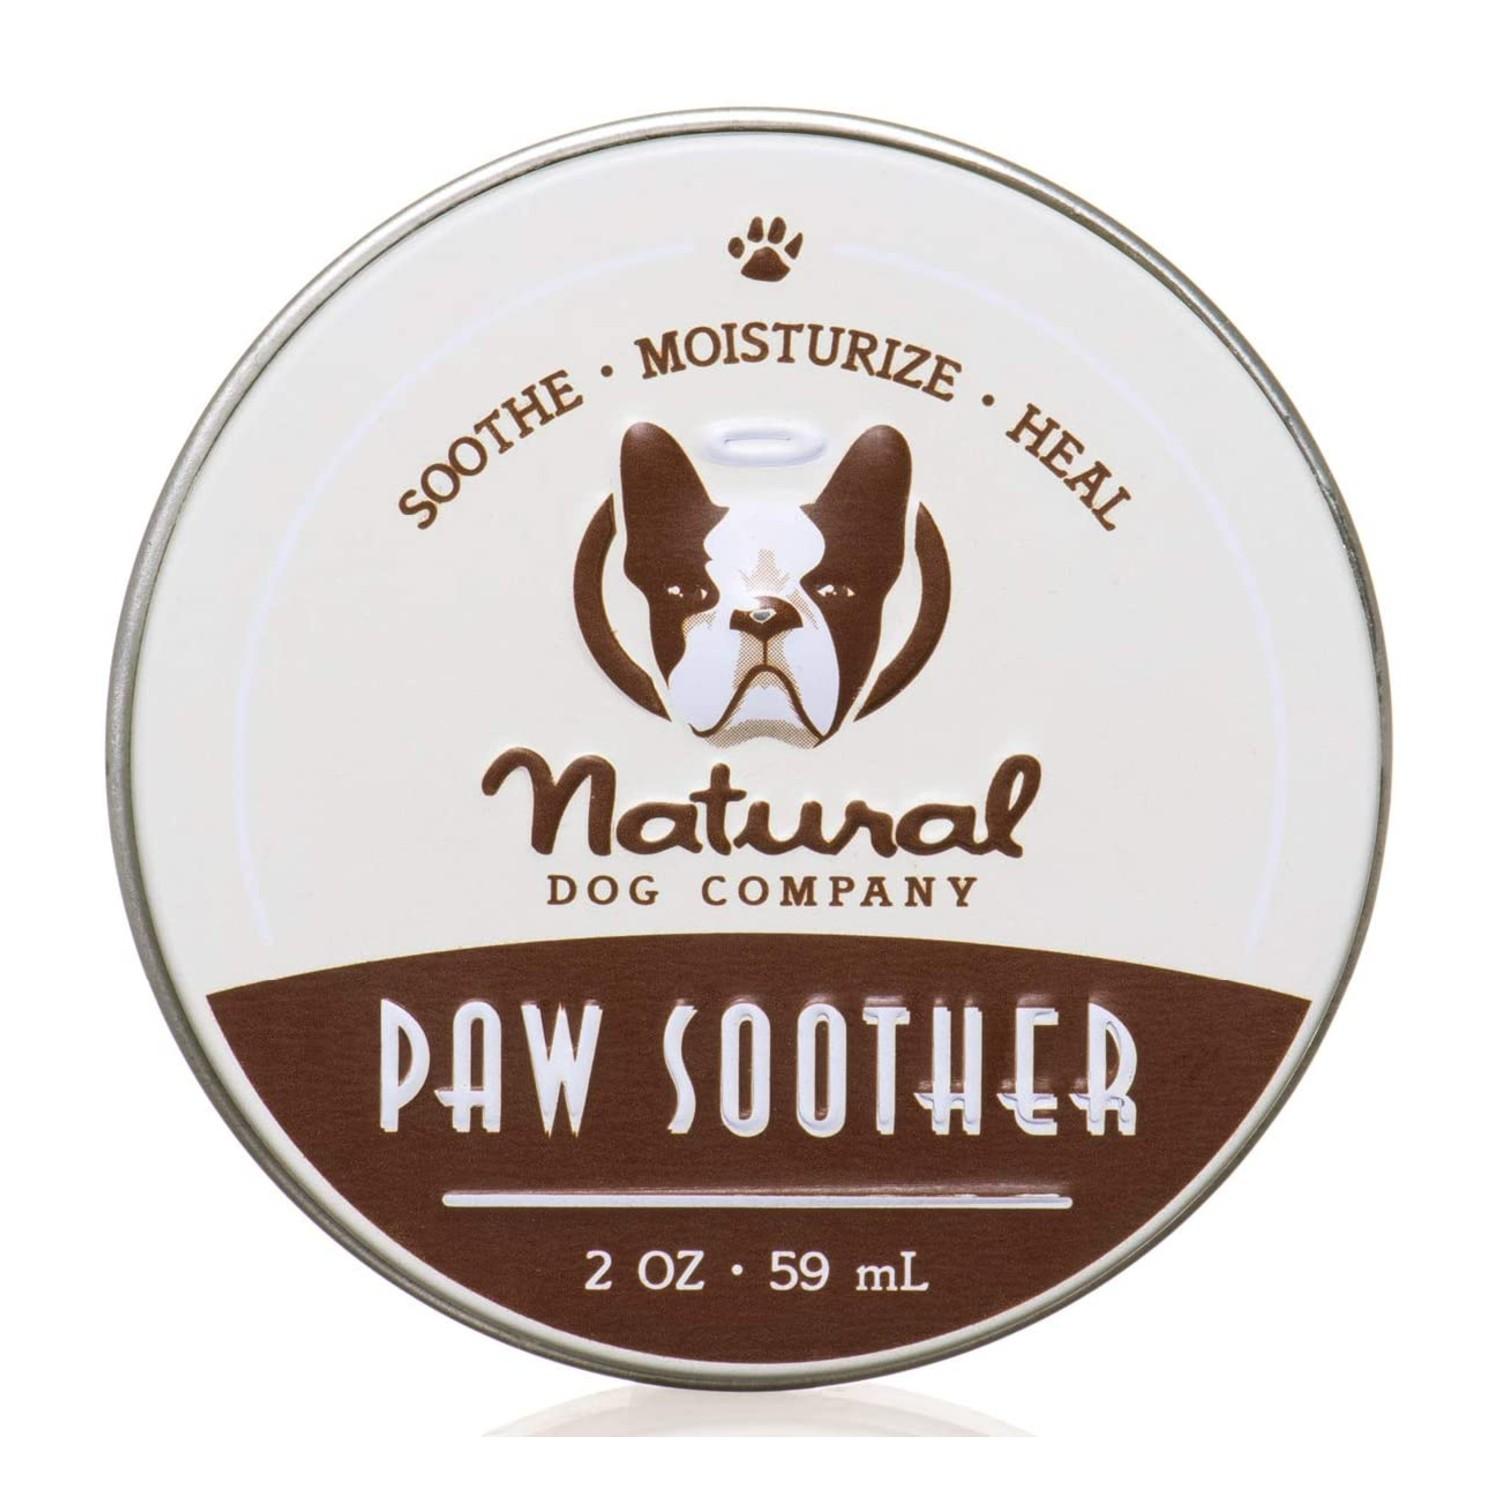


How to Apply Paw Balm
Start with paws that are clean, dry and free of obvious injuries. A healthy pad can feel naturally firm and textured, so it does not need to feel as soft as human skin.
Step 1: Check each paw. Look at the pads, between the toes and around the nails. Skip the balm and contact your veterinarian if you find a cut, bleeding, swelling or a painful area.
Step 2: Clean and dry the pads. After a walk, gently wipe away dirt and outdoor residue with a damp cloth, then dry the paws. Use a separate clean cloth to dry between the toes.
Step 3: Apply a thin layer. With clean fingers, rub a small amount over the surface of each dry pad. You do not need a thick coating, and you should avoid packing balm between the toes.
Step 4: Give your dog a quiet distraction. Offer a favorite toy or sit together while the balm settles. Wipe away excess if the paws feel greasy or your dog slips on the floor.
Try a small amount on one intact pad first and watch for redness, discomfort or increased licking. Stop using the balm if you notice a reaction, gently wipe it off and ask your veterinarian for advice.
A convenient time to apply balm is after the last walk of the day. Your dog has a chance to rest indoors, and you can clean the paws before applying it.
Is Homemade Paw Balm Safe to Lick?
Dogs often investigate their paws with their tongues, but homemade balm is not a treat. No recipe can promise that every amount is safe for every dog. Ingredients, the amount swallowed and your dog’s individual health all matter.
Use a thin layer and discourage licking rather than inviting your dog to eat the balm. You can offer a toy or practice a familiar cue while keeping an eye on your dog. Avoid adding an essential oil to make the balm taste or smell unpleasant.
If your dog eats a large amount of balm, contact your veterinarian or an animal poison control service for advice. Have the ingredient list and your best estimate of the amount available when you call.
Vet Tip: Ask your veterinarian before using a homemade balm if your dog has a known ingredient sensitivity or a history of stomach problems after eating fatty foods.
A Paw Balm Without Beeswax or Shea Butter
For the simplest beeswax-free and shea-free option, you can use a very small amount of plain coconut oil on mildly dry, intact pads. There is no melting or mixing required. Check the label for added fragrances, flavors or other ingredients, and ask your veterinarian first if you are unsure whether it suits your dog.
Coconut oil on its own will not have the same texture as the wax balm. It can soften or become liquid in a warm room and may leave a greasy film, so use it sparingly and watch your dog on smooth floors.
Skipping beeswax does not require adding a replacement wax. If you want a firm, beeswax-free balm, a dog-specific product with a clear ingredient label may be a more predictable choice than experimenting with substitutions.
Can You Use Paw Balm on a Dog’s Nose?
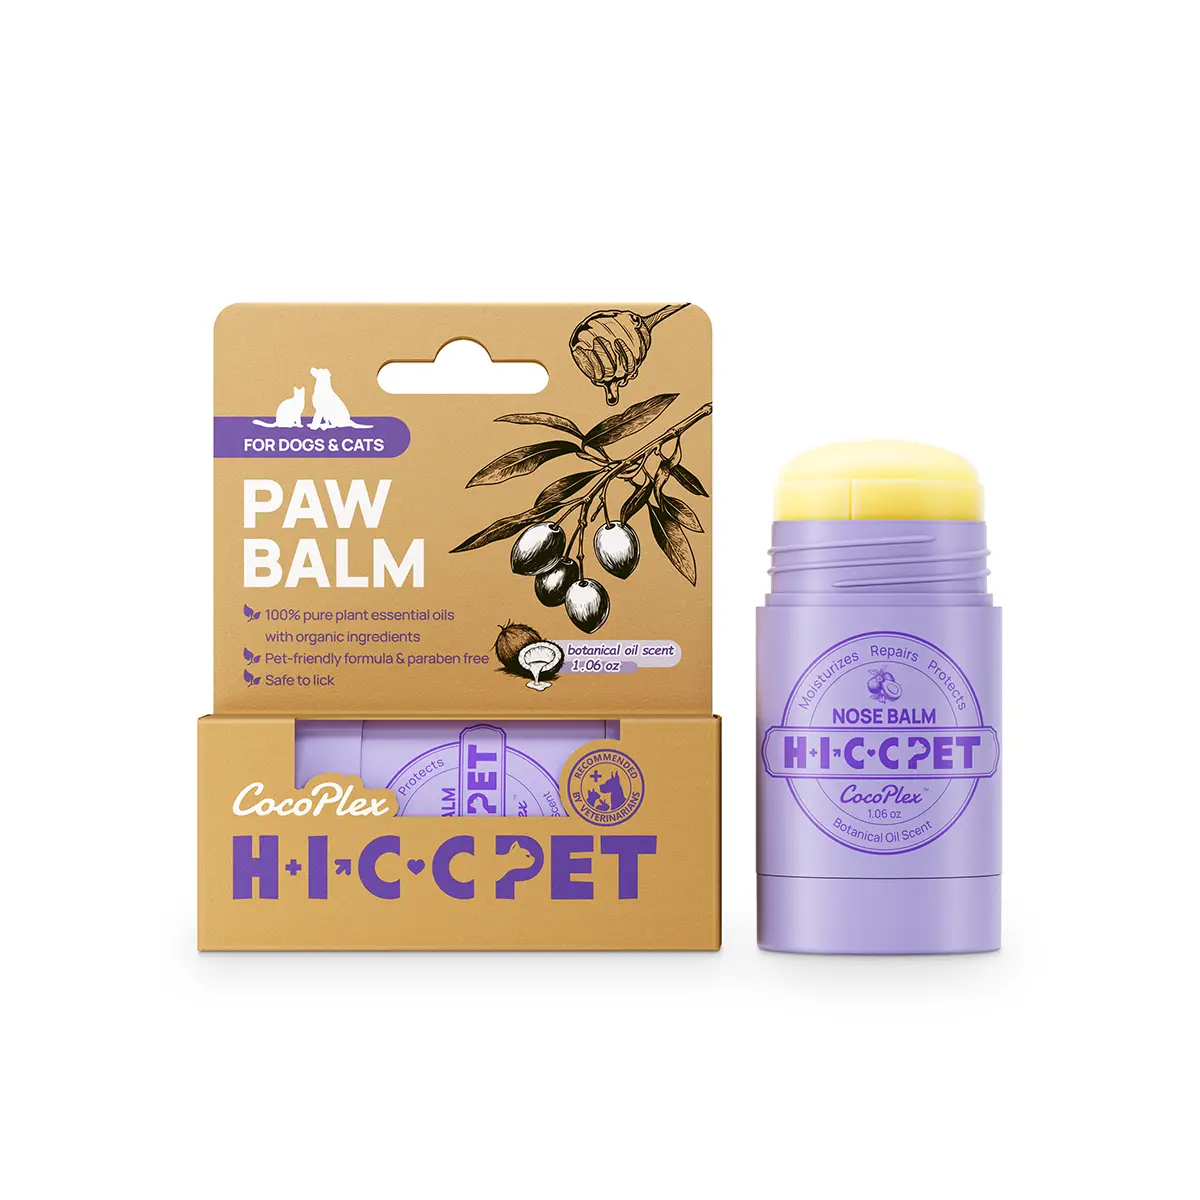
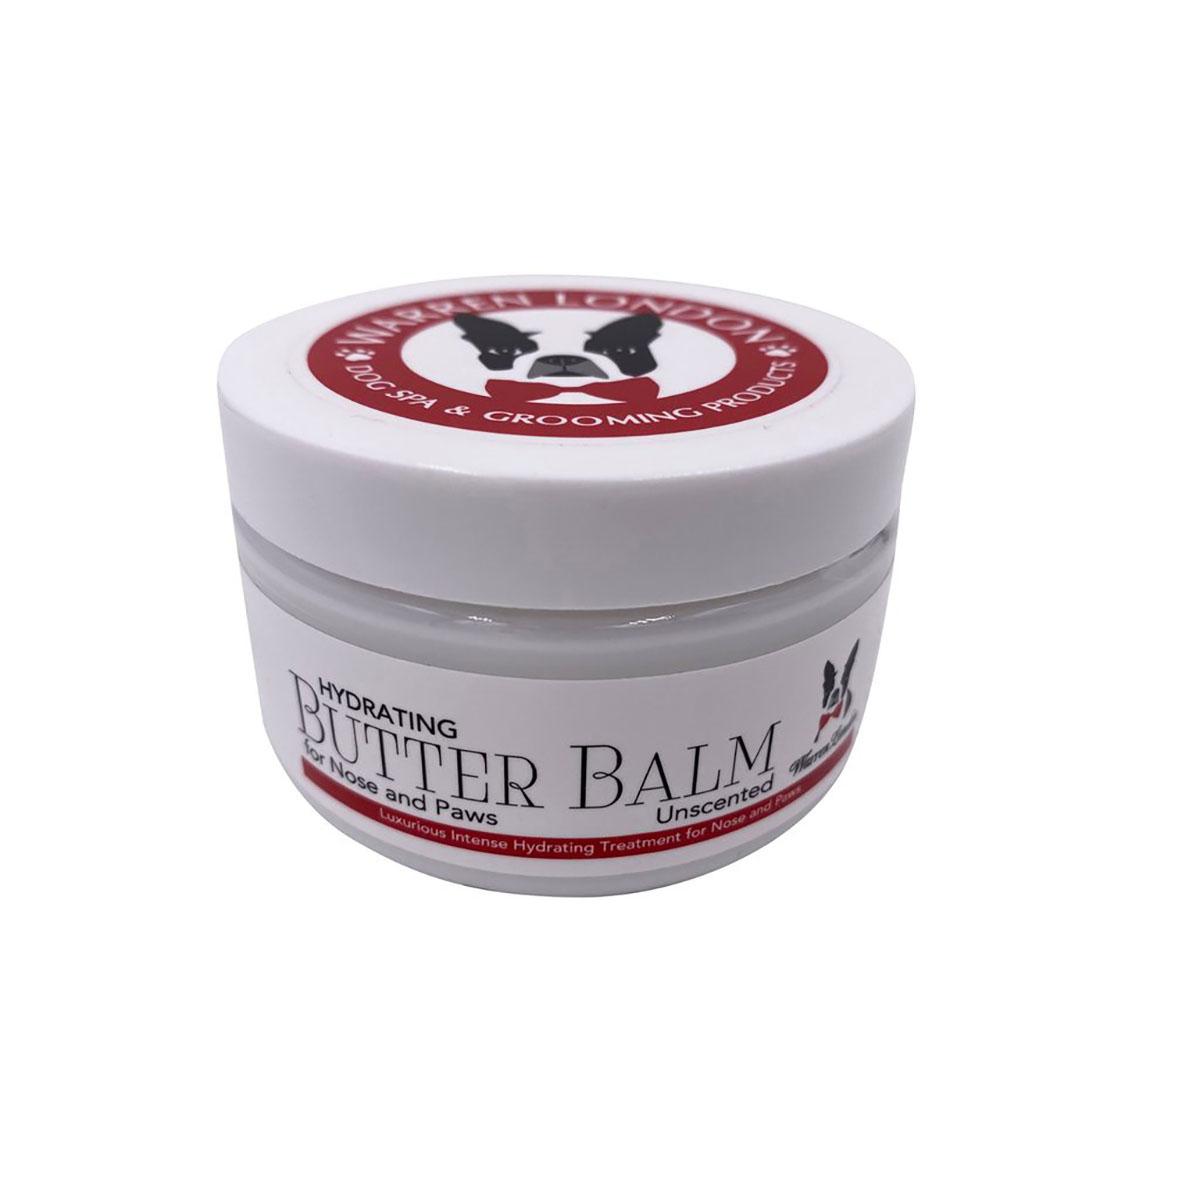
Some owners look for one recipe for both paws and noses. Because a dog can lick the nose easily, ask your veterinarian before applying a homemade mixture there. A product labeled for use on dogs’ noses is another option; follow its directions and use only a small amount.
Keep any product away from the nostrils and eyes. A persistently dry, cracked, bleeding or crusty nose deserves a veterinary check rather than repeated applications of balm.
Should You Add Calendula or Essential Oils?
The three-ingredient recipe does not need either addition. Keeping the formula simple also makes it easier to identify a possible problem if your dog reacts to an ingredient.
Calendula
Calendula appears in some homemade skin-care recipes, often as an oil infused with the flowers. A recipe made for people is not automatically suitable for a dog that may lick its paws.
If you want to use calendula, ask your veterinarian about the specific preparation and your dog’s health first. Do not assume that a homemade infusion or an herbal salve has been evaluated for use on dogs.
Essential Oils
We recommend leaving essential oils and added fragrance out of homemade paw balm. Concentrated oils can pose risks to pets, and a dog can swallow a topical product while licking. Adding only a drop does not establish that a particular mixture is appropriate for your dog.
“Natural” describes an ingredient’s origin, not a guarantee of safety. That applies to plant extracts and scented oils as well as to the oils and wax in a basic balm.
Before making any batch, check that:
- Every ingredient is plain and has no added scent or flavor.
- You know what is in each container, including any blends.
- You have left out essential oils and unnecessary herbal additions.
- Your veterinarian has addressed any known sensitivities.
- The finished balm will be used on intact skin, not an injury.
Paw Care in Winter and Summer
A balm may help moisturize dry pads, but it is not a substitute for choosing a safer walking surface. Adjust your routine to the conditions and check paws after time outdoors.
Winter: Snow, Ice and Sidewalk Salt
Snow and ice can collect around paws, while deicing products and grit can remain on the pads after a walk. When you come indoors, wipe the paws with a damp cloth and dry them, including between the toes. Then check for irritation or anything caught near the pads.
You can apply a thin layer of balm to clean, intact pads if they seem mildly dry. Some owners also apply it before a winter walk, but balm does not replace cleaning afterward or provide the same coverage as a properly fitted boot.
Dog boots are worth considering for walks on treated or rough surfaces. Introduce them indoors first and check the fit so they stay on without rubbing.
Summer: Hot Pavement and Rough Ground
Balm does not make hot pavement safe to walk on and should not be relied on to prevent burns. Choose cooler times of day and surfaces that are comfortable for your dog. Grass or a shaded route may be a better choice than exposed pavement, but check the surface before your dog walks on it.
After a walk, look for tenderness, redness or blisters. If your dog limps, refuses to walk or has an injured-looking pad, contact your veterinarian rather than applying balm over the area.
For both seasons, a useful routine is:
- Check the walking surface before you head out.
- Use fitted dog boots when the conditions call for extra coverage.
- Clean and dry paws after exposure to salt, grit or dirt.
- Apply moisturizer only to mildly dry, intact pads.
- Call your veterinarian about pain, injury or ongoing licking.
When to Skip Balm and Call Your Veterinarian
A paw balm is an everyday moisturizer, not a treatment for an underlying condition. Repeated licking or chewing can have several causes, and adding balm may delay the care your dog needs.
Contact your veterinarian if you notice bleeding, a deep crack, a blister, swelling, discharge or a foreign object. Limping, reluctance to put weight on a paw, or signs of significant pain also deserve prompt veterinary advice.
For ongoing dryness or licking, tell your veterinarian when it started and whether it affects one paw or several. Bring the ingredient list for any product you have tried. That gives your vet useful information without requiring you to guess at the cause.
Storing Your Homemade Balm
Keep the container closed and use clean, dry fingers or a clean spoon to take out the balm. Avoid dipping a dirty paw directly into the jar. That makes it easier to keep the remaining mixture clean.
Homemade batches do not come with a verified shelf life. Check the ingredients’ dates, make only what you expect to use, and discard the balm if its smell, color or appearance changes. Also discard it if water or dirt gets into the container.
Store the jar where your dog cannot reach it. A full tin is a much larger amount than the thin layer intended for a paw.
Conclusion
A simple balm can be a useful addition to your dog’s paw-care routine when the pads are mildly dry and intact. Start with a small amount, keep the ingredient list short and pay attention to how your dog responds.
- Use the beeswax recipe for a scoopable balm, or ask your vet about plain coconut oil for a wax-free option.
- Clean and dry paws after walks, especially when they have contacted salt or grit.
- Keep essential oils out of homemade mixtures.
- Ask your veterinarian about sore paws, persistent licking or changes to the nose.
Vet Tip: If you are unsure whether a paw is merely dry or injured, have your veterinarian check it before applying a product.
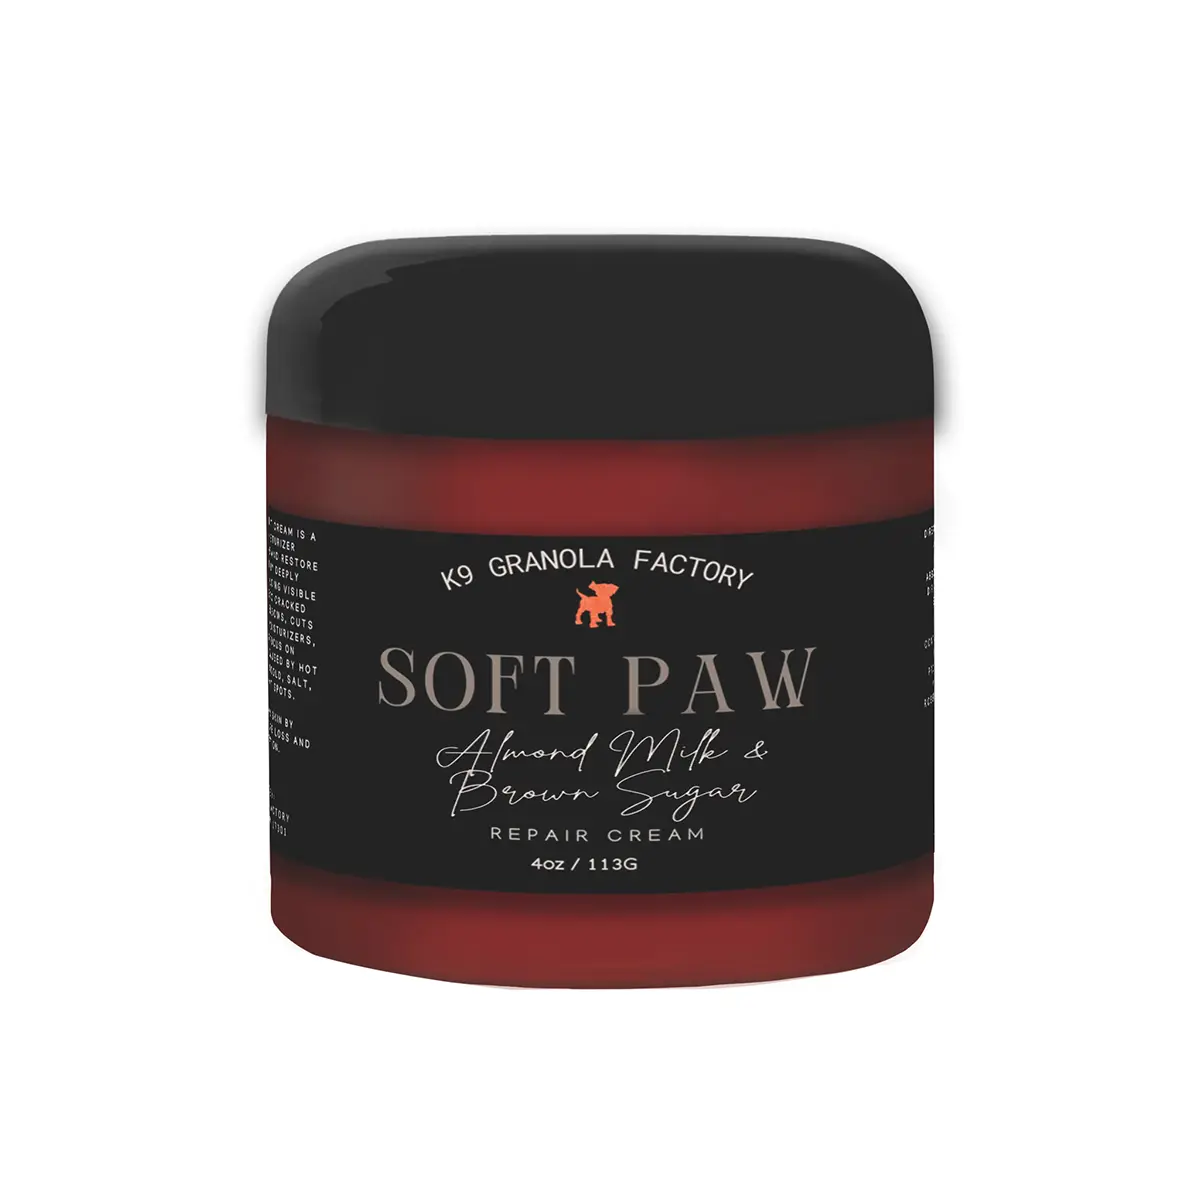
For a ready-made alternative or supplies for your routine, explore the dog grooming category at BaxterBoo.
FAQ
What is the best homemade dog paw balm recipe?
A practical recipe uses plain olive oil, coconut oil and beeswax, without added fragrance or essential oils. The best choice for your dog also depends on their skin, any ingredient sensitivities and how much they lick their paws.
Can I make dog paw balm without beeswax and shea butter?
Yes. A very small amount of plain coconut oil is a simple option that contains neither ingredient. Ask your veterinarian first if your dog has sensitivities, and expect a softer, greasier texture than a wax-based balm.
How often should I put balm on my dog’s paws?
There is no single schedule that suits every dog. Apply a thin layer when intact pads seem mildly dry, and stop if you see irritation or increased licking. Ask your veterinarian if dryness keeps returning or you feel the need to apply balm frequently.
Can paw balm protect dogs from hot pavement?
Do not rely on balm to prevent burns from hot pavement. Choose a cooler time and walking surface, and contact your veterinarian if your dog’s pads look blistered or painful.



- Site & Contents BaxterBoo.com. BaxterBoo is located in the United States.
- Privacy & Security
- Terms of Use
- Accessibility Statement
