
 Save 15% on your 1st Autoship learn more

 Email us
 Live Chat
 FAQs
FAQs





Introduction
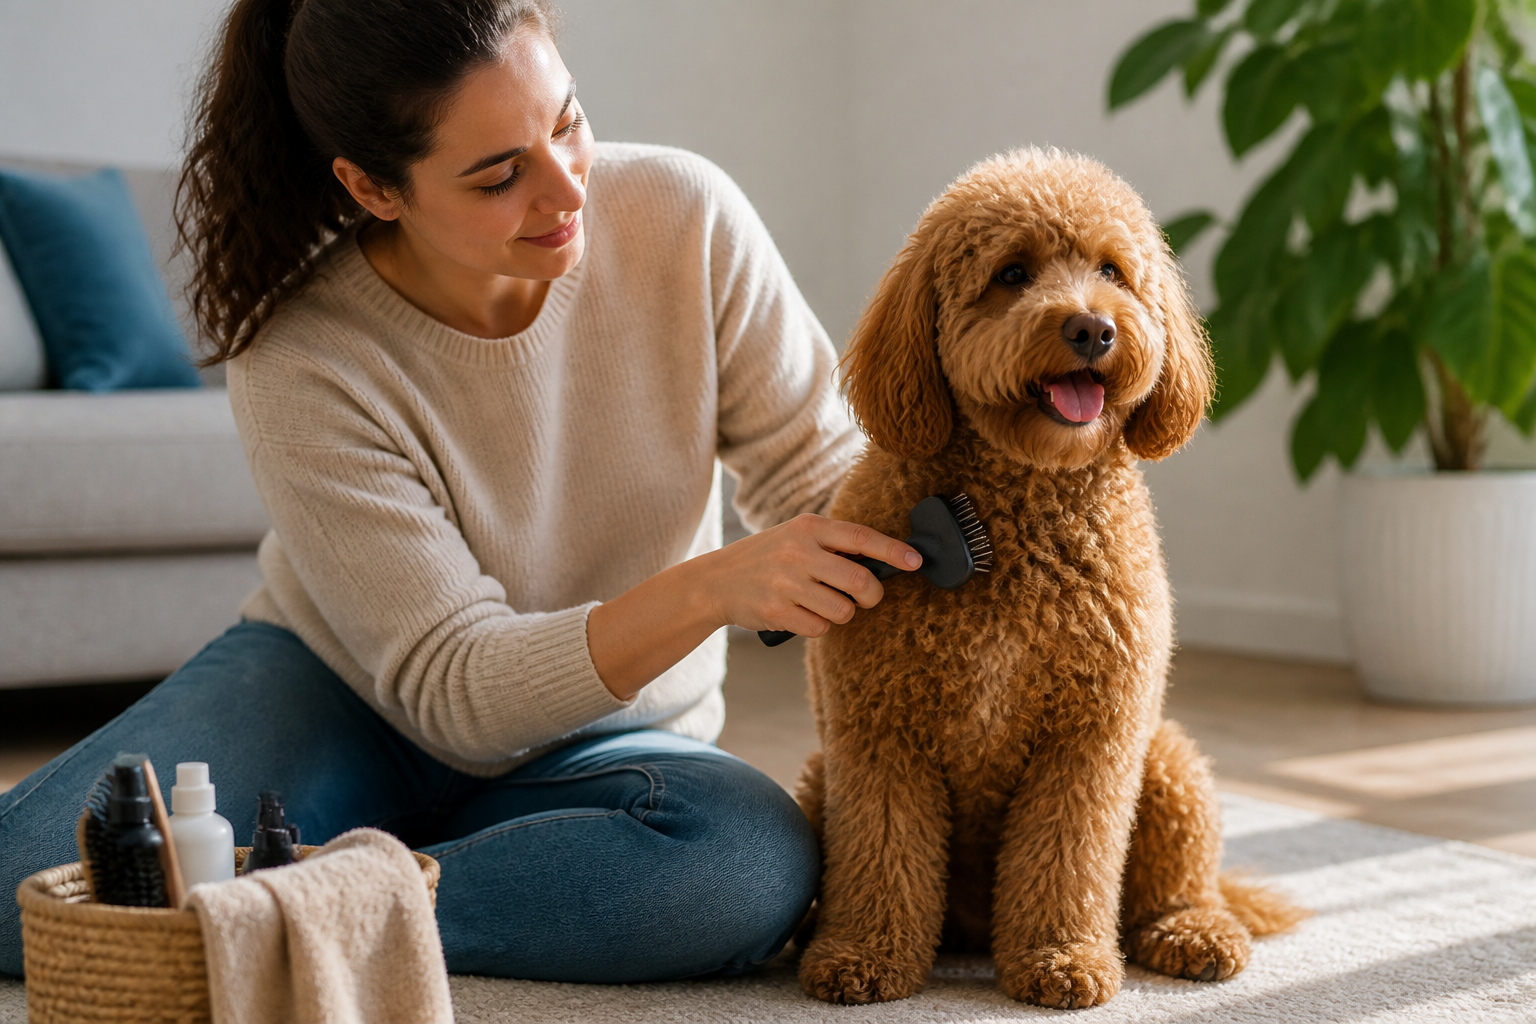
You run your hand over your dog's back and feel a small, hard lump deep near the skin. It is not a flea or a tick. It is a mat. This is a common frustration for owners of Poodles, Doodles, and Bichons. Curly coats are beautiful, but they act like a magnet for dirt and loose fur. Unlike straight-haired dogs, curly breeds do not drop their dead hair onto your carpet. Instead, that hair gets trapped inside the tight curls.
At BaxterBoo, we know that grooming a curly coat is about more than just looking good. It is a vital part of your dog's physical comfort. Without the right technique, your grooming sessions can become a painful tug-of-war for your pet. This post covers the specific tools you need and the professional methods used to keep curls bouncy and tangle-free. You will learn how to reach the skin without causing irritation and how to handle stubborn knots safely.
Quick Answer: Brushing a curly haired dog requires a technique called line brushing. You must part the hair to see the skin and brush from the root to the tip using a slicker brush. A metal comb should follow to ensure every knot is gone.
Understanding the Unique Curly Coat
Curly coats are often called "non-shedding" or "hypoallergenic" coats. This is a bit of a myth. All dogs shed some hair. The difference is that a curly coat captures the shedding hair within the curls. This trapped hair acts like a binder. When it mixes with dust, skin oils, and moisture, it begins to felt. This felting creates mats that sit tight against the skin.
If you only brush the top layer of the hair, your dog may look fluffy. However, a thick layer of matted fur could be hiding underneath. This layer prevents air from reaching the skin. It can trap moisture from a bath or a walk in the rain. This leads to skin sores or bacterial infections. You must view grooming as a three-dimensional task rather than just a surface-level chore.
The texture of the curl matters too. Some dogs have soft, cottony curls that mat very easily. Others have wiry or woolly curls that are more resilient but harder to penetrate with a brush. Your technique will stay the same, but the amount of pressure and time required will change based on your dog's specific hair type.
The Essential Curly Grooming Kit
You cannot maintain a curly coat with a standard grocery store brush. You need tools designed to penetrate dense hair. Professional groomers rely on a few specific items to get the job done without damaging the hair shaft or scratching the skin. You can explore our dog brushes and combs collection when building your grooming kit.
The Slicker Brush
A slicker brush has a flat or slightly curved head with rows of thin, wire pins. These pins are slightly hooked at the ends. This tool is the workhorse of curly hair grooming. It reaches into the curls to pull out loose hair and break up early stage tangles. Look for one with a flexible pad and rounded tips to protect the skin.
The Metal Greyhound Comb
This is a long metal comb with teeth of two different spacings. It is your most important diagnostic tool. After you think you are finished brushing, you must run this comb through the hair. If the comb catches, there is still a knot. It should glide through from the skin to the ends of the hair.
Detangling Spray and Conditioners
Never brush a curly coat while it is bone dry. Dry brushing can cause the hair to snap and create frizz. It also creates static, which makes the hair mat even faster. A light mist of dog detangling and conditioning products provides "slip." This allows the brush to glide through the hair with less resistance.
The Pin Brush
A pin brush looks like a human hairbrush with long, tipped metal pins. It is less aggressive than a slicker brush. It is perfect for daily "fluffing" or for dogs with very long, silky curls. It does not remove as much dead undercoat as a slicker, so it should not be your only tool.
Key Takeaway: Quality tools make the job faster and more comfortable for your dog. A slicker brush removes the bulk of the loose hair, while a metal comb checks your work.
The Professional Line Brushing Method
Line brushing is the only way to guarantee you are reaching the skin. It is a systematic approach that ensures no inch of the dog is missed. If you just brush randomly, you will leave "holes" of matted hair that will eventually grow into a larger problem.
Step 1: Start at the bottom of one of the back legs. It is easiest to work from the bottom up and the back to the front.
Step 2: Use your non-brushing hand to push the hair upward. Use your thumb to create a horizontal "line" where you can see the dog's skin.
Step 3: Take your slicker brush and brush the small amount of hair below that line downward. Use short, gentle strokes.
Step 4: Once that small section is clear, move your hand up about an inch. Create a new line and brush that section down into the area you just finished.
Step 5: Continue this "line by line" until you reach the top of the leg and the body.
This method takes more time than a quick surface brush. However, it is much faster than trying to cut out a massive mat later. It also ensures that the skin is getting massaged, which helps distribute natural oils across the coat.
Using the Comb to Check Your Work
After you finish a leg or a section of the body, take your metal comb. Insert it deep into the hair so the teeth touch the skin. Gently pull it outward. If it snags, do not pull. Stop and use your slicker brush on that specific spot again. This "brush-then-comb" routine is the secret to a professional finish.
Vet Tip: If you discover red, irritated skin or a foul smell under a mat, consult your veterinarian. These can be signs of a skin infection caused by trapped moisture. Our pharmacy carries topical treatments when prescribed by your veterinarian.
Managing Tangles and Mats Safely
Even with the best routine, mats can happen. They often form in "friction zones" like under the armpits, behind the ears, or where the collar or harness sits. Dealing with them requires patience. If you pull on a mat, you are pulling directly on the dog's skin. This is painful and can make your dog fear the grooming table.
How to Break Down a Mat
If you find a knot, do not reach for the scissors first. Cutting into a mat is dangerous because the skin is often pulled up into the knot. You can easily cut your pet. Instead, follow these steps:
- Apply a generous amount of detangler directly to the knot.
- Use your fingers to gently pull the mat apart from the outside in.
- Use the edge of your slicker brush to "pick" at the mat.
- Once it starts to loosen, use the metal comb to gently draw the hair out.
If a mat is as hard as a rock and tight against the skin, it is often safer to have a professional groomer or vet shave it off. This is better for the dog than hours of painful pulling.
Bottom line: Never pull a knot with a comb; always use your fingers or a slicker brush to break it down first.
Bathing and the "Matting Trap"
A common mistake is giving a matted dog a bath to "soften" the hair. Water actually does the opposite. When a mat gets wet, the hair fibers swell and then shrink as they dry. This causes the mat to tighten significantly. It can become so tight that it cuts off circulation to the skin.
Always brush your curly haired dog thoroughly before a bath. Ensure the comb can pass through every part of the coat. After the bath, use a high-quality conditioner from our dog shampoo and conditioner collection. This helps close the hair cuticle and makes the hair less likely to tangle as it dries.
When drying, do not rub the dog vigorously with a towel. Rubbing creates friction and loops the curls together, causing instant tangles. Instead, pat the dog dry with a microfiber towel to soak up the moisture. If you use a hair dryer, use a low heat setting. Brushing while you dry will help straighten the curls slightly, making the hair look longer and fluffier.
Establishing a Grooming Routine
Consistency is more important than the length of the grooming session. For a curly haired dog, ten minutes of brushing every day is much better than two hours once a week. Daily sessions prevent small tangles from becoming large mats. It also turns grooming into a normal, relaxing part of the day.
At BaxterBoo, we recommend starting this routine as early as possible. If you have a puppy, start brushing them the day they come home. Even if their coat is short and soft, they need to get used to the feeling of the tools and the sound of the slicker brush pins.
- Keep sessions short and positive.
- Offer high-value treats while you brush sensitive areas like the paws or tail.
- Check "hot spots" daily, including the groin, armpits, and behind the ears.
- Rotate the areas you focus on if the dog gets restless.
As your puppy transitions to their adult coat, usually between six and twelve months, they will mat much faster. This is because the soft puppy hair is shedding out while the stiff adult hair is growing in. You may need to increase your brushing frequency during this period.
Key Takeaway: Daily maintenance prevents the "puppy coat transition" from becoming a grooming nightmare.
Tips for Brushing Sensitive Areas
The face, ears, and tail are the most sensitive parts of a curly haired dog. These areas also tend to collect debris. Food can get stuck in the beard, and burrs often hitch a ride on the tail or ears.
The Face and Beard
Use a smaller slicker brush or a fine-toothed comb for the face. Be very careful around the eyes. If the hair around the eyes is constantly wet from tears, it will mat quickly. Gently wipe the area with a damp cloth before brushing to remove any crusty buildup.
The Ears
Curly haired dogs often have hair growing deep inside the ear canal. This hair can trap wax and moisture. While brushing the outside of the ear, check the inside for redness. If your dog is shaking their head or the ears have a dark discharge, a vet visit is necessary. Our pharmacy carries many ear medications prescribed by veterinarians.
The Paws and Sanitary Areas
Hair between the paw pads can trap mud and ice. This forms hard "plugs" that make it painful for the dog to walk. Use your comb to clear the hair between the toes. For the sanitary area under the tail, keep the hair trimmed short to prevent feces from getting caught in the curls.
Maintaining Your Grooming Tools
Your tools will only work well if they are clean. Slicker brushes collect a lot of dead hair and skin dander. After every session, remove the hair from the pins. You can use a metal comb to "rake" the hair out of the brush.
Every few weeks, wash your brushes and combs in warm, soapy water. Dry them thoroughly to prevent the metal pins from rusting. If the pins on your slicker brush become bent or lose their protective tips, replace the brush. Damaged pins can scratch the dog's skin and cause a "brush burn."
If you use a detangling spray, the bottle can sometimes get clogged with dried product. Rinse the nozzle with hot water to keep the mist fine and even. A fine mist is better than a heavy stream, as it covers more surface area without soaking the hair.
Cooperative Care and Rewards
Grooming should be a bonding experience, not a chore your dog hates. If your dog struggles or tries to bite the brush, you may need to slow down. This is called "cooperative care." It means you listen to the dog's body language. If they are stressed, take a break.
- Use a grooming table or a non-slip mat on a counter to define the workspace.
- Keep your movements slow and predictable.
- Use a "lather and reward" system: brush for a minute, then give a small treat.
- Keep your own energy calm; if you are frustrated, your dog will be too.
Over time, your dog will learn that the brush means attention and treats. Many curly haired dogs eventually fall asleep during their line brushing sessions because the rhythmic stroking is relaxing.
Bottom line: A calm, consistent routine built on rewards creates a dog that stands still and enjoys being pampered.
Conclusion
Brushing a curly haired dog is a significant commitment, but it pays off in your pet's health and happiness. By using the line brushing technique and the right tools, you prevent the painful mats that lead to skin issues. Remember to always brush before bathing and to use a metal comb to verify that you have reached the skin.
Consistency is the best tool in your kit. At BaxterBoo, we are here to help you find the right supplies to make this process easier. Whether you need a high-quality slicker brush or skin-soothing supplements like those from our selection of Zesty Paws products, our curated selection has you covered. Keeping those curls healthy and bouncy ensures your dog feels as good as they look. For recurring needs like detangling sprays or grooming wipes, consider our Autoship programme to save time and money while keeping your supplies stocked.
FAQ
How often should I brush my curly haired dog?
Ideally, you should brush a curly haired dog every day or at least every other day. This frequent maintenance prevents loose hair from tangling into mats. If your dog has a very short "kennel cut," you might be able to brush twice a week, but longer coats require daily attention.
Why does my dog still have mats even though I brush them daily?
This usually happens because you are only brushing the top layer of the hair. This is known as "surface brushing." If you do not use the line brushing technique to reach the skin, the undercoat will continue to felt and form mats. Always follow up your brushing with a metal comb to ensure you haven't missed any deeper tangles.
Can I brush out a mat after my dog gets wet?
No, you should never try to brush out a mat when the hair is wet. Water causes the hair fibers to tighten, making the mat even harder to remove. Always brush your dog thoroughly before a bath and ensure they are completely dry before doing a final comb-through.
What should I do if my dog hates being brushed?
Start with very short sessions, even just thirty seconds, and pair them with high-value treats. Focus on easy areas like the back before moving to sensitive spots like the legs or ears. If the dog is extremely stressed, consult a professional groomer or a trainer to help with desensitization.






