
 Save 15% on your 1st Autoship learn more

 Email us
 Live Chat
 FAQs
FAQs





Introduction
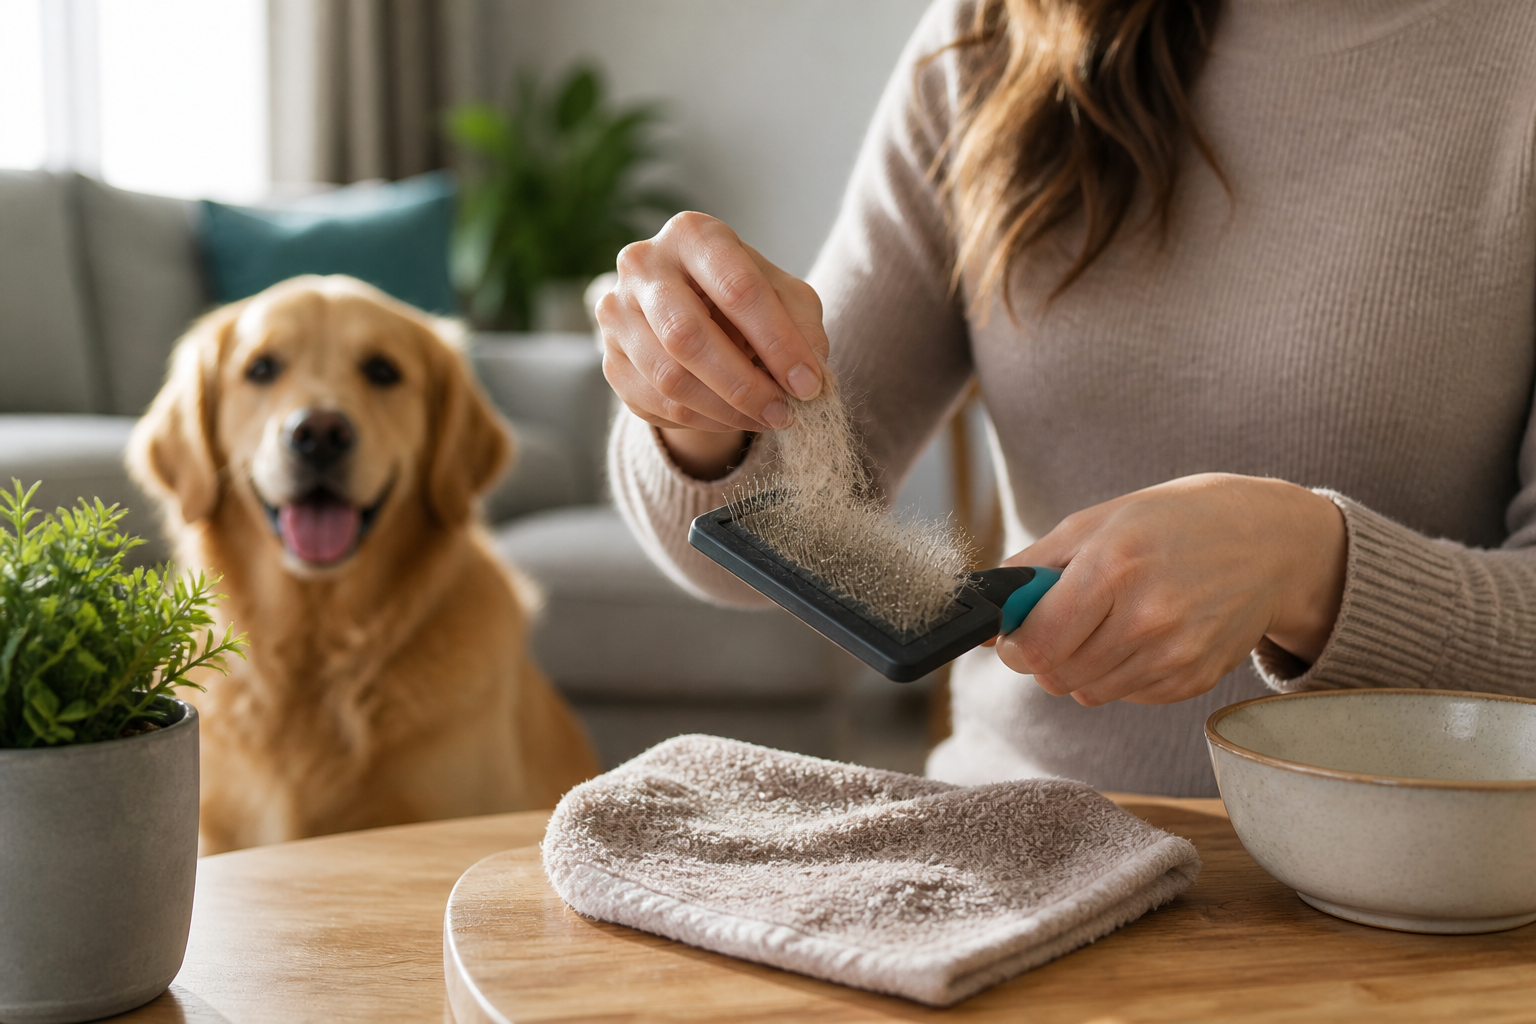
You just finished a great grooming session and your dog looks fantastic. You look down at the brush and notice it is packed with a thick mat of fur, grey dander, and oily residue. It is tempting to just pull the big clumps out and toss the tool back in the drawer. However, using a dirty brush can actually redeposit allergens and bacteria back onto your pet's skin. At BaxterBoo, we know that keeping your gear clean is just as important as the grooming itself. This guide covers the best ways to sanitize your tools, protect your dog’s skin, and make your favorite brushes last for years. Regular maintenance ensures every stroke of the brush helps your dog stay healthy and comfortable.
Why Brush Maintenance Matters
Many pet owners view the hair in the brush as the only problem. In reality, that hair is holding onto much more. Every time you run a brush through your dog's coat, the bristles pick up dead skin cells, natural oils, and environmental debris like dust or pollen. If you leave these materials on the brush, they can become a breeding ground for bacteria or even mold.
When you use a dirty brush, you are essentially scrubbing old grime back into the coat. This can lead to clogged pores or skin irritation. For dogs with sensitive skin or allergies, a dirty brush can trigger a flare up. Clean bristles also perform better. They glide through the hair more easily and do a better job of distributing the natural oils that make a coat shine.
Key Takeaway: A clean brush protects your dog from skin irritation and ensures your grooming tools work efficiently without pulling or snagging the hair.
The Pre-Wash: Removing the Hair
Before you use any water or cleaning solutions, you must remove as much physical debris as possible. If you skip this step, the hair will turn into a soggy, tangled mess that is much harder to manage.
You can use several common household items to clear the bristles. A fine-tooth comb is excellent for lifting hair from the base of a pin brush. Simply slide the comb under the hair and lift upward. For slicker brushes with tightly packed wire bristles, a toothpick or a clean popsicle stick can help you reach the stubborn bits. If you need replacement tools, explore our dog brushes and combs.
Quick Answer: Start by pulling large clumps of hair out by hand. Use a fine-tooth comb or a toothpick to lift trapped dander and fur from the base of the bristles before introducing any water.
Tools for Hair Removal
- A metal Greyhound comb: Best for lifting hair out of pin and bristle brushes.
- A toothpick: Ideal for digging out small debris from the corners of the brush pad.
- A dedicated cleaning tool: Some professional grooming kits include a small rake designed specifically for cleaning other brushes.
- An old toothbrush: Useful for scrubbing away dander that is stuck to the brush pad.
Choosing the Right Cleaning Solution
Once the hair is gone, it is time for a deep clean. You do not need harsh industrial chemicals to get a dog brush clean. In fact, mild solutions are better for the materials of the brush and the health of your dog.
A mixture of warm water and a gentle pet shampoo is one of the most effective options. Since the shampoo is already formulated to be safe for your dog's skin, you do not have to worry about any lingering residue causing a reaction. Another great option is a mixture of equal parts warm water and white vinegar. Vinegar acts as a natural degreaser and helps break down the skin oils that accumulate on the bristles. For additional grooming products, browse our dog grooming supplies.
Vet Tip: If your dog is currently dealing with a skin infection or a flea infestation, talk to your veterinarian about using a medical grade disinfectant. Regular cleaning is great for maintenance, but active health issues require a more sterile approach.
Step-by-Step Cleaning Process
Follow these steps to ensure a thorough clean without damaging your grooming gear.
Step 1: Clear the hair. / Use your fingers or a comb to remove every visible bit of fur from the bristles and the base of the brush.
Step 2: Prepare the soak. / Fill a bowl with warm water and add two tablespoons of pet shampoo or a cup of white vinegar.
Step 3: Submerge the bristles. / Dip the brush into the water so the bristles are fully covered. If the brush has a fabric or foam pad, avoid soaking the entire head to prevent mold growth.
Step 4: Scrub the base. / Use an old toothbrush to gently scrub the surface of the brush pad and the areas between the bristles.
Step 5: Rinse thoroughly. / Run the brush under cool, clean water to remove all soap or vinegar residue.
Step 6: Dry correctly. / Lay the brush bristle-side down on a clean towel. This allows water to drain away from the handle and the brush pad.
Bottom line: Taking ten minutes to soak and scrub your brushes once a week will significantly improve your dog's skin health and the longevity of your tools.
Cleaning Different Types of Brushes
Not all brushes are made of the same materials. Using the wrong method on a specific tool can cause it to fall apart or rust.
Slicker Brushes
Slicker brushes have fine, bent wire bristles. These are great for removing mats but can be delicate. When cleaning these, be careful not to bend the wires. Use a very soft touch when scrubbing the pad. Because these brushes often have a lot of tiny crevices, they are prone to trapping moisture. Always ensure they are completely dry before you store them.
Pin Brushes and Bristle Brushes
Pin brushes often have a rubber backing. If you soak these for too long, water can get trapped behind the rubber pad. This leads to a "squishy" brush that eventually smells like mildew. For these, it is better to dip the bristles into the cleaning solution rather than submerging the whole head. Natural bristle brushes, like those made from boar hair, should be cleaned with a very mild shampoo to keep the bristles from becoming brittle. A two-sided option such as the U-Groom Combo Brush for Dogs and Cats can be helpful for different coat-care needs.
Rubber Brushes and Curry Combs
Tools like the Kong ZoomGroom are the easiest to clean. Since they are made of solid rubber, you can submerge them completely. They are usually dishwasher safe on the top rack, but always check the manufacturer instructions first. These tools are excellent for bath time, so they often get a "built-in" cleaning while you wash your dog. The KONG Zoom Groom Natural Rubber Dog Grooming Brush is one example of this style.
Disinfecting Your Tools
Washing removes dirt and oils, but disinfecting kills bacteria and fungi. This is especially important if you have multiple pets. Sharing a brush between a healthy dog and one with a skin condition is a quick way to spread the problem.
A 10 percent bleach solution is a standard disinfectant. Mix one part bleach with nine parts water. Dip the bristles for about ten minutes, then rinse very thoroughly. If you prefer to avoid bleach, rubbing alcohol can be wiped onto the bristles and the handle.
Our pharmacy at BaxterBoo offers various products that can help manage skin health if your dog has already developed an irritation from a dirty brush or environmental factors. Through our partnership with Pet's Choice, we provide access to FDA-approved treatments that your vet may prescribe for chronic skin issues. Keeping your tools sterile is a key part of that overall wellness plan. You can browse our dog pharmacy for additional care options.
The Importance of Proper Drying
Drying is the step where most people make mistakes. If you set a brush down with the bristles facing up, the water will run down into the handle and the brush pad. Over time, this causes wooden handles to rot and metal pins to rust. It can also break down the glue that holds the brush together.
Always place your brushes on a dry towel with the bristles facing down. This allows gravity to pull the water out and away from the tool. If you are in a hurry, you can use a hair dryer on the "cool" setting to speed up the process, but never use high heat. Heat can warp plastic bristles and dry out the rubber pads.
Signs It Is Time to Replace Your Brush
Even with the best care, grooming tools do not last forever. You should inspect your brushes every time you clean them. Look for the following warning signs:
- Missing or bent pins: These can scratch your dog's skin or cause painful tugging.
- Cracked handles: These can trap bacteria and may eventually snap during use.
- Peeling rubber pads: If the pad is separating from the frame, the brush will no longer provide the right amount of pressure.
- Lingering odors: If a brush smells like mildew even after a deep clean, mold has likely grown inside the pad.
If you notice these issues, it is time to browse our collection of grooming supplies for a replacement. High-quality tools are an investment in your dog's comfort.
Key Takeaway: Inspecting your tools during cleaning prevents you from accidentally using a damaged brush that could hurt your dog.
Storing Your Grooming Gear
Where you keep your brushes matters as much as how you clean them. Many people keep grooming supplies in the bathroom, but the high humidity in bathrooms can encourage mold growth on brush pads.
It is best to store your tools in a cool, dry place. A dedicated grooming bag or a plastic bin with a lid works well. If you live in a very humid climate, consider adding a small silica gel packet to your storage container to absorb excess moisture. This keeps the metal parts from rusting and ensures your brushes are ready for use whenever you need them.
Handling Special Situations
Sometimes a standard wash is not enough. If you have been using your brush to work through a particularly messy situation, like burrs or sticky sap, you may need extra help.
For sap or sticky residue, a small amount of olive oil or coconut oil can help break down the stickiness on the bristles. Apply the oil, let it sit for a few minutes, then use a comb to pull the residue away. Afterward, you will need to do a thorough wash with pet shampoo to remove the oil so the brush does not feel greasy the next time you use it.
If your dog has been treated for fleas, you must sanitize your brushes daily. Flea eggs can easily hide in the base of a brush. During an active infestation, soaking your tools in a disinfectant after every single use is a non-negotiable step to prevent re-infestation. You can find many flea and tick products in our pharmacy to help manage these situations.
Creating a Routine
The best way to keep your dog's coat healthy is to make tool maintenance a habit. We recommend a quick hair removal after every grooming session and a deep clean once a week. If you have a busy schedule, even a bi-weekly deep clean is better than nothing.
When you stay on top of the cleaning, each session takes much less time. A brush that is cleaned weekly only needs a quick five-minute soak. A brush that has been ignored for months may require multiple rounds of scrubbing and soaking to become truly clean.
Our MVP Rewards program is a great way to earn points on the cleaning supplies and new brushes you need to keep your routine going. You can learn more about the MVP Rewards programme and its available benefits. By staying consistent, you ensure that grooming remains a positive, healthy experience for your pet.
Conclusion
Cleaning your dog's hair brush is a simple task that has a big impact on their health and comfort. By removing hair, soaking in a gentle solution, and drying the tools properly, you prevent the spread of bacteria and protect your dog's skin. We want to help you make pet care as easy as possible. Keeping your gear in top shape is the first step toward professional-quality grooming at home. For more specialized needs, you can always visit our dog pharmacy for prescription skin supports or check out our full range of brushes and combs to find the perfect match for your dog's coat type.
FAQ
How often should I clean my dog's brush? You should remove the hair from the bristles after every use to prevent buildup. A deeper cleaning with soap and water should happen at least once a month, though once a week is ideal for dogs with oily skin or allergies. If your dog has a skin infection or fleas, you should sanitize the brush after every single session.
Can I use dish soap to clean my dog's grooming tools? While dish soap is a great degreaser, it can be very harsh on certain brush materials like natural bristles or wooden handles. It may also leave a residue that irritates sensitive canine skin. It is generally safer to use a mild pet shampoo or a simple vinegar and water solution.
Is it okay to soak a brush with a wooden handle? You should avoid soaking wooden handles as much as possible. Prolonged exposure to water causes wood to swell, warp, and eventually rot or crack. Instead of submerging the whole tool, just dip the bristles into the cleaning solution and use a damp cloth to wipe down the handle.
How do I know if my slicker brush is causing skin irritation? If you see your dog flinching during grooming or notice redness on the skin after brushing, check the pins on your slicker brush. Over time, the protective tips on the wire bristles can wear away, leaving sharp points that scratch the skin. If the pins are bent or sharp, it is time to replace the brush immediately.






