
 Save 15% on your 1st Autoship learn more

 Email us
 Live Chat
 FAQs
FAQs





Introduction
You just finished a long grooming session with your dog. Their coat looks shiny and smooth, but your brush looks like a science project. It is packed with loose grey fuzz, skin oils, and maybe even some dried mud from last week’s hike. Many pet owners forget that grooming tools need their own cleaning routine. At BaxterBoo, we believe that your tools are just as important as the shampoo you use. A dirty brush can redistribute dander, bacteria, and allergens back onto your dog’s clean skin. This guide covers the best methods for cleaning every type of dog brush in your kit. We will show you how to wash, disinfect, and dry your tools to make them last for years.
Quick Answer: To clean a dog brush, start by removing all trapped hair with a comb. Soak the brush in a mixture of warm water and pet shampoo for 20 minutes, then scrub with a toothbrush. Rinse thoroughly and let the brush air dry with the bristles facing down to prevent mold.
The Importance of Cleaning Grooming Tools
A dog brush is more than just a tool for removing hair. It acts like a magnet for everything trapped in your dog’s coat. Over time, the bristles collect sebum, which is the natural oil produced by your dog's skin. This oil creates a sticky surface that holds onto dust and pollen. If you do not clean the brush, you are simply pushing that old oil and dirt back into the coat the next time you use it.
Hygiene is the most significant reason to keep tools clean. Bacteria and fungus can grow in the damp environment of a dirty brush pad. If your dog has a small scratch or an allergy, a dirty brush can introduce germs that lead to a skin infection. Using clean tools helps keep your dog’s skin healthy and reduces the risk of irritation.
Clean tools also perform better. A slicker brush that is full of hair cannot reach down to the undercoat to remove mats. When the bristles are clear, they can move through the hair easily. This makes the grooming process much faster for you and more comfortable for your dog. Browse our dog grooming supplies to find tools for your routine.
Key Takeaway: Regular brush cleaning prevents the spread of bacteria and ensures your grooming tools can effectively reach the undercoat to remove loose hair and mats.
What You Will Need
You do not need professional equipment to clean your brushes at home. Most of these items are already in your kitchen or bathroom. Having everything ready will make the process much smoother.
- A fine-toothed comb or a dedicated brush cleaning tool.
- A large bowl or a clean sink.
- Gentle pet shampoo or a mild dish soap.
- An old toothbrush for scrubbing small areas.
- White vinegar or a pet-safe disinfectant.
- A clean, dry towel.
Step 1: Removing the Hair
Before you get the brush wet, you must remove as much hair as possible. If you skip this step, the hair will turn into a soggy, matted mess that is much harder to get out. Most of the hair will come out if you pull it with your fingers, but some will stay trapped at the base of the pins. For more options, explore our dog brushes and combs.
Use a metal comb to rake through the bristles from the base upward. This will lift the deep-seated hair and dander. If you are cleaning a slicker brush with very fine pins, be gentle so you do not bend the wires. You can also use a toothpick or a pen to lift out stubborn clumps.
Step 1: Pull out the large clumps of hair by hand. / Always work from the handle toward the tips of the bristles.
Step 2: Use a comb or a brush cleaner to lift remaining debris. / Do this over a trash can to catch the dander and dust.
Step 2: Washing and Soaking
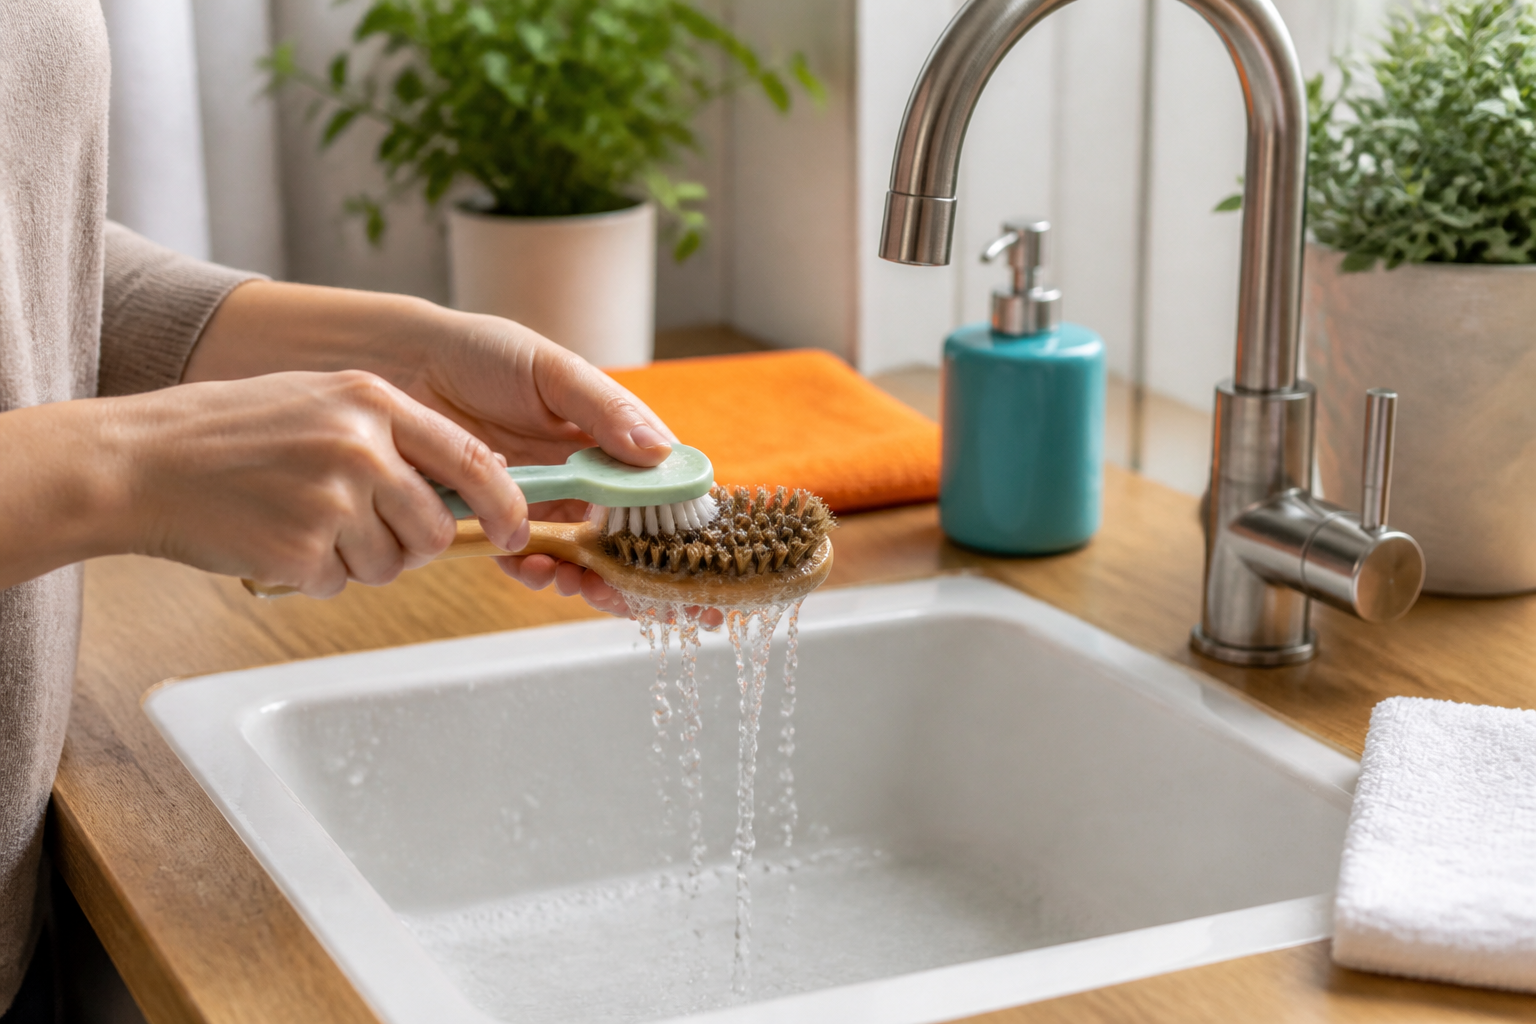
Once the loose hair is gone, it is time to tackle the oils and dirt. Fill a bowl with warm water. Avoid using boiling water as it can damage the glue that holds the bristles or melt plastic components. Add a few squirts of pet shampoo or dish soap and stir until it is sudsy.
Submerge the brush in the water. If the brush has a wooden handle or a padded rubber base, do not soak the whole thing. Instead, dip just the bristles into the water. Soaking a wooden handle can cause it to crack or rot. Soaking a rubber pad can trap water inside the brush, which often leads to mold growth.
Let the bristles sit in the soapy water for about 10 to 15 minutes. This gives the soap time to break down the sticky oils. After soaking, use your old toothbrush to scrub the base of the bristles. If you need shampoo for your cleaning routine, see our dog shampoo and conditioner collection.
Cleaning Different Types of Brushes
Not all brushes are made of the same materials. The cleaning method you choose should match the specific tool you are using. BaxterBoo carries a wide variety of brushes, from soft bristles to sturdy metal pins, and each one needs special care.
Slicker Brushes
Slicker brushes have fine, bent wire pins set into a flexible pad. These are excellent for removing mats but are the hardest to clean. The pins are sharp and very close together. When scrubbing a slicker brush, always move the toothbrush in the same direction as the wire pins. Never scrub across the wires, as this will bend them out of shape. If the wires get bent, they can scratch your dog’s skin. A self-cleaning option, such as the Master Grooming Tools Self-Cleaning Slicker Brush, can make hair removal easier.
Bristle Brushes
Natural or synthetic bristle brushes are often used to distribute oils and add shine. These bristles are very dense, so they trap a lot of dust. You may need to soak these longer to ensure the water reaches the center of the brush. After soaking, rinse them thoroughly to make sure no soap residue is left behind, which could dull the coat later.
Pin Brushes
Pin brushes look similar to human hairbrushes. They usually have a rubber pad. Because the pins are spaced further apart, they are much easier to clean than slickers. If the pins have small balls on the ends, check them for wear. If the balls have fallen off, the metal can be sharp. Clean around the base of each pin with your toothbrush. A dual-purpose option is the U-Groom Combo Brush for Dogs and Cats.
Rubber Curry Brushes
Rubber brushes, like the Kong ZoomGroom, are the easiest to maintain. They are usually made of a single piece of molded rubber. You can soak these completely in warm, soapy water. They are very durable and can handle a vigorous scrubbing. Because they do not have a hollow base, you do not have to worry as much about trapped water.
Disinfecting and Sanitizing Your Tools
Washing with soap removes dirt, but it does not always kill all the germs. If you have been treating your dog for a skin condition, fleas, or a fungal infection, you must disinfect your tools.
A simple way to do this is with white vinegar. Mix one part vinegar with one part water. Dip the bristles into this solution for five minutes. Vinegar is a natural disinfectant that is safe for pets. For a stronger option, you can use a pet-safe disinfectant spray. Avoid using harsh household bleach on brushes with metal pins, as it can cause them to rust over time.
If your dog is currently dealing with a medical skin issue, pay close attention to your cleaning routine. Our pharmacy carries FDA-approved treatments for various skin conditions. Using clean tools alongside these treatments helps your dog heal faster by preventing reinfection.
Vet Tip: If you notice your dog has red skin, bumps, or persistent itching while you are grooming, consult your veterinarian. Using a dirty brush on irritated skin can make the problem worse.
How to Dry Your Brushes Correctly
Drying is the most important part of the process. If you store a brush while it is still wet, you are inviting mold and mildew to grow. This is especially true for brushes with rubber pads or fabric backing.
Do not leave your brushes to dry with the bristles facing up. If you do, the water will run down the bristles and collect in the handle or the pad. This causes the wood to rot and the glue to fail. Instead, lay the brush face down on a clean, dry towel. This allows the water to drip out of the brush and into the towel.
Let the brushes air dry in a well-ventilated area for at least 24 hours. Do not use a hairdryer to speed up the process. High heat can warp plastic and damage natural bristles.
When to Replace Your Dog’s Brush
Even with the best care, grooming tools do not last forever. You should inspect your brushes every time you clean them. Look for the following signs of wear that indicate it is time to buy a new one:
- Missing pins: If a pin brush is missing several pins, it will not groom effectively and can create uneven pressure on the skin.
- Bent wires: On a slicker brush, bent wires can become sharp and scratch your dog.
- Cracked pads: If the rubber pad is cracked, it can trap water and bacteria that you cannot wash away.
- Rust: Any sign of rust on metal pins means the brush should be thrown away immediately. Rust can cause serious skin irritation or infection.
- Cracked handles: Wooden or plastic handles that are cracked can pinch your hand or break during use.
If you need to replace your gear, we offer a wide range of top brands like Kong and RC Pets. You can also explore our selection of BASS Brushes products for additional grooming options. You can even use our Autoship program to save on recurring needs like grooming wipes and shampoos.
Conclusion
Cleaning your dog's brushes is a simple task that makes a big difference in their health and comfort. By removing hair, washing away oils, and disinfecting regularly, you ensure that every grooming session is safe and effective. Remember to always dry your brushes face down to prevent mold. If you keep your tools in top shape, they will keep your pet’s coat looking its best. For all your grooming supplies and health needs, we are here to help with quality products and expert advice. Signing up for our MVP Rewards program is a great way to earn points on every grooming tool you buy for your home setup.
Bottom line: Clean grooming tools last longer and protect your dog’s skin from bacteria and irritation.
FAQ
How often should I clean my dog's brush?
You should remove the hair from the brush after every use to keep it functional. A deep cleaning with soap and water should happen about once a month for most pets. If your dog has a skin infection, fleas, or gets very dirty, you should clean and disinfect the brush after every single use until the issue is gone.
Can I put my dog's brush in the dishwasher?
It is not a good idea to put dog brushes in the dishwasher. The high heat can melt plastic, warp wooden handles, and destroy the glue holding the bristles in place. The harsh detergents used in dishwashers can also damage the finish on metal pins and irritate your dog's skin during the next grooming session.
What is the best way to remove dander from a brush?
The best way to remove dander and skin flakes is to use a fine-toothed comb to rake the base of the brush. After you remove the hair, a soak in warm soapy water will help loosen the remaining dander. Using an old toothbrush to scrub between the pins is the most effective way to clear out the smallest particles.
Is it okay to share brushes between different dogs?
If you have multiple dogs, it is better to have a separate set of brushes for each one. Sharing brushes can spread skin conditions, fungal infections, or pests like fleas and mites between your pets. If you must share a brush, you must thoroughly wash and disinfect it between every use on different animals.






