
 Save 15% on your 1st Autoship learn more

 Email us
 Live Chat
 FAQs
FAQs





Introduction
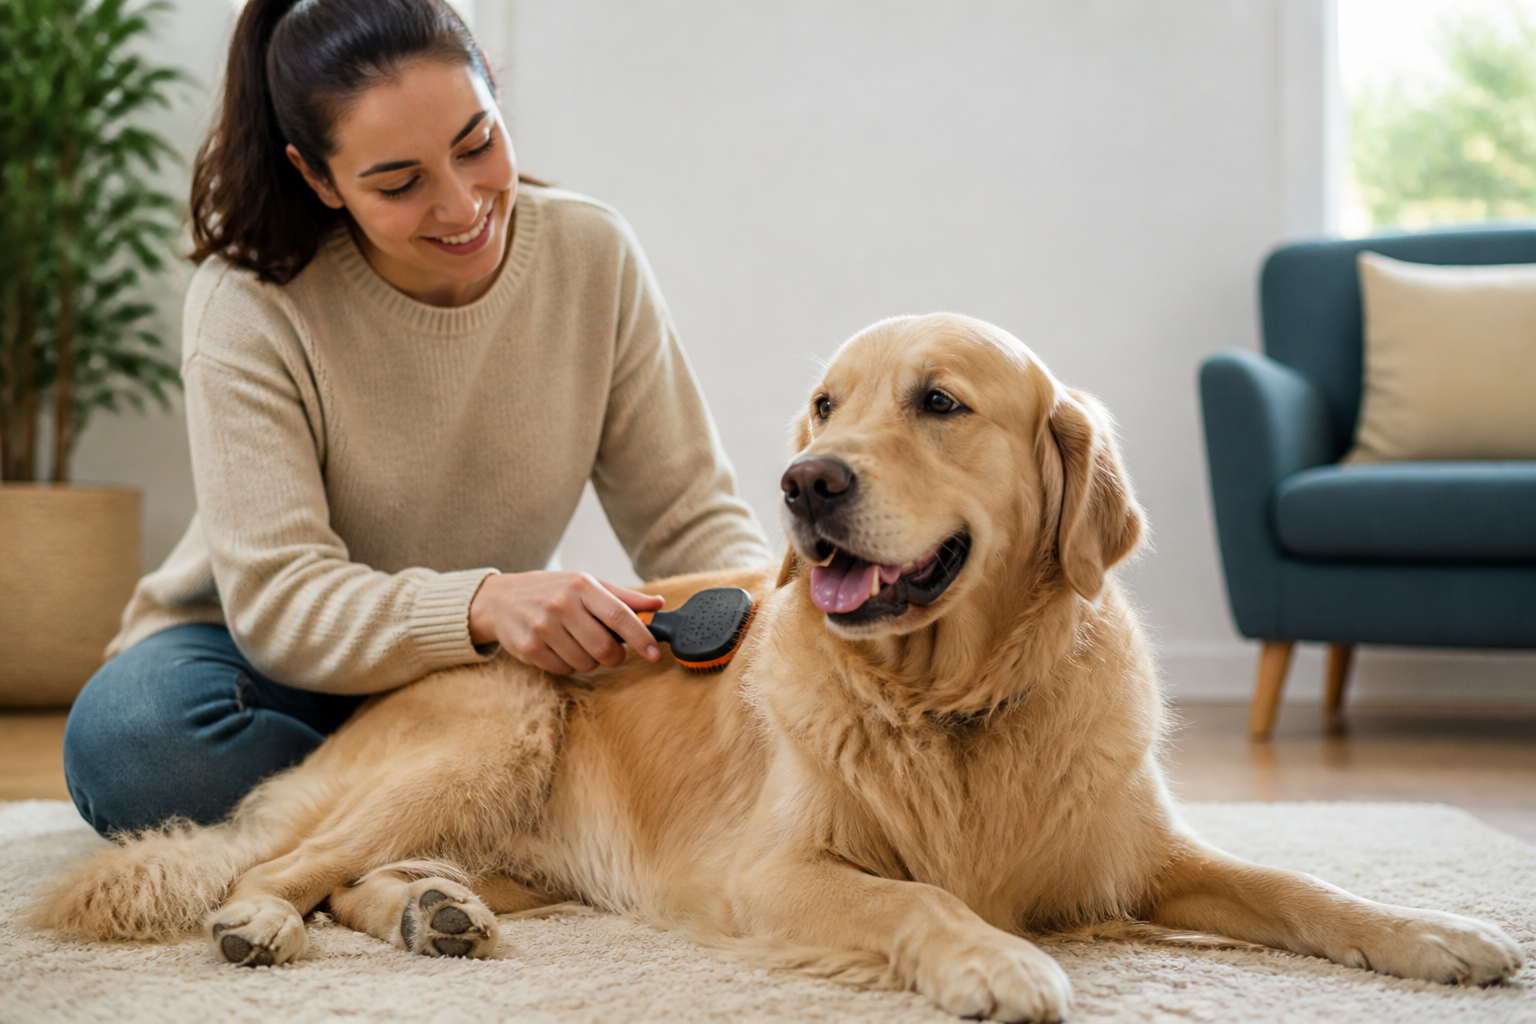
You reach down to scratch your dog behind the ears and feel a thick, stubborn knot in their fur. Maybe you have noticed more "tumbleweeds" of hair rolling across your floors lately. These moments are common for every dog owner. Learning how to properly brush your dog is about more than just keeping your house clean. It is a fundamental part of their health and comfort. At BaxterBoo, we know that the right tools and techniques make all the difference for your pup. This guide covers coat types, the best brushes for each, and step-by-step methods to keep your dog looking great. Consistent brushing prevents painful mats and helps you spot skin issues early. A well-brushed dog is a happy, comfortable companion.
Why Regular Brushing Is Essential
Brushing your dog is not just about aesthetics. It serves several vital health purposes. When you brush, you distribute natural oils across the skin. This keeps the coat shiny and the skin hydrated. It also allows you to get a close look at your dog's body. You might notice a new lump, a tick, or a patch of dry skin that needs attention.
Regular sessions also prevent matting. Mats are clumps of tangled fur that pull tightly against the skin. They can be very painful for a dog. If left alone, mats trap moisture and bacteria against the body. This often leads to "hot spots" or serious skin infections.
Quick Answer: Brushing your dog removes dead hair, prevents painful mats, and distributes natural skin oils. It also provides a dedicated time to check for parasites or skin abnormalities.
Brushing is also a major bonding opportunity. Most dogs grow to love the sensation once they are used to it. It is a quiet, calm time for you to connect. Plus, every hair you catch in a brush is one less hair on your couch. This is especially important during "blowing coat" seasons in the spring and fall.
Identifying Your Dog’s Coat Type
Before you grab a brush, you must know what you are working with. Not all dog hair is the same. A method that works for a Boxer will not work for a Poodle. Using the wrong tool can even hurt your dog or damage their fur.
Short and Smooth Coats
These dogs have hair that lies close to the body. Think of Boxers, Bulldogs, or Great Danes. They do not get mats, but they do shed. They need tools that remove loose hair and polish the coat.
Double Coats
Many breeds have two layers of fur. There is a soft, insulating undercoat and a tougher outer layer of guard hairs. Labradors and Pugs have short double coats. German Shepherds, Huskies, and Corgis have medium double coats. Golden Retrievers and Pomeranians have long double coats. This undercoat is what usually causes the most shedding and matting.
Curly or Wavy Coats
Poodles, Bichons, and Goldendoodles fall into this category. These coats rarely shed on their own. Instead, the dead hair gets trapped in the curls. This leads to quick matting if you do not brush them daily. For additional guidance, read our article on how to groom a dog with curly hair.
Wire Coats
Terriers like Schnauzers or Airedales have wiry, coarse hair. This coat type requires specific tools to remove the dead "wire" hairs and keep the texture correct.
Key Takeaway: The frequency and technique for brushing depend entirely on coat type. Always identify your dog's specific needs before starting a routine.
The Essential Grooming Toolkit
We carry a wide variety of tools at BaxterBoo because every coat has a perfect match. Having the right kit makes the job faster and more comfortable for your dog. Explore our dog brushes and combs to find tools for different coat types.
- Slicker Brush: This is the workhorse of dog grooming. It has fine wire bristles that are slightly angled. It is great for removing tangles and loose undercoat.
- Rubber Brush: Tools like the KONG Zoom Groom Natural Rubber Dog Grooming Brush are perfect for smooth coats. They massage the skin and pull away loose hair like a magnet.
- Undercoat Rake: This tool has long, metal tines. It reaches through the top coat to pull out the dead undercoat before it can mat or shed.
- Pin Brush: These look like human hairbrushes but with wider gaps between the pins. They are best for long, silky coats like those on Yorkies or Silkies.
- Metal Comb: Often called a Greyhound comb, this is used to check your work. If the comb cannot pass through the fur, a mat is still hiding there.
Tool Selection by Coat Type
| Coat Type | Primary Tool | Secondary Tool |
|---|---|---|
| Smooth/Short | Rubber Brush | Bristle Brush |
| Short Double | Rubber Brush | Deshedding Blade |
| Medium Double | Slicker Brush | Undercoat Rake |
| Long Double | Slicker Brush | Undercoat Rake & Comb |
| Curly/Wavy | Slicker Brush | Metal Comb |
| Wire | Slicker Brush | Metal Comb |
How to Properly Brush Your Dog: A Step-by-Step Guide
Once you have your supplies, it is time to start. Always find a comfortable, well-lit spot. If your dog is small, a table or counter can save your back. For large dogs, a non-slip rug on the floor is best.
Step 1: The Pre-Check
Run your hands over your dog's entire body. Feel for any large mats, sores, or sensitive spots. If you find a mat that is tight against the skin, do not try to pull it out with a brush. This will hurt the dog and make them fear grooming.
Step 2: Brush in the Direction of Growth
Always brush in the direction the hair grows. For most dogs, this is from the head toward the tail and down the legs. Brushing against the grain can be uncomfortable. It can also cause "brush burn" if you are too aggressive.
Step 3: Use the Sectioning Method
Do not just swipe the brush randomly over the dog. Start at the rear and work in small sections. For long-haired dogs, use your hand to lift the hair and brush the layer underneath. This ensures you are getting all the way down to the skin.
Step 4: Focus on the "Hot Zones"
Some areas are more prone to mats than others. Pay extra attention to:
- Behind the ears.
- The "armpits" of the front legs.
- The back of the thighs (the "pants").
- The base of the tail.
- Under the collar or harness.
Step 5: The Comb Test
After you think you are finished, run a metal comb through the fur. This is the only way to be sure you did not miss a deep tangle. If the comb snags, go back to that spot with your slicker brush.
Vet Tip: If you notice your dog has red, scaly skin or bald patches during brushing, consult your veterinarian. These could be signs of allergies or parasites. Our pet pharmacy offers medications and prescription diets through our pharmacy services to help manage these conditions.
Managing Difficult Mats Safely
If you find a hard mat, stay calm. Never use regular kitchen or craft scissors to cut out a mat. A dog's skin is very thin and moves easily. It is incredibly common for owners to accidentally cut the skin while trying to trim a mat.
If a mat is small, try to pick it apart with your fingers or the end of a metal comb. You can also use a dedicated dematting tool, such as the Master Grooming Tools Ergonomic Dematting Tools. These have guarded blades that cut through the hair clump without touching the skin. If the mat is large or touching the skin, it is time to visit a professional groomer. They have the experience and clippers to remove the mat safely.
Mat Removal Checklist
- Never pull or yank on a mat.
- Use a detangling spray to loosen the hair fibers.
- Hold the hair at the base so you don't pull the skin.
- Work from the outside of the knot toward the center.
- Know when to stop and call a professional.
Key Takeaway: Safety is more important than a perfect coat. If a mat is too tight or your dog is distressed, seek professional help to avoid injury.
Keeping Your Dog Calm During the Process
Not every dog loves being brushed right away. Some may try to bite the brush or wiggle away. The key is to make it a positive experience from day one.
Start with very short sessions. Even two minutes of brushing is a win. Use high-value treats to reward your dog for staying still. Allow them to sniff the brush before you start. If they seem stressed, stop and try again later.
For high-energy dogs, try brushing them after a long walk. A tired dog is a much more cooperative grooming partner. You can also use a "lick mat" with some peanut butter to keep them occupied while you work on their back legs or tail.
Grooming for Seasonal Changes
Dogs often "blow" their coats twice a year. This is when the undercoat sheds in large clumps to prepare for a new season. During this time, you may need to brush your dog every single day.
Using a deshedding tool like a FURminator grooming tool can be very helpful during these peaks. These tools are designed to reach through the top coat and grab the loose undercoat. Just be careful not to over-brush one spot. Use light pressure and move across the body evenly.
Bottom line: Increasing your brushing frequency during the spring and fall will significantly reduce the amount of hair in your home.
Bathing and Brushing
A common mistake is bathing a matted dog. Water acts like a sponge for mats. When a mat gets wet and then dries, it shrinks and tightens. This makes the knot much harder to remove.
Always brush your dog thoroughly before a bath. Get as many tangles out as possible while the hair is dry. Once they are clean and fully dry, brush them again. This second pass removes any hair that loosened during the washing process.
Our dog grooming supplies include shampoos, conditioners, and detangling products for bath day. The Autoship programme is a great way to ensure you never run out of the supplies you need. You can set your own schedule and save on every order.
Brushing Special Areas
Don't forget the parts of the dog that aren't the main body. The tail needs regular attention, especially on long-haired breeds. The tail is sensitive, so work slowly and hold the base of the hair to prevent pulling.
The face also needs care. Use a small, soft brush or a fine-toothed comb around the eyes and muzzle. Be very careful to protect their eyes with your hand while you work. If your dog has "beard" hair, it can trap food and moisture, so daily combing in that area is a good idea.
When to Seek Professional Help
While home brushing is essential, it does not replace the need for a professional groomer entirely. A pro can handle things that are difficult at home, such as:
- Sanitary trims.
- Removing mats very close to the skin.
- Nail grinding.
- Cleaning ears.
- Expressing anal glands.
If your dog is extremely fearful or aggressive during brushing, a professional has the tools and training to keep everyone safe. Don't feel like you have failed if you need help. Proper grooming is a team effort between you and the experts.
Conclusion
Learning how to properly brush your dog is one of the best things you can do for their long-term wellness. It keeps them comfortable, reduces shedding, and strengthens your bond. By identifying your dog's coat type and using the right tools from our dog grooming collection, you can turn a chore into a relaxing ritual. Remember to stay patient, use plenty of treats, and never use scissors on mats. Consistent care today prevents painful problems tomorrow.
- Identify the coat type first.
- Use a slicker brush and metal comb for most needs.
- Always brush in the direction of hair growth.
- Never bathe a matted dog.
Check out our full range of brushes and grooming supplies to get started. If you are a regular shopper, consider joining the MVP Rewards programme to earn points on every purchase toward future savings.
FAQ
How often should I brush my dog?
It depends on their coat type and lifestyle. Short-haired dogs may only need a weekly brushing, while long-haired or curly-coated dogs often require daily attention to prevent mats. During shedding season, most double-coated dogs benefit from a daily session to manage the heavy loss of undercoat.
Should I brush my dog's hair when it is wet or dry?
You should almost always brush your dog while their hair is dry. Brushing wet hair can cause it to stretch and break, and it makes existing mats much tighter and harder to remove. If you must brush a wet coat, use a specialized wet-brush and a leave-in detangling spray to minimize damage.
Is it okay to brush against the grain of the fur?
For most dogs, you should only brush in the direction of hair growth to avoid discomfort and skin irritation. Some groomers use a technique called "line brushing" where they briefly lift the hair against the grain to reach the undercoat, but the final strokes should always be in the direction the hair naturally lies.
What should I do if my dog is terrified of the brush?
Start very slowly by letting your dog sniff the brush while giving them high-value treats. Touch them with the back of the brush first before actually using the bristles. Keep sessions very short, reward every calm moment, and gradually increase the time as your dog builds confidence and positive associations with the tool.






