
 Save 15% on your 1st Autoship learn more

 Email us
 Live Chat
 FAQs
FAQs





Introduction
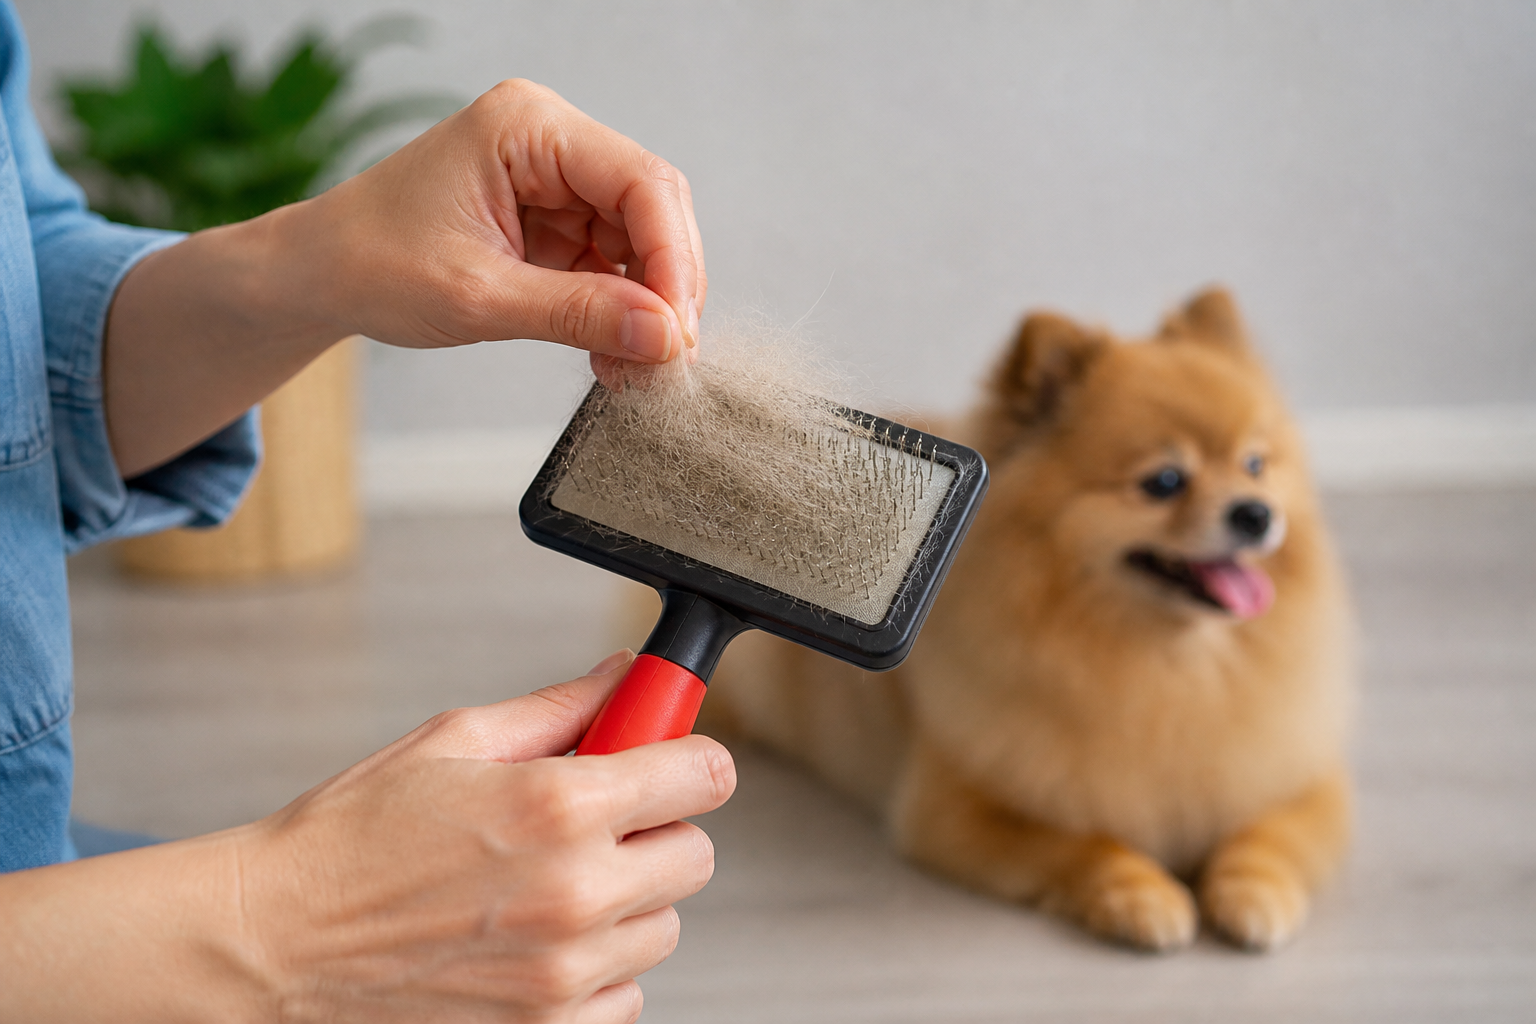
You finish a productive grooming session and look down at your slicker brush. It is no longer a tool with visible pins. Instead, it looks like a small, rectangular rug made of your dog's own fur. The hair is woven so tightly between those fine wire pins that it seems impossible to pull out without damaging the brush. At BaxterBoo, we know that keeping your tools clean is just as important as the grooming itself. A clogged brush cannot reach the undercoat, and it eventually becomes a magnet for dander and bacteria. This guide covers every effective method to clear your brush and keep it in top shape. We will walk you through manual removal, tool-assisted cleaning, and deep sanitization. Properly maintaining your slicker brush ensures a healthier coat and a more comfortable experience for your dog.
The Design of the Slicker Brush
To understand why hair gets stuck, you have to look at the anatomy of the tool. A slicker brush features hundreds of thin wire pins that are usually slightly bent at the ends. This angle is intentional. It allows the brush to grab loose undercoat and pull out debris without scratching the dog's skin. However, that same angle creates a hook that locks hair in place at the base of the pins.
The pins are typically set into a flexible rubber or foam cushion. This cushion provides "give" so the pins do not apply too much pressure. When hair, skin oils, and dander build up on this cushion, it creates a sticky mat at the very bottom. Over time, this buildup can actually push the pins out of alignment. If you do not remove the hair regularly, the brush loses its flexibility and starts to pull on your dog's skin.
The Manual Removal Method
The simplest way to start is with your hands. This works best if you do it frequently, ideally after every few strokes during a grooming session. Do not wait until the brush is completely invisible under a layer of fur.
Step 1: Start at the edges. Use your thumb and forefinger to pinch the hair at the outer rim of the brush head.
Step 2: Pull the hair upward. Follow the angle of the pins so you are not fighting against the bent metal tips.
Step 3: Work in sections. If the hair is thick, do not try to pull the whole "mat" off at once. Clear one corner and work your way across the surface.
Quick Answer: To remove dog hair from a slicker brush, use a fine-toothed metal comb to lift the hair from the base of the pins. Slide the comb through the pins starting at the bottom and pull upward in the direction of the wire bends.
The Metal Comb Technique
If the hair is packed too tightly for your fingers, a metal "greyhound" comb is your best friend. This is the method professional groomers use most often. It is efficient and protects the integrity of the wire pins. You can find additional options in our dog brushes and combs collection.
Position the Comb
Hold your slicker brush in your non-dominant hand. Take a sturdy metal comb with your other hand. Use the end of the comb with the widest tooth spacing first. This makes it easier to penetrate the dense layer of fur.
Lift and Pull
Insert the teeth of the comb at the very base of the pins, right against the cushion. Work from the handle side of the brush toward the top. Gently lift the comb upward. The metal teeth will catch the trapped hair and slide it right off the bent pins.
Clear the Debris
Once the hair is lifted, you can usually peel it away as one solid piece of felted fur. If any small tufts remain, repeat the process with the finer side of the comb. This ensures even the smallest fibers of undercoat are gone. A Master Grooming Tools Ergonomic Slicker Dog and Cat Brush is another option when you need a replacement grooming tool.
Key Takeaway: Using a metal comb is the safest and most effective way to clear a slicker brush without bending the pins or damaging the cushion.
Using a Dedicated Brush Cleaning Tool
Some manufacturers make specific tools designed solely for cleaning other brushes. These often look like tiny rakes or have stiff, long bristles. They are excellent for slicker brushes because they are designed to reach the cushion without being as abrasive as a standard comb.
These tools often have long, flexible tines that can reach between the rows of pins. If you find that a metal comb is too rigid or difficult to maneuver, a dedicated cleaner might be a better fit. We carry several grooming maintenance tools that simplify this process. Using one after every session prevents the "hair mat" from ever forming in the first place. For more options from one manufacturer, browse our selection of Master Grooming Tools products.
Why You Must Remove the Hair
Leaving hair in the brush is not just a matter of being tidy. It directly impacts your dog's health and the effectiveness of your grooming.
- Bacteria Growth: Hair traps skin oils and moisture. This creates a breeding ground for bacteria and fungi.
- Dander Redistribution: If the brush is full of old dander, you are simply brushing it back into your dog's coat.
- Reduced Efficiency: A clogged brush cannot penetrate the topcoat to reach the undercoat. This leads to more mats and tangles on your dog.
- Skin Irritation: When the pins are blocked by hair, they cannot move independently. This makes the brush feel "stiff" and can cause scratches or "brush burn."
Vet Tip: If your dog has sensitive skin or is prone to allergies, a dirty brush can trigger a flare-up by trapping environmental allergens like pollen. Clean your brushes after every use and consider using a medicated shampoo from our pet pharmacy if you notice persistent redness or itching.
Deep Cleaning Your Slicker Brush
Removing the hair is only half the battle. To keep the tool hygienic, you need to wash it. Skin oils and dander can build up on the pins and the cushion, making them sticky and smelly.
The Soapy Soak
Fill a shallow bowl with warm water and a drop of gentle dog shampoo. You only want enough water to cover the pins. Avoid submerging the entire brush. If water gets inside the cushion through the tiny pin holes, it can lead to mold and mildew.
Scrubbing the Pins
Use an old toothbrush to gently scrub the pins and the cushion surface. This removes the "film" that builds up from the dog's natural oils. Be careful not to scrub too hard, as you do not want to bend the wires.
Rinsing and Drying
Rinse the pins under a gentle stream of lukewarm water. Again, keep the brush head angled down so water does not seep into the cushion. Shake the brush out over the sink to remove excess moisture.
Air Drying
Place the brush face down on a clean, dry towel. This allows any water that did get into the cushion to drain out through the pin holes. Never use a hairdryer or a heat source to dry the brush. High heat can melt the adhesive or damage the rubber cushion.
Managing Rust and Corrosion
Most quality slicker brushes use stainless steel pins, but they are not entirely immune to rust. If you store a damp brush in a humid environment, the pins can develop small spots of corrosion. These spots are rough and can snag your dog's hair, causing pain.
Inspect the pins regularly. If you see rust, it is usually time to replace the brush. To prevent rust, always ensure the brush is bone dry before putting it away. If you live in a coastal area with salty air, you may need to wipe the pins down with a tiny amount of mineral oil once a month.
When to Replace Your Slicker Brush
No grooming tool lasts forever. A slicker brush is a precision tool, and once it is compromised, it can do more harm than good. Watch for these three signs that it is time for a new one.
- Bent or Missing Pins: If the pins are no longer in their original rows or if the bent tips have straightened out, the brush will not work correctly. It will likely scratch your dog.
- Damaged Cushion: If the rubber cushion is cracking, peeling, or losing its "bounce," the pins will not have the necessary give. This makes the brush much harsher on the skin.
- Persistent Odor: If the brush smells sour even after a deep clean, mold has likely grown inside the cushion. This is a health hazard and requires immediate replacement.
Our Frequent Buyer Program is a great way to save on high-quality replacements when your current tools reach the end of their lifespan. We offer a wide range of slicker brushes for every coat type, from soft pins for puppies to firm wires for thick-coated breeds.
The Role of Self-Cleaning Slicker Brushes
If you find the cleaning process too tedious, you might consider a self-cleaning slicker brush. These tools have a button on the handle that retracts the pins. When the pins retract, the hair is pushed off the surface in one clean sheet.
While these are incredibly convenient, they do have moving parts that can wear out. They also tend to be slightly bulkier than traditional brushes. If you have a dog that requires very deep, firm brushing, a traditional slicker might still be more effective. However, for daily maintenance on a dog with a medium coat, the Master Grooming Tools Self-Cleaning Slicker Brush is an option for simplifying cleanup.
Skin Health and the Importance of Hygiene
A clean brush is a vital part of skin management. When you brush your dog, you are not just removing hair. You are stimulating the skin and distributing natural oils. If the brush is dirty, you are interrupting this process.
For dogs with chronic skin conditions, hygiene is even more critical. Our pharmacy, operated through our partnership with Pet's Choice, provides a variety of prescription treatments for dermatitis and fungal infections. Often, these conditions are exacerbated by dirty grooming tools. By keeping your slicker brush clear of hair and dander, you support the work of these medications and help your dog heal faster.
Bottom line: A clean slicker brush is the difference between a coat that shines and a coat that stays matted and dull.
Summary Checklist for Brush Maintenance
Keep this routine to ensure your tools stay in professional condition:
- Clear hair with your fingers every 5 to 10 minutes during a long grooming session.
- Use a metal comb to perform a thorough hair removal after every groom.
- Wash the pins with mild soap and warm water once a month.
- Dry the brush face down on a towel to protect the cushion.
- Inspect for bent pins or rust before every use to ensure your dog's safety.
Using Autoship for Grooming Supplies
Grooming is a constant part of pet ownership. To make sure you always have the cleaning supplies or replacement brushes you need, consider our Autoship program. This allows you to schedule deliveries of shampoos, ear cleaners, and even new brushes at intervals that work for you. You save on your first order and earn a free MVP Gold membership, which gives you even more rewards on every purchase.
Whether you are managing the thick double coat of a Husky or the wiry fur of a Terrier, the tools you use define the results you get. A clean slicker brush is easier to use, lasts longer, and keeps your dog's skin healthy. By following these simple steps, you can turn a tedious chore into a quick habit that benefits your pet for years to come.
FAQ
How often should I remove hair from my slicker brush?
You should remove large clumps of hair during the grooming session itself to keep the pins effective. A thorough cleaning with a comb should happen after every single use. Allowing hair to sit in the brush encourages the buildup of oils and dander that can become difficult to remove later.
Can I soak my slicker brush in water to get the hair out?
You should never fully soak a slicker brush because water can get trapped inside the rubber or foam cushion. This trapped moisture leads to mold growth and can cause the wire pins to rust from the inside out. Instead, use a comb to lift the hair and only damp-clean the pins when necessary.
Why does my slicker brush smell bad even after I remove the hair?
A bad smell usually indicates that skin oils, bacteria, or mold have accumulated on the cushion or inside the brush head. If a gentle scrub with dog shampoo doesn't fix the odor, the brush likely has internal mold. In this case, it is safest to replace the brush to avoid spreading bacteria to your dog's skin.
Will a metal comb damage the pins on my slicker brush?
As long as you are gentle and follow the angle of the pins, a metal comb will not damage the brush. The goal is to slide the teeth of the comb along the base of the pins and lift upward. Avoid yanking or pulling against the direction of the wire bends, as this can straighten or break the pins.






