
 Save 15% on your 1st Autoship learn more

 Email us
 Live Chat
 FAQs
FAQs





Introduction
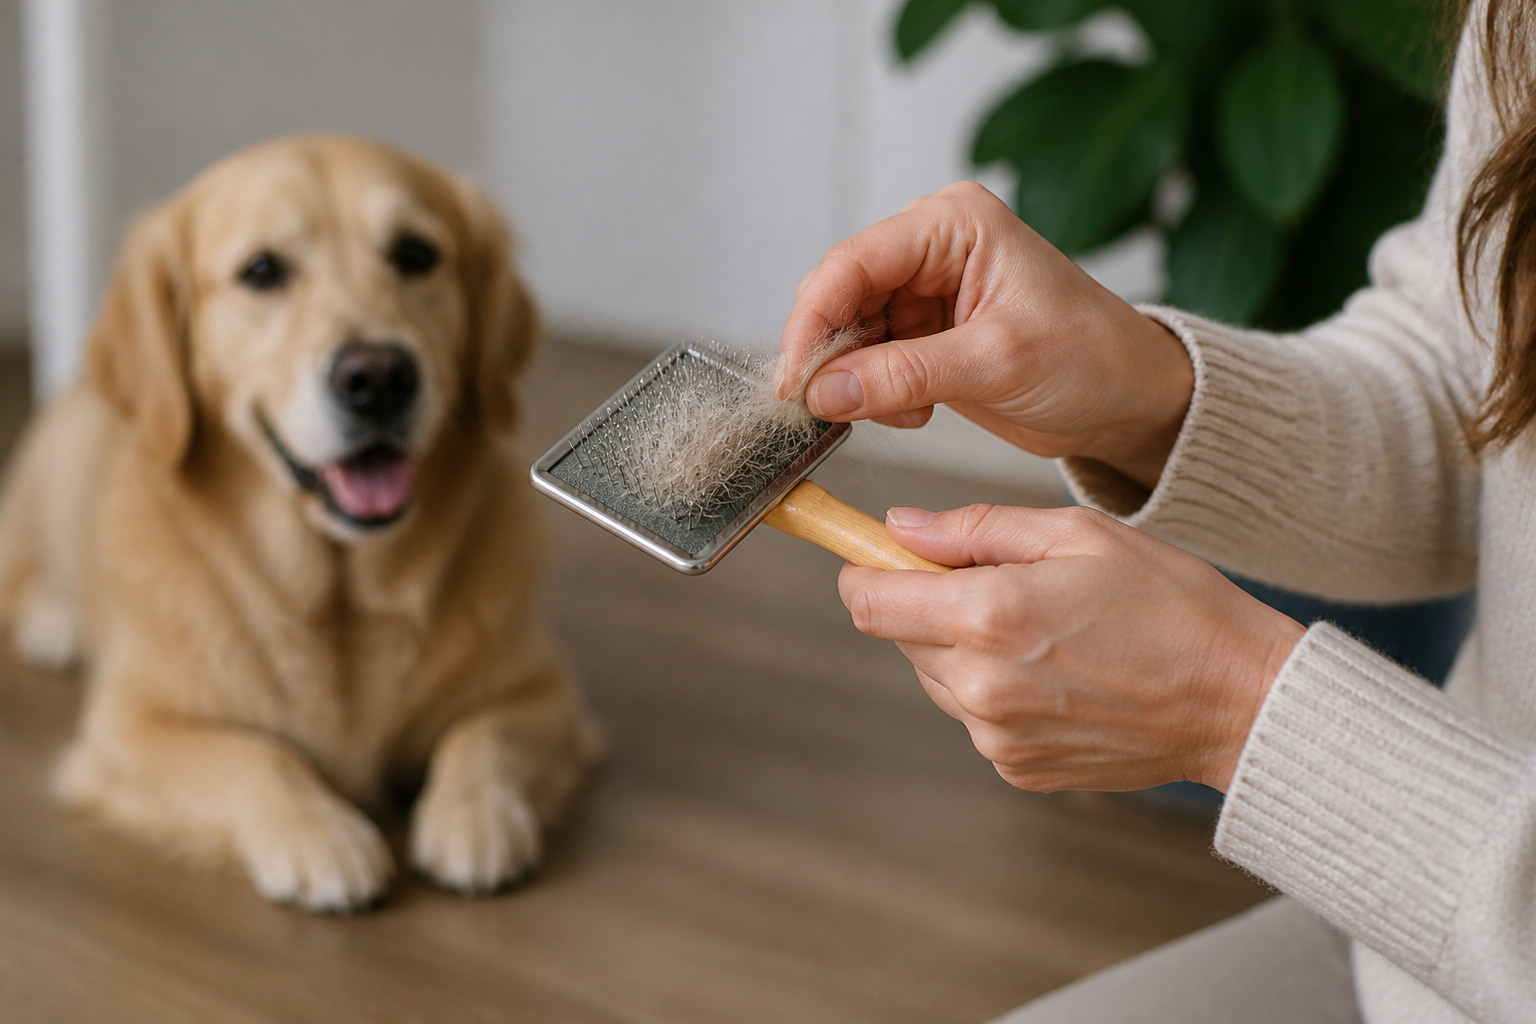
You finish a productive grooming session and look down at your tools. The slicker brush is completely carpeted in a thick layer of fur. The metal comb is packed with fine undercoat. A dirty brush does more than just look messy. It stops working effectively and can actually redistribute dander and oils back onto your dog. At BaxterBoo, we know that keeping your gear in top shape is just as important as the grooming itself. This guide covers the best ways to clear out that stubborn fur and keep your brushes hygienic. We will walk through manual removal, deep cleaning methods, and how to maintain different types of bristles. Learning the right way to clean your tools ensures your dog stays comfortable and your grooming sessions remain efficient.
Why Cleaning Your Dog Brush Is Essential
A dog brush is a magnet for more than just loose fur. Every time you pull a brush through your dog’s coat, you pick up dead skin cells, environmental dust, and natural oils. If you leave these materials in the bristles, they begin to build up. Over time, this mixture can become a breeding ground for bacteria. Using a dirty brush can irritate your dog’s skin or even lead to minor infections if they have existing scratches.
Regular cleaning also extends the life of your grooming tools. Our dog grooming tools are an investment in your pet's care. When hair stays packed into the base of a brush, it puts pressure on the pins or bristles. This can cause the pad to pull away from the handle or cause the pins to bend. By clearing the hair after every session, you keep the tool working exactly as it was designed.
A clean brush also makes grooming faster. When the bristles are clear, they can reach all the way down to the skin. This allows them to effectively pull out loose undercoat and distribute oils. If the brush is already full of hair, it simply glides over the top of the coat. This leaves the shed hair trapped against the skin, where it can eventually form painful mats.
Key Takeaway: Cleaning your grooming tools prevents the redistribution of dander and protects the structural integrity of your brushes.
Tools You Need for Hair Removal
You do not need expensive equipment to keep your brushes clean. Most items are likely already in your home. Having a small kit ready makes the job much easier.
- A fine-toothed metal comb
- An old toothbrush
- A toothpick or wooden skewer
- Mild pet shampoo or white vinegar
- A large bowl for soaking
- A clean, dry towel
A metal comb is perhaps the most useful tool for clearing a slicker brush. The long, sturdy teeth can reach beneath the layer of fur to lift it away from the pad. If you are dealing with a dense bristle brush, a toothpick is better for detail work. It helps you pick out individual strands that get wrapped around the base of the bristles.
Step-by-Step Guide to Removing Hair
Removing hair is a two part process. First, you must remove the bulk of the dry fur. Second, you must clear out the fine debris left behind. Follow these steps to get your brushes back to like-new condition.
Step 1: Manual Lifting
Use your fingers to pull away the largest clumps of hair. If the hair is thick, start at the edges and work toward the center. Do not pull too hard on the pins of a slicker brush. You want to lift the hair without bending the metal teeth.
Step 2: Use a Tail Comb or Metal Comb
Slide a metal comb or the "tail" end of a styling comb along the base of the brush. Start at the bottom of the brush head and move upward. The comb will lift the mat of hair away from the pins in one large piece. This is usually the most satisfying part of the process.
Step 3: Detailed Picking
For the remaining strands, use a toothpick or a wooden skewer. These are helpful for pin brushes where hair tends to wrap tightly around the base of each pin. Drag the toothpick between the rows to catch any lingering fuzz.
Step 4: The Toothbrush Scrub
Once the visible hair is gone, you will likely see a gray or brown film on the brush pad. This is a mix of skin oils and dust. Use a dry, old toothbrush to scrub this area. The small bristles can reach into corners that your fingers cannot.
Vet Tip: If you notice your dog has persistent skin irritation or unusual odors, check your brushes for mold or heavy bacteria buildup. If your pet needs medicated skin support, our pet pharmacy offers prescription shampoos and treatments through our partnership with Pet's Choice.
Deep Cleaning and Disinfecting
Removing the hair is only the first half of the job. To truly clean the brush, you need to wash it. This kills bacteria and removes the oily residue that holds onto odors.
The Soaking Method
Fill a bowl with warm water. Add a few drops of mild pet shampoo or a splash of white vinegar. Vinegar is excellent for cutting through grease and neutralizing smells. Submerge the bristles of the brush in the water.
If your brush has a wooden handle or a cloth pad, do not submerge the whole thing. Instead, dip only the bristles into the water. This prevents the wood from warping and keeps the pad from trapping moisture inside, which could lead to mold.
Scrubbing the Pad
While the brush is wet, use your old toothbrush again. Dip it in the soapy water and scrub the base of the pins. This breaks up the stubborn dander that the dry cleaning missed. If you use a slicker brush, be gentle during this step so you do not snag the toothbrush bristles on the sharp pins.
Disinfecting the Tools
If you have multiple pets, disinfecting is vital. This prevents the spread of skin issues or parasites from one dog to another. You can use a 10 percent bleach solution or a dedicated pet-safe disinfectant spray. Only leave the tools in a bleach solution for a minute or two to avoid damaging the materials. Rinse them thoroughly with clean water afterward.
Step-by-Step: Drying Your Brushes
Step 1: Shake the brush. / Do this over a sink to remove the majority of the water trapped between the bristles.
Step 2: Blot with a towel. / Press the bristles into a dry towel to soak up remaining moisture.
Step 3: Air dry face down. / Lay the brush with the bristles pointing downward on a clean towel. This allows water to drain out of the handle and pad instead of settling inside.
Cleaning Different Types of Brushes
Not all brushes are cleaned the same way. The material of the bristles dictates how much water and friction the tool can handle.
Slicker Brushes
Slicker brushes have fine, bent wire pins. These are notorious for trapping fine undercoat. Using a metal comb to "rake" the hair out is the most effective method here. Be very careful when scrubbing, as these pins are sharp and can easily scratch your skin or snag a cleaning cloth.
Pin Brushes
Pin brushes look similar to human hairbrushes. They usually have a rubber or silicone pad. Hair often wraps around the little balls at the end of the pins. A toothpick is your best friend here. Use it to spiral around each pin to lift the hair upward.
Natural Bristle Brushes
These brushes are often used for smooth coated dogs to add shine. Because the bristles are so dense, hair gets trapped deep inside. Use a wide toothed comb to pull through the bristles. Avoid long soaks for natural hair brushes, as the bristles can become brittle or lose their shape.
Rubber or Silicone Curry Brushes
These are the easiest to clean. Because they are usually one solid piece, you can simply wash them with soap and water. Hair usually peels off in a single sheet. You can even put some silicone brushes in the top rack of the dishwasher if the manufacturer says it is safe.
Key Takeaway: Match your cleaning technique to the brush type. Use tools for wire pins and gentle soaps for natural bristles.
Maintaining Your Grooming Kit
Consistency is the secret to a clean grooming kit. If you wait until the brush is overflowing, the task becomes much harder. Try to make cleaning a part of your post-grooming routine.
- Clear hair after every single use.
- Perform a deep wash once a month.
- Inspect pins for rust or damage every time you clean.
- Store brushes in a dry, ventilated area.
Proper storage is often overlooked. Never store a damp brush in a closed plastic bin. This creates a humid environment where bacteria thrive. Instead, use a mesh bag or an open basket. This allows air to circulate around the tools.
If you find that your brushes are reaching the end of their life, it might be time for an upgrade. We carry over 500 trusted brands at BaxterBoo to help you find the perfect replacement. Our selection of Master Grooming Tools products includes brushes designed for everyday grooming. Using our Autoship programme can also help you save on grooming supplies and essentials while keeping your pet’s routine consistent.
Troubleshooting Common Issues
Sometimes, a brush seems impossible to get clean. If there is sticky residue on the bristles, it might be from a grooming spray or a topical flea treatment. In these cases, a grease-cutting dish soap can be used sparingly. Just be sure to rinse it completely, as dish soap can be drying to a dog's skin if any residue remains.
If you see black spots on the rubber pad of a brush, it is likely mold. This happens when water gets trapped inside the brush head. If the mold is extensive, it is safest to replace the brush. Using a moldy brush can cause skin infections or respiratory irritation for sensitive dogs.
If the pins on your slicker brush are starting to rust, stop using it immediately. Rusted pins are abrasive and can cause micro-tears in your dog's skin. This is especially dangerous if the dog has not had recent vaccinations. A clean, smooth surface is a requirement for safe grooming.
Bottom line: A well maintained brush is a safety requirement, not just an aesthetic choice.
Conclusion
Keeping your dog’s brush free of hair is a simple but vital part of pet ownership. By manually removing fur after each session and performing regular deep cleans, you ensure your tools remain effective and hygienic. Start by lifting the bulk of the hair with a comb, then move to a soapy soak for a thorough finish. Always dry your brushes face down to prevent mold and rust. These small steps protect your dog's skin health and make your grooming routine much more enjoyable. For more high quality grooming tools and health essentials, explore our full dog grooming collection.
FAQ
How often should I remove hair from my dog’s brush?
You should remove the visible hair after every grooming session. This prevents the hair from becoming packed down and making the brush less effective for the next use. A deep cleaning with soap and water should be done about once a month or more often if your dog has skin issues.
Can I use my own hairbrush cleaner on a dog brush?
Yes, most tools designed to clean human hairbrushes will work well on dog brushes. Metal rake cleaners are especially effective for slicker brushes and pin brushes. Just ensure that any cleaning solutions or soaps you use are pet-safe and free of heavy perfumes that might irritate your dog's skin.
Why does my dog brush smell even after I remove the hair?
The smell usually comes from the buildup of skin oils, bacteria, and dander on the brush pad. Simply removing the hair does not remove these microscopic particles. You need to wash the brush in a solution of warm water and pet shampoo or vinegar to neutralize the odors and kill the bacteria.
Is it safe to put a dog brush in the dishwasher?
Most traditional dog brushes with wooden handles or rubber pads should never go in the dishwasher. The high heat and intense water pressure can warp the wood and destroy the adhesive holding the pad in place. Only solid silicone or heavy-duty plastic curry brushes should be considered for the dishwasher, and only if the manufacturer explicitly states they are dishwasher-safe.






