
 Save 15% on your 1st Autoship learn more

 Email us
 Live Chat
 FAQs
FAQs





Introduction
You are relaxing on the sofa when your hand brushes against a stubborn, tight clump of fur behind your dog’s ear. That little knot is the start of a mat. If left alone, it can pull on the skin and cause real discomfort. For owners of Poodles, Golden Retrievers, or any dog with a thick or curly coat, the slicker brush is the most important tool in your grooming kit. At BaxterBoo, we know that many pet parents find these wire-bristled brushes a bit intimidating at first. If used incorrectly, they can cause skin irritation or "brush burn." However, when you master the right technique, this tool becomes the secret to a fluffy, mat-free coat. We will guide you through the professional methods of patting, pulling, and line brushing to keep your dog looking and feeling their best.
Understanding Your Slicker Brush
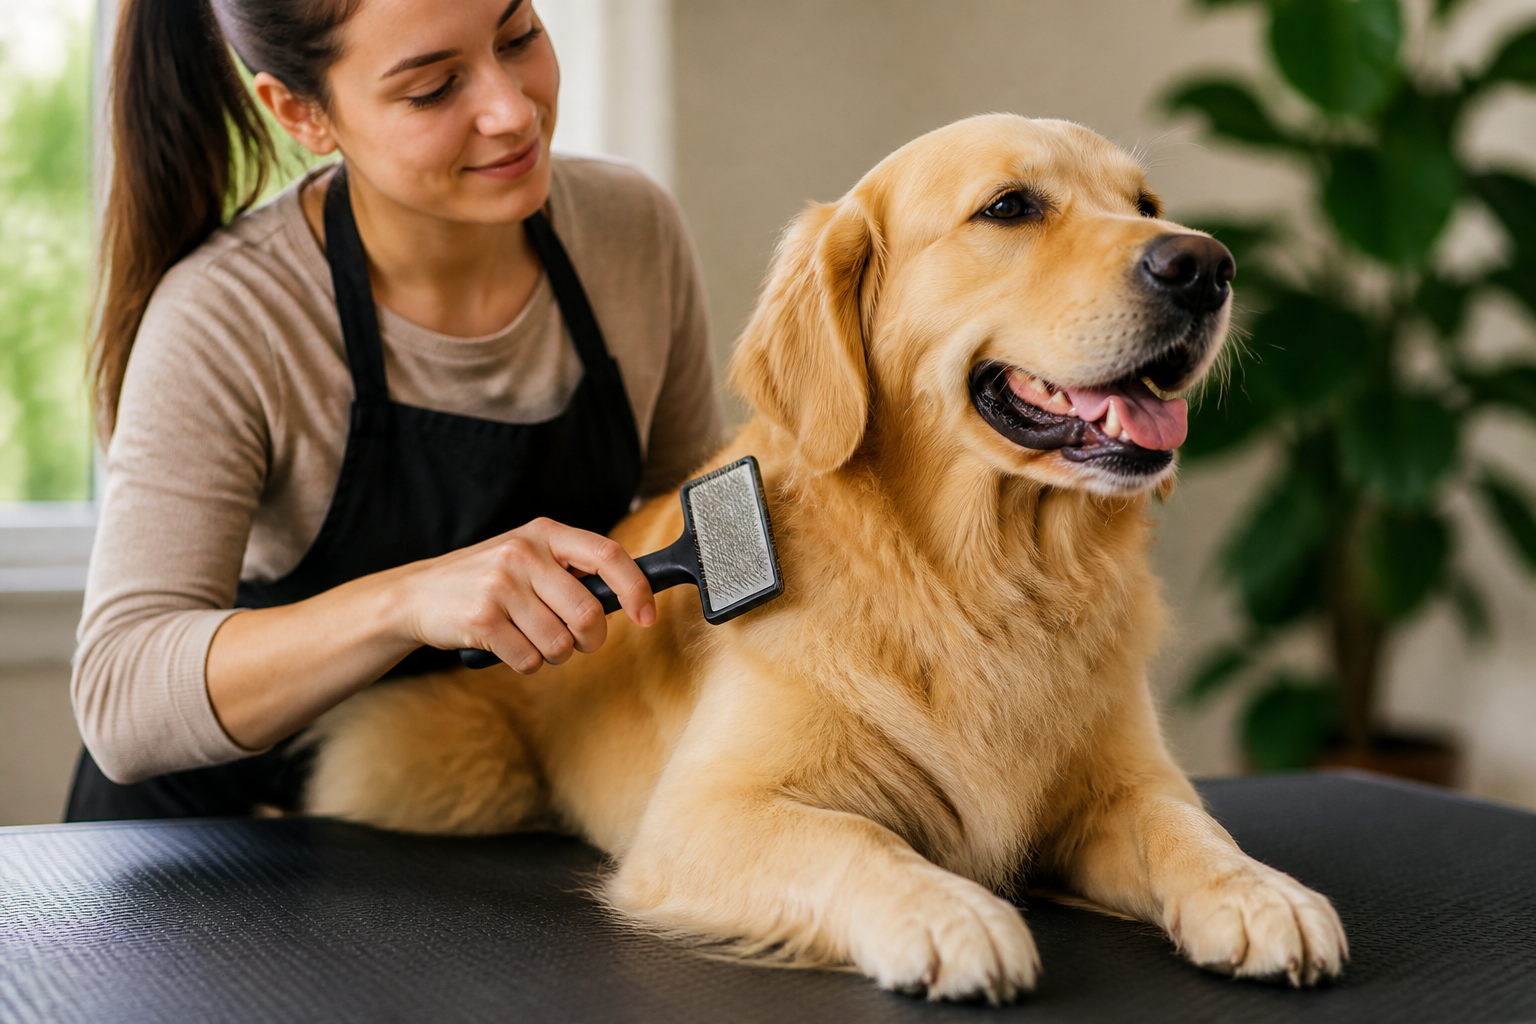
A slicker brush is easily identified by its rectangular or slightly curved head filled with fine, thin wire pins. These pins are usually angled at the tip. This design allows the brush to reach through the topcoat and into the undercoat to grab loose hair and break up small tangles. It is a versatile tool, but not all slicker brushes are built the same way.
The firmness of the pins matters a lot for your dog's comfort. Firm pins are designed for very thick, dense coats or for breaking through heavy undercoats. Soft pins are better for dogs with sensitive skin, puppies, or dogs with finer hair. The length of the pin also varies. Long-pin slicker brushes are essential for breeds like the Old English Sheepdog or heavy-coated Doodles because they need to reach deep toward the skin.
At BaxterBoo, we carefully select brushes with different pin flexibilities to match various breed needs. Most high-quality slicker brushes feature a cushioned pad. This pad acts as a shock absorber. It prevents the wire pins from putting too much pressure on the dog's skin during the grooming process. For options designed specifically for brush-outs and mat removal, explore our dog brushes and combs.
Quick Answer: To use a slicker brush correctly, use the "pat and pull" method. Place the brush gently into the fur and pull it away from the skin in a steady motion. Never scrape the brush across the skin like a rake.
The Professional Pat and Pull Method
The biggest mistake people make with a slicker brush is using a long, dragging motion. If you pull a slicker brush across the skin for a long distance, the sharp pins can scratch the surface. This leads to redness and irritation. Professionals use a technique called the "pat and pull" method to avoid this.
This method starts with a gentle "pat" of the brush into the coat. You are not pushing the pins into the skin. You are simply letting the pins settle into the hair. Once the pins are seated, you "pull" the brush out and away from the body. This motion should come from your arm and elbow rather than just your wrist. Using your wrist creates a flicking motion that can accidentally scrape the pins against the dog.
The pull should be short and controlled. By pulling away from the dog's body, you lift the hair and separate the fibers. This creates that fluffy, "blown out" look you see after a professional grooming session. It also ensures that the pins are doing the work of detangling without ever making harsh contact with the skin. A cushioned option such as the Master Grooming Tools Ergonomic Slicker Dog and Cat Brush can provide additional control during brush-outs.
Steps for the Pat and Pull Technique
Step 1: Hold the brush handle loosely in your hand. Avoid a tight grip that limits your range of motion.
Step 2: Place the brush head gently into a section of the coat. This is the "pat" phase where the pins settle.
Step 3: Pull the brush straight out and away from the skin. Focus on a small area of about two to three inches at a time.
Step 4: Repeat this motion in a rhythmic pattern. Move across the body in a systematic way to ensure no spots are missed.
Key Takeaway: The pat and pull method protects the skin by ensuring the pins move through the hair rather than across the skin surface.
Mastering the Line Brushing Technique
If you have a dog with a very thick double coat or curly hair, surface brushing is not enough. You might brush the top layer until it looks perfect, but underneath, near the skin, the hair could be a solid mat. This is where line brushing becomes essential.
Line brushing is a systematic way to ensure you are reaching every single layer of the coat. To do this, you use one hand to push the hair up and out of the way. This should reveal a "line" of skin. You then use the slicker brush to brush the hair down from that line. As you finish a section, you move your hand up slightly to reveal a new line of skin and repeat the process.
This technique is the gold standard for preventional care. It is especially useful for "friction areas" like the armpits, behind the ears, and the base of the tail. These areas are most prone to matting because the hair rubs together as the dog moves. By line brushing, you catch small tangles before they turn into painful mats.
Why Sound Matters During Brushing
One professional secret is to listen to your brush. When a slicker brush moves through a tangled coat, it makes a distinct "rasping" or "skipping" sound. This happens as the pins catch on small knots. As you continue to work on that section with the pat and pull method, the sound will change.
When the hair is completely clear of tangles, the brush will glide through silently. You will feel no resistance in your hand. If you still hear that "crackle" of the pins, there is still work to be done in that section. Using your ears as much as your eyes helps you find hidden tangles that might be buried deep in the undercoat.
Choosing the Right Slicker Brush for Your Dog
The coat type determines which slicker brush will work best for you. We carry a wide variety of brands like Chris Christensen, Andis, and Safari to help you find the perfect match. Using the wrong brush can make the job harder and less comfortable for your pet. You can also browse our selection of BASS Brushes for additional grooming options.
Long and Curly Coats
Breeds like Poodles, Bichons, and Doodles require a slicker brush with longer pins. These dogs have hair that grows continuously. It easily wraps around itself to form mats. A long-pin slicker allows you to reach the base of the curl. For these dogs, a brush with a medium-to-firm pad is often best to handle the density of the coat.
Double Coated Breeds
Huskies, Golden Retrievers, and Shepherds have a soft undercoat and a harsher topcoat. A slicker brush for these breeds should have firm pins to penetrate the thick undercoat. This is particularly important during shedding season when the undercoat "blows." Using a slicker brush daily during this time can significantly reduce the amount of hair found on your furniture.
Wiry and Short Coats
Terriers with wiry coats benefit from a slicker brush to remove dead hair and debris. However, since their skin is often more exposed than a Poodle's, a soft-pin slicker is usually the safer choice. For very short-haired dogs like Boxers or Labradors, a slicker brush might not be necessary for daily use. A rubber curry brush is often a better fit for those coat types.
Vet Tip: If you notice your dog has developed red, irritated skin or "hot spots" after brushing, you may be applying too much pressure. Stop brushing the area and allow the skin to heal. If the irritation persists or looks infected, consult your veterinarian for a proper skin assessment.
Managing Mats and Skin Health
When you find a mat, do not try to pull the slicker brush through it with force. This will be painful for your dog and may cause them to fear grooming. Instead, use the edge of the slicker brush to gently "pick" at the outer edges of the mat.
If a mat is very tight to the skin, it can trap moisture and bacteria. This often leads to skin infections or painful sores. The best medicine is prevention.
If the slicker brush cannot break up a mat, you may need a dematting rake or a metal comb. A metal "Greyhound" comb is the perfect partner for your slicker brush. After you finish brushing a section, run the metal comb through it. If the comb catches, it means the slicker brush missed a small knot. A dual-purpose option such as the U-Groom Combo Brush for Dogs and Cats can also support everyday coat maintenance.
- Always use a detangling spray on dry hair before tackling mats.
- Work from the ends of the hair toward the skin.
- Hold the base of the hair with your fingers to prevent pulling the skin.
- Never use scissors to cut out a mat near the skin.
Bottom line: A slicker brush is for detangling and fluffing, while a metal comb is for verifying that the coat is truly clear.
Creating a Positive Grooming Experience
Most dogs are not born loving the slicker brush. The sensation of metal pins can be strange at first. To help your dog enjoy the process, start with very short sessions. Focus on an area they enjoy being touched, like their chest or back.
Keep plenty of high-quality treats on hand. Give a treat after every few successful "pat and pull" motions. If your dog shows signs of stress, such as tucking their tail or growling, stop immediately. You want them to associate the brush with rewards and comfort rather than pain.
Consistency is more important than duration. Brushing for five minutes every day is much more effective than a one-hour marathon session once a month. Daily brushing keeps the coat manageable and makes the task much easier for both you and your pet.
Maintaining Your Grooming Tools
To keep your slicker brush effective, you must keep it clean. After every grooming session, remove the trapped hair from the pins. You can use a comb to pull the hair out of the brush head. If hair builds up, the pins cannot flex properly, which makes the brush less effective and potentially more abrasive.
Check the pins regularly for damage. If the wire pins become bent or lose their protective tips, the brush should be replaced. Bent pins can scratch the skin or snag the hair unpleasantly. Our MVP Rewards program is a great way to earn points toward replacement grooming supplies so your kit stays in top shape.
Summary of Best Practices
Using a slicker brush is an essential skill for many dog owners. By focusing on technique rather than force, you can keep your dog’s coat in professional condition at home. Remember to work in sections and always be mindful of the skin's sensitivity.
- Use the pat and pull method to prevent brush burn.
- Line brush thick coats to reach the skin.
- Listen for the "rattle" of tangles to identify problem areas.
- Verify your work with a metal comb.
- Keep sessions short and reward-based.
Key Takeaway: Proper slicker brush technique involves short, rhythmic movements away from the body to safely remove tangles and undercoat.
Conclusion
A slicker brush is more than just a grooming tool. It is a way to monitor your dog's skin health and bond with them through regular care. By using the professional techniques we have discussed, you can prevent painful mats and keep your dog's coat looking beautiful between professional grooming appointments. Whether you are managing a fluffy Poodle or a shedding Golden Retriever, the right approach makes all the difference. Remember to take it slow and always prioritize your dog's comfort. For all your grooming needs, from brushes to detangling sprays, explore our full collection of dog grooming supplies to find the perfect fit for your pup's unique coat.
FAQ
Can I use a slicker brush on a short-haired dog?
While you can use a soft-pin slicker on some short-haired breeds to remove loose dander, it is usually not the best tool. Short-haired dogs like Boxers or Pugs have very little protection between the brush and their skin. A rubber curry brush or a grooming mitt is typically much safer and more effective for these coat types.
How do I know if I am pressing too hard with the slicker brush?
You can test the pressure on your own forearm. If the pins feel scratchy or leave red marks on your skin, you are using too much force. The brush should feel like a firm massage, not a sharp scrape. Always err on the side of caution and use lighter pressure than you think you need.
Should I brush my dog when their hair is wet or dry?
It is almost always better to use a slicker brush on dry hair. Water can actually cause existing mats to tighten and "set," making them much harder to remove. If you must brush after a bath, wait until the coat is mostly dry and use a leave-in conditioning spray to provide some slip for the pins.
Why does my dog hate the slicker brush?
If your dog dislikes the brush, it is usually because they have experienced "brush burn" or had a mat pulled too hard in the past. To fix this, go back to the basics with very soft pins and lots of treats. Focus on easy areas and use the pat and pull method to ensure no pain is involved in the process.






