
 Save 15% on your 1st Autoship learn more

 Email us
 Live Chat
 FAQs
FAQs





Introduction
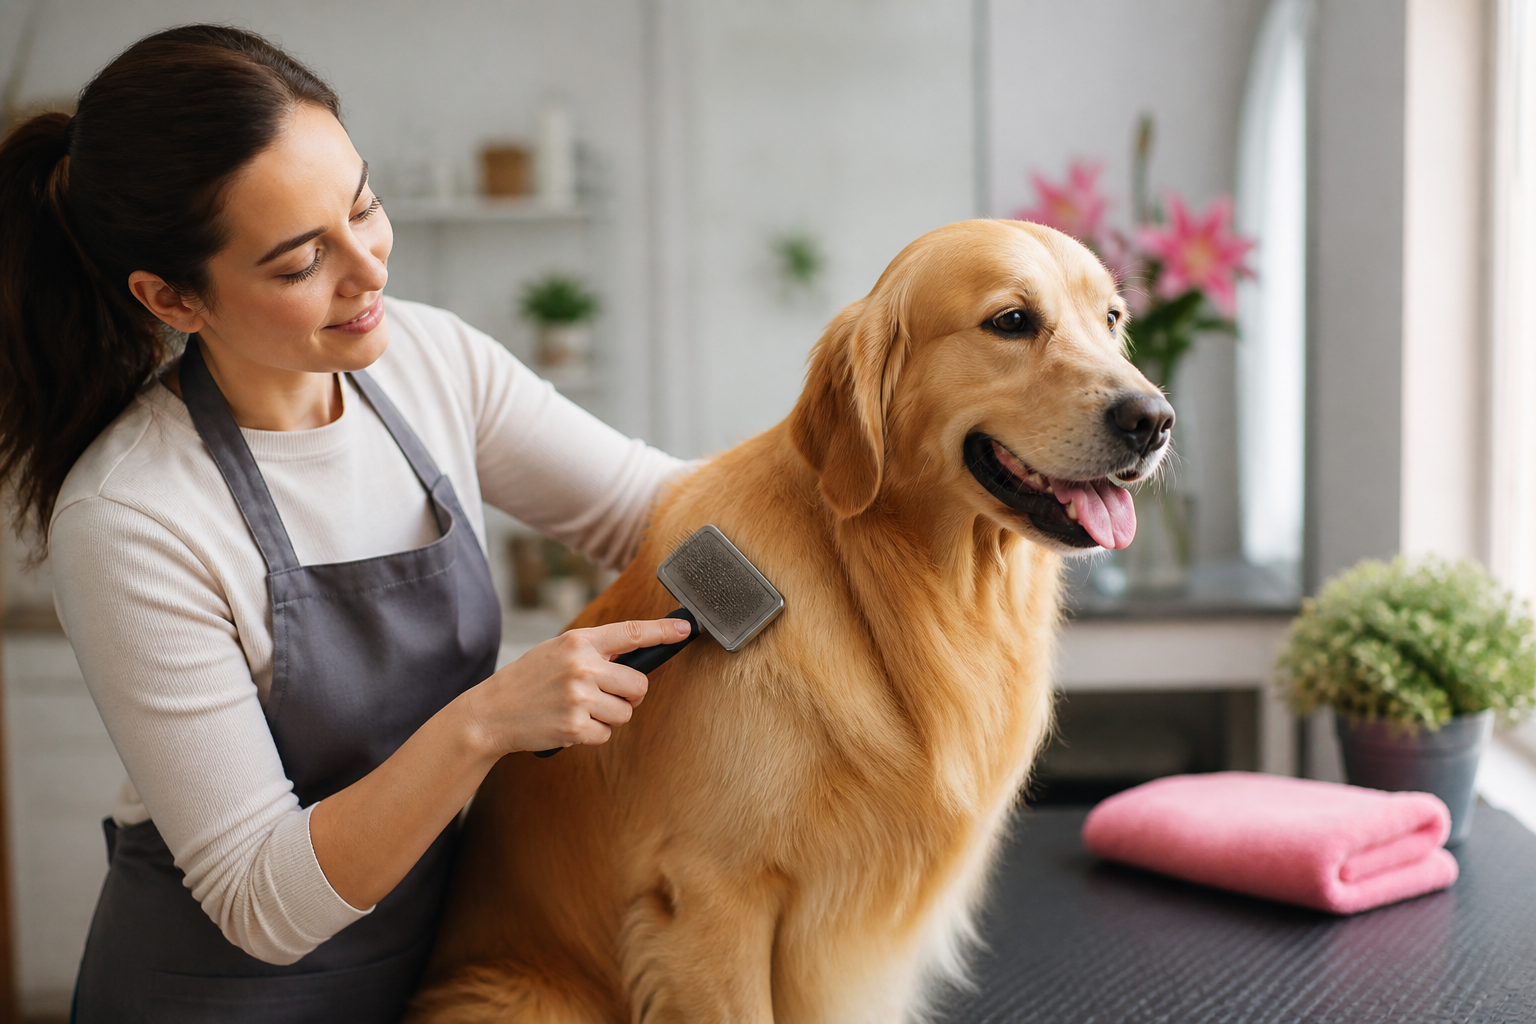
You are relaxing on the sofa with your dog when your fingers snag on a hard, tight knot behind their ear. That tiny tangle can quickly turn into a painful mat if it is not handled correctly. While many owners reach for a standard comb, professional groomers know that the slicker brush is the real workhorse for maintaining a healthy coat. At BaxterBoo, we have helped thousands of pet parents find the right tools to keep their dogs comfortable and looking their best since 2006. Using this specific type of brush requires a bit more than just a quick swipe over the fur. This guide covers everything from the professional "pat and pull" technique to choosing the right pin density for your dog's unique coat. You will learn how to remove tangles safely and turn grooming into a positive bonding experience.
What Is a Slicker Brush?
A slicker brush is a grooming tool characterized by a flat or slightly curved head filled with rows of thin, fine wire pins. These pins are usually angled or hooked at the end. This design allows the brush to reach through the topcoat to grab loose hair and debris in the undercoat. It is the primary tool for breeds with medium to long hair, curly coats, or dense double coats.
Quick Answer: To use a slicker brush correctly, employ the "pat and pull" method. Place the brush gently against the coat and pull it away from the skin in a curved motion. This prevents the wire pins from scratching the skin while effectively removing tangles and loose fur.
These brushes come in various sizes and degrees of firmness. A large, firm slicker is perfect for a Great Pyrenees or a Golden Retriever with a thick winter coat. A smaller, softer version is better for a Toy Poodle or a puppy with sensitive skin. The goal is to separate the hairs and remove the "dead" coat before it can form a mat. Explore our dog brushes and combs to compare grooming tools for different coat types.
Choosing the Right Slicker Brush for Your Dog
Not all slicker brushes are built the same way. The length and flexibility of the pins determine how the brush interacts with the fur and skin. Choosing the wrong one can make the grooming process frustrating for you and uncomfortable for your dog.
Firm vs. Soft Pins
Firm pins are stiff and do not bend easily. These are best for thick, heavy coats or dogs prone to stubborn matting. They provide the leverage needed to break up clumps of hair. Soft pins have more "give" and are designed for dogs with thinner coats or sensitive skin. If your dog has a silky coat like a Yorkie, a soft slicker is the safer choice to avoid breakage.
Pin Length and Density
The length of the pins should match the depth of your dog's coat.
- Short Pins: Best for short-haired breeds or for finishing work on the face and paws.
- Long Pins: Necessary for reaching through deep double coats or long, flowing hair.
- High Density: Brushes with pins packed closely together are excellent for fine hair and removing small bits of debris.
- Low Density: Pins spaced further apart are better for initial detangling on very thick coats.
| Coat Type | Recommended Slicker Type | Key Benefit |
|---|---|---|
| Curly (Poodle/Doodle) | Long, Firm Pins | Reaches the skin to prevent deep mats |
| Double (Lab/Golden) | Medium, Firm Pins | Removes dense undercoat efficiently |
| Silky (Yorkie/Maltese) | Short, Soft Pins | Prevents hair breakage and skin irritation |
| Wire (Terriers) | Firm, Short Pins | Grabs coarse hair and debris |
Key Takeaway: Match the pin length to the thickness of the coat. If the pins do not reach the skin, you are only grooming the surface and leaving mats to form underneath.
The Professional Pat and Pull Technique
The biggest mistake owners make is "scraping" the brush across the dog's skin. This leads to brush burn, which is a painful red irritation. Professional groomers use the pat and pull method to avoid this. It ensures the pins do not drag across the skin with pressure.
First, you "pat" the brush into a section of the hair. Do not press hard. Let the pins settle into the coat. Second, you "pull" the brush out and away from the body in a slight hooking motion. This action uses the curve of the pins to lift the hair and separate it.
You should listen to the brush while you work. When the coat is tangled, the pins will make a distinct "chatter" or rattling sound as they move through the hair. As the section becomes clean and smooth, the brush will glide silently. That silence is your signal that the job is done for that specific area. For additional guidance on working through a textured coat, see this guide to grooming curly-haired dogs.
Step-by-Step Guide to Brushing Your Dog
Proper grooming takes patience. If you rush through it, you are likely to miss knots or cause discomfort. Follow these steps to ensure a thorough session.
Step 1: Prepare the coat. / Spray a light mist of detangling conditioner over the dog. This provides "slip" and prevents the hair from snapping.
Step 2: Section the hair. / Use your non-dominant hand to lift the hair upward. You want to see a "line" of skin. This is called line brushing.
Step 3: Start at the bottom. / Always begin at the paws and work your way up the legs and body. This prevents you from brushing a tangle into another tangle below it.
Step 4: Use short strokes. / Work on a section no larger than a few inches. Use the pat and pull motion with light pressure.
Step 5: Check your work. / After brushing a section, run a metal Greyhound comb through it. If the comb catches, the slicker brush has more work to do.
Vet Tip: Always check the skin for redness or small bumps while you brush. If you notice your dog's skin looks inflamed after grooming, you may be using too much pressure. If skin issues persist, consult your veterinarian to rule out allergies or infections.
Handling Mats and Tangles Safely
Mats are not just a cosmetic issue. They pull on the skin and can trap moisture, leading to painful "hot spots" or bacterial infections. If you find a mat, do not simply yank the slicker brush through it. This will hurt your dog and make them fear grooming.
Instead, hold the base of the mat with your fingers. This keeps the hair from pulling on the skin. Use the corner of the slicker brush to "pick" at the outer edges of the mat. Work from the ends of the hair toward the root. If the mat is too tight to budge, you may need to use thinning shears to break it up.
Never use regular craft or kitchen scissors to cut out a mat. Dog skin is incredibly thin and easy to cut, especially when it is bunched up inside a knot. If you need a specialized tool for severe tangles, consider the Master Grooming Tools Coat Mat and Tangle Splitter.
Brushing Different Body Areas
Each part of your dog requires a slightly different approach. The back is the easiest part, but the "friction areas" need special attention. Friction areas are spots where the legs rub against the body, such as the armpits and the groin. These spots mat almost daily.
The Face and Ears
The skin on the ears is very thin. Use a soft slicker brush and place your hand behind the ear leather for support. This prevents the ear from flapping around while you brush. For the face, be extremely careful around the eyes. If your dog is wiggly, it is safer to use a comb or a small bristle brush in this area.
The Tail and Legs
The tail is often the most sensitive part for a dog. Start at the tip and work toward the base. For the legs, pay close attention to the "feathers" or the long hair on the back of the limbs. These catch burrs and debris easily during walks.
Bottom line: Brushing from the skin out in small sections is the only way to ensure a mat-free coat.
Making Grooming a Positive Experience
Many dogs are apprehensive about the slicker brush because the pins look sharp. You must build trust slowly. Start by letting your dog sniff the brush. Give them a high-value treat just for being near it.
Keep your initial sessions very short. Five minutes of successful brushing is better than twenty minutes of a wrestling match. Use the MVP Rewards programme to stock up on their favorite treats. Rewarding your dog frequently during the process helps them associate the brush with something good.
If your dog shows signs of extreme stress like shaking, heavy panting, or baring teeth, stop immediately. It is better to do a little bit every day than to force a full grooming session on a terrified pet. Over time, most dogs will learn to relax and even enjoy the massage-like feel of a proper brushing session.
Maintaining Your Grooming Tools
A dirty or damaged brush will not work effectively. Hair and dander build up between the pins quickly. After every session, use a comb or a dedicated brush cleaner to remove the hair from the pins.
Check the pins regularly for damage. If the wire pins are bent, missing their protective tips, or starting to rust, it is time to replace the brush. We carry over 500 trusted brands, so you can always find a high-quality replacement when your current tool wears out. Browse our Master Grooming Tools selection when it is time to compare replacement brushes.
Proper storage also matters. Do not toss your slicker brush into a drawer where the pins can get crushed. Store it with the pins facing up or in a protective case. This keeps the pins straight and effective for a longer period.
When to See a Professional Groomer
While home maintenance is vital, there are times when you should put the brush down and call a professional. If your dog is "pelted," which means the mats have joined together into a solid layer against the skin, do not try to brush it out. This is extremely painful and can only be solved by a professional using electric clippers.
Professional groomers have the equipment and the training to handle severe matting safely. They can also help with difficult tasks like nail trimming and ear cleaning. Regular visits to a pro combined with your daily slicker brushing will keep your dog's coat in peak condition.
If you are managing a dog with chronic skin allergies or conditions that require medicated baths, remember that our pharmacy can help. We provide access to prescription shampoos and treatments that work alongside your grooming routine to keep the skin healthy.
Summary of Best Practices
Maintaining your dog's coat is a commitment to their overall health. A well-groomed dog is a comfortable dog. By using the right tools and techniques, you can prevent many of the common skin issues that lead to vet visits.
- Always use the pat and pull method to protect the skin.
- Line brush in small sections to reach the undercoat.
- Use a detangling spray to prevent hair breakage.
- Reward your dog to build a positive association with grooming.
- Check for mats and skin issues daily.
At BaxterBoo, we want to make pet care as straightforward as possible. Whether you are looking for a firm slicker for a thick-coated dog or a soft brush for a new puppy, we have the expert-picked selection you need. Signing up for our Autoship programme is a great way to ensure you always have the grooming sprays and treats you need while saving on every order.
FAQ
How often should I use a slicker brush on my dog?
For most long-haired or curly-coated breeds, you should use a slicker brush at least three times a week. Dogs with very dense coats or those prone to matting, like Poodles or Doodles, benefit from daily brushing. Regular sessions prevent small tangles from turning into large mats that require professional intervention.
Can a slicker brush hurt my dog's skin?
If used incorrectly, the wire pins can cause "brush burn," which is a form of skin irritation. You can avoid this by using the pat and pull method rather than dragging the brush across the skin. Always check the pins for damage and use a light touch, especially on sensitive areas like the stomach and inner thighs.
Do I need a slicker brush if my dog has short hair?
Slicker brushes are generally not necessary for short, smooth-coated breeds like Boxers or Beagles. These dogs are better served by a rubber curry brush or a soft bristle brush. However, if your short-haired dog has a thick double coat, like a Labrador, a slicker brush can be very effective at removing the shedding undercoat.
What should I do if the slicker brush gets stuck in a mat?
Never pull or yank the brush if it catches on a knot. Gently remove the brush from the hair and use your fingers to pull the mat apart as much as possible. Use the edge of the slicker brush to "flick" the ends of the hair, slowly working your way toward the skin until the knot is clear.






