Save 15% on your 1st Autoship learn more

 Email us
 Live Chat
 FAQs
FAQs





Introduction
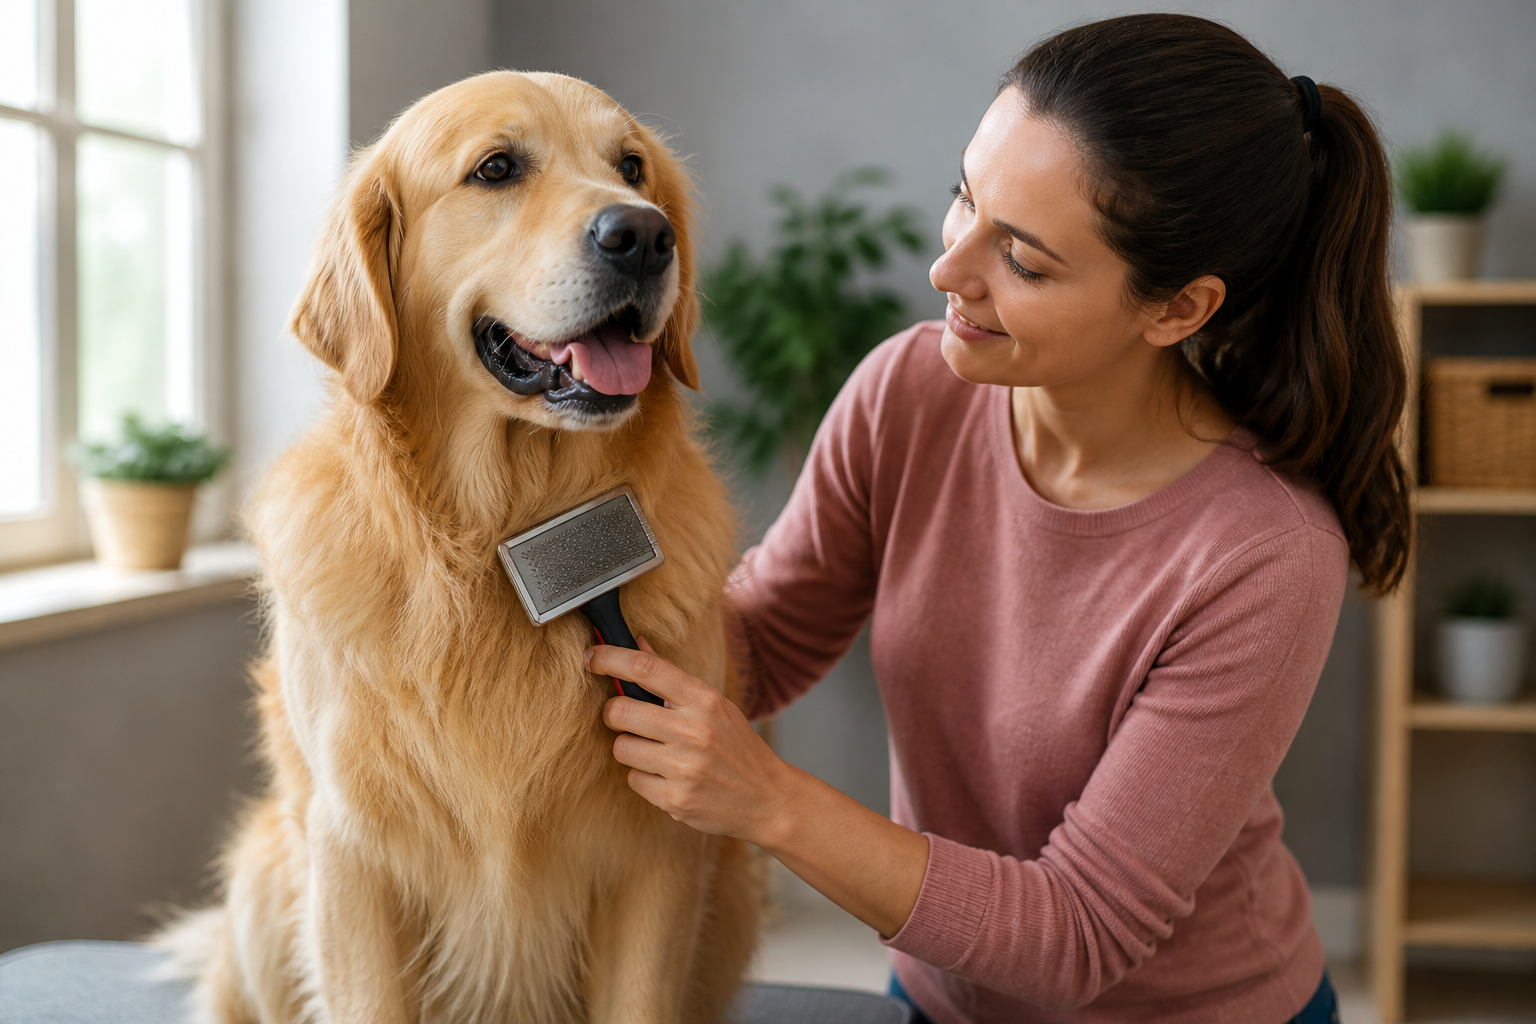
You reach down to scratch your dog behind the ears and your fingers snag on a dense, tight clump of fur. It is a mat, and it seems to have appeared out of nowhere. This is the moment most pet owners realize their standard brush is not quite up to the task of reaching the deep undercoat. At BaxterBoo, we see this often with owners of Poodles, Golden Retrievers, and thick-coated mixed breeds who need something more effective than a simple plastic comb. This guide explains what a slicker brush is, how the design works to save your dog’s coat, and how to use it safely to keep their skin healthy. The slicker brush is the essential workhorse of the grooming kit for any dog with medium to long hair.
Quick Answer: A slicker brush is a grooming tool featuring a flat or curved head with rows of thin, closely spaced wire pins. These pins are usually angled or bent to help pull away loose fur, remove debris, and break up mats in medium to long-haired coats.
Anatomy of the Slicker Brush
The most striking feature of a slicker brush is the bed of fine wire pins. Unlike a standard human hairbrush or a pin brush with large plastic balls on the ends, slicker pins are very thin and often have a slight bend toward the tip. This bend is a deliberate design choice. It allows the brush to hook into loose hair and pull it away from the body without having to apply heavy pressure.
The head of the brush is typically rectangular or slightly oval. Some models have a flat back, while others are curved to better follow the natural contours of a dog's body. The pins are set into a flexible rubber or foam pad. This pad acts as a shock absorber. When the pins meet resistance, such as a tangle or a thick patch of fur, the pad gives way slightly. This prevents the wire pins from digging too harshly into the skin.
The handle is another critical part of the design. Because grooming a thick-coated dog can take time, most modern slicker brushes use ergonomic handles. You will often see rubberized grips that prevent the brush from slipping in your hand. This control is vital. If the brush slips, you might accidentally scrape the skin, so a firm grip helps you maintain a light, consistent touch. For an example of this design, see the Master Grooming Tools Ergonomic Slicker Dog and Cat Brush.
Is Your Dog a Candidate for a Slicker Brush?
Not every dog needs a slicker brush. If you have a Doberman, a Beagle, or a Greyhound, this tool might actually be too harsh for their short, thin coats. Slicker brushes are built for dogs with significant volume, length, or a double coat. If your dog falls into one of the following categories, a slicker brush should be in your grooming drawer.
Long-Haired Breeds
Dogs like Shih Tzus, Lhasa Apsos, and Maltese have hair that grows continuously. This hair is prone to tangling and trapping dirt. A slicker brush is perfect for these breeds because it can reach through the top layer to clear out the fine tangles that form near the skin.
Curly and Wavy Coats
Poodles and Doodles are the primary users of the slicker brush. Their curly hair does not shed in the traditional sense. Instead, the loose hair gets trapped within the curls. If you do not brush it out, that loose hair quickly turns into a solid mat. The wire pins of a slicker brush are excellent at hooking those trapped hairs and pulling them out.
Double-Coated Breeds
Golden Retrievers, German Shepherds, and Huskies have a harsh outer coat and a soft, dense undercoat. During shedding season, that undercoat comes out in clumps. A slicker brush reaches deep enough to grab the dead undercoat before it ends up on your furniture. It is also excellent for removing those "tumbleweeds" of fur that collect around the hindquarters.
Wire-Haired Breeds
Terriers with wiry coats often need a firm slicker brush to help maintain the texture of their fur. It helps remove the dead, coarse hair and keeps the coat from looking dull or matted.
Key Takeaway: Slicker brushes are specialized tools for dogs with medium to long hair, curls, or thick undercoats. They are generally too sharp for short-haired or single-coated breeds with sensitive skin.
The Health Benefits of Regular Brushing
Grooming is more than just an aesthetic choice. It is a fundamental part of your dog’s physical health. When you use a slicker brush regularly, you are doing more than just making them look fluffy. You are maintaining the first line of defense for their body: the skin.
Mats are not just ugly. They are dangerous. As a mat tightens, it pulls on the skin, which can be quite painful for the dog. Over time, these mats trap moisture and heat against the skin. This creates a perfect breeding ground for bacteria and fungi. We often hear from owners who find hidden sores or "hot spots" only after a professional groomer has to shave off a large mat. Using a slicker brush prevents these mats from forming in the first place.
Brushing also stimulates the skin. The action of the pins, when used gently, acts like a massage. This increases blood flow to the surface of the skin and helps distribute natural oils across the hair shaft. This distribution of oil is what gives a healthy coat its shine and water resistance.
Finally, regular grooming sessions allow you to inspect your dog’s body. While you are brushing, you might notice a new lump, a tick, or a patch of dry skin that needs attention. It is the best way to catch small health issues before they become expensive problems. For additional care options, explore our dog grooming supplies.
Vet Tip: If your dog has developed skin irritation, redness, or sores due to severe matting, consult your veterinarian for a proper diagnosis. Our pet pharmacy offers topical treatments and medications to help manage skin infections or allergies.
Mastering the Slicker Brush Technique
Using a slicker brush requires a different technique than the one you use on your own hair. You should never just drag the brush across the dog from head to tail. This is ineffective and can cause "slicker burn," which is a form of skin irritation caused by the wire pins scraping the hide.
The "Pat and Pull" Method
The most effective way to use a slicker brush is the pat and pull method. Instead of a long, sweeping stroke, you gently "pat" the brush into a section of hair and then "pull" it out and away from the dog’s body. This allows the bent pins to grab the loose hair without making prolonged contact with the skin.
Sectioning the Coat
For dogs with very thick fur, you should work in sections. Start at the bottom of a leg or the base of the tail and work your way up. Use your free hand to hold the hair up, exposing a "line" of skin. Brush the hair below that line. Once that section is smooth, move up an inch and repeat the process. This ensures you are brushing from the skin out, rather than just smoothing the top layer of fur.
Handling Tangles
When you hit a tangle, do not yank the brush. This will cause your dog to associate grooming with pain. Instead, hold the base of the hair clump between your thumb and forefinger. This prevents the brush from pulling on the skin. Use the corner of the slicker brush to gently pick at the tangle until it begins to break apart.
Step-by-Step Grooming Routine
Step 1: Inspect the coat. / Run your hands over your dog to find any large mats or sensitive areas before you start brushing.
Step 2: Choose a starting point. / Start at the rear or the legs, as these are often the most prone to tangling and the least sensitive areas.
Step 3: Apply the pat and pull method. / Work in small sections, moving the brush in the direction of hair growth.
Step 4: Check your progress. / Run a metal comb through the section you just brushed to ensure you have reached all the way to the skin.
Avoiding Slicker Burn and Keeping it Positive
Safety is the most important factor when using a tool with metal pins. Slicker burn is a common mistake for new owners. It happens when you apply too much pressure or brush the same spot repeatedly. The skin will look red and irritated, and your dog may try to lick or scratch the area.
To avoid this, always test the brush on the back of your own hand first. If it feels scratchy or painful to you, it is likely too firm for your dog. Use a very light touch. You are brushing the hair, not the skin. If you find yourself having to press hard, you likely need a different tool, such as a de-matting rake, to handle the heavy work.
It is also vital to keep the experience positive. If your dog is anxious about the brush, start with very short sessions. Offer high-value treats while you show them the brush. Brush one small area, give a treat, and stop. Gradually increase the time as they become more comfortable. At BaxterBoo, we recommend having a specific set of treats that your dog only gets during grooming to build a strong positive association.
Bottom line: A light touch and a section-by-section approach will prevent skin irritation and keep your dog comfortable during grooming.
Comparing Different Slicker Brush Models
When you look at our dog brushes and combs, you will notice several types of slicker brushes. Choosing the right one depends on your dog’s specific needs and your own comfort.
Standard Slicker Brushes
These are the traditional models with fixed pins. They are usually the most durable and offer the best control. They come in various sizes, from tiny ones for a Toy Poodle’s face to large ones for a Saint Bernard’s back.
Self-Cleaning Slicker Brushes
These have become very popular because they solve the biggest annoyance of grooming: cleaning the brush. These brushes have a button on the back that retracts the pins into the head. This leaves the collected fur sitting on a flat surface, allowing you to simply wipe it off into the trash. These are excellent for dogs that shed heavily, as you will likely be cleaning the brush every few minutes. The Master Grooming Tools Self-Cleaning Slicker Brush is one available option.
Soft vs. Firm Pins
The "firmness" of a slicker brush refers to how much the pins bend.
- Soft Pins: These are ideal for puppies, senior dogs with thin skin, or breeds with very fine, silky hair like a Maltese.
- Firm Pins: These are necessary for thick, coarse coats or dogs with a very dense undercoat like a Chow Chow. The pins need to be stiff enough to penetrate the fur without bending too much.
Coated vs. Bare Pins
Some slicker brushes have tiny plastic or rubber nubs on the ends of the wire pins. These are designed to be gentler on the skin. While they are great for sensitive dogs, they sometimes do not glide through thick mats as easily as bare wire pins. If your dog has a very dense coat, bare pins are usually more effective as long as you use a gentle touch.
| Feature | Standard Slicker | Self-Cleaning Slicker | Soft-Pin Slicker |
|---|---|---|---|
| Best For | Daily maintenance | Heavy shedders | Sensitive skin/Puppies |
| Durability | Very High | Moderate | High |
| Ease of Cleaning | Manual | Very Easy | Manual |
| Pin Firmness | Usually Firm | Moderate | Soft/Flexible |
Dealing with Mats and Tangles Safely
Mats are the biggest challenge for any owner of a long-haired dog. They often form in high-friction areas: behind the ears, in the armpits, and where the collar or harness sits. If you find a mat that is too tight to be brushed out with a slicker brush, do not reach for the scissors.
Using scissors to cut out mats is dangerous. Dog skin is very thin and stretchy. It is incredibly easy to accidentally pull the skin up into the mat and cut the dog. This often results in a trip to the emergency vet for stitches. Instead, use a specialized de-matting tool or a pair of electric clippers. The Master Grooming Tools Coat Mat and Tangle Splitter is designed for tough tangles.
If the matting is extensive, it may be more humane to have the dog shaved by a professional. Once the coat is short, you can start fresh with a daily grooming routine using your slicker brush to ensure the mats never return. This is where the MVP Rewards programme can help you save on the regular supplies you need to maintain that new, healthy coat.
Maintenance of Your Grooming Tools
A slicker brush is an investment in your dog’s care, and it needs a little maintenance to stay effective. Over time, the wire pins can become clogged with oil, dander, and hair. If the brush is dirty, it will not glide through the fur as easily, and it could even redeposit dirt back onto your clean dog.
Cleaning the Pins
After every grooming session, remove as much hair as possible. If you do not have a self-cleaning model, you can use a fine-toothed comb to rake the hair out of the wire pins. Every few weeks, you should give the brush a deeper clean. Use a small amount of mild dish soap and a bit of warm water. Dip a toothbrush in the soapy water and gently scrub the base of the pins. Be careful not to soak the entire brush if it has a wooden handle or a deep foam pad, as trapped moisture can lead to mold.
Inspecting for Damage
Check the pins regularly. If they become bent out of shape or if the protective nubs (if your brush has them) fall off, it is time for a replacement. Bent pins can snag and pull painfully on the hair, and sharp, exposed wire ends can scratch the skin. A good slicker brush should last a long time, but it is not a "forever" tool.
Storage
Store your brush in a dry place. If you keep your grooming kit in a damp garage or basement, the metal pins can rust. Rust will make the pins brittle and can cause skin irritation for your dog. You can compare options from our selection of Master Grooming Tools products when it is time to replace worn grooming equipment.
Conclusion
The slicker brush is a fundamental tool for maintaining the beauty and health of dogs with medium to long hair. By understanding the design of the bent wire pins and mastering the pat and pull technique, you can prevent painful mats and keep your dog's skin in peak condition. We recommend starting with a high-quality model that fits your hand comfortably and matches your dog’s coat firmness. Regular sessions not only reduce the fur on your floors but also provide a quiet moment to bond with your pet and check for any health changes. Explore our full collection of grooming supplies to find the perfect match for your dog's coat type.
Key Takeaway: Proper slicker brush use prevents painful skin conditions caused by mats and allows for early detection of health issues during routine grooming.
FAQ
Can I use a slicker brush on a short-haired dog like a Lab?
It is generally not recommended to use a slicker brush on very short-haired breeds because the wire pins can easily scratch their skin. For short-haired dogs, a bristle brush or a rubber grooming mitt is a much better choice for removing loose fur and adding shine. If you do use a slicker on a short coat, you must use an extremely light touch and choose a model with protective tips.
How often should I use a slicker brush on my dog?
For long-haired or curly breeds, you should ideally use a slicker brush every two to three days. If your dog is currently blowing their coat during a seasonal shed, daily brushing may be necessary to keep up with the loose fur. Regular, short sessions are much more effective and less stressful for the dog than one long, intense session every few weeks.
Why does my dog hate being brushed with a slicker brush?
If your dog dislikes the brush, it is often because the pins are scraping their skin or the brush is pulling on tangles too hard. Check your technique to ensure you are not pressing down. It is also possible that your dog has a negative association with grooming, which can be improved by using lots of treats and keeping sessions very short until they feel comfortable.
What is the difference between a pin brush and a slicker brush?
A pin brush looks like a human hairbrush with straight metal pins that usually have rounded tips. It is meant for light detangling and finishing long, silky coats. A slicker brush has much thinner, denser, and angled pins. It is designed for the "heavy lifting" of grooming, such as removing dead undercoat and breaking up mats that a pin brush would just glide over.