
 Save 15% on your 1st Autoship learn more

 Email us
 Live Chat
 FAQs
FAQs





Introduction
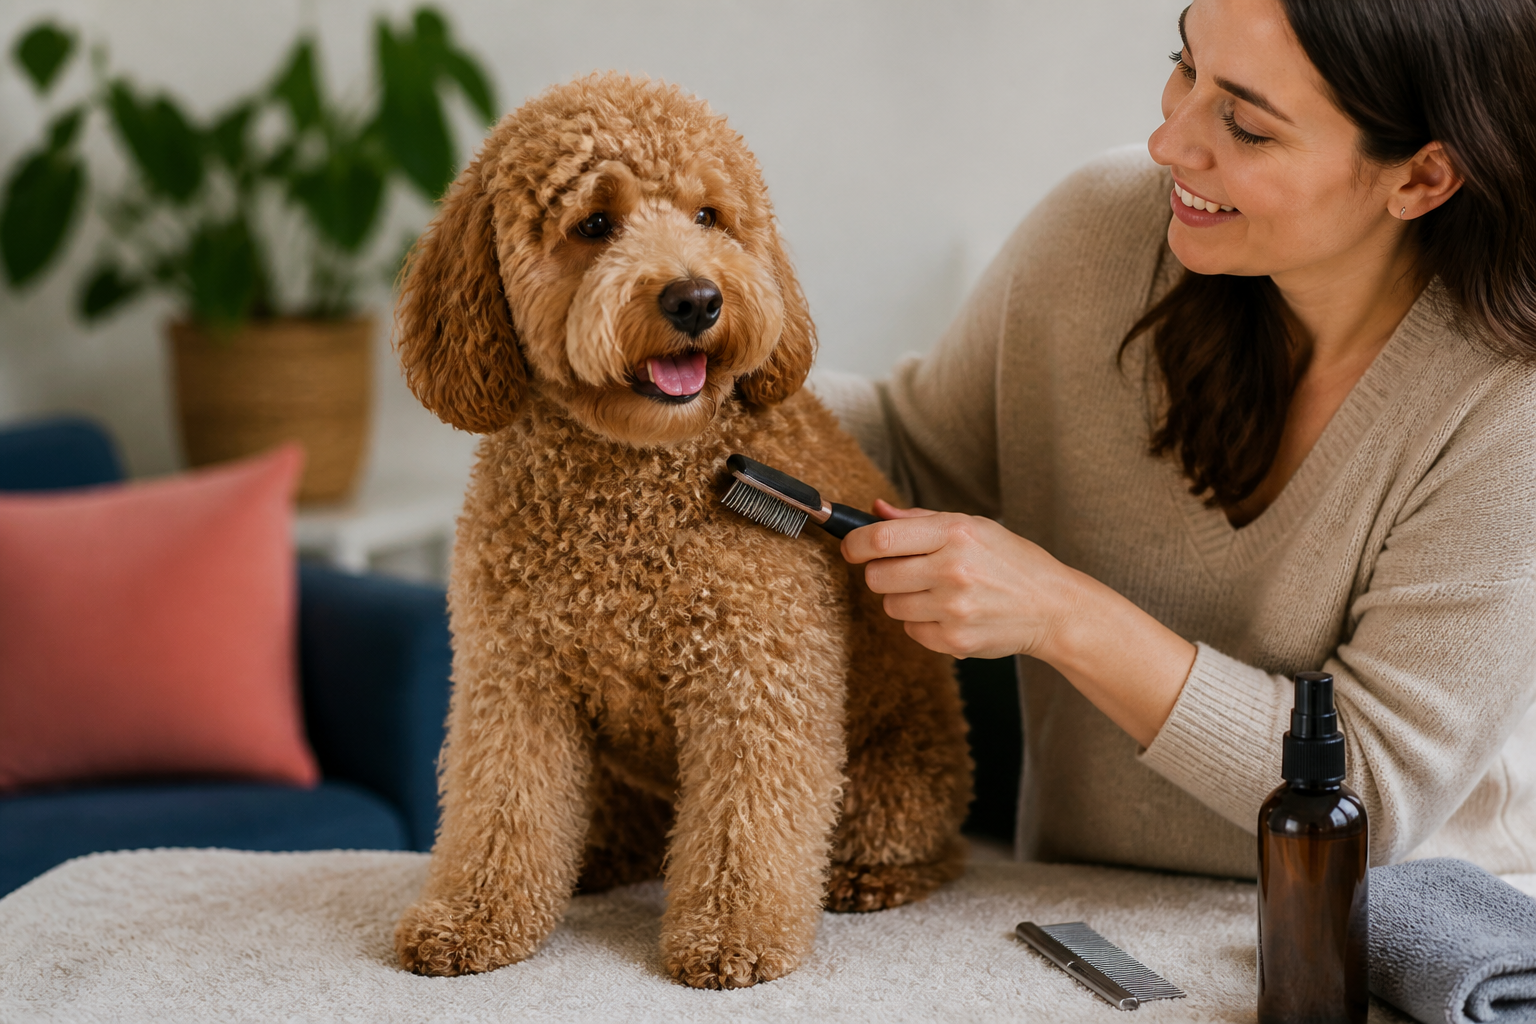
You are sitting on the living room floor with your Poodle or Goldendoodle. As you run your hand along their back, your fingers snag on a hard, tight knot behind their ear. This is a common moment for owners of curly haired dogs. Those beautiful ringlets and waves look stunning, but they are magnets for debris, moisture, and shed hair. At BaxterBoo, we understand that maintaining a curly coat is about more than just aesthetics. It is a vital part of your dog's physical comfort and skin health. If left unbrushed, these curls quickly transition from fluffy to matted. This guide will teach you the specific techniques and tools needed to keep your dog's coat in top condition. We will cover the professional line brushing method, how to handle tangles safely, and how to build a routine your dog actually enjoys.
Quick Answer: Brushing a curly haired dog requires a technique called line brushing. You must use a slicker brush to work through small sections of hair from the skin outward, followed by a metal comb to check for remaining tangles. This process should be done at least three to four times a week to prevent painful matting.
Why Curly Coats Require Unique Care
Curly hair in dogs is often referred to as hair rather than fur because it tends to grow continuously and sheds very little. While this is great for keeping your couch clean, it presents a challenge for the dog. When a curly haired dog loses a hair, that hair does not fall to the floor. Instead, it gets trapped within the existing curls. Over time, these loose hairs wrap around the growing hair, creating a knot. If these knots are not brushed out, they tighten and become mats.
Mats are not just a cosmetic issue. They can be quite painful for a dog. As a mat tightens, it pulls on the skin, making every movement uncomfortable. In some cases, mats can become so thick that they restrict blood flow or trap moisture against the skin. This trapped moisture creates a breeding ground for bacteria and fungi. Regular brushing is the only way to ensure your dog's skin stays dry and healthy.
Key Takeaway: Curly coats trap shed hair within the curls. Frequent brushing is mandatory to prevent these hairs from forming tight, painful mats that can lead to skin infections.
Choosing the Right Tools for the Job
You cannot effectively groom a curly haired dog with a standard plastic brush or a rubber mitt. You need tools that can penetrate the dense curls and reach all the way to the skin. Using the wrong tool often results in top brushing. This is when the surface of the hair looks fluffy, but a thick layer of matting remains hidden underneath against the skin. Explore our dog grooming supplies to find tools for brushing, bathing, and coat care.
The Slicker Brush
A high quality slicker brush is the most important tool in your kit. These brushes have fine, short wire bristles that are slightly angled. They are designed to pull through the curls and grab onto loose hair without scratching the skin. Look for a slicker brush with a comfortable handle, as you will be using it for long periods. Our dog brushes and combs include slicker brushes and other coat-care tools.
The Metal Greyhound Comb
A long-toothed metal comb, often called a greyhound comb, is your diagnostic tool. After you think you have finished brushing a section, you run the comb through it. If the comb snags, there is still a tangle that needs attention. It is the only way to be 100 percent sure you have reached the skin.
Detangling Spray and Conditioners
Curly hair is prone to breakage if brushed while completely dry. A light mist of detangling spray or a diluted leave-in conditioner helps the brush glide through the hair. It also reduces static and helps to close the hair cuticle, which makes it harder for future tangles to form.
| Tool Name | Primary Purpose | Why It Is Essential |
|---|---|---|
| Slicker Brush | Separating curls and removing shed hair | Reaches through dense layers of curls |
| Metal Comb | Identifying hidden mats and tangles | Provides a final check to ensure the coat is clear to the skin |
| Detangling Spray | Lubricating the hair shaft | Prevents hair breakage and reduces friction during brushing |
| Blunt-Nose Scissors | Safely trimming small areas | Good for clearing hair away from eyes and paw pads |
The Line Brushing Method Step by Step
Line brushing is the gold standard for grooming curly haired dogs. It ensures that every single inch of the dog is brushed from the root to the tip. If you simply swipe a brush over the dog's back, you are missing the most important areas. For more curly-coat guidance, read this guide to grooming a dog with curly hair.
Step 1: Section the hair.
Start at the bottom of a leg or at the base of the tail. Use your hand to push the hair upward, exposing a line of skin. You want to work in small, manageable horizontal sections.
Step 2: Brush from the skin out.
Using your slicker brush, brush the small amount of hair you have separated. Start at the skin and brush outward toward the ends of the hair. Use short, gentle strokes. Do not "flick" the brush at the end of the stroke, as this can cause brush burn on the skin.
Step 3: Verify with the comb.
Once the section feels smooth with the slicker brush, take your metal comb. Run it through that same section from the skin to the tip. If it slides through without resistance, that section is done. If it catches, go back with the slicker brush.
Step 4: Move to the next line.
Drop a small new section of hair down and repeat the process. Work your way up the body. This method is slow, but it is the only way to guarantee a mat free coat.
Vet Tip: Check high friction areas every single day. The armpits, the area behind the ears, and the spots where the collar or harness sits are the most likely places for mats to form. A quick thirty second check of these spots can prevent a two hour detangling session later.
Managing Difficult Mats and Tangles
Even with regular brushing, mats can still happen. Perhaps your dog went for a swim or played in tall grass. When you find a mat, your first instinct might be to reach for the scissors. However, cutting mats out with scissors is dangerous. Dog skin is very thin and can easily be pulled into the center of a mat.
Instead of cutting, try to break the mat apart. Apply a generous amount of detangling spray directly to the knot. Use your fingers to gently pull the mat apart from the outside in. Once it is slightly loosened, use the end tooth of your metal comb to "pick" at the mat. Work slowly and hold the base of the hair near the skin so you are not pulling on the dog's skin.
If a mat is too tight or sits too close to the skin, it is time to use clippers. Shaving a mat is much safer than cutting it with scissors. If the matting is extensive, we recommend visiting a professional groomer. They have the experience to safely remove severe mats without injuring the dog. You can also browse our grooming tools for combs, clippers, and other at-home supplies.
- Never wash a matted dog. Water acts like a sponge for mats, causing the hair fibers to swell and tighten the knot further.
- Always brush out every tangle before the dog gets wet.
- Use a high quality detangling spray to provide "slip" for the comb.
- Hold the hair at the root to minimize the pulling sensation for your dog.
Building a Positive Grooming Routine
Many dogs find brushing stressful because it takes a long time and can involve occasional pulling. To make this a better experience, you must prioritize the dog's comfort. Start grooming sessions when your dog is tired, perhaps after a long walk or a play session.
We recommend using high value rewards to create a positive association with the brush. You can use a Kong stuffed with peanut butter or a lick mat to keep them occupied while you work. This gives them something to focus on other than the sensation of the brush.
Keep your sessions short in the beginning. You do not have to brush the entire dog in one sitting. You might do one leg on Monday, the other leg on Tuesday, and the body on Wednesday. As long as you are consistent, you will stay ahead of the mats.
At BaxterBoo, we see many owners who struggle with grooming because their dog won't sit still. Consistency is key. Even if you only brush for five minutes, doing it every day helps your dog understand that grooming is a normal, non-threatening part of their life.
Key Takeaway: Break your grooming sessions into smaller, manageable blocks and use food rewards to keep your dog calm and cooperative.
Health and Skin Considerations
A dog's coat is often a reflection of their internal health. If your dog's curls are becoming brittle, dry, or excessively tangled, it may be worth looking at their nutrition. Essential fatty acids like Omega-3 and Omega-6 support skin elasticity and hair strength.
If you notice your dog is scratching frequently or if their skin looks red after brushing, they may have underlying allergies or sensitivities. Trapped debris in curly hair can exacerbate these issues. Our pet pharmacy offers allergy treatments and medicated products for pets, including prescription options when recommended by a veterinarian.
Vet Tip: If you notice a foul smell coming from a matted area, or if the skin underneath looks moist and raw, consult your veterinarian immediately. This could be a sign of a "hot spot" or a bacterial infection that requires prescription treatment.
Bathing and Drying Curly Hair
Bathing is a critical part of the grooming process, but it must be done correctly. As mentioned, you must never bathe a dog that has mats. Once the coat is completely clear of tangles, use a shampoo formulated for curly hair. These shampoos are designed to clean without stripping away the natural oils that keep the curls bouncy.
After the bath, avoid the temptation to rub the dog vigorously with a towel. Rubbing curly hair with a towel creates massive tangles. Instead, pat the dog dry to soak up excess moisture. Our bath and shower supplies can help you prepare for this part of the routine.
For the best results, use a blow dryer on a low, cool setting while you brush the hair. This is called fluff drying. It straightens the hair temporarily, which makes it much easier to see if you missed any small knots. It also prevents the "wet dog" smell that occurs when moisture stays trapped in dense curls for too long.
Common Trouble Spots to Watch
Certain areas of a curly haired dog are more prone to matting than others. These are usually areas where there is movement or friction.
Behind the Ears
The hair behind a dog's ears is often softer and finer than the hair on the rest of the body. This fine hair tangles very easily. Additionally, dogs often scratch their ears, which can knot the hair.
The Armpits and Groin
Friction from walking causes the hair in the armpits and groin to rub together. This creates "friction mats." These are particularly uncomfortable because they pull every time the dog takes a step.
Under the Collar or Harness
If your dog wears a collar or harness all the time, the constant rubbing against the curls will cause matting. We recommend removing the collar while the dog is inside the house or using a rolled leather collar, which is less likely to tangle the hair.
The Paws and Between Toes
Curly hair grows between the paw pads and toes. This hair traps mud, burrs, and ice melts. If not kept trimmed and brushed, these knots can make it painful for the dog to walk.
Bottom line: Focus your daily maintenance on the "friction zones" like the armpits and ears to prevent the most painful types of mats from forming.
Conclusion
Brushing a curly haired dog is a significant commitment, but the reward is a happy, healthy, and beautiful companion. By using the line brushing technique and the right tools like a slicker brush and metal comb, you can prevent painful matting and skin issues. Remember to always brush before bathing and to use detangling sprays to protect the hair. We have helped thousands of pet owners since 2006 find the right supplies for their specific breeds. Whether you are looking for grooming tools or health supplements to support coat shine, we are here to help. For dogs with ongoing skin sensitivities or those needing prescription-strength care, our pharmacy provides a reliable way to get the medications your vet recommends. Keeping those curls perfect is easier when you have the right routine and the right support.
- Use the line brushing method to reach the skin.
- Always check your work with a metal greyhound comb.
- Treat mats with detangling spray and fingers before using tools.
- Reward your dog frequently to make grooming a positive experience.
Bottom line: Consistent, thorough brushing is the foundation of health for every curly haired dog.
FAQ
How often should I brush my curly haired dog?
You should aim to brush your curly haired dog at least three to four times a week. For dogs with very long or fine curls, daily brushing is often necessary to prevent small tangles from becoming large mats. Frequent sessions are usually shorter and much more comfortable for the dog than one long session every two weeks.
Why does my dog get mats even though I brush them every day?
If you are brushing daily but still find mats, you might be top brushing. This happens when the brush only slides over the top layer of curls without reaching the skin. To fix this, use the line brushing technique to ensure you are clearing out the shed hair from the root.
Can I just cut a mat out with scissors?
We strongly advise against using scissors to cut mats out of your dog's coat. A dog's skin is very elastic and can be pulled up into the knot, making it almost impossible to see where the hair ends and the skin begins. It is much safer to use a set of electric clippers to shave under the mat or to visit a professional groomer for help.
Should I brush my dog before or after a bath?
You must always brush your dog thoroughly before a bath. Water causes the hair fibers to swell and can lock existing tangles into tight, permanent mats. Brushing a dry coat with the help of a detangling spray is the safest and most effective way to maintain the hair.






