
 Save 15% on your 1st Autoship learn more

 Email us
 Live Chat
 FAQs
FAQs





Introduction
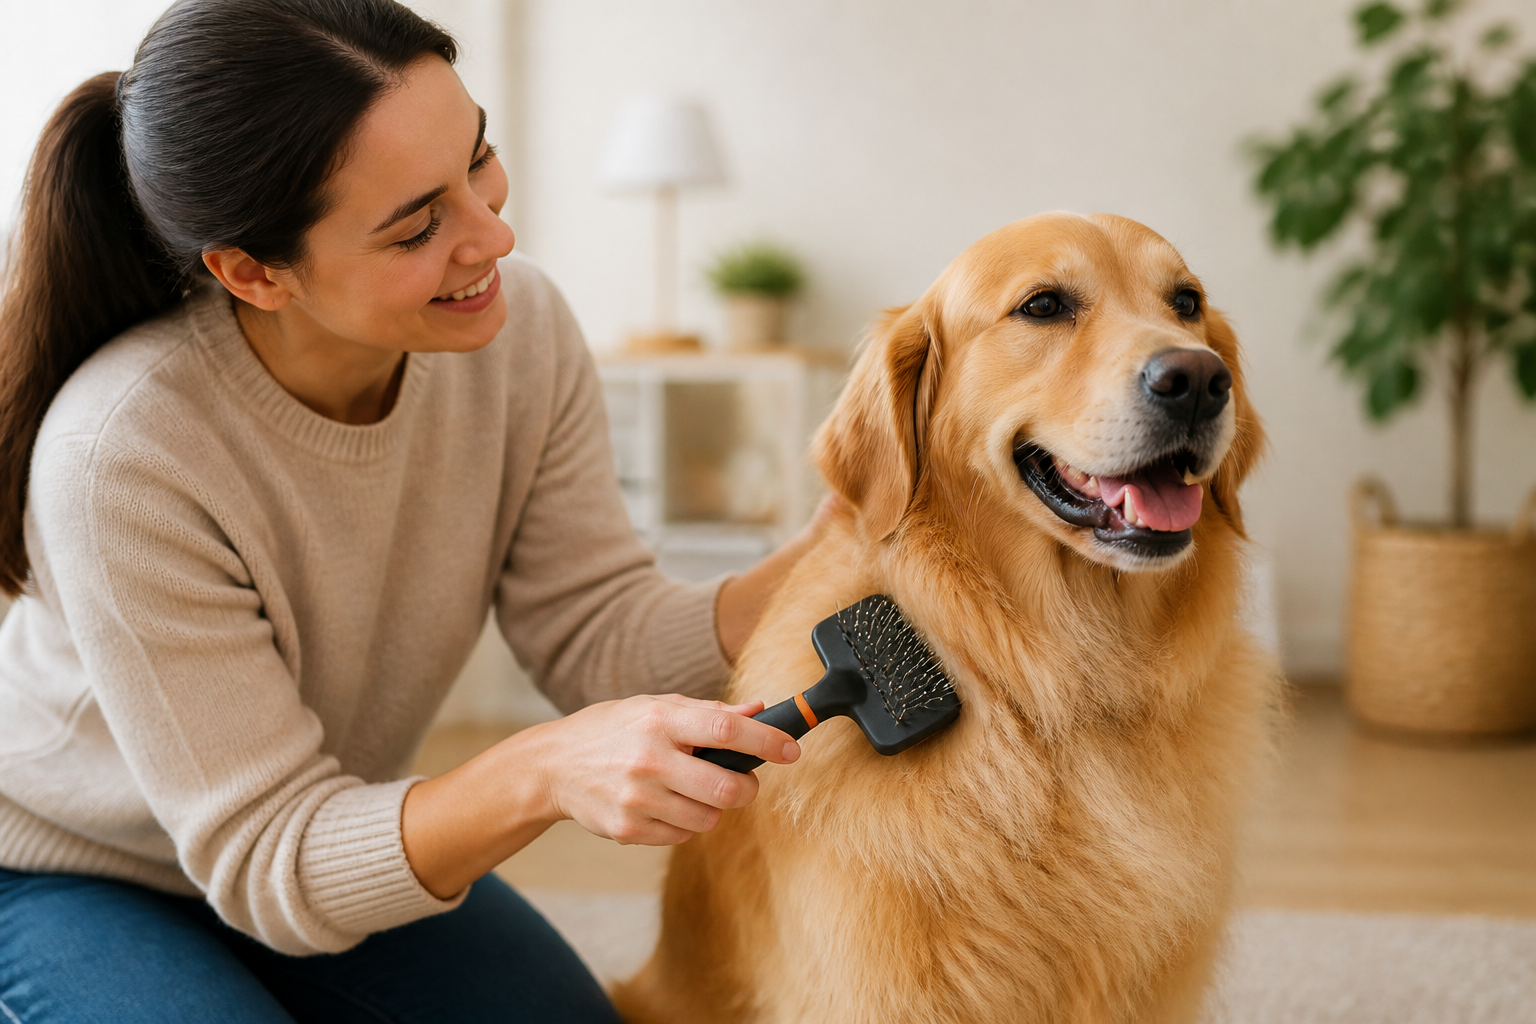
You are relaxing on the sofa when your hand hits a stubborn, tight knot behind your dog's ear. It is a common moment for many pet owners, especially when the seasons change and that thick undercoat starts to move. Brushing is more than just a way to keep your house from being covered in fur. It is a vital part of skin health and a great way to bond with your best friend. At BaxterBoo, we know that every dog has unique needs based on their breed and lifestyle. This guide will walk you through the essential tools, the right techniques for different hair types, and a clear process to keep your pet comfortable. Learning how to brush dog's coat properly step by step will save you time, reduce shedding, and keep your dog's skin in peak condition.
Identifying Your Dog's Coat Type
Before you pick up a brush, you need to understand what you are working with. Not all fur is created equal, and using the wrong tool can lead to skin irritation or an ineffective grooming session.
Short and Smooth Coats
Dogs like Boxers, Great Danes, and smooth-coated Dachshunds have hair that lies close to the skin. They do not mat, but they do shed. For these dogs, you are primarily looking to remove loose hair and skin flakes while distributing natural oils.
Double Coats
This is a common coat type for many popular breeds, including Labrador Retrievers, Huskies, and Golden Retrievers. They have a soft, insulating undercoat and a tougher outer layer of guard hairs. During shedding season, the undercoat can become "impacted" or trapped, which leads to heavy shedding and potential skin issues if not brushed out.
Curly and Wavy Coats
Poodles and Poodle mixes often have hair that continues to grow rather than shedding out. This hair traps loose fur within the curls, making them highly prone to matting. These dogs require the most frequent attention to keep their coats manageable. For more help with curly coats, read our guide to grooming a dog with curly hair.
Long and Silky Coats
Breeds like Yorkshire Terriers or Maltese have hair that is very similar to human hair. It can be fine and tangles easily. These coats require gentle handling to avoid breaking the delicate strands.
Quick Answer: The best way to brush a dog is to work in small sections in the direction of hair growth. Use a slicker brush for most coats to remove loose hair and follow up with a metal comb to ensure no mats are hiding near the skin.
Essential Tools for Your Grooming Kit
Having the right equipment makes the job easier for you and more pleasant for your dog. We carry a wide variety of tools to suit every specific coat requirement in our dog brushes and combs collection.
The Slicker Brush
This is the workhorse of dog grooming. It features a flat or slightly curved head with rows of thin, bent wire pins. It is excellent for removing loose hair and breaking up small tangles in medium to long coats.
The Metal Greyhound Comb
A high quality metal comb is the most important tool for preventing mats. It usually has two different spacing widths for the tines. You use this after brushing to "check your work." If the comb can slide through the fur from the skin to the tips without snagging, you are done.
Rubber Curry Brushes
For short-haired dogs, a rubber brush like a Kong ZoomGroom is ideal. The rubber "fingers" massage the skin and grab loose hair without any risk of scratching the pet.
Pin Brushes
These look like standard human hairbrushes but with longer, more widely spaced pins. They are best for long, silky coats where you want to avoid breaking the hair or for fluffing up a coat after a deeper brushing session.
Undercoat Rakes
These tools have long, sturdy teeth designed to reach through the topcoat and pull out the loose undercoat. They are essential for heavy shedders like German Shepherds or Newfoundlands.
Key Takeaway: Never rely on a brush alone. Always follow up with a metal comb to ensure you have reached all the way down to the skin where mats usually start.
Preparing Your Dog for a Positive Experience
Brushing should be a calm, rewarding activity. If your dog sees the brush and runs away, you will have a hard time maintaining a routine.
Step 1: Create a dedicated space. / Use a grooming table or a specific rug where your dog knows it is time to be still. For small dogs, an elevated surface like a counter or table often makes them feel more secure and saves your back.
Step 2: Use high value rewards. / Keep a handful of small treats nearby. Reward your dog for staying in a standing position and for allowing you to handle sensitive areas like the feet and tail.
Step 3: Keep sessions short. / If your dog is new to grooming, start with just five minutes. Gradually increase the time as they become more comfortable with the sensation of the tools.
Vet Tip: If your dog shows extreme anxiety or aggression during grooming, consult your veterinarian. They can rule out underlying pain or suggest calming aids from our pharmacy, such as supplements or prescribed medications.
How to Brush Dog's Coat Properly Step by Step
Once you have your tools and your dog is calm, follow this systematic approach to ensure you do not miss any spots.
Step 1: The Initial Inspection
Before you start brushing, run your hands over your dog's entire body. Look for any new lumps, bumps, or skin irritations. This is also the time to feel for large mats that might need special attention.
Step 2: Start with the Extremities
It is often easiest to start with the tail and the back legs. These areas are prone to tangles but are easier to reach. Work on one leg at a time, brushing from the top down toward the paws.
Step 3: Use the Line Brushing Technique
For dogs with any significant length of coat, simply brushing the surface is not enough. Use one hand to push the hair upward, exposing a "line" of skin. Use the brush in your other hand to brush the hair down from that line. This ensures you are reaching the base of the hair. Move your hand up an inch and repeat the process until the whole side is done.
Step 4: Address the Friction Areas
Pay extra attention to the "armpits," the area behind the ears, and where the collar or harness sits. These are high friction spots where mats form very quickly. Use your slicker brush gently in these areas, as the skin is often thinner and more sensitive.
Step 5: The Comb Test
After you have finished brushing an area, take your metal comb and run it through the same section. If the comb catches, do not pull. Stop and use your brush again on that specific spot until the comb can pass through easily.
Step 6: Finishing Touches
Once the body, legs, and tail are clear of tangles, move to the head and ears. Be very careful around the eyes. Use a damp cloth to wipe away any debris before finishing with a light brushing on the ears.
- Brush in the direction of hair growth.
- Always use a light touch to avoid "brush burn" on the skin.
- Reward your dog after completing each section of the body.
Handling Mats and Tangles Safely
Mats are not just a cosmetic issue. They can pull on the skin, causing pain and even cutting off airflow, which leads to hot spots or infections.
If you find a mat, do not reach for the kitchen scissors. It is incredibly easy to accidentally cut a dog's skin because mats often pull the skin up into the knot. Instead, apply a small amount of detangling spray or cornstarch to the knot. Use your fingers to pull the mat apart as much as possible. Then, use the end tooth of your metal comb to gently pick at the mat from the outside in. You can also explore our dematting and tangle tools for grooming sessions that need extra care.
If a mat is tight against the skin and cannot be worked out with a comb, it is time to seek professional help. A groomer can safely shave the mat away with clippers. If the skin underneath looks red, raw, or has an odor, contact your veterinarian. Our pharmacy carries several skin treatments and medications that can help with irritation caused by severe matting.
Key Takeaway: Patience is the most important tool for removing tangles. If you or your dog are getting frustrated, take a break and come back to it later.
The Golden Rule: Brush Before the Bath
A common mistake is thinking that a bath will help loosen up tangles and mats. In reality, water acts like a glue for knots. When hair gets wet, the shafts swell and then tighten as they dry, making any existing mats much harder to remove.
Always ensure your dog is completely "brushed out" and that a comb can pass through their entire coat before they ever hit the water. This also makes the washing process more effective, as the shampoo can actually reach the skin instead of getting trapped in a layer of dead hair. After the bath, once the dog is completely dry, do another quick pass with the brush and comb to catch any new tangles that formed during the scrubbing and drying process. For additional bath-time guidance, see our article on the dos and don'ts of bathing your dog.
Bottom line: Water makes mats permanent, so always finish your brushing routine before you start the bath.
Maintaining Skin Health and Wellness
Brushing is your first line of defense in monitoring your dog's overall health. While you work through the coat, you are looking for more than just knots. You are checking for signs of external parasites like fleas or ticks.
If you notice your dog is scratching excessively even though they are clean and mat-free, they may be dealing with environmental or food allergies. We provide a wide range of allergy support supplements and specialized diets that can help manage these issues. Our pharmacy also allows you to fill prescriptions for medicated shampoos or flea and tick preventives easily.
Monitoring for Parasites
Keep a close eye on the skin for tiny black specks, which can be flea dirt, or for any attached ticks. Brushing regularly allows you to catch these unwanted guests before they cause a significant infestation in your home. You can also review our guide to flea and tick prevention products or browse our flea and tick collection.
Seasonal Adjustments
Your brushing routine should change with the weather. In the spring and fall, most dogs will "blow" their coat. This is a period of intense shedding where you may need to brush daily to keep up with the volume of hair. During the winter, you might brush less for shedding but more to remove salt and snow clumps from the long hair on the legs and belly. For another look at seasonal shedding, read about how dogs shed during the year.
Training Your Dog to Love Grooming
If your dog is a wriggler, you may need to go back to basics. Grooming is a physical skill for you, but it is a behavioral skill for your dog.
Start by just leaving the brush on the floor and letting your dog sniff it. Give them a treat every time they interact with it. Next, touch them with the back of the brush (not the bristles) and reward them. Slowly work up to one or two actual brush strokes.
Many owners find that using a "lick mat" smeared with a little bit of peanut butter or plain yogurt can keep a dog occupied and happy while you work on their back end. This distraction technique is excellent for dogs that are sensitive about their paws or tail being touched.
Vet Tip: For older dogs with arthritis, standing for a long grooming session can be painful. Let them lie down and work on one side at a time. You can also look into joint supplements from our Medical and Mobility section to help make their daily movements more comfortable.
Conclusion
Mastering how to brush dog's coat properly step by step is an investment in your pet's comfort and your home's cleanliness. By choosing the right tools for your dog's specific coat type and following a consistent routine, you prevent painful mats and catch potential health issues early. Remember to always work in sections, use the line brushing method, and never skip the final check with a metal comb. Whether you are managing a heavy shedding season or just keeping a silky coat smooth, your efforts lead to a happier, healthier dog. For all your grooming needs, from slicker brushes to specialized shampoos, we invite you to browse our dog grooming category.
FAQ
How often should I brush my dog?
The frequency depends on the coat type, but most dogs benefit from a thorough brushing at least once or twice a week. Dogs with long, silky hair or curly coats like Poodles and Doodles usually require daily brushing to prevent mats from forming. Short-haired breeds can often go a week between sessions, though daily brushing during shedding season will help keep your furniture cleaner.
Why does my dog get mats even though I brush them?
The most common reason is that the brush is only reaching the top layer of hair and not getting down to the skin. This is why using a metal comb after brushing is so important. If you only brush the surface, the hair near the skin can still tangle and form tight mats that are hidden under the smooth topcoat.
What should I do if I find a tick while brushing?
Use a dedicated tick removal tool to grasp the tick as close to the skin as possible and pull upward with steady, even pressure. After the tick is removed, clean the bite area and your hands with rubbing alcohol or soap and water. If you are concerned about tick-borne diseases, contact your veterinarian and consider starting a regular preventive from our pharmacy.
Can I use my own hairbrush on my dog?
It is generally not recommended because human brushes are not designed for the density and texture of dog fur. Dog brushes like slickers have specific wire tension and pin shapes designed to move through animal coats without causing discomfort. Using a human brush may be ineffective at removing the undercoat and could potentially scratch your dog's sensitive skin.






