
 Save 15% on your 1st Autoship learn more

 Email us
 Live Chat
 FAQs
FAQs





Introduction
You just finished a long grooming session and your dog looks fantastic. Then you look down at the brush and see a thick mat of hair, greyish skin flakes, and a film of oily residue coating the bristles. Using that same brush next time is like washing your face with a dirty towel. It moves the old grime right back onto your dog’s fresh coat. At BaxterBoo, we know that great grooming starts with the right tools, but it only stays effective if those tools are kept in peak condition.
Cleaning your grooming kit is a simple task that protects your dog's skin and helps your equipment last for years. This guide covers the best ways to sanitize different types of brushes, the supplies you need, and how to avoid common mistakes that could ruin your favorite tools. By the end of this article, you will know exactly how to keep your brushes and combs as clean as your pup.
Why Cleaning Your Dog's Tools is Essential
Most pet owners remember to wash their dog, but the brush often gets forgotten in the drawer. A dirty brush is a breeding ground for problems. Every time you pull a brush through your dog's fur, it picks up more than just loose hair. It collects sebum, which is the natural oil from the skin. It also traps dander, dust, and environmental allergens like pollen.
When these elements sit in the bristles, they can develop a distinct "doggy" odor. More importantly, they can harbor bacteria and fungal spores. If your dog has a small scratch or sensitive skin, a dirty brush can introduce bacteria that lead to irritation or even a localized infection. Clean tools ensure that you are actually cleaning the coat rather than just redistributing old dirt.
Quick Answer: Clean your dog's brushes and combs by removing all hair, soaking them in warm soapy water for 15 minutes, scrubbing the base, and air-drying them bristles-down. This prevents bacteria buildup and extends the life of your grooming gear.
The Supplies You Will Need
You do not need specialized, expensive chemicals to get your grooming kit clean. Most of the items are likely already in your pantry or under the sink. We recommend keeping a small dedicated "cleaning kit" for your pet supplies so you can handle this chore quickly.
- A large mixing bowl or a clean sink.
- Mild pet shampoo or a gentle dish soap.
- White vinegar or apple cider vinegar.
- An old toothbrush for scrubbing.
- A metal comb or a dedicated brush cleaning tool.
- Dry, lint-free towels.
If you are dealing with a skin condition or want a deeper level of sanitation, you might also want 70 percent isopropyl alcohol or a pet-safe disinfectant. However, for routine weekly maintenance, soap and water are usually sufficient.
Step 1: The Dry Cleaning Phase
The most important step happens before any water touches the brush. You must remove as much physical hair and debris as possible. If you skip this, the hair will turn into a soggy, felted mess that is much harder to remove once wet.
Use your fingers or a metal comb to lift the hair away from the base of the brush. For slicker brushes with many fine pins, a metal comb is especially helpful for raking through the rows. If the hair is tightly packed, you can use a pair of blunt-nose scissors to carefully snip the hair mat into sections, making it easier to pull out. For additional options, browse our dog brushes and combs.
Key Takeaway: Always remove 100 percent of the visible hair before soaking your tools. Wet hair shrinks and tangles around bristles, making it significantly harder to clean the brush later.
Step 2: Preparing the Soak
Once the hair is gone, it is time to tackle the oils and dander. Fill your bowl or sink with warm water. Avoid boiling water, as high heat can melt the glue that holds bristles in place or warp plastic handles.
Add a few squirts of pet shampoo. We often recommend using the same shampoo you use on your dog, as you already know it is safe for their skin. If the brushes are particularly oily or have a strong smell, add half a cup of white vinegar to the water. Vinegar acts as a natural degreaser and helps break down the buildup of skin oils. If you need more bathing supplies, explore our dog shampoo and conditioner selection.
Checklist for a Perfect Soak
- Check the water temperature: it should be comfortably warm, not hot.
- Mix the solution until it is sudsy.
- Ensure the bowl is deep enough to fully submerge the bristles.
- Check that your brushes do not have wooden handles before soaking.
Step 3: Scrubbing and Sanitizing
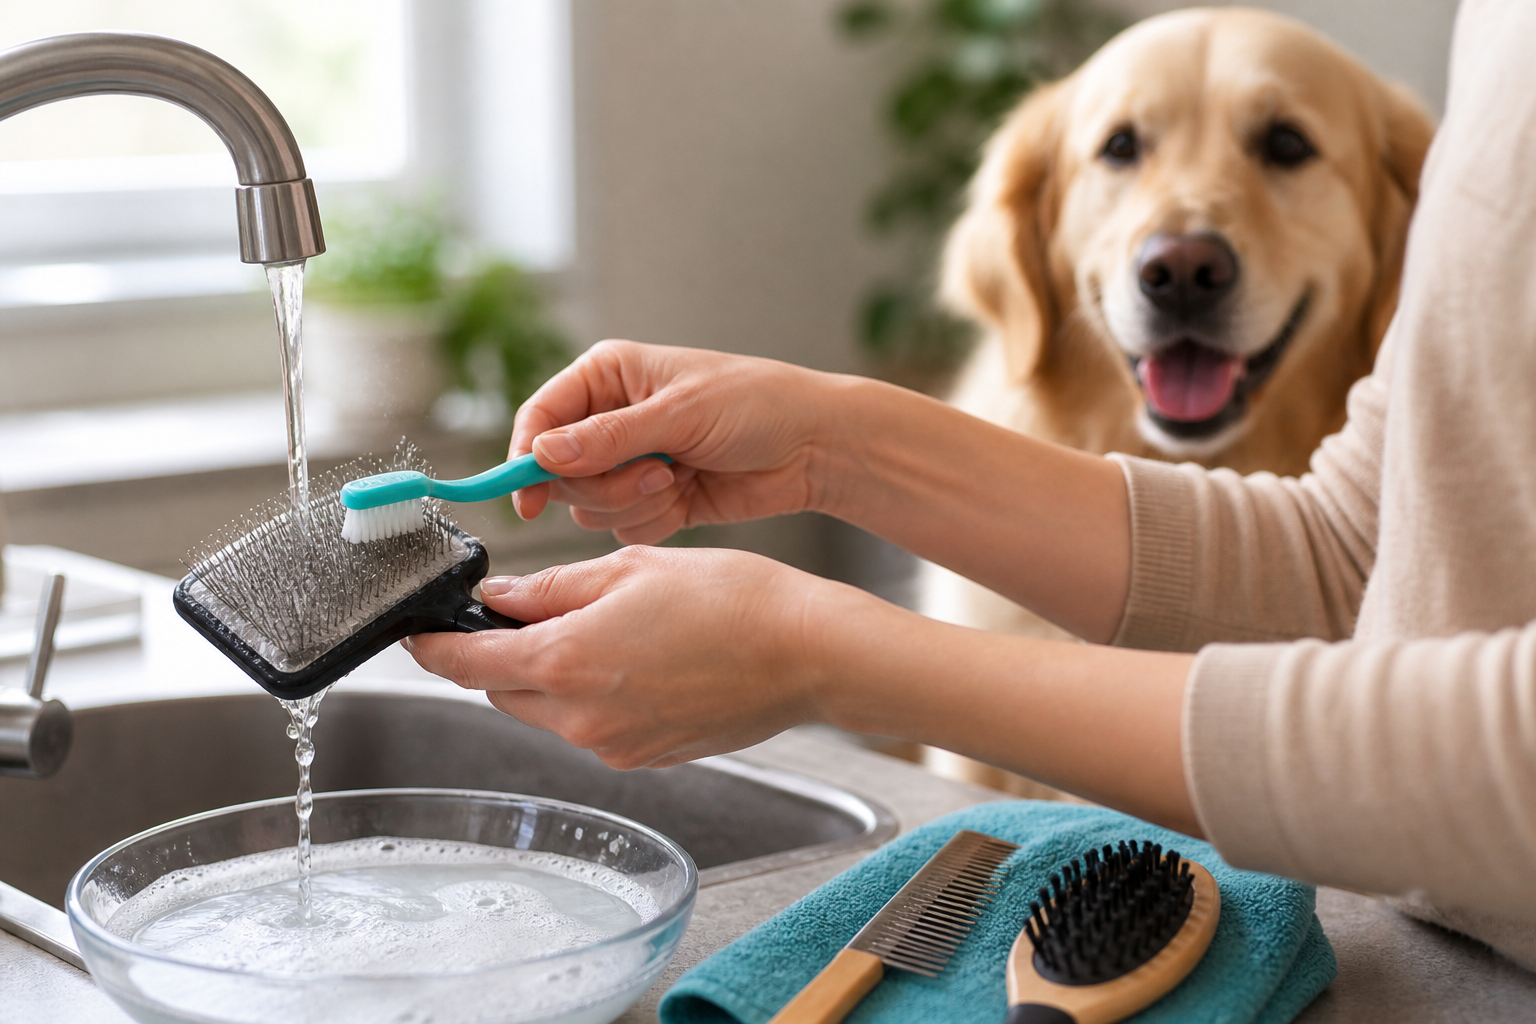
Submerge your brushes and combs in the soapy water. Let them soak for about 10 to 15 minutes. This time allows the soap to penetrate the "gunk" at the base of the bristles. After the soak, take your old toothbrush and scrub the base of the brush.
Pay close attention to the area where the bristles meet the pad. This is where most of the skin cells and oils accumulate. For metal combs, run the toothbrush up and down the teeth to ensure every surface is cleaned. If you see any remaining debris, give it another quick scrub and a second dip in the soapy water. A product such as the U-Groom Combo Brush for Dogs and Cats can be useful when you need both pins and bristles in one grooming tool.
Step 4: Rinsing Thoroughly
Rinsing is a step you cannot rush. Any soap residue left on the brush will dry into a film. This film can attract more dirt the next time you use it. It can also cause skin irritation for your dog if the soap is concentrated.
Hold each tool under a steady stream of cool, running water. Continue rinsing until you no longer see any bubbles and the water runs completely clear. For brushes with rubber pads, like pin brushes or slicker brushes, gently press on the pad to squeeze out any soapy water that may have seeped inside.
Step 5: Drying the Tools Correctly
How you dry your brushes is just as important as how you wash them. Many people make the mistake of leaving brushes face-up on a towel. This allows water to drain into the handle or the cushion of the brush, which can lead to mold, mildew, and the eventual rotting of the tool.
Instead, lay a clean towel on a flat surface in a well-ventilated area. Place the brushes face-down, meaning the bristles should be pointing toward the towel. This allows gravity to pull the water out of the brush head and away from the internal components. For more bathing and drying guidance, see these dog-bathing tips.
Bottom line: Always dry your brushes with the bristles facing down to prevent water from trapped in the pad or handle, which prevents mold and keeps the glue strong.
Special Considerations for Different Tool Types
Not every grooming tool can be treated the same way. The materials used in your brushes determine how they should be handled during the cleaning process.
Slicker Brushes
Slicker brushes have fine, bent wire pins that are very effective at removing mats. However, these pins are delicate. When scrubbing a slicker brush, be gentle. Do not use a heavy-duty scrub brush that could bend the wires out of shape. Ensure the rubber pad is completely dry before storage, as these pads can trap moisture easily.
Wooden Handles
If your favorite brush has a wooden handle, do not soak it. Wood is porous and will absorb water, causing it to swell, crack, or grow mold. Instead of soaking, dip only the bristles into the cleaning solution. Use a damp cloth with a bit of soap to wipe down the handle, then dry it immediately with a towel.
Metal Combs and Deshedding Tools
Metal tools like the ones we carry at BaxterBoo are generally the easiest to clean. They are often made of stainless steel, which is resistant to rust. However, they can still corrode if left sitting in water for days. Always dry metal combs immediately after rinsing. If you notice any rust spots, a paste made of baking soda and water can usually scrub them away. You can compare additional options in our grooming tools collection.
Bristle Brushes
Natural bristle brushes, often made from boar hair, require a bit more care. These bristles can become brittle if you use harsh detergents. Use a very mild pet shampoo and try to keep the soak time under 10 minutes. Avoid using vinegar on natural bristles as it can strip away the natural proteins that keep the hair flexible. For brushes with natural and wire bristles, browse our selection of BASS Brushes products.
Sanitation and Skin Health
If your dog is currently dealing with a skin issue, such as a yeast infection, hot spots, or ringworm, tool hygiene becomes a medical necessity. Using a contaminated brush on a healing area can cause a reinfection or spread the issue to other parts of the body.
In these cases, a simple soap and water wash is not enough. You must use a disinfectant. A 10 percent bleach solution (one part bleach to nine parts water) is effective, but it can be harsh on tools. A safer alternative is to wipe the tools down with 70 percent isopropyl alcohol after they have been cleaned and dried.
Vet Tip: If your dog has a persistent skin rash, itchiness, or sores, consult your veterinarian for a proper diagnosis. Our pharmacy at BaxterBoo offers FDA-approved medications and medicated shampoos through our partnership with Pet's Choice to help manage these conditions alongside your cleaning routine.
Maintaining a Cleaning Schedule
Consistency is the key to making this chore feel less like a burden. If you clean your tools regularly, the "gunk" never has a chance to build up, making each cleaning session much faster.
Daily Maintenance
After every grooming session, take 30 seconds to pull out the loose hair. You can use your fingers or a comb. This prevents the hair from becoming compacted and keeps the brush ready for the next use.
Weekly Deep Clean
For dogs with oily coats or those who spend a lot of time outdoors, a weekly deep clean is best. This involves the soaking and scrubbing process described above. If your dog has a very dry coat and stays mostly indoors, you can probably stretch this to once every two weeks.
Monthly Inspection
Once a month, take a close look at the condition of your tools. Look for:
- Bent or missing pins on slicker brushes.
- Cracks in plastic or wooden handles.
- Signs of mold or mildew in the brush pads.
- Rust on metal teeth or pins.
If a tool is damaged, it is better to replace it than to risk scratching your dog's skin with a sharp or broken edge.
Avoiding Common Mistakes
Even with the best intentions, it is easy to accidentally damage your grooming equipment. Here are the most frequent errors we see:
- Using harsh chemicals: Avoid using bleach (unless for medical reasons), ammonia, or heavy-duty household degreasers. These can irritate your dog’s skin if not rinsed perfectly and can degrade the materials of the brush.
- Using a hairdryer: It might be tempting to speed up the process with heat, but high heat can melt synthetic bristles and damage the glue. Air drying is always the safest route.
- Storing tools while damp: Never put a damp brush into a closed drawer or a grooming bag. The lack of airflow will almost certainly lead to mold growth.
- Sharing tools between pets: If you have multiple dogs, try to have a dedicated set for each. If they must share, you must clean and disinfect the tools between every dog to prevent the spread of bacteria or skin issues.
Conclusion
Keeping your grooming tools clean is a vital part of responsible pet ownership. It ensures that your dog's skin remains healthy, their coat stays shiny, and your brushes last for years. By following a simple routine of hair removal, soaking, and proper drying, you turn a potential hygiene risk into a professional-grade grooming experience.
Remember to check your tools regularly for wear and tear, and always prioritize drying them bristles-down to protect their integrity. If you notice your dog has skin irritation that doesn't clear up with a clean brush and a bath, we recommend a visit to your vet.
For all your grooming needs, we invite you to explore our dog grooming supplies. Keeping your pup looking their best is easier when you have the right tools and the knowledge to maintain them. You can even set up your favorite grooming supplies through our Autoship programme to ensure you never run out of the essentials while earning MVP Rewards on every purchase.
FAQ
Can I put my dog's brushes in the dishwasher?
While it might be tempting, we do not recommend putting pet brushes in the dishwasher. The high heat of the water and the intensity of the drying cycle can melt plastic components, warp wooden handles, and destroy the rubber pads on pin brushes. Furthermore, the detergent used in dishwashers is often too harsh for materials meant to touch a dog's skin. It is much safer to hand wash your tools in a bowl of warm, soapy water.
What is the grey stuff on my dog's brush?
The greyish or white residue you see on the brush is a combination of skin cells, dander, and dried sebum (skin oil). It can also trap environmental dust and microscopic debris from your dog's environment. This buildup is normal, but it should be cleaned off regularly. If left on the brush, it can become a breeding ground for bacteria and contribute to a lingering "dog odor" in your home.
How do I get the smell out of a dog brush?
If your brush smells like a "wet dog" even after a basic wash, vinegar is your best friend. Soak the brush in a solution of equal parts warm water and white vinegar for 20 minutes. The acetic acid in the vinegar neutralizes odors and breaks down the oily films that trap smells. Ensure you rinse it thoroughly afterward and dry it in a well-ventilated area with the bristles facing down.
Is it okay to use human hairbrush cleaners on dog brushes?
Generally, yes, as long as the cleaner is a physical tool like a rake or a comb designed to remove hair. However, avoid using liquid cleaners or sprays designed for human hairbrushes unless you check the ingredients first. Some human products contain fragrances or chemicals that can be irritating to a dog's sensitive skin. Sticking to mild pet shampoo or a gentle dish soap is the safest and most effective way to clean your dog's grooming gear.






