
 Save 15% on your 1st Autoship learn more

 Email us
 Live Chat
 FAQs
FAQs





Introduction
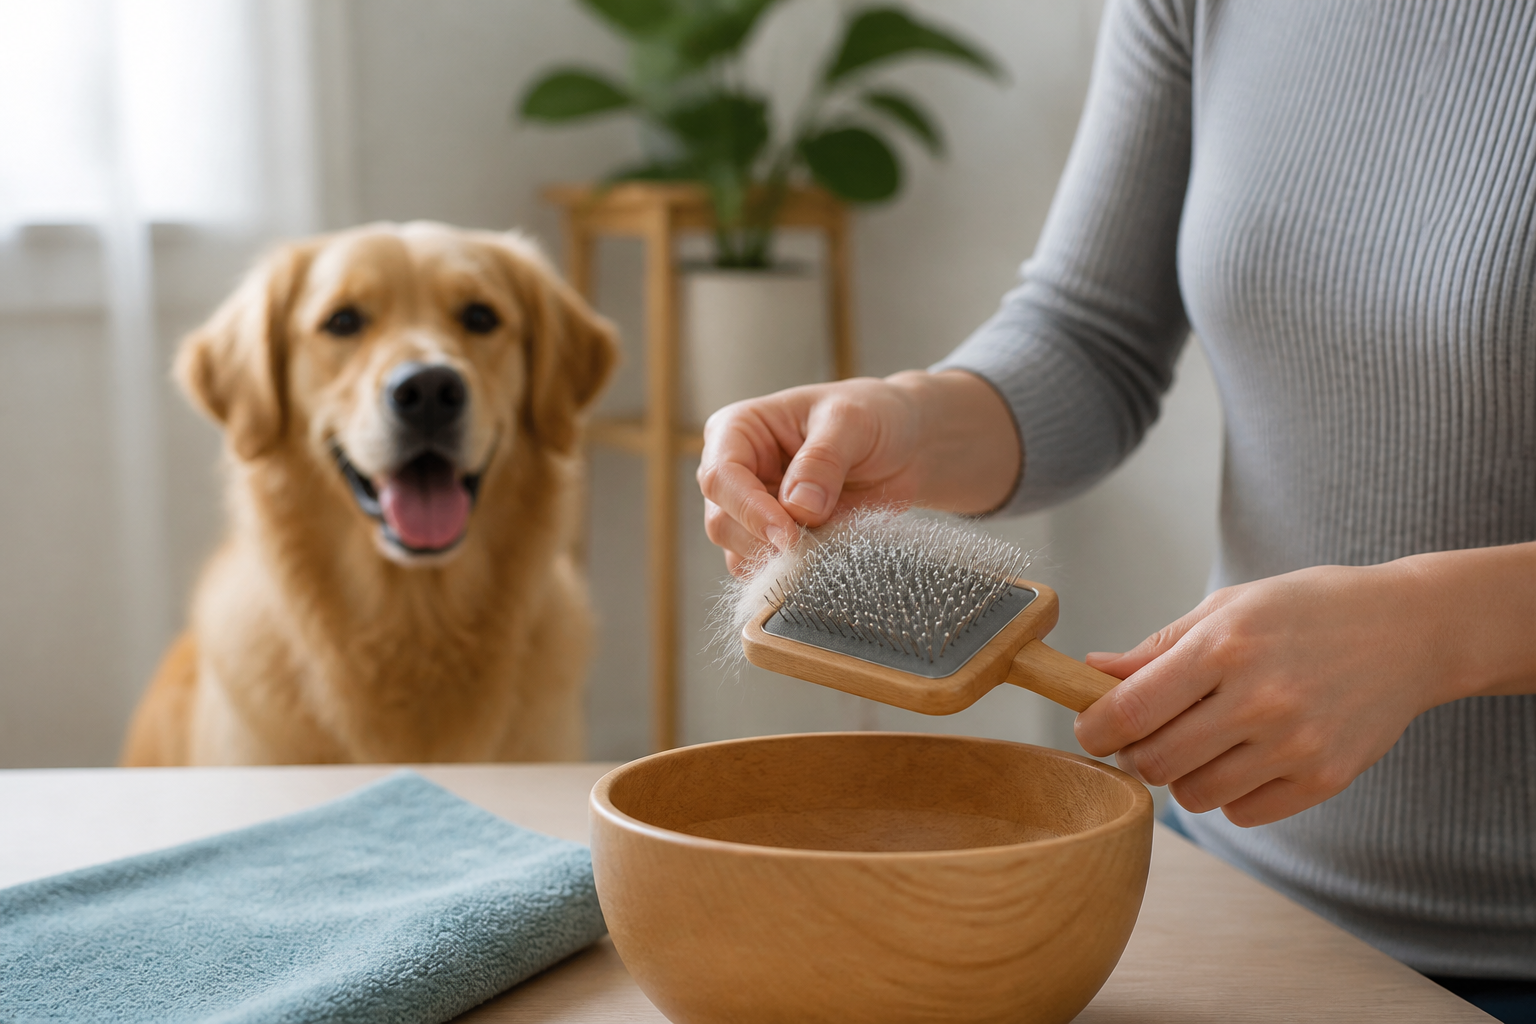
You just finished brushing your dog and the slicker brush looks like it grew its own coat. A thick layer of trapped fur, dander, and skin oils is woven tightly through those fine wire pins. If you leave that debris there, you are simply spreading old dirt and bacteria back onto your dog during the next session. At BaxterBoo, we know that clean tools are the secret to a healthy coat and a happy pet. This guide covers how to safely remove hair, deep clean the pins, and protect the delicate cushion of your favorite slicker brush. Keeping your tools in top shape ensures that grooming remains a comfortable experience for your dog.
Why Cleaning Your Slicker Brush Matters
A slicker brush is a powerhouse tool for removing mats and loose undercoat. Because the pins are so fine and closely spaced, they act like a magnet for everything hiding in your dog's fur. This includes dust, outdoor allergens, and dried saliva. If these particles stay trapped in the brush, they can become a breeding ground for bacteria.
Using a dirty brush can lead to skin irritation or even contribute to hot spots. Clean pins glide through the coat with less resistance. When the pins are clogged with hair, they cannot reach the undercoat effectively. This means you have to work harder, and your dog might feel more pulling and tugging. Regular maintenance also prevents the wire pins from rusting or the rubber cushion from rotting. For additional tools, explore our dog brushes and combs collection.
Key Takeaway: Clean brushes prevent the spread of bacteria and ensure that the wire pins can reach the undercoat without pulling on the skin.
The Daily Hair Removal Routine
You should remove the hair from your slicker brush after every single grooming session. This prevents the fur from becoming felted into the pins. When hair sits in the brush for a long time, it becomes much harder to pull out without bending the wires.
Manual Removal
For most standard slicker brushes, you can use your fingers to peel the layer of hair away. Start at the top of the brush head and lift the edge of the hair mat. Gently peel it downward toward the handle. If the hair is stuck deep near the cushion, do not use your fingernails to dig it out. This can scratch the protective coating on the pins.
Using a Grooming Comb
A fine-toothed metal comb is an excellent tool for cleaning a slicker brush. Slide the teeth of the comb between the rows of pins at the base of the brush. Lift upward gently to bring the hair to the surface. This method is much safer for the pins than using your hands alone.
Self-Cleaning Brushes
If you have a self-cleaning slicker brush, the process is even simpler. These brushes usually have a button that retracts the pins into the brush head. This leaves the hair sitting on a flat plastic surface. You can simply wipe the hair away and click the pins back into place. Even with these models, you still need to perform a deep clean occasionally to remove oils. A self-cleaning option is the Master Grooming Tools Self-Cleaning Slicker Brush.
Quick Answer: Remove hair after every use by peeling it away with your fingers or lifting it out with a metal comb. This prevents debris buildup and keeps the pins effective.
How to Deep Clean a Slicker Brush
A deep clean should happen about once a month, or more often if your dog has oily skin or spends a lot of time outdoors. You will need a few basic supplies that you likely already have in your home. Browse our dog grooming supplies for brushes, combs, and other care tools.
Step 1: Prepare the Cleaning Solution
Fill a small bowl with warm water. Add a few drops of a gentle pet shampoo or a mild dish soap. You can also use a mixture of equal parts warm water and white vinegar. Vinegar is excellent for cutting through skin oils and providing a light natural disinfectant.
Step 2: Clean the Pins
Use an old, soft toothbrush to scrub the pins. Dip the toothbrush into your cleaning solution and gently brush between the rows of wire. Focus on the area where the pins meet the cushion, as this is where oils and dander tend to collect.
Step 3: Protect the Cushion
This is the most important part of the process. Most slicker brushes have a rubber or fabric cushion that provides "give" while you brush. If water gets trapped behind this cushion, it can lead to mold or a foul smell. Never submerge the entire brush head in water. Instead, keep the brush face down and only let the pins and the surface of the cushion touch the water.
Step 4: Rinse and Dry
Wipe the pins with a clean, damp cloth to remove any soap residue. Do not hold the brush under a running faucet, as this can force water into the air hole of the cushion. Shake the brush firmly to remove any excess moisture from the pins.
Vet Tip: If your dog is currently dealing with a fungal or bacterial skin infection, you must disinfect your brushes after every use. Our pet pharmacy offers medicated shampoos and skin treatments that can help manage these conditions.
Disinfecting for Health and Safety
Sometimes a simple soap and water wash is not enough. If you use your brush on multiple pets, or if your dog has recently had fleas or a skin condition, you need to disinfect the tool.
You can use a 10% bleach solution (one part bleach to nine parts water) for a quick dip of the pins. Alternatively, use a pet-safe disinfectant spray. Spray the pins lightly and let the solution sit for the time recommended on the bottle. Always rinse the brush thoroughly after disinfecting. Residual chemicals can cause a reaction if they touch your dog's skin during the next grooming session.
- Check for rust before and after disinfecting.
- Ensure the disinfectant is safe for metal surfaces.
- Always rinse with plain water afterward.
- Dry the brush immediately to prevent corrosion.
Proper Drying Techniques
How you dry your brush is just as important as how you wash it. If moisture sits on the wire pins for too long, they will rust. Once a pin is rusted, it becomes abrasive and can cause microscopic scratches on your dog's skin.
Always dry your slicker brush with the pins facing down. You can lay it on a clean, dry towel. This allows any water that may have slipped behind the cushion to drain out through the air hole or the edges. Never use a hair dryer or place the brush on a radiator. High heat can warp the plastic body of the brush and cause the rubber cushion to become brittle and crack.
Key Takeaway: Always air dry your slicker brush with the pins facing down on a towel to prevent water from being trapped inside the cushion.
Maintaining Your Grooming Kit
Regular maintenance extends the life of your tools and saves you money. A high-quality slicker brush can last for years if you treat it well. Store your brushes in a dry area. Avoid keeping them in a damp bathroom or a humid garage.
Inspect the pins before every use. Wire pins can occasionally bend or lose their protective tips. If you notice pins that are sticking out at odd angles, try to gently bend them back with needle-nose pliers. However, if the protective coating on the tips of the pins has worn away, it is time for a replacement. Raw wire can be very sharp and uncomfortable for your dog.
We carry a wide variety of replacement brushes from trusted brands like Kong and RC Pets. You can also explore our selection of BASS Brushes products for additional grooming options. If you find that you are replacing brushes frequently, consider our Autoship programme. This allows you to have new grooming supplies delivered on your schedule while earning savings and MVP Gold membership benefits.
When to Replace Your Slicker Brush
No brush lasts forever. Even with the best care, the materials will eventually break down. You should look for specific signs that your brush has reached the end of its life.
- Rust: Any sign of orange or brown oxidation on the pins means the brush belongs in the trash.
- Loose Cushion: If the rubber pad is peeling away from the plastic frame, water and bacteria will get trapped inside.
- Missing Pins: Gaps in the pins mean the brush will not distribute pressure evenly, which can lead to skin irritation.
- Brittle Plastic: If the handle or head feels "crunchy" or shows cracks, it could snap during a grooming session and potentially injure your pet.
Bottom line: If the pins are rusted, bent, or missing their protective tips, replace the brush immediately to protect your dog's skin.
Advanced Cleaning for Professional Results
If you have a dog with a very oily coat, like a Cocker Spaniel or a Labrador, your brush might develop a sticky residue that soap cannot move. In these cases, a small amount of rubbing alcohol on a cotton ball can help. Wipe the pins individually to dissolve the stubborn oils.
Another trick is to use a high-velocity dryer if you have one for your dog. After washing the brush, use the dryer on a cool setting to blast the water out from between the pins and the cushion. This is the fastest way to ensure no moisture stays trapped.
If you are managing a senior pet with sensitive skin, the cleanliness of your tools is even more vital. Older dogs often have thinner skin that is more prone to infection. Using a fresh, clean slicker brush ensures you are not introducing pathogens while you help them stay tidy. If you notice any new lumps, bumps, or skin changes while grooming your senior dog, please consult your veterinarian for a professional exam. For another maintenance-focused resource, read our guide to healthy dog paw pads and routine care.
Summary of Best Practices
Cleaning your slicker brush does not have to be a chore. By incorporating small steps into your daily routine, you can keep your tools in professional condition.
- Daily: Remove all hair with a comb or your fingers after every session.
- Weekly: Wipe down the handle and the back of the brush with a damp cloth to remove oils from your hands.
- Monthly: Perform a deep clean using warm water and vinegar or pet shampoo, focusing on the pins and avoiding soaking the cushion.
- Always: Dry the brush pins-down on a towel away from direct heat sources.
Taking care of your gear is an essential part of being a great pet owner. It shows that you value your dog's comfort and health. At BaxterBoo, we have been helping pet owners find the right tools for their furry friends since 2006. Whether you need a new slicker brush, a specialized deshedding tool, or a gentle shampoo for your deep cleaning routine, our grooming tools collection is here to help.
FAQ
How do I get hair out of a slicker brush that is stuck deep in the pins?
The best way to remove deep-seated hair is to use a metal grooming comb or a wooden skewer. Gently slide the tool along the base of the cushion and lift upward. Avoid using sharp metal objects like needles, as these can puncture the rubber cushion or scratch the protective coating on the wire pins.
Can I put my dog's slicker brush in the dishwasher?
You should never put a slicker brush in the dishwasher. The high heat can melt the plastic and ruin the glue holding the cushion in place. Additionally, the harsh detergents used in dishwashers can cause the metal pins to rust almost instantly. Always wash your grooming tools by hand using gentle pet-safe soaps.
Why does my slicker brush smell bad even after I clean it?
A bad smell usually indicates that water has been trapped inside the rubber cushion and has grown mold or mildew. This often happens if the brush was submerged in water or stored in a damp place. If the smell persists after a thorough cleaning and drying, it is safest to replace the brush to avoid transferring mold spores to your dog's skin.
Is it safe to use rubbing alcohol to disinfect my dog's brush?
Rubbing alcohol can be used to clean the metal pins, but use it sparingly. It is very effective at breaking down oils and killing bacteria. However, alcohol can cause some types of rubber and plastic to become dry and brittle over time. If you use alcohol, wipe it on with a cotton ball rather than soaking the brush, and ensure it has evaporated completely before use.






