
 Save 15% on your 1st Autoship learn more

 Email us
 Live Chat
 FAQs
FAQs





Introduction
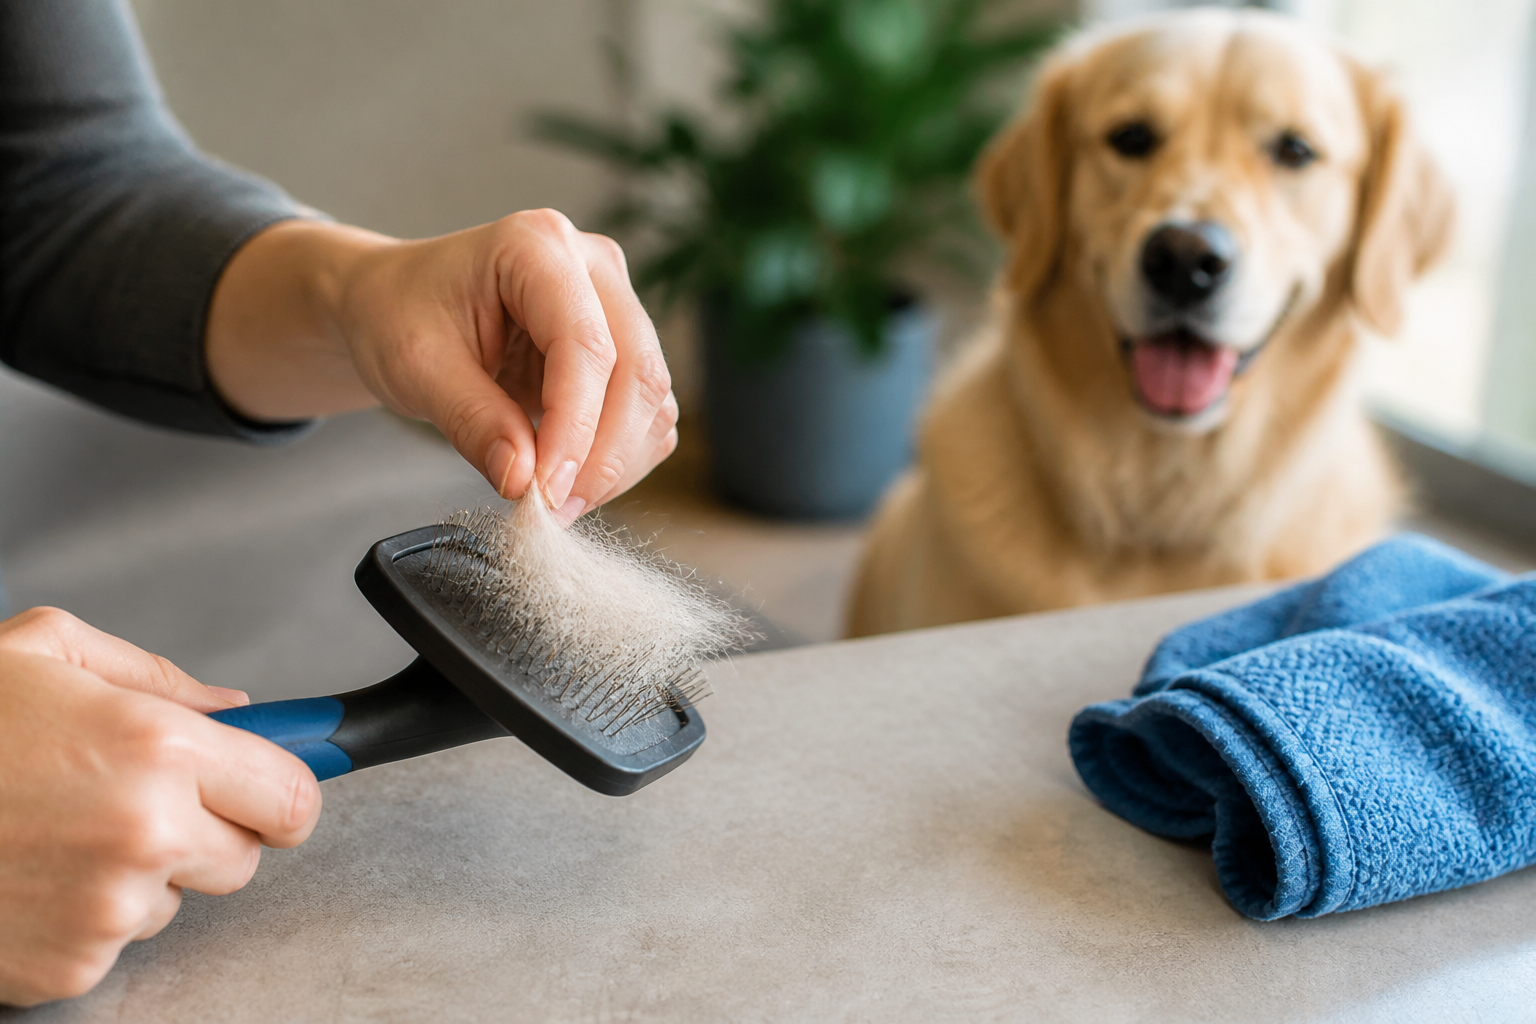
You just finished a long grooming session and your dog’s coat looks shiny and smooth. When you look down at your brush, you see a thick mat of hair, dander, and skin oils trapped between the bristles. It is tempting to toss the tool back into the drawer, but a dirty brush can actually redeposit grime onto your dog during the next session. At BaxterBoo, we believe that maintaining your equipment is just as important as the grooming itself. Proper care prevents the spread of bacteria and ensures your tools last for years. This post covers the best methods for removing stubborn hair and deep cleaning different types of dog brushes. Following these steps will help you keep your dog’s skin healthy and your grooming routine efficient.
Quick Answer: Start by removing loose fur with a comb or your fingers. Soak the brush in warm water mixed with dog shampoo or vinegar for about 20 minutes to loosen oils and dander. Rinse thoroughly and let the brush air dry with the bristles facing downward.
Why Cleaning Your Dog Brush Is Essential
Most pet owners focus on the hair they can see. However, the debris you cannot see is often more problematic. Every time you run a brush through your dog’s coat, the bristles pick up dead skin cells, natural oils, and environmental allergens like pollen or dust. If you do not clean the tool, these materials build up and create a breeding ground for bacteria.
Using a dirty brush can lead to skin irritation. If your dog has a minor scratch or sensitive skin, a bacteria-laden brush can introduce infection. This is especially important for dogs prone to hot spots or fungal issues. Clean bristles also glide through the coat more easily. This reduces pulling and makes the experience more comfortable for your pet.
Maintaining your tools also saves money. Quality brushes are an investment in your dog’s care. Hair and oil buildup can weaken bristles or cause rubber pads to perish prematurely. By taking a few minutes to clean your gear, you ensure that your favorite slicker or pin brush remains effective for a long time.
Removing Trapped Hair Effectively
The first step in any cleaning routine is getting the physical hair out of the way. Depending on the brush type, this can be the most frustrating part of the process. You want to be thorough without damaging the bristles or the base.
Using a Tail Comb
A metal tail comb is one of the most effective tools for this job. Insert the long, thin end of the comb at the base of the bristles. Gently lift upward to pull the hair away from the brush pad. Work in small sections across the entire surface. This method works exceptionally well for slicker brushes where the fine wire teeth tend to trap hair tightly at the bottom. You can find similar tools in our dog grooming tools collection.
Toothpicks and Skewers
If you are dealing with a pin brush or a boar bristle brush, hair can get wrapped around individual pins. A wooden toothpick or a bamboo skewer allows for precision. You can hook the hair and pull it up without scratching the rubber pad. This is a slow process but it is necessary for removing those deep, stubborn knots of fur.
Using Your Fingers
For general maintenance after every session, your fingers are often enough. Pinch the hair at the base and pull it straight out. This prevents the hair from becoming a dense mat that requires more heavy-duty tools later.
Key Takeaway: Always remove the bulk of the hair before getting the brush wet. Wet hair shrinks and tightens, which makes it much harder to remove from the base of the bristles.
Deep Cleaning Your Brushes
Once the hair is gone, you still need to deal with the oils and dander. A simple soak is usually the best way to break down these biological materials.
The Shampoo Method
Dog shampoo is formulated to break down pet oils and dander. Fill a bowl or your sink with warm water. Add two or three squirts of your favorite dog shampoo. We carry many gentle options in our dog shampoo and conditioner category. Submerge the bristles in the water. If the brush has a wooden handle or a fabric pad, do not submerge the whole thing. Instead, dip just the bristles into the solution. Let it sit for 15 to 20 minutes.
The Vinegar Solution
Vinegar is an excellent natural cleaner. It helps cut through tough grease and acts as a mild disinfectant. Mix equal parts white vinegar and warm water in a bowl. This is a great choice if your dog has a particularly oily coat or if the brush has a slight odor. Soak the bristles for up to 30 minutes.
Scrubbing the Base
After soaking, use an old toothbrush to scrub the base of the brush. This helps dislodge any remaining dander or dirt that the soak loosened. Pay close attention to the areas where the bristles meet the pad. This is where most of the grime accumulates.
Vet Tip: If your dog is currently being treated for a skin infection or parasites like fleas, consult your veterinarian about specific disinfecting protocols for your grooming tools. Our pet pharmacy for dogs offers prescription shampoos and treatments that may require specific cleaning steps for your gear.
Disinfecting and Sanitizing
Cleaning removes visible dirt, but disinfecting kills germs. This step is vital if you share brushes between multiple pets or if your dog has recently recovered from a skin condition.
Step 1: Prepare a sanitizing solution. / You can use a dedicated pet-safe disinfectant or a very diluted bleach solution of one part bleach to ten parts water.
Step 2: Apply the disinfectant. / Dip the bristles into the solution or use a spray bottle to coat them.
Step 3: Wait and rinse. / Let the disinfectant sit for about ten minutes before rinsing it away with clean, cool water.
You can also use isopropyl alcohol for a quick sanitize. Simply wipe down the bristles and the handle with a cloth soaked in alcohol. It evaporates quickly and kills most surface bacteria.
How to Dry Your Brushes Properly
Drying is a step that many pet owners get wrong. If you leave a brush to dry with the bristles facing up, water can seep into the handle or under the rubber pad. This trapped moisture often leads to mold or mildew growth. It can also cause wooden handles to rot or crack.
Always lay your brushes on a clean towel with the bristles facing down. This allows the water to drain away from the base and the handle. If you have a dish rack, you can prop the brushes up at an angle. Ensure the room has good airflow to speed up the process. Do not use a hairdryer on a high heat setting. Intense heat can melt plastic bristles or damage the glue holding the brush together.
Bottom line: Drying your brush bristle-side down is the best way to prevent mold and protect the structural integrity of the tool.
Special Care for Different Brush Types
Different tools require different levels of care. A one-size-fits-all approach might damage your favorite grooming gear.
Slicker Brushes
Slicker brushes have fine, bent wire pins. These pins are delicate. When cleaning out hair, avoid using too much force. If you bend the pins, the brush will become scratchy and uncomfortable for your dog. Use a soft-bristled toothbrush for the deep clean to avoid catching the wires.
Pin Brushes
Many pin brushes have a small hole in the rubber pad. This is a vent that allows the pad to flex. If you submerge these brushes, water will enter that hole. It is almost impossible to get the water out once it is inside. To clean these, use a damp cloth and a small brush to clean the surface rather than soaking the entire head.
Bristle Brushes
Natural bristle brushes, like those made from boar hair, can be cleaned similarly to human hairbrushes. They are excellent at distributing oils. Because they are so dense, they require a longer soak to ensure the cleaning solution reaches the center of the bundles.
Rubber Curry Combs
These are the easiest to clean. Since they are usually one solid piece of rubber or silicone, you can toss them in the top rack of the dishwasher or soak them completely in hot, soapy water. They are very durable and dry quickly.
When to Replace Your Dog Brush
No matter how well you clean it, every brush eventually reaches the end of its life. Using a damaged brush can hurt your dog. Check your tools once a month for signs of wear.
- Missing or broken pins: Sharp edges can scratch the skin.
- Cracked handles: These can pinch your hand or break during use.
- Peeling rubber pads: If the pad is separating from the base, bacteria will grow underneath.
- Persistent odors: If a brush smells musty even after a deep clean, mold is likely present inside the head.
We have been providing high-quality grooming tools since 2006. If your current brush is showing these signs, it is time to browse our dog grooming collection for a replacement.
Maintaining a Clean Grooming Area
Cleaning the brush is only half the battle. You should also wipe down your grooming table or the area where you work. Hair and dander settle on surfaces and can quickly find their way back onto your freshly cleaned tools.
Keep your brushes in a dry, cool place. Avoid storing them in a humid bathroom where mold is more likely to grow. If you have a large collection of gear, consider a dedicated grooming bag or a plastic bin with a lid. This keeps dust off your tools between sessions.
If you find that grooming has become a chore because of the mess, consider our Autoship program for your cleaning supplies. You can have shampoo and disinfectants delivered regularly. This ensures you never have to skip a cleaning session because you ran out of supplies.
Summary of Best Practices
Cleaning your dog's brush does not have to be a difficult task. Consistency is the key to keeping your tools in top shape.
- Remove loose hair after every single use to prevent matting.
- Deep clean and soak your brushes at least once a month.
- Always dry tools with the bristles facing down to protect the handles and pads.
- Inspect for damage regularly to keep your dog safe from scratches.
Key Takeaway: A clean brush is a safer brush. Regular maintenance protects your pet's skin health and extends the life of your grooming equipment.
Conclusion
Taking the time to clean hair out of your dog brush is a simple act of pet care that yields big results. It keeps your dog’s coat cleaner, protects their skin from bacteria, and ensures your grooming tools remain effective for years. Whether you use a simple vinegar soak or a professional-grade disinfectant, the effort is well worth it. At BaxterBoo, we want to help you make grooming a positive experience for both you and your pet. Keeping your tools in peak condition is the first step toward a happy, healthy dog with a beautiful coat. For your next deep clean, consider checking our dog grooming supplies to make the job even easier.
FAQ
How often should I clean my dog's brush?
You should remove the visible hair after every grooming session. A deep clean with soap and water should happen at least once a month. If your dog has skin issues or is very oily, you may want to deep clean the brush every two weeks to prevent bacteria buildup.
Can I use human dish soap to clean a dog brush?
Dish soap is very effective at cutting through oils, so it can be used on plastic or rubber brushes occasionally. However, it can be harsh on natural bristles or wooden handles. For the best results and to ensure no irritating residues are left behind, we recommend using a gentle dog shampoo.
How do I remove mold from a dog brush?
If you see mold on a brush with a rubber pad or wooden handle, it is usually safest to replace it. Mold can grow deep inside the crevices where cleaning solutions cannot reach. If the brush is solid plastic or silicone, you can soak it in a 10% bleach solution for 10 minutes to kill the spores.
What is the best way to clean a slicker brush without bending the pins?
Use a metal tail comb to gently lift the hair from the base of the pins. Avoid pulling horizontally against the wires. When scrubbing with a toothbrush during the deep clean, use very light pressure and move in the direction the pins are bent.






