
 Save 15% on your 1st Autoship learn more

 Email us
 Live Chat
 FAQs
FAQs





Introduction
You just finished a long grooming session with your short-haired dog. The rubber curry brush did a great job pulling out that loose undercoat. Now, the brush is covered in a sticky layer of gray dander, skin oils, and dead hair. This is a common sight for many of us who rely on these effective tools. At BaxterBoo, we know that a great grooming session is only half the battle. Maintaining your gear is what keeps your pet healthy and your tools lasting for years. This guide will walk you through the most effective ways to sanitize your rubber grooming tools. You will learn how to break down oils and remove every last hair. Taking care of your equipment ensures that every brush stroke remains hygienic for your dog.
Quick Answer: To clean a rubber dog brush, first pull out loose hair by hand or with a comb. Soak the brush in a mix of warm water and pet shampoo or white vinegar for fifteen minutes. Scrub the bristles with an old toothbrush, rinse thoroughly, and air dry with the bristles facing down.
Why Rubber Brushes Require Special Care
Rubber brushes are unique compared to pin or slicker brushes. They are often made of one solid piece of flexible material. Brands like Kong make popular versions that many of us use during bath time. Because the material is soft and often porous, it acts like a magnet for sebum. Sebum is the natural oil produced by your dog's skin. When this oil builds up on the rubber, it creates a tacky surface. This surface traps dust and bacteria.
If you do not clean these tools, you are essentially rubbing old oil and germs back onto your dog. This can lead to clogged pores or skin irritation. Rubber can also degrade if it stays covered in oils or is exposed to harsh chemicals. We have seen many owners let their brushes sit in a grooming bag for months. When they pull them out, the rubber feels sticky or has a sour smell. This is a sign of bacterial growth and material breakdown.
Proper maintenance prevents these issues. It also ensures the rubber tips stay flexible and effective. A clean brush moves through the coat more easily. It also provides a better massage for your dog. This massage is important for blood flow and coat health. Keeping the rubber clean means you are always starting with a fresh surface.
Step 1: Removing Stubborn Hair and Debris
The first step in the process is mechanical removal. You cannot skip this part and go straight to soaking. If you submerge a hair-covered brush, you will just end up with a soggy mess. The water makes the hair clump together and stick harder to the rubber.
Start by using your fingers to pull away the largest clumps. For the hair that is trapped deep between the rubber nubs, use a fine-tooth comb. A metal comb works well to rake through the channels of the brush. You can also use a pair of tweezers for individual hairs that are stuck in the corners.
Key Takeaway: Always remove 95 percent of the hair while the brush is dry. Water acts as a glue for fine dander and short hair on rubber surfaces.
Tools for Dry Cleaning
- A fine-tooth metal comb.
- An old, dry toothbrush.
- A pair of tweezers.
- A high-velocity dryer or a can of compressed air.
Using compressed air is a trick we often use in our warehouse area when cleaning displays. It blows out the fine dust that fingers cannot reach. Once the brush looks mostly hair-free, you are ready for the wet cleaning phase.
For additional grooming tools, browse our dog brushes and combs collection.
Step 2: Choosing the Best Cleaning Solution
Not all cleaners are safe for rubber. You want something that breaks down animal fats and oils without drying out the material. We generally recommend three main options.
The first option is a gentle pet shampoo. Since you already use this on your dog, you know it is safe. It is designed to cut through pet oils. The second option is a mixture of white vinegar and water. Vinegar is a natural degreaser and has mild antibacterial properties. It is also very affordable. The third option is a mild dish soap. This is the strongest degreaser but should be used sparingly.
| Solution Type | Benefit | Best For |
|---|---|---|
| Pet Shampoo | Gentle and safe | Regular weekly cleanings |
| White Vinegar | Natural degreaser | Removing odors and hard water |
| Dish Soap | Heavy duty | Very oily or neglected brushes |
Avoid using products with bleach or ammonia for the initial soak. These can cause some types of rubber to become brittle over time. They can also leave a residue that might irritate your dog's skin during the next grooming session. We always suggest sticking to the most natural option that gets the job done.
You can also explore our dog grooming collection for shampoos, conditioners, brushes, and other grooming supplies.
Step 3: The Soaking and Scrubbing Process
Once you have your solution ready, it is time to soak. Fill a small basin or bowl with warm water. Do not use boiling water as it can warp the rubber or weaken any adhesives if the brush has a handle. Add a few drops of your chosen cleaner and stir it until it is sudsy.
Step 1: Submerge the brush. Place the rubber brush in the water with the bristles facing down. Let it sit for at least fifteen to twenty minutes. This time allows the oils to loosen.
Step 2: Scrub the channels. Take an old toothbrush or a dedicated small scrub brush. Work the bristles between every row of rubber nubs. This is where the gray "gunk" tends to hide. Use circular motions to lift the debris.
Step 3: Pay attention to the handle. If your brush has a handle or a hand strap, clean those areas too. Sweat and oils from your own hands accumulate there.
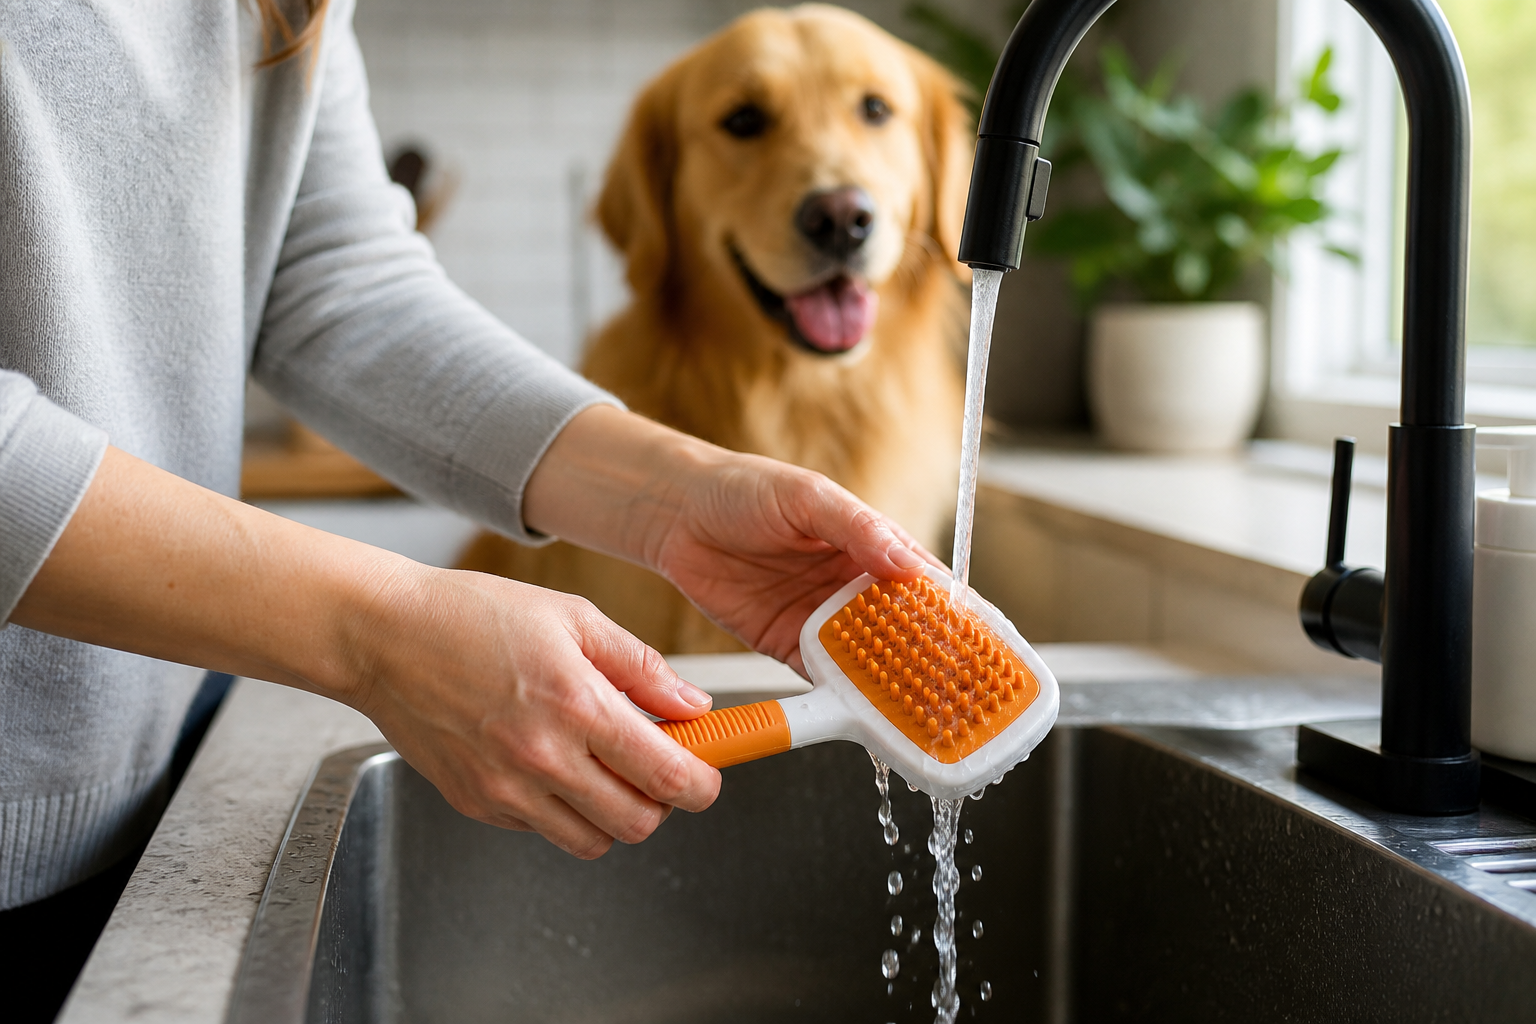
Step 4: Rinse thoroughly. Hold the brush under a stream of warm running water. Keep rinsing until the water runs clear and you no longer see bubbles. Any soap left behind will make the brush slippery and could cause skin flakes on your dog.
Bottom line: A twenty-minute soak is the secret to removing the invisible oily film that standard rinsing leaves behind.
For bath-time tools that can also help loosen hair, see our bath and shower supplies.
Step 4: Disinfecting to Prevent Bacteria Spread
If you use the same brush on multiple pets, disinfection is mandatory. Even for a single-pet household, it is a good idea to disinfect once a month. This kills yeast and fungal spores that might be living on the tool.
You can use a pet-safe disinfectant spray or a very diluted bleach solution. If using bleach, the ratio should be one part bleach to thirty-two parts water. However, many of us prefer using a specialized enzymatic cleaner. These are designed to eat away at organic matter.
After disinfecting, you must rinse the brush one more time. This ensures no chemical smell remains. Dogs have a very sensitive sense of smell. A brush that smells like strong chemicals can make them want to avoid the grooming session. We want grooming to be a positive experience. A neutral-smelling tool helps keep the dog relaxed.
Vet Tip: If your dog is currently dealing with a skin infection or fleas, disinfect your brushes after every single use. This prevents you from reinfecting the skin or spreading parasites during the next session.
Proper Drying and Storage Techniques
Drying is the most overlooked part of the process. If you put a damp rubber brush away in a closed drawer, it will grow mold. Rubber can trap moisture in small crevices. This creates the perfect environment for mildew.
Always dry the brush with the bristles facing down. This allows the water to pull away from the base of the brush and drip off the tips. If you dry it with the bristles up, water can pool at the bottom. This is especially true for brushes that have a hollow center or a fabric backing.
Place the brush on a clean towel in a well-ventilated area. Avoid placing it in direct sunlight. While UV rays can kill bacteria, long-term sun exposure breaks down rubber. It makes the material fade, crack, and lose its elasticity. Once the brush is completely dry to the touch, store it in a cool and dry place. A breathable mesh bag is a better choice than a plastic bin.
For more bathing and coat-care guidance, read these dos and don'ts for bathing your dog.
The Connection Between Clean Tools and Skin Wellness
At BaxterBoo, we see many owners who struggle with their dog's chronic skin issues. Sometimes the culprit is not the food or the environment. It can be the tools used for daily care. A dirty brush can introduce bacteria into small micro-tears in the skin. This is common during deshedding when the brush is used repeatedly in one area.
If you notice your dog has red bumps, crusty skin, or an unusual odor, it is time to check your grooming kit. A clean brush should never leave a residue on the coat. If you see black or gray flakes after brushing, that is likely a mix of old skin oils and dirt from the brush.
For pets with ongoing skin conditions, we recommend professional-grade solutions. Our pharmacy carries FDA-approved medications through our partnership with Pet's Choice. This includes medicated shampoos and topical treatments for allergies or infections. Using a clean brush to apply these products can improve their effectiveness. Always consult your veterinarian if you notice persistent skin problems. They can provide a diagnosis and a prescription that we can fill for you.
Key Takeaway: Hygiene is a pillar of preventative health. A clean brush supports a healthy skin barrier and reduces the risk of secondary infections.
For related care ideas, explore our dog skin and coat care selection.
Knowing When to Replace Your Rubber Brush
Even with the best cleaning routine, rubber tools do not last forever. You should inspect your brush every time you clean it. Look for signs of wear that could harm your dog or make the tool less effective.
One major sign is the rounding of the nubs. On a new brush, the rubber tips are often blunt but have defined edges. Over time, these wear down. When they become too smooth, they no longer "grab" the loose hair. You will find yourself brushing longer with fewer results.
Another sign is cracking. If you see small cracks at the base of the rubber bristles, it is time for a new one. These cracks are impossible to clean. They trap bacteria and can pinch your dog's skin or pull on their hair. If the rubber feels hard or brittle instead of soft and squishy, the material has reached the end of its life.
Replacement Checklist
- Are the rubber tips significantly shorter or rounded?
- Do you see visible cracks or splitting in the material?
- Does the brush have a sticky residue that will not come off with soap?
- Are any of the bristles missing or broken?
We carry a wide selection of replacement options. Brands like Kong and Safari offer durable rubber tools that provide great value. Keeping a fresh brush in your kit ensures your grooming sessions remain efficient.
For another option, see our selection of BASS Brushes products.
Conclusion
Cleaning your rubber dog brush is a simple task that makes a big difference. By removing hair, soaking away oils, and disinfecting regularly, you protect your pet's skin and prolong the life of your gear. We recommend a deep clean at least once a month for most dogs. If you have a very oily breed or use the brush during baths, weekly cleaning is better.
Remember to dry your tools thoroughly and store them away from direct heat. This keeps the rubber flexible and effective for years. If you need a new brush or specialized cleaning supplies, we are here to help. Check out our dog grooming collection to find the best tools for your dog's coat type. You can also join the MVP Rewards programme to earn points on every grooming purchase. Taking these small steps in tool maintenance shows your dog the care they deserve.
FAQ
Can I put a rubber dog brush in the dishwasher?
While some high-quality rubber brushes are dishwasher safe, we generally advise against it. The high heat in many dishwashers can warp the rubber or cause it to degrade faster. Additionally, the dog hair and oils can clog your dishwasher's filter. Hand washing with warm water and pet shampoo is much safer for the tool and your appliances.
How often should I clean my dog's rubber brush?
For a dog that is brushed daily, a quick hair removal should happen after every use. A deep soak and scrub should occur every one to two weeks. If you only use the brush for monthly baths, you should clean it immediately after the bath and ensure it dries completely before storing it.
Why does my rubber brush still feel sticky after washing it?
Stickiness is usually caused by a buildup of skin oils that have partially oxidized. If standard pet shampoo does not work, try a soak in a mixture of warm water and grease-cutting dish soap. If the stickiness persists after a heavy-duty cleaning, the rubber may be breaking down. In this case, it is safer to replace the brush.
Is it safe to use rubbing alcohol on a rubber brush?
You can use a quick wipe of rubbing alcohol for disinfection, but do not soak the brush in it. Alcohol can strip the moisture from the rubber and cause it to crack over time. If you use alcohol, rinse the brush thoroughly afterward and apply a tiny bit of food-grade mineral oil to the rubber if it looks dry.






