
 Save 15% on your 1st Autoship learn more

 Email us
 Live Chat
 FAQs
FAQs





Introduction
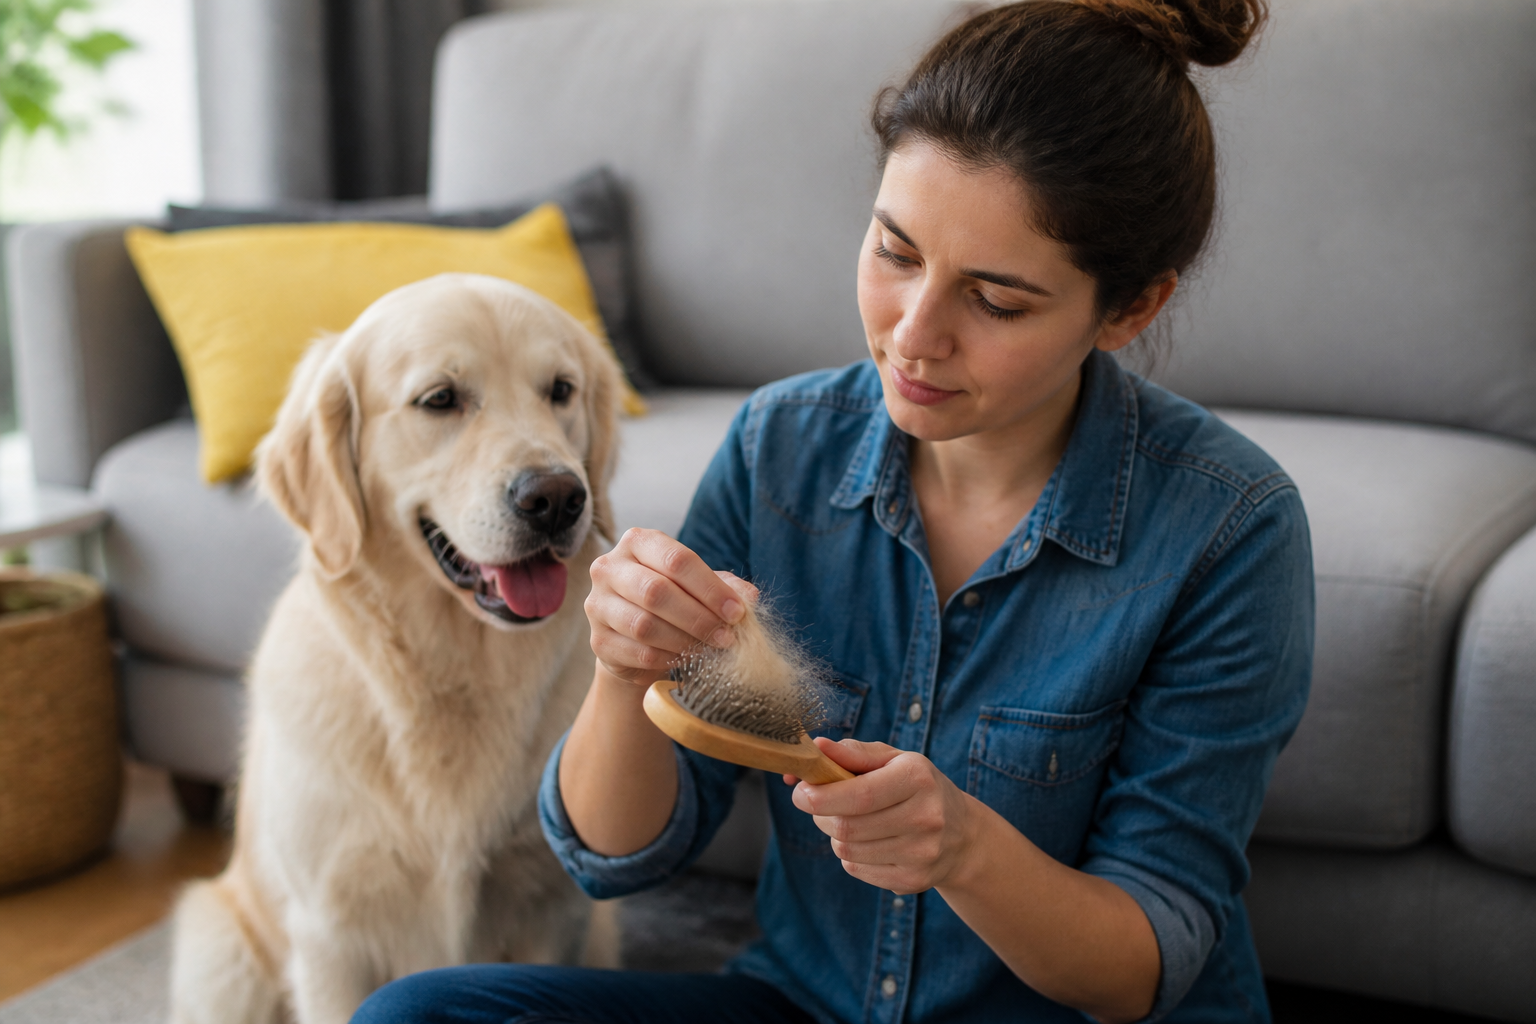
You just finished a great grooming session. Your dog looks fantastic. Then you look down at your brush. It is a tangled mess of fur and grey dander. Getting that hair out can feel like a real chore. At BaxterBoo, we know that a clean brush is a better brush. We want to show you the easiest ways to keep your grooming tools in top shape. Cleaning your gear helps your dog's skin stay healthy. It also makes your next grooming session much faster. This guide covers everything from quick hair removal to deep disinfecting steps. Taking care of your tools is an important part of pet ownership.
Quick Answer: To get hair out of a dog brush, use a metal comb or a toothpick to lift the fur away from the base. For a deeper clean, soak the brush in warm water mixed with pet shampoo or white vinegar for 20 minutes.
Why Cleaning Your Brush Matters
Most pet owners think about the hair they see. However, the debris you cannot see is often more important. Brushes collect dead skin cells, oils, and dander. If you do not clean the brush, you are just pushing that old dirt back onto your dog. This can lead to skin irritation. It can also cause the brush to smell over time.
A clean brush also lasts longer. When hair builds up at the base of the pins, it puts pressure on the pad. This can cause the pins to bend or fall out. We see many customers who have to replace brushes early because they were not maintained. Keeping the bristles clear ensures the tool works as intended. It allows the brush to reach down to the skin to distribute natural oils.
Starting with Dry Hair Removal
You should remove the loose fur after every single use. This prevents a thick mat from forming at the bottom of the bristles. If you wait too long, the hair becomes felted. This makes it much harder to remove without damaging the brush.
Using Your Hands and Basic Tools
The simplest way is to use your fingers. Pinch the hair at the edges and lift it upward. If the hair is packed tight, you might need a bit of help. A common household toothpick is a great tool for this. Slide the toothpick under the hair layer near the base. Lift gently to pull the hair toward the ends of the pins.
The Two-Tool Method
Professional groomers often use one tool to clean another. If you have a metal greyhound comb, use it. Slide the teeth of the comb through the bristles of the brush. Start at the handle end and pull toward the top. This acts like a rake. It pulls the hair out in one or two large clumps. You can also use another brush. Rubbing two brushes together can sometimes loosen the fur, though a comb is usually more effective.
For additional options, browse our dog brushes and combs.
Key Takeaway: Always remove the visible hair after every grooming session to prevent dander buildup and matting within the tool itself.
Deep Cleaning Your Dog Brushes
Removing the hair is only the first step. You also need to wash the brush to remove oils and bacteria. We recommend doing a deep clean once a month. If your dog has skin issues or allergies, you should do this more often.
Preparing a Cleaning Solution
Fill a bowl with warm water. Do not use boiling water as it can melt plastic or ruin the glue on the brush pad. Add a few drops of a gentle pet shampoo. We carry many high-quality brands at BaxterBoo that are perfect for this. You can also use white vinegar. Mix one part vinegar with one part water. Vinegar is excellent for breaking down stubborn oils and neutralizing odors.
You can find shampoos and other supplies in our dog grooming collection.
The Soaking Process
Place the brush in the water. If the brush has a wooden handle or a fabric pad, do not submerge it entirely. Only soak the bristles. For all-plastic or rubber brushes, you can drop the whole thing in. Let it sit for about 20 to 30 minutes. This loosens the dander and skin cells that are stuck to the pins.
Scrubbing the Base
After soaking, use an old toothbrush to scrub the base of the pins. This gets into the small crevices where a comb cannot reach. Rinse the brush thoroughly under running water. Make sure all the soap or vinegar is gone. If you leave soap residue, it could irritate your dog's skin during the next use.
Disinfecting Your Grooming Tools
Disinfecting is vital if you have multiple pets. It prevents the spread of skin conditions or pests like mites. Even if you only have one dog, bacteria can grow on a damp brush.
Step 1: Create a mild bleach solution. / Use one part bleach to ten parts water.
Step 2: Dip the bristles. / Dip only the bristles into the solution for about five minutes.
Step 3: Rinse again. / Rinse very thoroughly with cool water to ensure no bleach remains.
If you prefer to avoid bleach, you can use a pet-safe disinfecting spray. Some owners use ultraviolet light boxes. These are effective at killing germs without using chemicals. Whatever method you choose, make sure the tool is safe for your dog's skin afterward.
Vet Tip: If your dog is currently dealing with a fungal infection or parasites, clean and disinfect your brushes after every use. Consult your veterinarian for specific advice on preventing re-infection during treatment.
Handling Specific Brush Types
Different brushes require different care. A slicker brush is very different from a rubber curry brush. You must adjust your cleaning style to avoid breaking the tool.
Slicker Brushes
Slicker brushes have fine, bent wire pins. These are very sharp and can bend easily. Never use a heavy hand when raking hair out of a slicker brush. Use a fine-toothed comb and work slowly. If you bend the wires, they can scratch your dog's skin.
Pin Brushes
Pin brushes often have a rubber pad. This pad has a small air hole. If water gets inside that hole, it can grow mold. When washing a pin brush, try to keep the pad dry. If it does get wet, squeeze the pad several times to force the water out.
Bristle Brushes
Natural bristle brushes, like those made with boar hair, are the hardest to clean. Hair gets trapped deep in the tufts. A cleaning rake or a dedicated brush cleaner tool is best here. You should also be careful with the type of soap you use. Natural bristles can dry out and become brittle if you use harsh detergents.
For another perspective on brushing techniques, read how to groom a dog with curly hair.
Drying and Storage
How you dry your brush is just as important as how you wash it. Never leave a wet brush in a closed drawer. This creates a perfect environment for mold and mildew.
The Proper Drying Position
Always dry your brushes with the bristles facing down. You can lay them on a clean towel or an old dish rack. Placing them face down allows the water to drip out of the handle and the pad. If you dry them face up, water pools at the base. This can rot wooden handles or ruin the adhesive that holds the pins in place.
Proper Storage Conditions
Store your brushes in a cool, dry place. A bathroom is often too humid for long-term storage. A dedicated grooming kit in a closet is a better choice. Keep your tools out of reach of your pets. Dogs often view brushes as chew toys, and a chewed handle can lead to splinters or swallowed plastic.
Key Takeaway: Proper drying prevents mold growth and extends the life of your grooming tools. Always dry brushes face down on a clean towel.
When to Replace Your Dog Brush
No brush lasts forever. You should inspect your tools every time you clean them. Look for signs of wear that could hurt your pet.
- Missing pins or bristles.
- Bent wires on slicker brushes.
- Cracked plastic or wooden handles.
- A lingering smell even after washing.
- Cracked or peeling rubber pads.
If you notice these issues, it is time for a new one. We carry over 500 brands, including favorites like Kong and RC Pets. You can also explore our selection of BASS Brushes when you need a replacement.
Using our Autoship programme is a great way to stay on top of your pet's needs. You can set up recurring deliveries for essentials like shampoo and brushes. This also gives you a discount on your orders and a free MVP Gold membership.
Hygiene and Your Pet's Health
Maintaining clean tools is a major part of skin health. Dirty brushes can hide signs of issues like hot spots or fleas. When the brush is clean, you can see exactly what is coming off your dog's coat.
Our pharmacy is a great resource if you notice skin issues while grooming. If you see redness, bumps, or excessive dander, it might be time for a prescription shampoo or a skin treatment. You can review our dog pharmacy with guidance from your veterinarian.
Bottom line: Clean tools lead to a healthier coat and allow you to spot skin problems earlier.
Summary of the Cleaning Process
Keeping your grooming kit in order does not have to be difficult. It just needs to be a habit.
- Remove hair after every use with a comb or your fingers.
- Soak brushes monthly in warm, soapy water.
- Use vinegar to remove oils and odors.
- Disinfect regularly, especially in multi-pet homes.
- Dry thoroughly face down to prevent rot and mold.
Taking these steps ensures your BaxterBoo gear stays in great shape for years. Your dog will appreciate the clean, comfortable feeling of a well-maintained brush. It turns grooming from a messy chore into a bonding experience.
FAQ
How often should I take the hair out of my dog's brush?
You should remove the hair after every grooming session. This prevents the fur from matting into the bristles, which makes it much harder to clean later. Regular removal also ensures the brush can effectively reach your dog's skin.
Can I use dish soap to clean my dog's grooming tools?
While dish soap is good at cutting grease, it can be very harsh on certain brush materials. It is better to use a mild pet shampoo or a vinegar and water solution. This protects the bristles and ensures no harsh chemicals are transferred to your dog's skin.
Why does my dog's brush smell even after I remove the hair?
The smell usually comes from a buildup of skin oils and bacteria on the bristles and pad. To fix this, you need to deep clean the brush by soaking it in a mixture of water and white vinegar. This will neutralize the odors and break down the old oils.
What is the best way to get hair out of a slicker brush?
A metal grooming comb is the most effective tool for cleaning a slicker brush. Gently slide the comb through the wire pins from the base to the tips. Be careful not to pull too hard, as you do not want to bend the fine wires.






