
 Save 15% on your 1st Autoship learn more

 Email us
 Live Chat
 FAQs
FAQs





Introduction
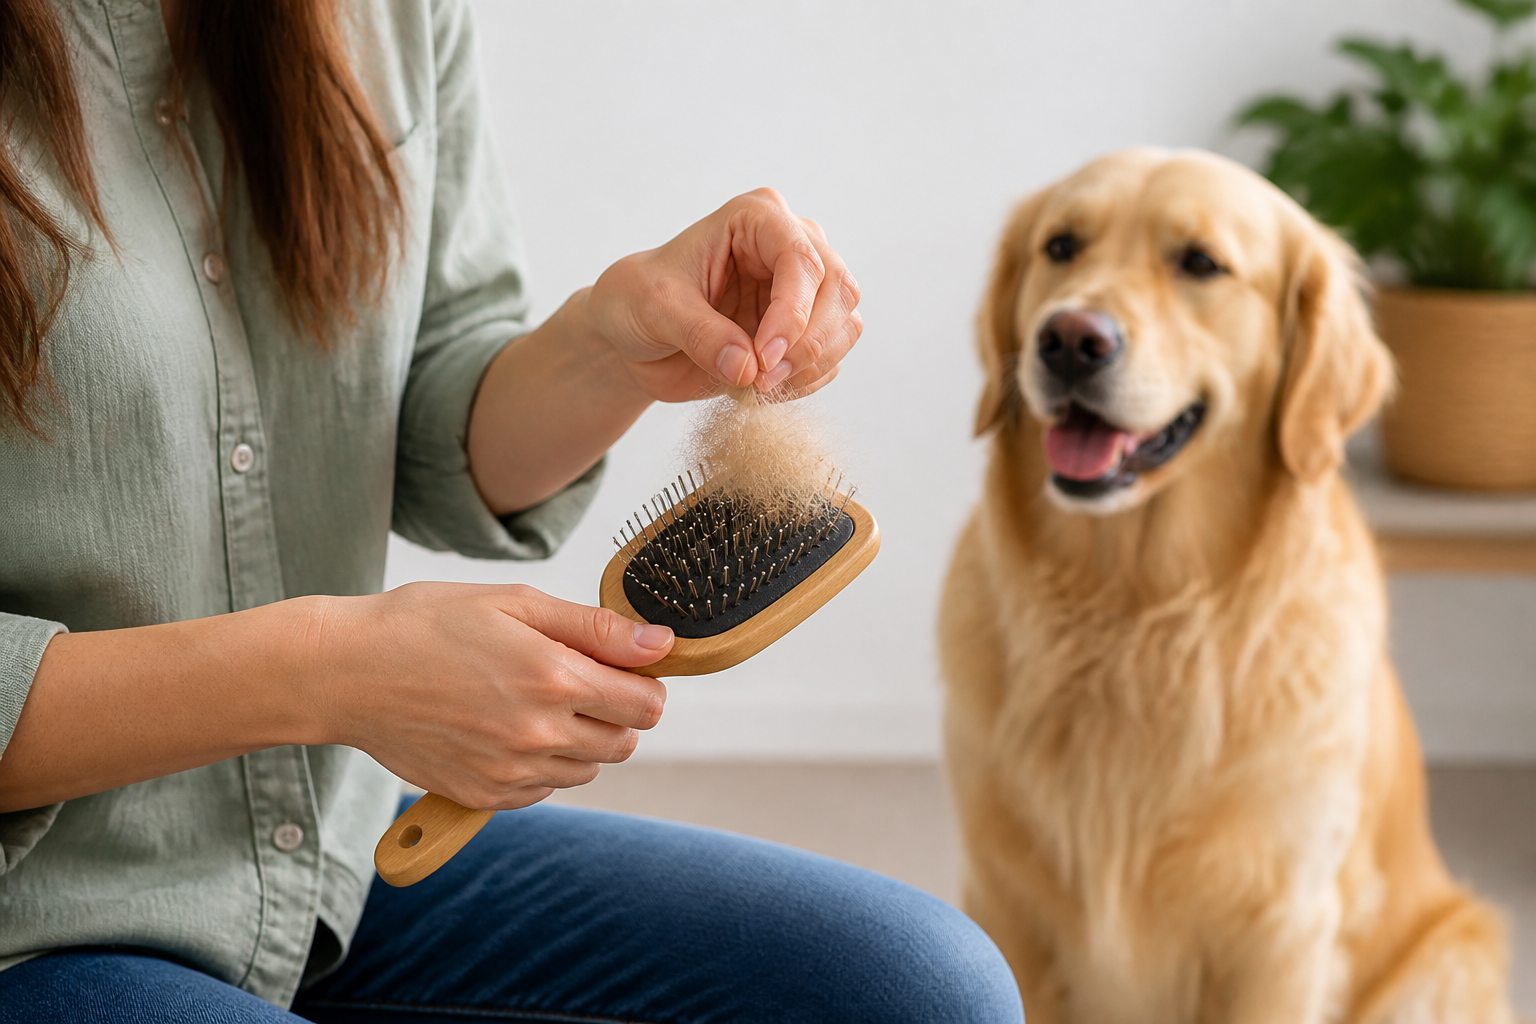
You just spent thirty minutes brushing your dog. Their coat is shiny and smooth. However, your favorite slicker brush now looks like a small, furry animal. The bristles are completely buried under a thick layer of matted hair and grey dander. This is a common sight for any dedicated pet owner. Cleaning your tools is just as important as the grooming session itself. A dirty brush can redeposit dirt, oils, and allergens back onto your dog’s skin. At BaxterBoo, we believe that well-maintained gear leads to a healthier pet. This guide will show you exactly how to clear out that stubborn fur. We will also cover the best ways to deep clean and sanitize your grooming kit. Keeping your brushes clean ensures they last longer and perform better every time you use them.
The Importance of a Clean Dog Brush
A dog brush acts as a magnet for more than just hair. Every time you pull those bristles through a coat, you are collecting dead skin cells. You are also picking up sebum, which is the natural oil produced by your dog’s skin. Over time, these oils can turn rancid. They can also create a sticky surface that traps dust and outdoor allergens like pollen.
If you do not remove this buildup, you are essentially brushing your dog with a dirty sponge. This can lead to skin irritation or even a duller coat. For dogs with sensitive skin or allergies, a dirty brush can trigger a flare-up. Regular cleaning keeps the bristles flexible and effective. It also gives you a chance to inspect your tools for damage. Broken pins or cracked pads can scratch your dog. By keeping things clean, you ensure a comfortable experience for your pet.
Quick Answer: To remove fur, use a fine-tooth comb to rake through the bristles from the base. For a deep clean, soak the brush in warm water and pet shampoo for ten to fifteen minutes before rinsing and air-drying.
Tools You Will Need
You do not need expensive equipment to maintain your grooming tools. Most of these items are already in your home. Having a dedicated cleaning kit makes the process faster.
- A fine-tooth metal comb or an old hair comb.
- A pair of scissors for stubborn mats.
- An old toothbrush for scrubbing the base.
- A bowl or basin large enough to fit the brush head.
- Pet-safe shampoo or white vinegar.
- A clean, dry towel.
- A toothpick or wooden skewer for pin brushes.
Using the right cleaning agents is vital. We recommend using the same pet shampoo you use on your dog. This ensures there are no harsh chemicals or scents that might irritate their skin later. If you prefer a natural option, white vinegar is excellent for cutting through greasy buildup. You can also browse our dog grooming supplies for brushes, combs, shampoos, and other grooming tools.
Manual Fur Removal Techniques
The first step is always removing the physical hair. If the brush is packed tight, water alone will not help. You need to get as much fur out as possible while the brush is dry.
The Raking Method
This is the most effective way to clear a slicker brush or a dense pin brush. Take your metal comb and insert it at the base of the bristles. Start at one end of the brush head. Gently lift the comb upward. The metal teeth of the comb will catch the hair and pull it away from the brush pad. Work your way across the entire surface. You might need to do this two or three times to get every layer. A Master Grooming Tools Ergonomic Slicker Dog and Cat Brush is one example of the type of brush that benefits from this technique.
The Scissors Technique
Sometimes, the fur is so tightly packed that it felted into a solid mat. This often happens with long-haired breeds or during heavy shedding seasons. If the comb cannot get underneath the hair, use small scissors. Carefully snip through the layer of fur in several places. Be very careful not to cut the rubber pad or the bristles. Once you have made a few cuts, the hair should come away in smaller, manageable chunks. For additional coat-care guidance, read our tips for grooming dogs with curly hair.
The Toothpick Trick
Pin brushes can be tricky because the hair wraps around the base of each individual pin. A comb might skip over these tight loops. Use a toothpick or a wooden skewer to reach between the pins. Slide it along the rubber pad to lift the hair. Once the hair is lifted, you can grab the clump with your fingers and pull it off.
Key Takeaway: Always remove hair while the brush is dry. Adding water to a fur-clogged brush creates a soggy mess that is much harder to extract.
Deep Cleaning and Soaking
Once the hair is gone, you will likely see a layer of grey or brown residue. This is a mix of dander and dried oils. A deep soak is the only way to break this down. If you need replacement cleaning products for the process, explore our dog shampoo and conditioner collection.
Step 1: Fill a bowl with warm water. / Ensure the water is not boiling, as high heat can damage rubber pads or melt plastic glue.
Step 2: Add a small amount of cleaner. / Use a tablespoon of pet shampoo or a half-cup of white vinegar. Mix until it is sudsy or well blended.
Step 3: Submerge the bristles. / Place the brush face down into the water. If the brush has a fabric pad or a wooden handle, do not submerge the whole tool. Only let the bristles sit in the liquid.
Step 4: Soak for fifteen minutes. / This time allows the soap to penetrate the grease. If the brush is very dirty, you can leave it for up to thirty minutes.
Step 5: Scrub the base. / Use an old toothbrush to gently scrub the spaces between the bristles. Pay close attention to the areas where the bristles meet the pad.
Step 6: Rinse thoroughly. / Run the brush under cool, clean water. Make sure all soap suds are gone. Any leftover soap can cause skin itching the next time you use the brush.
Special Care for Different Brush Types
Not all brushes are built the same way. The cleaning method you choose should match the material of your tool.
Slicker Brushes
Slicker brushes have fine, bent wire pins. These pins are delicate. When raking out the hair, do not use too much force. If you bend the pins out of shape, the brush will no longer move through the coat correctly. Always dry slicker brushes with the pins facing down. This prevents water from trapped in the handle or behind the pad.
Bristle Brushes
Natural or nylon bristle brushes act like a broom for your dog’s coat. They trap very fine dust. These brushes benefit the most from a soapy soak. However, natural boar bristles can become brittle if they stay wet for too long. Limit their soak time to ten minutes. Use a wide-tooth comb to clear hair from these, as fine combs can pull out the bristles.
Rubber Brushes and Deshedders
Tools like the Kong ZoomGroom are made of solid rubber. These are the easiest to clean. You can often just rinse them under a high-pressure faucet to knock the hair loose. They are also usually top-rack dishwasher safe, but always check the manufacturer's instructions first.
Wooden Brushes
Wood is porous. If you soak a wooden handle, it may swell and crack. It can also grow mold inside the wood grain. For these tools, use a damp cloth to wipe down the handle. Only dip the bristle part into your cleaning solution. Dry them immediately with a towel. Our dog brushes and combs category includes options for different coat types and grooming routines.
Sanitizing for Health and Hygiene
Basic cleaning removes dirt, but sanitizing kills bacteria and fungi. This is vital if you have multiple pets. Using the same dirty brush on two different dogs can spread skin conditions or parasites.
If your dog is currently dealing with a skin infection, you must be very diligent. Our pharmacy carries treatments for a variety of pet health needs. However, those treatments work best when your grooming tools are also sterile.
To sanitize, you can use a 10% bleach solution. Mix one part bleach with nine parts water. Dip the bristles for just a few seconds, then rinse very thoroughly. Alternatively, use a specialized pet-safe disinfectant spray. These are often easier on the materials than bleach.
Vet Tip: If your dog has a history of skin allergies or frequent "hot spots," consult your veterinarian about a hygiene routine. They may recommend specific medical-grade cleansers for your grooming tools to prevent re-infection.
Drying and Storage
How you dry your brush is just as important as how you wash it. Improper drying leads to rust and mold. After rinsing, shake the brush vigorously over a sink to remove excess water.
Place the brush on a clean towel with the bristles facing down. This is the golden rule of brush maintenance. If you dry a brush with the bristles facing up, water drains into the pad. In many slicker and pin brushes, there is a small pocket of air behind the rubber. Trapped water in this pocket stays damp for days. This leads to a musty smell and can rot the tool from the inside out.
Store your brushes in a dry, well-ventilated area. Avoid keeping them in a damp basement or a humid bathroom. If you live in a very humid climate, consider keeping your grooming kit in a plastic bin with a few silica gel packets. For more guidance on keeping grooming routines comfortable and effective, see these dog bathing dos and don'ts.
When to Replace Your Dog Brush
Even the best brushes do not last forever. We carry many high-quality brands like RC Pets and Jackson Galaxy, but eventually, every tool wears out. You should inspect your gear once a month.
Look for these warning signs:
- Missing or broken pins.
- The rubber pad is pulling away from the frame.
- Cracks in the plastic or wood handle.
- A persistent bad smell even after washing.
- Rust on metal bristles.
Using a damaged brush is risky. A broken pin can have a sharp edge that slices your dog’s skin. If the pins are no longer firm, they will not reach the undercoat. This makes your grooming sessions less effective. If you notice these issues, it is time to browse for a new one.
Maintenance Schedules
You do not have to wait for the brush to be completely clogged to clean it. A little maintenance goes a long way.
- Daily: Pull out visible hair after every use.
- Weekly: Use a comb to rake out the dander and fine fur.
- Monthly: Perform a deep soak and scrub.
If your dog is a heavy shedder, like a Husky or a Golden Retriever, you may need to deep clean every two weeks. For short-haired breeds, once a month is usually plenty. If seasonal shedding is a concern, learn more about managing a dog’s shedding.
Bottom line: Regular hair removal and a monthly deep soak will double the lifespan of your grooming tools.
Conclusion
A clean brush makes grooming a better experience for both you and your dog. By following a simple routine of raking, soaking, and drying, you keep your pet’s coat healthy and shiny. It prevents the spread of bacteria and ensures your tools stay in top condition for years. At BaxterBoo, we want to help you make pet care as easy as possible. Keeping up with these small tasks prevents bigger problems like skin irritation later on. To keep your grooming kit fully stocked, consider joining the MVP Rewards program. You can earn points on every purchase of brushes, shampoos, and deshedding tools to save on your future orders.
FAQ
How often should I remove the hair from my dog's brush?
You should remove the hair after every single grooming session. Leaving fur in the bristles allows oils and dander to settle and harden, which makes deep cleaning much more difficult later. A quick rake with a comb takes less than thirty seconds and keeps the brush ready for next time.
Can I put my dog's brush in the dishwasher?
Most brushes with rubber pads, wooden handles, or fine wire pins should never go in the dishwasher. The high heat and intense water pressure can melt the glue, warp the wood, or cause the pins to fall out. Only solid plastic or solid rubber grooming tools are generally safe for the top rack of a dishwasher.
Is it safe to use dish soap to clean a dog brush?
While dish soap is great at cutting grease, it can be very harsh. If any residue is left on the brush, it could cause a dry or itchy reaction on your dog's skin. It is much safer to use a gentle pet shampoo, as these are formulated for the correct pH balance of a dog's skin.
What is the best way to get the "doggy smell" out of a brush?
The smell is usually caused by bacteria feeding on trapped skin oils. A soak in a mixture of warm water and white vinegar is the best way to neutralize these odors naturally. Ensure the brush dries completely with the bristles facing down to prevent mold, which is another common source of bad smells.






