
 Save 15% on your 1st Autoship learn more

 Email us
 Live Chat
 FAQs
FAQs





Introduction
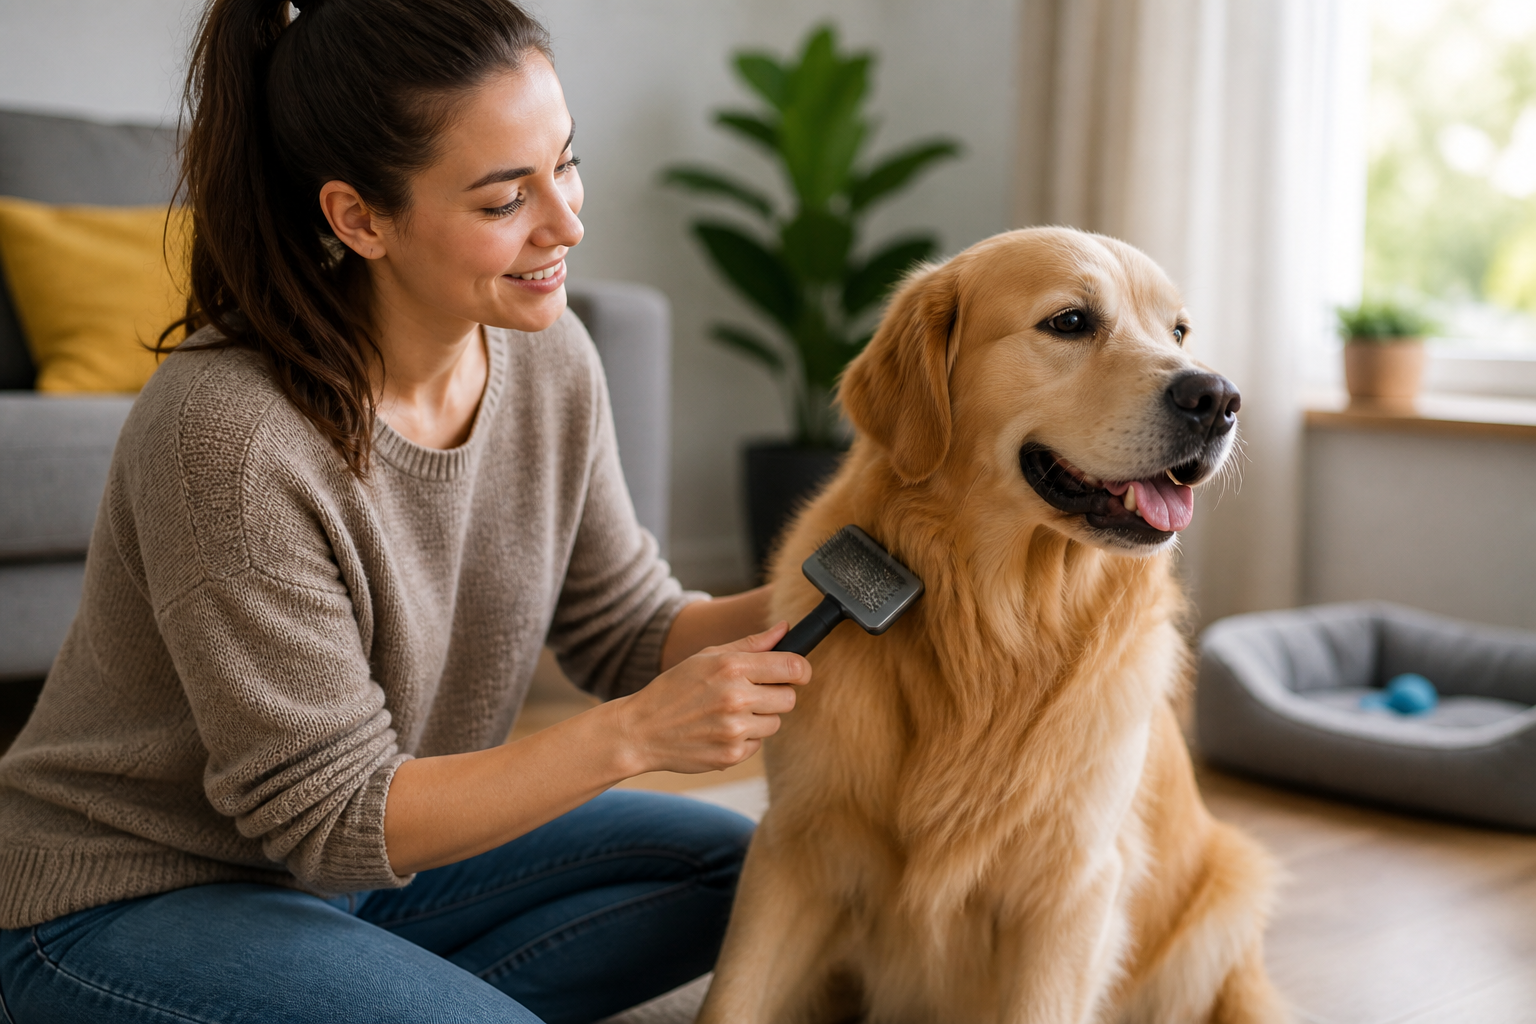
You are sitting on the floor with your dog after a long walk. You notice small burrs or tangles forming in their thick coat. You reach for a brush, but it seems to just glide over the top of the fur without actually removing the knots underneath. This is a common frustration for owners of Poodles, Golden Retrievers, and Doodles. At BaxterBoo, we know that having the right tool is only half the battle. To keep your dog comfortable and their coat healthy, you need to master the technique behind the tools. This post covers the specific steps for the pat and pull method, how to handle different coat types, and how to avoid skin irritation. Mastering the slicker brush will help you maintain a salon-quality finish at home while strengthening the bond with your pet.
Quick Answer: To use a slicker brush correctly, employ the pat and pull method. Gently place the pins into the fur and pull away from the skin in short, controlled strokes. Always brush in the direction of hair growth and work in small sections to avoid pulling on the skin.
Understanding the Slicker Brush
A slicker brush is easily identified by its rectangular or slightly curved head. It features rows of fine, thin wire pins that are usually angled at the tips. These pins are designed to reach through the topcoat and into the undercoat to pull out loose fur and break up tangles. Unlike a standard bristle brush that mostly smooths the surface, the slicker brush is a heavy duty worker. It is the primary tool for preventing mats, which are clumps of fur that can become tight and painful if left alone. You can compare different options in our dog brushes and combs collection.
The flexibility of these brushes varies. Some have firm pads and stiff pins for dense, thick coats. Others have soft pads and flexible pins for puppies or dogs with sensitive skin. Using the wrong firmness can result in a brush that is either ineffective or too harsh. If you have a dog with a wiry coat, like a Terrier, or a double coat, like a Husky, this brush is likely already a staple in your grooming kit.
The Professional Pat and Pull Method
The most common mistake owners make is dragging the brush through the fur like they are brushing their own hair. This can cause the pins to scrape against the skin, leading to a painful condition called brush burn. Professional groomers avoid this by using the pat and pull technique. This method focuses on controlled movements rather than long, sweeping strokes.
Step 1: Lift a section of the coat. Use your non-dominant hand to hold a section of fur upward. This reveals the skin and the base of the hair.
Step 2: Pat the brush into the fur. Gently place the pins of the slicker brush into the hair just below where you are holding it. Do not press hard against the skin.
Step 3: Pull the brush away. Move the brush in a steady motion out and away from the dog's body. Use your arm and shoulder rather than flicking your wrist.
Step 4: Move to the next section. Release a small amount of the fur you are holding and repeat the process. This is often called line brushing because it creates a clear line of brushed hair as you work.
Key Takeaway: The pat and pull method ensures you reach the base of the coat where mats start. It protects the skin by keeping the brush movement directed away from the body rather than across the skin surface.
Listening to the Brush
One of the most useful tips for using a slicker brush is to pay attention to the sound it makes. When the pins move through a coat that has tangles or loose undercoat, you will hear a distinct "tink-tink" or a light rasping sound. This is the sound of the wire pins meeting resistance.
As the section becomes clean and free of tangles, the sound will change. It becomes much quieter and the brush glides smoothly. If you still hear that rattling sound, there is still work to do in that area. This auditory feedback is a great way to know when you have truly finished a section without having to constantly stop and check with a comb.
Brushing Tips for Different Coat Types
Not all dogs require the same pressure or frequency when using a slicker brush. The density of the fur determines how you should approach the grooming session. Using a high quality brush from our selection of BASS Brushes products can make a big difference in how these techniques feel for your dog.
Curly and Wavy Coats
Poodles and Doodles have hair that grows continuously. This hair traps loose fur within the curls, which quickly leads to mats. For these dogs, you must use the slicker brush daily. Focus on high friction areas like the armpits, behind the ears, and where the collar sits. Always follow up your slicker brushing with a metal comb to ensure you did not miss anything deep near the skin. For additional guidance, read how to groom a dog with curly hair.
Double Coats
Breeds like Labradors, German Shepherds, and Golden Retrievers have a soft undercoat and a tougher outer coat. During shedding season, the undercoat detaches in large amounts. The slicker brush is excellent for grabbing this loose fluff. For these dogs, use a firm slicker brush with longer pins to reach through the thick top layer.
Wiry Coats
Terriers often have a crisp, wiry texture. A slicker brush helps remove dead hair and debris like dried mud or burrs. Since their skin can be quite sensitive, choose a brush with coated tips or a softer pad. Use light pressure and focus on the "furnishings," which is the longer hair on the legs and face.
Vet Tip: If you notice your dog's skin is consistently red, flaky, or has a strong odor after brushing, consult your veterinarian. These can be signs of underlying allergies or skin infections that may require medicated treatments. You can find skin support products and prescription diets through our pet pharmacy.
Managing Mats and Tangles
When you hit a knot, your first instinct might be to pull harder. This is exactly what you should not do. Pulling on a mat tightens the knot and hurts the dog. Instead, use the edge of the slicker brush. Use very short, gentle picking motions to slowly separate the fibers.
If the mat is particularly stubborn, apply a detangling spray to the area first. Let it sit for a minute to lubricate the hair shafts. If a mat is tight against the skin and cannot be moved, do not try to cut it out with scissors. This is a common way pets get accidental skin cuts. In these cases, it is safer to see a professional groomer who can use clippers to safely remove the clump. For difficult tangles, consider the Master Grooming Tools Coat Mat and Tangle Splitter.
- Never pull directly on a knot with the full face of the brush.
- Work from the ends of the hair toward the skin.
- Use a detangling spray to reduce friction.
- Reward your dog with a treat after tackling a difficult spot.
Safety and Skin Protection
Skin health is the most important part of grooming. Slicker brushes have sharp pins. If you use too much pressure or brush the same spot repeatedly, you can cause abrasions. To check if you are using too much pressure, try the brush on the inside of your own forearm. If it feels scratchy or leaves red marks, you are being too heavy handed.
Avoid using the slicker brush on areas with very thin hair, such as the bridge of the nose or the very tips of the ears. A soft bristle brush or a small comb is a better choice for these sensitive spots. Always keep the brush clean. A brush full of old hair cannot reach the skin effectively and may spread bacteria if the pins are dirty. Our dog grooming supplies can help you assemble a complete at-home grooming kit.
Key Takeaway: Grooming should be a positive bonding experience. If your dog becomes anxious or tries to move away, take a break. Forcing the process can lead to a lifetime of grooming fear.
Choosing the Right Slicker Brush
Selecting the right tool at BaxterBoo involves looking at the size of the brush head and the length of the pins. A large brush might be faster for a Saint Bernard, but it will be impossible to use on a Toy Poodle. The Master Grooming Tools Ergonomic Slicker Dog and Cat Brush is one available option for brush-outs and mat removal.
Pin Firmness
Firm pins are best for thick, coarse hair or heavy de-matting. Soft pins are better for fine hair, puppies, or dogs with thin skin. Many professional groomers keep both on hand. They use the firm brush for the body and the soft brush for the legs and tail.
Handle Ergonomics
If you have a large dog, you might be brushing for thirty minutes or more. Look for a handle with a rubber grip or an ergonomic shape. This prevents hand fatigue and allows you to maintain the "pull" motion more accurately. The ergonomic design of the Master Grooming Tools slicker brush can be useful for longer grooming sessions.
Self-Cleaning Options
Some slicker brushes have a button that retracts the pins. This leaves the collected hair on a flat surface, making it easy to wipe away. While these are convenient, they are often bulkier. Make sure the size of the head still allows you to reach the dog's armpits and belly comfortably.
Bottom line: A slicker brush is most effective when the pin length matches the depth of your dog's coat and the firmness matches their skin sensitivity.
Maintenance and Care for Your Brush
A good slicker brush can last for years if you take care of it. After every session, remove all the hair. If the brush has a lot of dander or oils on it, you can wash the pins with warm water and a tiny drop of dog shampoo. Make sure to dry it thoroughly with a towel and leave it pins-down to air dry. This prevents water from sitting in the pad, which can lead to mold or rust.
Check the pins regularly. If they become bent or the tips lose their protective coating, it is time for a replacement. Bent pins can snag the hair and cause pain. Keeping your tools in top shape ensures that every grooming session is as efficient as possible. For another approach to brushing and bathing, see these tips for bathing your dog.
Conclusion
Using a slicker brush is an essential skill for any dog owner dealing with longer or thicker coats. By using the pat and pull method and working in small sections, you can keep your dog's fur free of painful mats and tangles. Remember to listen to the sound of the brush and always prioritize skin safety. Regular grooming sessions are about more than just looks. They are a chance to check for lumps, bumps, or parasites while spending quality time together. Visit BaxterBoo to find the perfect slicker brush for your dog's specific coat type. You can also save on grooming supplies and treats by signing up for our Autoship programme or earning rewards through the MVP Rewards programme.
FAQ
How often should I use a slicker brush on my dog?
For dogs with long or curly hair, you should use a slicker brush at least three times a week, though daily is best to prevent mats. For dogs with shorter double coats, once or twice a week is usually enough to manage shedding. Always brush more frequently during the spring and fall when dogs typically blow their coats.
Can I use a slicker brush on a short haired dog?
Slicker brushes are generally not recommended for very short, smooth coated dogs like Boxers or Greyhounds. The sharp pins can easily reach and scratch their skin because there is no thick coat to provide a buffer. For these breeds, a rubber curry brush or a soft bristle brush is a much safer and more effective choice.
What should I do if my dog hates being brushed?
Start by introducing the brush slowly and using high value treats to create a positive association. Brush for only a minute at a time and reward your dog frequently. Ensure you are using the pat and pull method so you aren't accidentally scraping their skin or pulling on knots, which can cause them to fear the brush.
How do I know if I am causing brush burn?
Brush burn appears as red, irritated, or scraped skin after a grooming session. You can prevent this by checking the skin frequently while you work and ensuring the pins are not making direct, heavy contact with the body. If you see the skin turning pink, move to a different area or use a lighter touch immediately.






