
 Save 15% on your 1st Autoship learn more

 Email us
 Live Chat
 FAQs
FAQs





Introduction
You reach for a brush after a long walk in the woods and notice your dog’s coat has become a magnet for burrs and tangles. Using a slicker brush seems straightforward until you realize you are only skimming the surface while thick mats form hidden near the skin. At BaxterBoo, we see many pet owners who want that salon-quality look at home but worry about scratching their dog’s sensitive skin with wire pins. This guide explains the exact techniques professional groomers use to keep coats healthy and free of painful knots. Mastering the slicker brush is about more than just aesthetics. It is a vital part of your dog's skin health and comfort.
Understanding the Slicker Brush
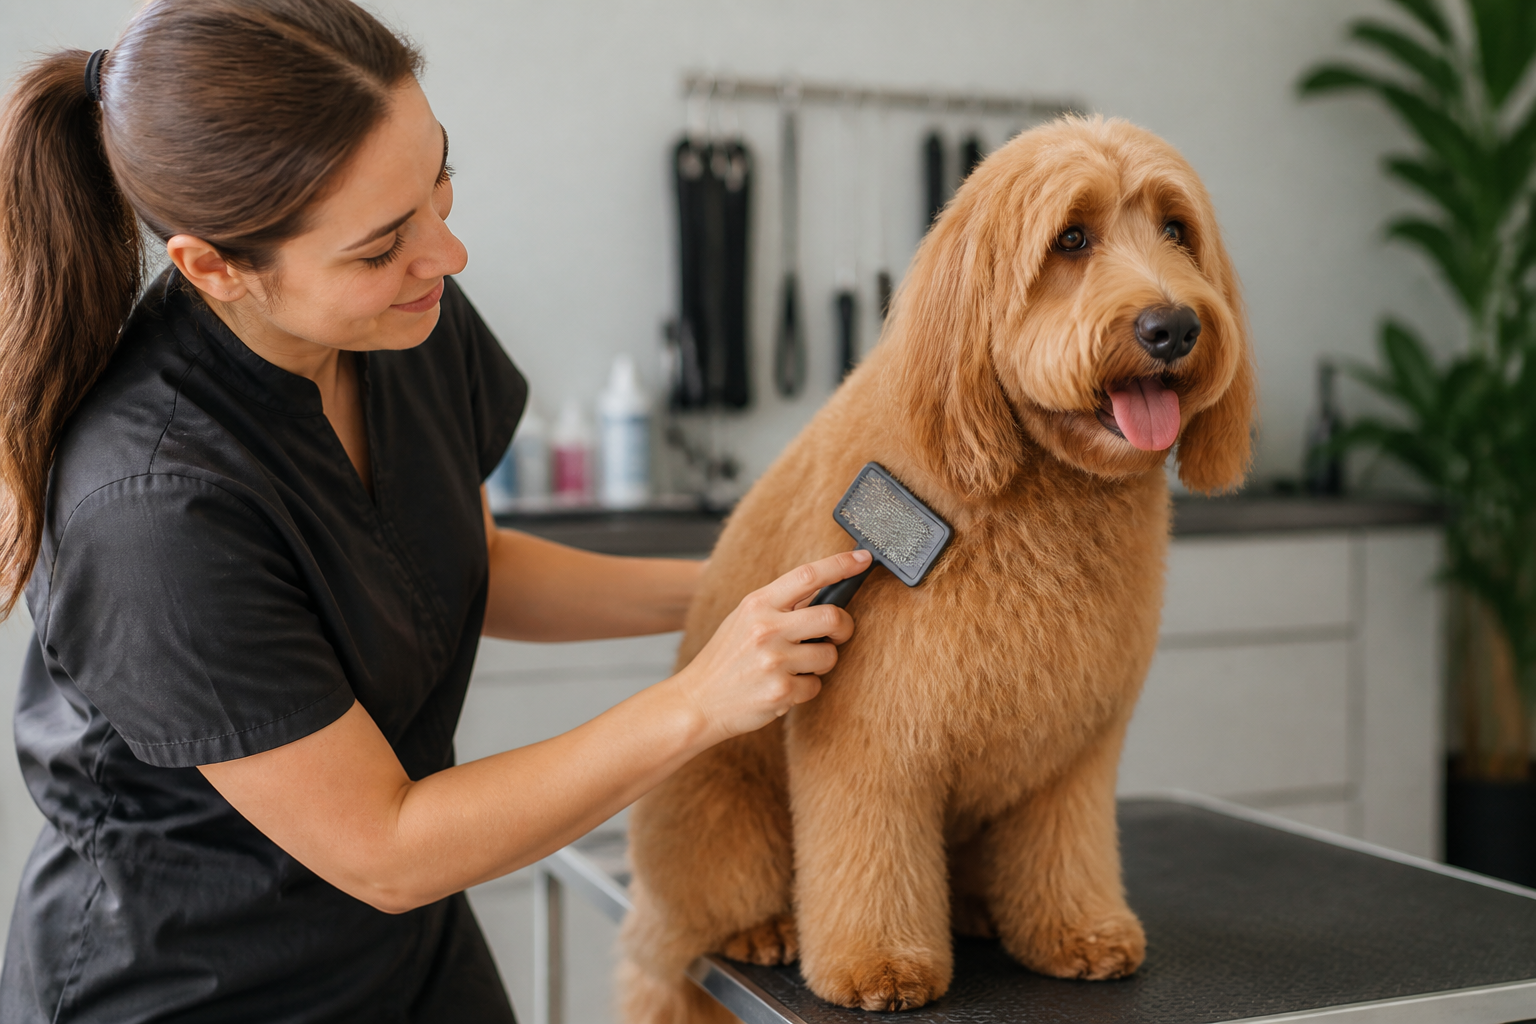
A slicker brush is a grooming staple characterized by a flat or slightly curved head with rows of thin wire pins. These pins are usually bent at a slight angle. This design allows the brush to grab loose hair and debris without the pins digging directly into the dog's skin when used correctly. It is the primary tool for dogs with medium to long hair, double coats, or curly fur like Poodles and Doodles.
The main goal of this tool is to remove the dead undercoat and break up early stage tangles. Unlike a standard pin brush or a bristle brush, the slicker is designed for deep work. It reaches through the topcoat to address the dense fur underneath where mats typically start. Because the bristles are fine wire, they can be sharp if you apply too much pressure. This is why technique is far more important than strength.
Choosing the Right Slicker for Your Dog
Not every slicker brush works for every dog. Choosing the wrong pin type can make the grooming process uncomfortable for your pet and frustrating for you. We carry over 500 trusted brands including professional favorites like Chris Christensen and Andis to ensure you find the right fit for your specific breed. Explore our dog brushes and combs to compare tools for different coat types.
Pin Length and Firmness
Longer pins are necessary for dogs with very thick or long coats. If you have a Great Pyrenees or a Husky, short pins will never reach the skin. The brush will simply glide over the top, leaving the undercoat to become a matted mess. For these breeds, look for a "long pin" slicker like the Chris Christensen Big G.
Firmness also matters. A firm slicker is better for removing heavy shedding or stubborn mats in coarse hair. A soft slicker is better for dogs with finer hair or sensitive skin. Puppies and senior dogs often prefer a soft slicker because their skin is thinner and more prone to irritation.
Brush Size and Shape
Small slicker brushes are essential for areas like the armpits, behind the ears, and the "pantaloons" on the back legs. A large brush is a time-saver for the broad areas of the back and sides. Many owners find that having one large and one small brush makes the job much easier.
Quick Answer: Choose a slicker brush based on your dog's coat depth. Use long, firm pins for dense double coats and soft, short pins for silky or single-coated breeds.
The Professional Pat and Pull Method
The biggest mistake owners make is dragging the slicker brush through the hair in a long, scraping motion. This causes "slicker burn," which is painful skin irritation. Professionals use a technique called the "pat and pull." This method is safer and more effective at removing tangles.
Step 1: Pat the brush.
Gently place the pins into a section of the coat. Do not press hard against the skin. You are simply "setting" the pins into the hair.
Step 2: Pull away.
Instead of dragging the brush down the length of the body, pull it slightly up and away from the skin in a short, curved motion. Think of it like a "J" shape.
Step 3: Listen for the sound.
You will hear a distinct "ticking" or scraping sound when the pins encounter a tangle. As the section becomes clear, the brush will move through silently and smoothly.
Step 4: Move to the next section.
Work in small areas about the size of a playing card. Do not move on until the brush glides through the current section without resistance.
Key Takeaway: The pat and pull method prevents skin irritation by lifting the hair away from the body rather than scraping the wire pins across the skin.
Mastering Line Brushing
For dogs with very thick or curly coats, standard brushing is rarely enough. Line brushing is a systematic way to ensure you are reaching every layer of the fur. This is the gold standard for Doodle owners and those with double-coated breeds like Golden Retrievers. For additional guidance, see our article on grooming dogs with curly hair.
Start at the bottom of the dog, usually near the back legs. Use your non-dominant hand to push the hair upward. This should reveal a "line" of skin. Use the slicker brush to brush the small amount of hair below that line downward. Once that line is smooth, move your hand up an inch and repeat the process.
This technique ensures you are brushing from the root to the tip. It prevents the common problem of "surface brushing," where the top of the dog looks fluffy but the skin is covered in a solid sheet of mats. If you find the hair is too dry or staticky, a light mist of detangling spray can help the pins glide through without breaking the hair shafts.
Managing Mats and Tangles
Mats are more than just an eyesore. They pull on the skin and can trap moisture, leading to hot spots and infections. If you find a mat while using your slicker brush, do not try to rip through it. This will cause your dog to fear grooming.
Instead, hold the base of the mat with your fingers so you aren't pulling on the skin. Use the corner of the slicker brush to "pick" at the outer edges of the mat. Work from the ends of the hair toward the skin. Using short, repetitive "flicking" motions with the brush often works better than one long pull. For another perspective on avoiding painful tangles, read these bathing and brushing tips.
Vet Tip: If your dog has severe matting close to the skin, do not attempt to brush them out. This can cause significant pain and skin tearing. Consult a professional groomer or your veterinarian for a safe "groom-down" or shave. Our pharmacy partnership with Pet's Choice can provide medicated shampoos if the skin underneath is red or irritated.
Handling Sensitive Areas
There are several "friction zones" on a dog that are prone to matting but very sensitive to the touch. These include:
- Behind the ears
- The armpits
- The groin area
- The tail base
- The hocks (back of the legs)
When working in these areas, switch to a soft slicker or use even lighter pressure. Be careful around the ears, as the skin is very thin and can easily be caught in the wire pins. For the face, many groomers suggest switching to a metal comb or a very small "baby" slicker. Never use a large, firm slicker near the eyes or nose.
Brushing by Coat Type
How you use your tool depends heavily on what kind of fur your dog has. Every coat has a different "breaking point" and texture.
Double-Coated Breeds
Huskies, Labs, and Shepherds have a soft undercoat and a coarse topcoat. Use a firm slicker to pull out the dead undercoat, especially during "blowout" seasons in spring and fall. You will likely fill the brush with hair every few strokes.
Curly and Wavy Coats
Poodles and Doodles have hair that grows continuously. It does not fall out on its own. Instead, the dead hair gets trapped in the curls and creates mats. Daily slicker brushing is often required for these dogs to keep them in a longer "teddy bear" cut.
Silky Single Coats
Yorkies and Maltese have hair very similar to humans. A soft slicker is best here. You do not need to apply much pressure at all. The goal is simply to keep the long strands from wrapping around each other.
Wire-Haired Breeds
Terriers often have a "crisp" texture. A slicker brush helps remove the dead wire hair and keeps the coat looking tidy. It also helps remove dirt and debris that these active dogs often pick up outside.
Bottom line: Adjust your pressure and brush firmness to match the thickness and sensitivity of your dog's specific coat type.
Cleaning and Maintenance
A dirty brush is an ineffective brush. As you work, the slicker will fill with dead hair, dander, and oils. Once the pins are covered in hair, they can no longer penetrate the coat. Most slicker brushes require you to pull the hair out by hand or use a metal comb to "rake" the fur out of the pins.
Some modern designs feature a "self-cleaning" button. When you press it, the base plate pushes forward, and the hair falls off the pins. A self-cleaning slicker brush can be a useful option for heavy shedders. Regardless of the type, check the pins regularly. If they become bent, hooked, or lose their protective tips, replace the brush. Damaged pins can easily scratch your dog.
Step 1: Remove hair.
Empty the brush frequently during the grooming session.
Step 2: Wash the pins.
Once a month, wash the brush with warm water and a mild soap to remove skin oils.
Step 3: Dry thoroughly.
Ensure the brush is completely dry before storage to prevent the wire pins from rusting.
Step 4: Inspect for damage.
Run your thumb gently over the pins. If you feel any sharp hooks or missing pins, it is time for a new one from our grooming tools collection.
Building a Positive Routine
Grooming should be a bonding experience, not a battle. If your dog is nervous about the slicker brush, start slow. Let them sniff the tool while it is on the floor. Give them a high-quality treat like those from Stella & Chewy's or Zesty Paws to create a positive association.
Begin by brushing for only two or three minutes at a time. Focus on the areas they enjoy, like the chest or back. Gradually work toward the more sensitive areas like the legs and belly. Ending the session with a favorite toy or a "jackpot" treat ensures they will be more willing to sit for you next time.
Key Takeaway: Consistent, short grooming sessions are more effective and less stressful than one long, forced session every few months.
Skin Health and the BaxterBoo Pharmacy
While brushing your dog, you are also performing a mini-health check. Slicker brushing allows you to see all the way down to the skin. This is the perfect time to look for:
- Fleas or flea dirt
- Ticks
- Lumps and bumps
- Redness or hot spots
- Dry, flaky skin
If you notice your dog is constantly itchy or has red, inflamed skin despite regular brushing, it may be time for a veterinary consult. Through our partnership with Pet's Choice, the BaxterBoo dog pharmacy offers FDA-approved medications and prescription pet foods for dogs with chronic allergies or skin conditions. Whether you need a medicated wash or a specialized diet like Farmina Vet Life, we can help manage your pet's ongoing health needs with the convenience of home delivery.
Summary of Best Practices
Using a slicker brush correctly is a skill that pays off in a happier dog and a cleaner home. By following the professional techniques mentioned above, you can avoid common pitfalls like skin irritation and missed mats.
- Use the "pat and pull" motion to protect the skin.
- Line brush thick coats to reach the roots.
- Always brush in the direction of hair growth.
- Check for skin issues and parasites during every session.
- Reward your dog to make grooming a positive experience.
We invite you to browse our extensive selection of grooming tools and supplies. Setting up an Autoship order for your favorite detangling sprays or treats is a great way to save time and ensure you never run out of the essentials. Plus, as an MVP Rewards member, you will earn points on every grooming tool purchase.
FAQ
Can I use a slicker brush on a short-haired dog?
While you can use a very soft slicker on some short-haired breeds to remove loose fur, it is generally not the best tool. For dogs like Boxers or Pugs, a rubber grooming mitt or a bristle brush is often more effective and gentler on the skin. Slicker brushes are truly designed for coats with enough length for the pins to "sink" into.
How often should I use a slicker brush on my dog?
For long-haired or curly breeds, daily brushing is ideal to prevent mats. For double-coated dogs, two to three times a week is usually sufficient, though you may need to brush daily during heavy shedding seasons. Regular maintenance is much easier than trying to fix a matted coat once a month.
Why does my dog hate the slicker brush?
The most common reason is that the brush is being used too forcefully, causing the pins to scratch the skin. Another reason is that the brush is pulling on existing mats. Try using the pat and pull method with very light pressure and plenty of treats to help your dog feel more comfortable.
Should I brush my dog when the coat is wet or dry?
It is generally best to brush a dog when the coat is dry or very slightly damp with a grooming spray. Water can actually tighten existing mats, making them much harder to remove. If you are giving your dog a bath, always try to brush out as many tangles as possible before the water hits the fur.






