
 Save 15% on your 1st Autoship learn more

 Email us
 Live Chat
 FAQs
FAQs





Introduction
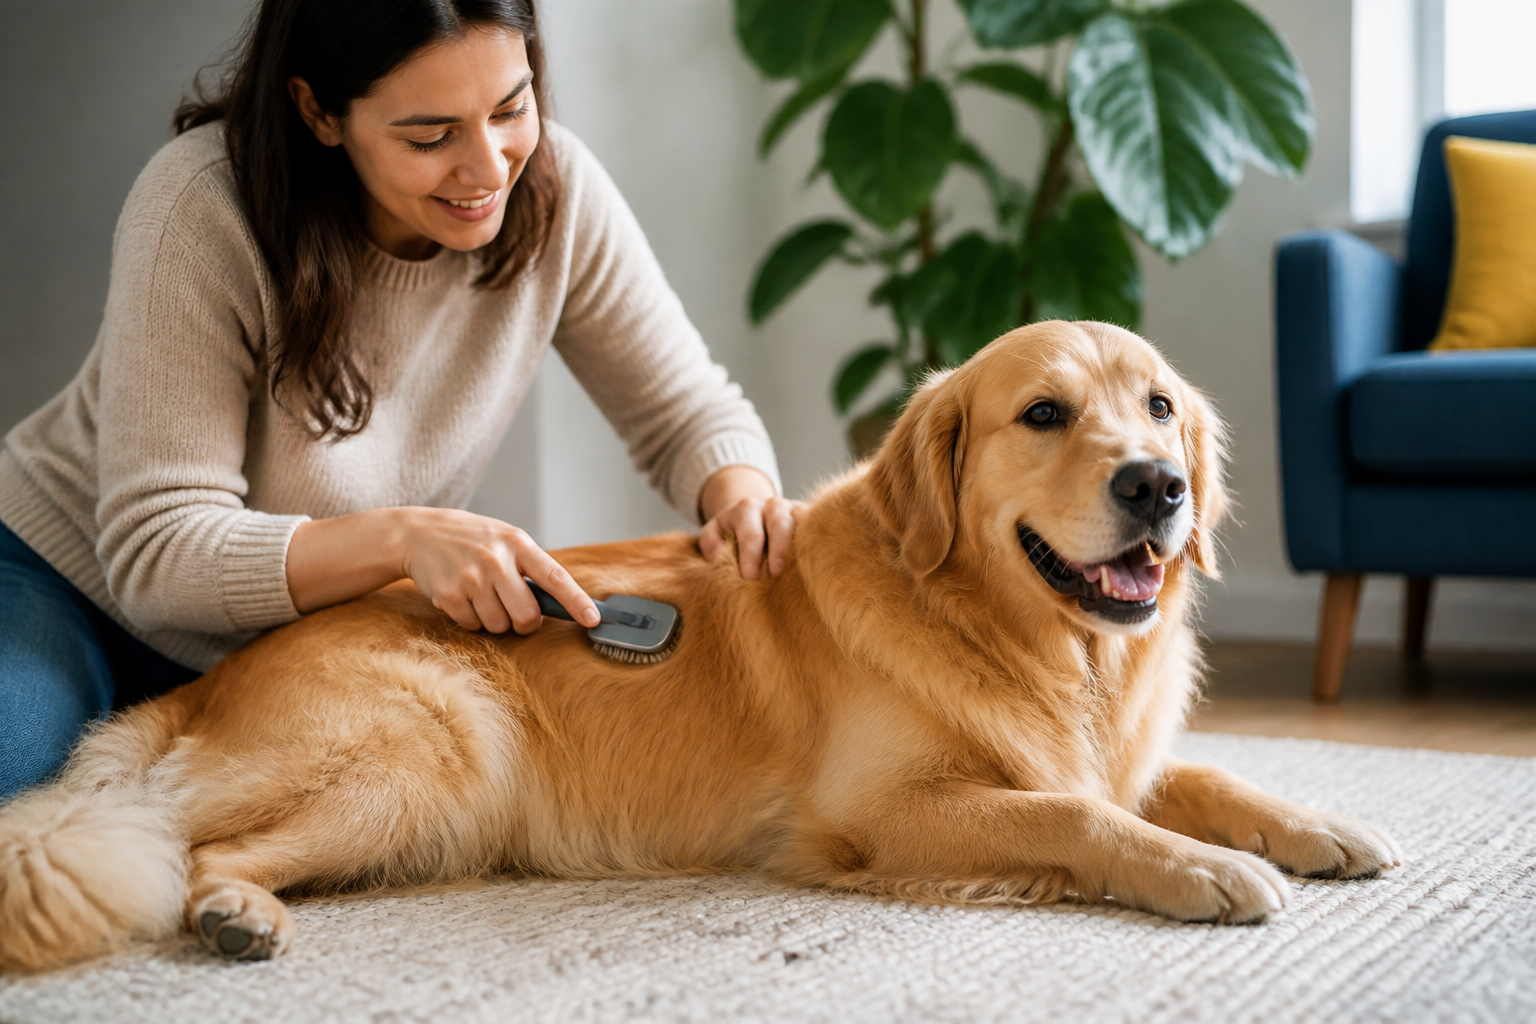
You are relaxing on the couch when your hand snags on a hard, tight knot behind your dog's ear. Or perhaps you have noticed a literal "snowdrift" of fur accumulating in the corners of your kitchen just hours after you finished vacuuming. These moments are common for every pet owner, but they serve as a reminder that grooming is a daily responsibility. Brushing your dog is about much more than just a tidy appearance. It is a fundamental part of their physical health and emotional well-being. At BaxterBoo, we have spent years helping pet parents find the right tools and techniques to keep their companions comfortable. This guide covers how to select the right equipment for your dog's specific coat and how to make the process a positive experience. Consistent brushing prevents painful skin issues and keeps your home significantly cleaner.
Why Regular Brushing is Essential for Health
Many owners view brushing as a cosmetic task, but it serves several medical purposes. When you run a brush through your dog's coat, you are distributing natural oils across the skin. This keeps the fur hydrated and helps maintain a protective barrier against environmental irritants. Brushing also stimulates blood flow to the surface of the skin, which promotes healthy hair growth.
The most practical benefit is the early detection of health problems. A thorough brushing session allows you to feel for new lumps, bumps, or skin irregularities that might be hidden under a thick coat. You will also spot parasites like fleas or ticks much faster than you would through casual observation. If you discover a skin condition or evidence of pests during your routine, it is important to address it quickly.
Vet Tip: If you find unusual growths, persistent redness, or signs of parasites during grooming, consult your veterinarian for a professional diagnosis. Our pharmacy carries FDA-approved flea and tick preventives and medicated shampoos through our partnership with Pet's Choice to help manage these issues.
Choosing the Right Tools for the Job
Using the wrong brush is a common mistake that can lead to skin irritation or an ineffective grooming session. You would not use a fine-tooth comb on a thick rug, and the same logic applies to dog coats. Having a small "toolkit" ready makes the job much easier. You can find brushes, combs, and other essentials in our dog grooming supplies.
The Slicker Brush
The slicker brush is the workhorse of the grooming world. It features a flat or slightly curved head with rows of thin, wire pins. These pins are angled to reach into the coat and pull out loose hair and debris. It is the best choice for dogs with medium to long hair or curly coats. It is especially effective at breaking up early-stage tangles before they become full mats.
The Metal Greyhound Comb
Every dog owner should own a high-quality metal comb. These are often called Greyhound combs. They typically have two sections: one with widely spaced teeth and one with narrow spacing. You use the wide end to work through the coat first, then follow up with the narrow end. The comb is your primary tool for checking your work. If a comb can slide through the fur from skin to tip, your dog is truly mat-free.
Rubber Grooming Mitts and Brushes
For dogs with very short, smooth hair, wire pins can be too harsh. A rubber brush or a grooming mitt is a better option. These tools use rubber "nubs" to grab loose hair and massage the skin. They are excellent for breeds like Boxers or Dalmatians. They also work well in the bath to help work shampoo down to the skin.
Undercoat Rakes and Deshedding Tools
Dogs with double coats, such as Huskies or Golden Retrievers, have a soft, dense undercoat that sheds heavily twice a year. An undercoat rake has long, sturdy teeth designed to bypass the topcoat and pull out the dead "fluff" underneath. Brands like FURminator offer specialized tools that can reduce shedding significantly if used correctly. Explore our selection of FURminator grooming products for tools designed for shedding and coat care.
Quick Answer: The best brush for your dog depends entirely on their coat type. Most owners will need a combination of a slicker brush for general detangling and a metal comb to ensure no mats are hiding near the skin.
Identifying Your Dog's Coat Type
Before you start brushing, you must understand what kind of hair you are working with. Different breeds have vastly different grooming requirements.
- Short, Smooth Coats: These dogs have hair that lies flat against the body. Think of Bulldogs or Great Danes. They shed, but they rarely mat.
- Double Coats: These dogs have a harsh outer coat and a soft, insulating undercoat. Examples include Labradors, German Shepherds, and Corgis. They require tools that can reach the bottom layer.
- Long Double Coats: Breeds like Pomeranians and Australian Shepherds have long, flowing hair over a dense undercoat. These are the most prone to heavy matting and "impacted" fur.
- Curly and Wavy Coats: Poodles, Bichons, and many "Doodle" mixes fall here. These dogs do not shed in the traditional sense. Instead, the loose hair gets caught in the curls, forming mats almost instantly.
- Wire Coats: Terriers like the Schnauzer or Airedale have a crisp, wiry texture. They require regular brushing to keep the "furnishings" on their legs and face from tangling.
For more information about managing a double-coated breed, read how Australian Shepherd shedding works.
The Correct Technique for Every Session
How you brush is just as important as what you use. Brushing only the top layer of hair is a common error. This leaves the hair near the skin to tangle and felt, creating a "shell" of mats that can eventually cause skin infections or restrict movement.
Step 1: The Directional Rule
Always brush in the direction of hair growth. Going against the grain can be uncomfortable for the dog and may cause "brush burn" if you use too much pressure. Start at the head and work your way back toward the tail.
Step 2: Sectioning the Hair
Do not try to brush the whole dog at once. Focus on one small area, such as a single leg or one side of the ribcage. For dogs with long hair, use a technique called "line brushing." Use one hand to push the hair up, exposing the skin. Brush the small amount of hair that remains down. Slowly move your hand up, brushing small "lines" of hair at a time.
Step 3: Checking with the Comb
Once you finish a section with the slicker brush, run your metal comb through it. If the comb catches, there is a tangle you missed. Do not yank. Go back with your brush and gently work on that specific spot until the comb passes through easily. Our dog brushes and combs can help you build a coat-care routine around your dog's needs.
Step 4: Sensitive Areas
Pay close attention to high-friction areas. These include behind the ears, the "armpits" of the front legs, the groin area, and where the collar or harness sits. These spots are the most likely to develop mats because the hair is constantly rubbing together.
Key Takeaway: Proper brushing must reach all the way to the skin. If you only brush the surface, you are likely leaving mats behind that will eventually require a professional groomer to shave the coat.
Managing Mats and Tangles Safely
If you find a mat, do not reach for the kitchen scissors. A dog's skin is incredibly thin and elastic. It is very easy to accidentally pull the skin into the mat and cut your dog. This often results in a trip to the emergency vet for stitches.
If the mat is small, apply a bit of dog-safe detangling spray. Use your fingers to pull the mat apart horizontally, breaking it into smaller pieces. Once it is loosened, use the edge of your slicker brush to gently "pick" at the mat. Work from the ends of the hair toward the skin. If the mat is tight against the skin or larger than a coin, it is safer to have a professional groomer or a veterinarian handle it. A self-cleaning slicker brush can help with loose hair and smaller tangles when used gently.
- Never use scissors to cut out a mat.
- Apply detangling spray to lubricate the hair fibers.
- Use your fingers to tease the knot apart before using a brush.
- If the dog shows signs of pain, stop and seek professional help.
Training Your Dog to Enjoy Brushing
Not every dog starts out loving the brush. If your dog hides when they see the grooming kit, you need to go back to basics. The goal is to create a positive association with the process.
Start by leaving the brush on the floor and letting your dog sniff it. Reward them with a high-value treat just for being near it. Once they are comfortable, touch them with the back of the brush, not the bristles, and give another treat. Gradually move to doing one or two gentle strokes on a non-sensitive area like the shoulder.
Keep your initial sessions very short. Five minutes of a positive experience is much better than twenty minutes of a struggle. Over time, you can increase the duration. If your dog is particularly wiggly, try using a lick mat with a bit of peanut butter, ensuring it is xylitol-free, to keep them occupied while you work.
Bottom line: Patience is the most important tool in your grooming kit; building trust ensures that brushing becomes a relaxing bonding activity rather than a battle.
Brushing and the Bathing Routine
There is a specific order of operations for grooming that involves water. You should always brush your dog thoroughly before a bath. Water acts like a glue for tangles. If your dog has a small knot and you get it wet, that knot will often tighten into a permanent mat as it dries.
Once the dog is clean and completely dry, brush them again. The bath often loosens dead hair that was previously stuck. This post-bath brushing helps remove that extra shedding and ensures the coat dries in a fluffy, organized way. For additional bathing guidance, read these dos and don'ts for bathing your dog.
Seasonal Shedding and Maintenance Frequency
How often you brush depends on your lifestyle and the dog's coat. However, every dog benefits from a weekly session at a minimum.
- Shedding Seasons: During the spring and fall, most double-coated dogs "blow" their coats. During these times, you may need to brush daily to keep up with the volume of hair.
- Daily Maintenance: Long-haired and curly breeds like Poodles or Yorkies should be brushed every day to prevent tangles.
- Short Hair Maintenance: Once a week is usually enough to keep skin healthy and reduce the amount of hair on your furniture.
At BaxterBoo, we recommend setting a recurring schedule. This makes it easier for you to remember and helps your dog get into a predictable routine. If you find that you are running low on grooming sprays or need a fresh brush, our dog grooming collection offers supplies for your routine. It also includes a free MVP Gold membership for extra savings.
Summary of the Brushing Process
Brushing is a skill that improves with practice. By following a consistent method, you protect your dog from discomfort and keep their skin in peak condition.
- Identify the coat type to select the right brush and comb.
- Brush in the direction of hair growth using small sections.
- Ensure the tool reaches all the way to the skin.
- Always use a metal comb to verify the coat is tangle-free.
- Keep sessions positive with treats and praise.
- Never use scissors to remove mats.
Key Takeaway: A regular brushing routine is the best defense against skin infections, painful mats, and excessive household shedding.
Conclusion
Taking the time to learn how to brush your dog correctly pays off in their long-term health and your own peace of mind. Whether you are managing a sleek Greyhound or a high-maintenance Goldendoodle, the right tools make all the difference. We have seen how a simple daily habit can transform a dog's comfort levels and reduce the stress of seasonal shedding. Remember to stay patient and always prioritize your dog's comfort over getting every single hair perfectly in place. If you find that your current tools are not up to the task, we invite you to browse our curated collection of grooming supplies. From slicker brushes to professional-grade combs, we have the gear you need to make home grooming a success.
FAQ
What should I do if my dog’s skin is red after brushing?
Redness is usually a sign of "brush burn," which happens when too much pressure is applied or the same spot is brushed too many times. It can also occur if the pins on the brush are too sharp for your dog's skin type. Stop brushing that area immediately and let the skin rest. If the redness does not fade within twenty-four hours or if you see broken skin, consult your veterinarian for advice on a soothing topical treatment.
Can I brush my dog while their fur is wet?
It is generally better to brush your dog when they are dry. Wet hair is more elastic and prone to stretching and snapping, which can damage the coat. Additionally, if there are any existing tangles, water will cause the hair fibers to swell and tighten the knot. The only exception is if you are using a specific wide-tooth comb during a bath while the hair is saturated with a heavy conditioner.
Why does my dog still have mats even though I brush them every week?
This usually happens because the brush is only reaching the top layer of the fur. This is known as "surface brushing." While the dog looks fluffy on top, the hair near the skin is being left to tangle. To fix this, try the line brushing technique to ensure you are reaching the base of the hair. Always follow up with a metal comb to make sure you are getting all the way to the skin.
Is it okay to use human hairbrushes on my dog?
Human brushes are rarely effective for dogs because our hair is structurally different from canine fur. Most human brushes cannot penetrate the dense undercoat or handle the texture of a dog's hair. Furthermore, some human brushes have small plastic balls on the ends of the pins that can actually get caught in dog hair and cause more tangles. It is always best to use tools specifically designed for pets to ensure safety and effectiveness.
Bottom line: Consistent, correct brushing is the foundation of good pet care.






