
 Save 15% on your 1st Autoship learn more

 Email us
 Live Chat
 FAQs
FAQs





Introduction
You just finished a thorough grooming session and your dog looks wonderful. Their coat is shiny and the tangles are gone. However, when you look down at your brush, it is a different story. The bristles are clogged with thick clumps of fur, grey dander, and sticky skin oils. It is tempting to simply pull the hair out and toss the brush back into a drawer. At BaxterBoo, we know that your tools need just as much care as your pet. Neglecting your brushes can lead to bacteria growth and skin irritation for your dog. This post covers the specific steps to clean every type of brush in your kit. You will learn how to sanitize metal pins, protect delicate natural bristles, and keep your tools in top shape for years. Proper maintenance ensures your grooming routine remains safe and effective.
Why Cleaning Your Dog Brushes Is Essential
Most owners think of grooming as a way to keep the house clean. While that is true, it is primarily a health task. Your dog’s skin produces natural oils called sebum. During a brush session, the tool moves these oils through the coat to keep it waterproof and shiny. The brush also picks up dead skin cells, environmental dust, and loose undercoat. If you do not clean the brush, this organic material sits in the bristles. It creates a perfect environment for bacteria and yeast to grow.
Using a dirty brush back on a clean dog is counterproductive. You are essentially reapplying old dirt and bacteria to their skin. For dogs with sensitive skin or allergies, this can lead to redness or even hot spots. Clean tools also perform better. A brush free of debris glides through the coat without pulling. This makes the experience much more comfortable for your dog. It also helps your tools last longer. High quality brushes are an investment. Keeping them clean prevents the materials from breaking down or rusting over time.
Key Takeaway: Dirty brushes harbor bacteria and oils that can irritate your dog's skin. Regular cleaning protects your pet and extends the life of your grooming gear.
The Basic Cleaning Kit
You do not need specialized equipment to keep your brushes clean. Most items are likely already in your home. Having a small kit ready makes it easier to stick to a routine.
- A fine-toothed metal comb or a dedicated brush cleaning tool.
- Mild, pet-safe shampoo or a gentle dish soap.
- A clean toothbrush for scrubbing small areas.
- 70% Isopropyl alcohol (rubbing alcohol) for sanitizing.
- A spray bottle.
- Microfiber towels or clean rags.
We carry many of these basic dog grooming essentials at BaxterBoo. Having a dedicated set of cleaning supplies for your pet tools helps prevent cross-contamination with your own hair care items.
How to Clean Slicker Brushes
Slicker brushes are perhaps the most popular tool for dogs with medium to long coats. They feature a dense bed of fine wire pins that are usually angled. These pins are excellent at grabbing loose undercoat. However, they are also very fragile and prone to trapping hair at the very base of the pins.
Removing Trapped Hair
Step 1: Start by using your fingers to pull away the largest clumps of fur. Step 2: Use a fine-toothed metal comb to reach between the pins. Gently lift the comb upward from the base of the brush to the tips. This pulls out the fine dander and hair that your fingers cannot reach.
Washing and Drying
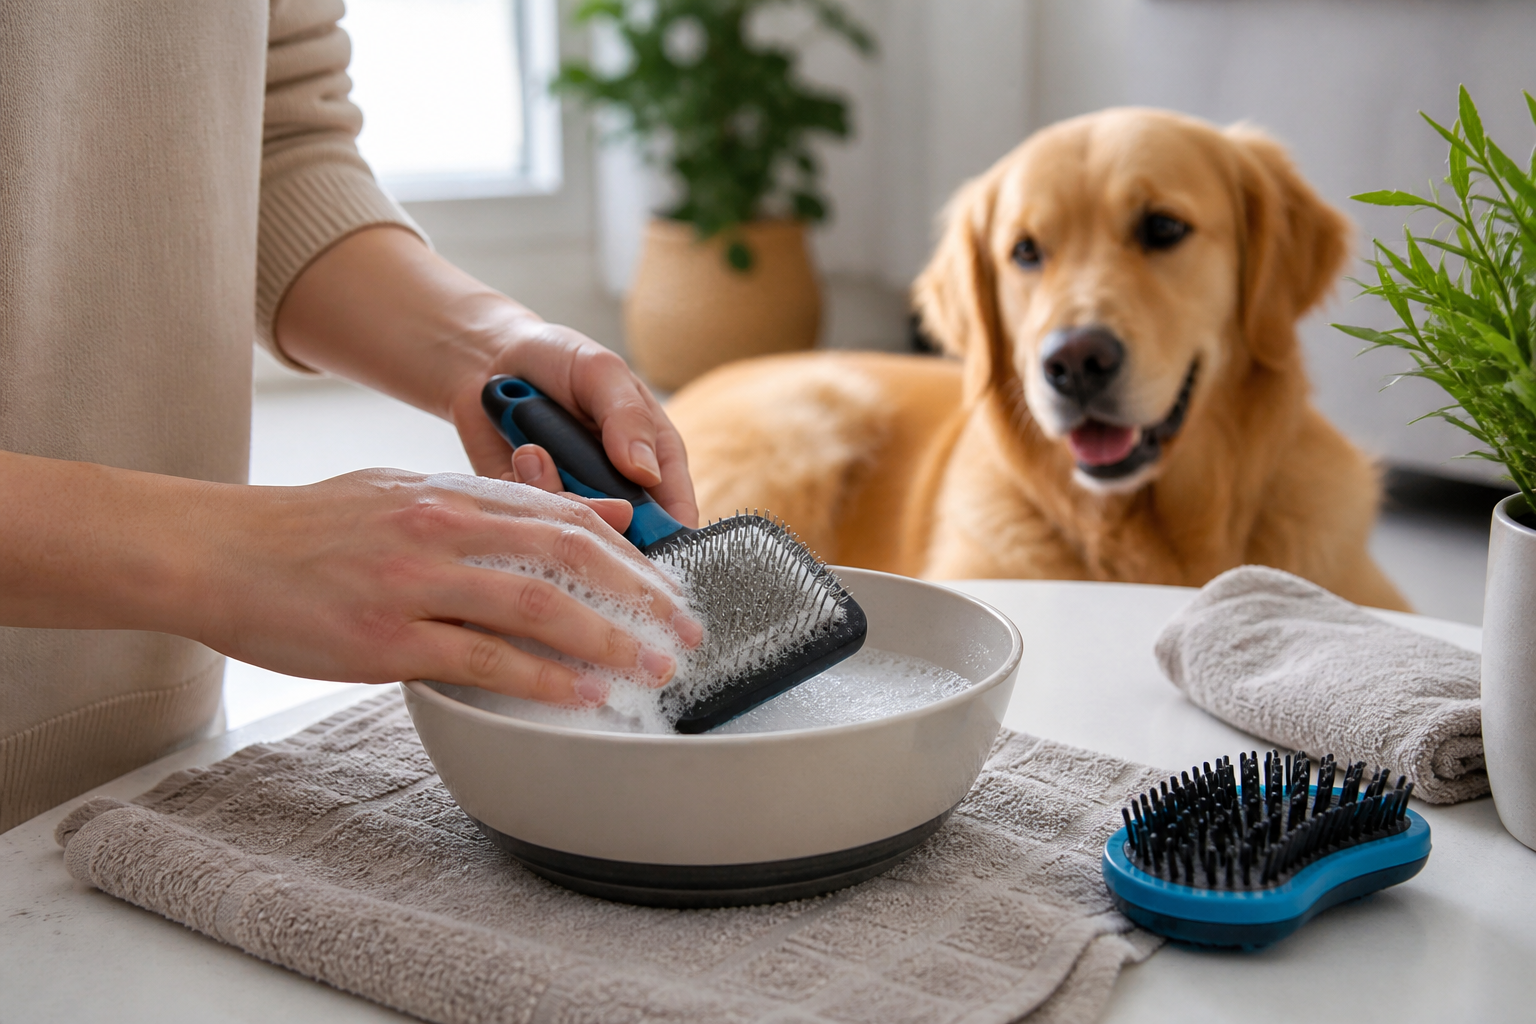
Slicker brushes often have a soft rubber or foam cushion. You must be careful not to soak this cushion. If water gets trapped behind the rubber pad, it can lead to mold or mildew growth. Use a damp cloth dipped in soapy water to wipe the pins. If the pins are very dirty, use a toothbrush to scrub them individually.
A self-cleaning design, such as the Master Grooming Tools Self-Cleaning Slicker Brush, can also make loose-hair removal easier.
Vet Tip: If you notice a musty smell coming from your slicker brush, it may have internal mold. It is best to replace the brush to avoid exposing your dog to fungal spores.
Caring for Pin and Bristle Brushes
Pin brushes look similar to human hairbrushes and often have wooden or plastic handles. Bristle brushes may use synthetic nylon or natural boar hair. Both types require specific care to avoid damaging the materials.
Pin Brush Maintenance
Metal pins can rust if they stay wet for too long. After removing the hair with a comb, you can dip the pins into a shallow bowl of soapy water. Avoid submerging the handle if it is made of wood. Use a towel to dry each pin immediately after rinsing. Never leave a metal pin brush to air dry while sitting in a puddle of water.
Natural Bristle Care
Natural boar bristles are porous. They absorb skin oils very well, which is why they are great for adding shine. However, they can also become saturated and heavy. To clean them, swish the bristles in warm water with a drop of gentle shampoo. Do not leave them to soak, as this can soften the glue holding the bristles in place. Lay the brush bristle-side down on a towel to dry. This prevents water from running down into the handle or the base.
For more options suited to different coat types, browse our dog brushes and combs.
Bottom line: Always dry brushes with the bristles facing down to keep moisture away from the base and handle.
Rubber Grooming Tools and Deshedding Blades
Tools like the Kong ZoomGroom are made entirely of rubber or silicone. These are the easiest tools to maintain because they are virtually indestructible. They do not have cushions or wooden parts that can rot.
Deep Cleaning Rubber Tools
You can wash rubber tools in the sink with hot, soapy water. They are usually sturdy enough to handle a vigorous scrub with a brush. Because they are molded from one piece of material, you do not have to worry about water getting trapped inside. Some rubber tools are even dishwasher safe, though you should check the manufacturer's instructions first.
The KONG Zoom Groom Natural Rubber Dog Grooming Brush is one example of a rubber grooming tool that can be used wet or dry.
Metal Deshedding Tools
Deshedding blades or tools with stainless steel teeth need regular inspection. Use a toothbrush to remove the "skin film" that often builds up on the metal edge. This film is a mix of oils and fine dust that can make the blade feel dull. Once clean, wipe the metal with a small amount of mineral oil to prevent oxidation.
Sanitizing Your Tools
Cleaning removes visible dirt, but sanitizing kills the microscopic germs. This is especially important if you have multiple pets. You do not want to pass a skin condition from one dog to another.
Using Rubbing Alcohol
70% Isopropyl alcohol is the standard for pet tool sanitization. It is more effective at killing bacteria than 91% or 99% alcohol because it evaporates slower. This gives it more time to break down the cell walls of germs. Fill a spray bottle with the alcohol and give your brushes a light misting after they are clean and dry.
When to Seek Medical Guidance
If you notice that your dog has persistent skin issues, such as scabs, redness, or a strong odor, it may be time for a professional opinion. Dirty brushes can exacerbate these problems, but they may not be the root cause. Our pharmacy offers FDA-approved medications and prescription skin treatments through our partnership with Pet's Choice. If your veterinarian prescribes a medicated shampoo or a topical treatment, you can often find what you need through our pharmacy service.
For gentle bathing products that support regular grooming, explore our dog shampoo and conditioner selection.
Vet Tip: Never use harsh chemicals like bleach on grooming brushes. Residue can stay on the bristles and cause chemical burns on your dog's skin.
Storage and Longevity
Where you keep your brushes is just as important as how you clean them. Many owners keep grooming supplies under the sink in a bathroom. This is often the most humid room in the house. High humidity can cause metal pins to rust and wooden handles to warp.
Store your brushes in a cool, dry place. A plastic bin with a lid can protect them from dust. If you use slicker brushes, store them with the pins facing up or in a way that nothing presses against them. Bent pins can scratch your dog's skin and are very difficult to straighten back out.
We recommend checking your brushes for wear and tear every month. Look for:
- Missing protective tips on pin brushes.
- Rust spots on any metal components.
- Cracks in wooden handles or plastic frames.
- Brushes that have lost their "spring" in the cushion.
Establishing a Routine
The best way to keep tools clean is to never let the mess build up. It is much easier to spend thirty seconds after a groom than thirty minutes deep cleaning a month later.
Step 1: Remove all hair immediately after every grooming session. Step 2: Wipe the tool down with a dry cloth to remove loose oils. Step 3: Perform a deep soapy wash once a month. Step 4: Sanitize with alcohol if you used the brush on a dog with any skin irritation.
This routine keeps your kit professional and your dog comfortable. It also ensures that when you reach for a brush, it is ready to go. You will not have to stop mid-groom to deal with a clogged tool.
For additional bath-time preparation ideas, read our guide to the dos and don'ts of bathing your dog.
Common Mistakes to Avoid
One of the most frequent errors is using high heat to dry brushes. It is tempting to use a hair dryer to speed up the process. However, high heat can melt synthetic bristles and damage the glue in the brush head. It can also cause wooden handles to crack. Always stick to air drying or gentle towel drying.
Another mistake is sharing brushes between a healthy pet and one with a known skin condition. If one pet has a fungal infection like ringworm, the brush can act as a carrier. In these cases, it is often safer to use a separate set of tools and sanitize them thoroughly after every single use.
Finally, do not forget the handles. We focus so much on the bristles that we forget where we hold the tool. Skin oils from your own hands can make handles sticky or grimy over time. Wipe the handles down with a disinfecting wipe or soapy cloth during your monthly deep clean.
For dogs prone to irritation, our article on sensitive skin dog shampoos offers another grooming-related resource.
Key Takeaway: Avoid heat drying and ensure you clean the handles as well as the bristles to maintain total tool hygiene.
Conclusion
Keeping your dog grooming brushes clean is a fundamental part of responsible pet ownership. It prevents the spread of bacteria, protects your dog's skin, and ensures your tools remain effective. By following a simple routine of removing hair after every use and deep cleaning monthly, you can keep your grooming kit in excellent condition. We at BaxterBoo are committed to helping you provide the best care for your pets. Whether you are looking for new grooming tools or need to replenish your cleaning supplies, we have the expert-curated selection you need. Consider signing up for our Autoship programme to stay stocked on shampoos and conditioners. This ensures you never run out of the essentials for a clean pet and a clean home.
FAQ
How often should I deep clean my dog's grooming brushes?
You should remove loose hair after every single use to prevent buildup. A deep clean with soap and water is generally recommended once a month for tools used on a single pet. If you are grooming multiple dogs, you should sanitize the tools with alcohol between each pet and deep clean them more frequently.
Can I use regular dish soap to wash my dog's brushes?
Yes, a mild dish soap is effective at breaking down the tough skin oils and sebum that accumulate on the bristles. However, ensure that you rinse the brush very thoroughly. Any soap residue left on the bristles could cause skin irritation the next time you brush your dog.
What should I do if my metal grooming brush starts to rust?
If you see small spots of surface rust, you may be able to remove them with a toothbrush and a bit of vinegar. However, if the rust is extensive or if the metal is pitting, it is time to replace the tool. Rusted pins can be sharp and can introduce bacteria into small scratches on your dog's skin.
Why does my slicker brush smell bad even after I remove the hair?
A lingering bad smell usually indicates that moisture has been trapped inside the cushion or the handle. This often leads to mold or bacteria growth inside the tool where you cannot see it. If a thorough cleaning and drying do not eliminate the odor, you should dispose of the brush for your dog's safety.






