
 Save 15% on your 1st Autoship learn more

 Email us
 Live Chat
 FAQs
FAQs





Introduction
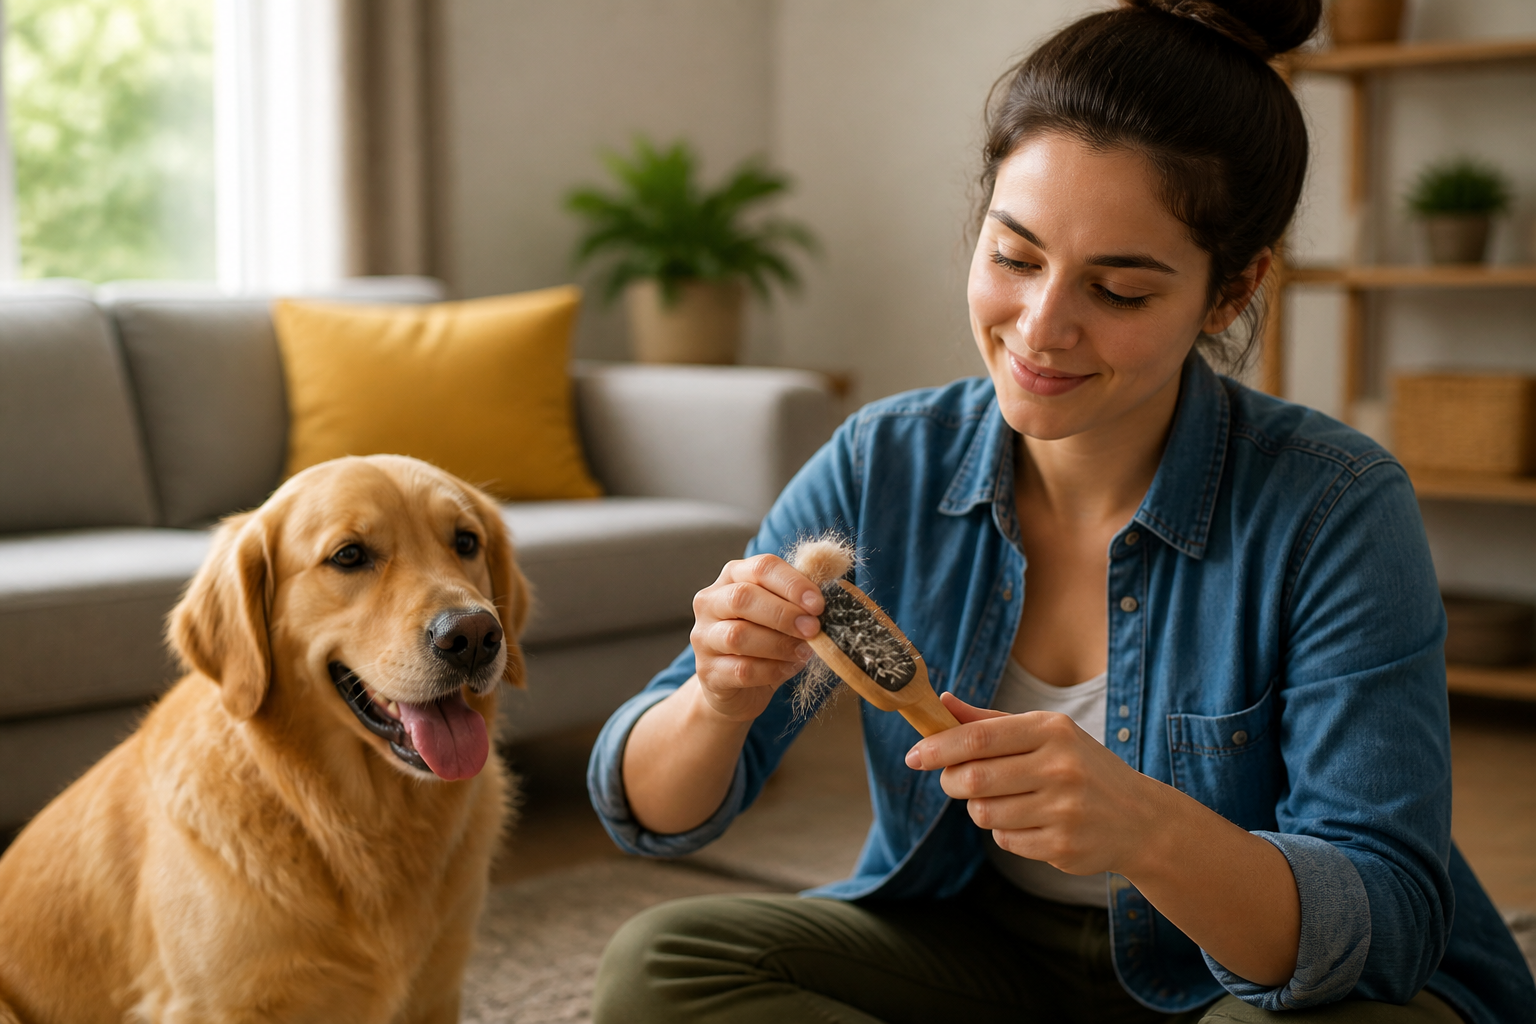
You just finished a long grooming session and your dog looks fantastic, but your favorite slicker brush is now a solid block of matted fur. It is a common frustration for pet owners who stay on top of shedding. A brush packed with old hair, dander, and skin oils cannot do its job properly and may even redeposit dirt back onto your dog’s clean coat. At BaxterBoo, we know that keeping your tools clean is just as important as the grooming itself. This guide will walk you through the most effective ways to clear out that stubborn fur and sanitize your equipment. We will cover manual removal techniques, deep cleaning soaks, and how to maintain your brushes so they last for years. Learning these simple steps will ensure your dog’s coat stays healthy and your grooming routine remains efficient.
Quick Answer: To remove hair from a dog brush, use a metal comb or a toothpick to lift the hair from the base of the bristles. For a deeper clean, soak the brush in warm water mixed with pet shampoo or vinegar to loosen stubborn oils and dander.
Why Your Dog’s Brush Needs a Deep Clean
A dog brush is more than just a tool for removing loose fur. It also collects skin cells, natural oils, and environmental allergens like pollen or dust. When these elements sit in the bristles for too long, they can become a breeding ground for bacteria. Using a dirty brush on a dog with sensitive skin can lead to irritation or even minor infections.
Regular cleaning also extends the life of your grooming gear. High-quality brushes from brands like Kong or RC Pets are investments in your pet’s care. If hair is left to build up, it can put pressure on the pins or bristles, causing them to bend or snap. Keeping the base of the brush clear ensures that the bristles can reach the skin to distribute natural oils properly.
Key Takeaway: Cleaning your brush prevents the spread of bacteria and ensures the bristles can effectively reach your dog’s skin to distribute healthy oils.
Manual Hair Removal Methods
The first step in any cleaning routine is getting the bulk of the hair out. If you try to wash the brush while it is still full of fur, you will likely just create a soggy mess that is even harder to manage.
The Comb Method
One of the easiest ways to clear a slicker or pin brush is by using a sturdy metal comb. Simply slide the teeth of the comb under the layer of hair at the base of the brush. Gently lift upward, and the entire mat of hair should pop off in one piece. This works best for slicker brushes where the pins are closely packed together.
The Toothpick or Skewer Technique
If you are dealing with a pin brush that has a rubber cushion, hair can get tightly wrapped around the base of each pin. A toothpick or a wooden kitchen skewer is perfect for this. Run the point of the tool along the rows of pins to lift the hair. You can also use the pointed end of a rat-tail comb for the same effect.
Using a Second Brush
Some professional groomers use a second brush to clean the first. If you have two slicker brushes, you can rub them against each other in opposite directions. The pins will grab the hair from the other brush and pull it free. This is a quick way to clear out loose fluff during a grooming session.
- Clear the hair after every single use to prevent matting.
- Work from the bottom of the brush upward.
- Use a gentle touch to avoid bending the wire pins.
- Dispose of the hair immediately so it doesn't end up back on your floor.
The Deep Soak Technique
Once the visible hair is gone, you might notice a greyish film at the base of the bristles. This is a combination of skin oils, dust, and dander. A deep soak is the best way to break this down without damaging the tool.
Step 1: Fill a bowl or sink with warm water. / Avoid using boiling water, as it can melt the glue or damage the rubber padding on certain brushes.
Step 2: Add a cleaning agent. / You can use a few squirts of a gentle pet shampoo or a mixture of equal parts water and white vinegar. Vinegar is excellent for breaking down oils and acting as a mild deodorizer.
Step 3: Submerge the bristles. / If your brush has a wooden handle or a soft fabric pad, do not soak the entire thing. Instead, dip just the bristles into the water. For plastic brushes, you can submerge the whole tool for about 10 to 15 minutes.
Step 4: Scrub the base. / Use an old toothbrush to gently scrub between the rows of pins. This will dislodge any remaining skin flakes or stubborn dirt that the soak loosened.
Step 5: Rinse thoroughly. / Run the brush under cool, clean water to remove all traces of soap or vinegar. Shake it firmly to get as much water out as possible.
Vet Tip: If you notice your dog has developed red, itchy skin or "hot spots," your grooming tools might be part of the problem. Our dog pharmacy carries medicated shampoos and topical treatments to help manage these conditions. Always consult your veterinarian if you see signs of skin infection.
Disinfecting for Health and Hygiene
If you use the same brush on multiple pets, or if your dog has recently recovered from a skin issue or pests, disinfection is mandatory. Simply washing with soap may not kill all the germs.
A solution of 10% bleach and 90% water is a standard disinfectant, but it can be harsh on some materials. A safer alternative for most pet owners is a dedicated pet-safe disinfecting spray. Some people also use ultraviolet (UV) light sanitizers, which are effective at killing bacteria without the use of liquids.
If you are using a bleach solution, only soak the brush for a minute or two. Longer exposure can cause metal pins to rust or rubber to degrade. Always rinse the brush extremely well after disinfecting. You do not want any chemical residue to come into contact with your dog’s skin during their next brushing.
Bottom line: Disinfecting your tools is a vital step in preventing the spread of skin irritations and maintaining a hygienic grooming environment.
Caring for Different Brush Types
Not every brush can be treated the same way. The materials used in a soft bristle brush are very different from those in a heavy-duty de-shedding tool.
Slicker and Pin Brushes
These are the most common tools that trap hair. Because they often have metal pins and rubber pads, moisture is the enemy. If water gets trapped inside the rubber cushion, it can lead to mold and mildew. Always dry these brushes with the pins facing down so the water drains out rather than soaking into the pad.
Bristle Brushes
Brushes with natural or synthetic bristles tend to trap fine dust and dander more than long hair. These need more frequent scrubbing with a toothbrush during the soaking phase. Because the bristles are often set into wood, try to keep the handle dry while cleaning.
Rubber Brushes and Curry Combs
Tools like the Kong ZoomGroom are the easiest to clean. They are usually one solid piece of rubber or silicone. You can simply toss these into a bowl of soapy water or even on the top rack of a dishwasher if the manufacturer says it is safe. Since there are no metal parts, you do not have to worry about rust.
De-Shedding Tools
Tools with metal blades or teeth need to be kept dry to prevent rusting. Use a soft cloth to wipe them down after each use. If you need to wash them, dry them immediately with a towel and perhaps even a hair dryer on a cool setting to ensure no moisture remains in the crevices.
For more options, explore our dog brushes and combs, including slicker brushes, pin brushes, combs, and de-shedding tools.
Drying and Longevity
How you dry your brush is just as important as how you wash it. Never leave a damp brush in a dark cabinet or a drawer. This is a recipe for mold growth.
The best way to dry a dog brush is to lay it on a clean towel in a well-ventilated area. Place it bristle-side down. This allows water to gravity-drain away from the handle and the base of the pins. If you live in a very humid environment, you might want to use a small fan to speed up the process.
Keep an eye out for signs of wear and tear. If you see cracks in the plastic, rust on the metal, or if the pins start falling out, it is time for a replacement. A damaged brush can scratch your dog’s skin and turn a pleasant grooming session into a painful experience.
We recommend checking your tools every month. We carry a wide variety of replacement brushes and grooming supplies to keep your kit in top shape. If you are part of our MVP Rewards programme, you can even earn points on these maintenance items to save on future orders.
Key Takeaway: Proper drying with the bristles facing downward prevents mold and rust, significantly extending the life of your grooming tools.
The Link Between Grooming and Skin Health
Maintaining clean brushes is a primary defense against skin issues. When you brush your dog, you are also checking for lumps, bumps, or parasites. If your brush is clean, you can clearly see what is coming off your dog's coat. For more information about routine coat care and seasonal shedding, read our guide to managing dog shedding.
Sometimes, despite your best grooming efforts, dogs develop allergies or skin sensitivities. This might show up as excessive scratching, redness, or a dull coat. When these issues arise, a simple brush isn't enough. Our pharmacy provides a way for you to access prescription diets and medications that support skin and coat health from the inside out.
Using a clean brush allows you to monitor the effectiveness of these treatments. You will be able to see if the amount of dander is decreasing or if the coat is becoming shinier and more resilient over time. You can also review our dog health and healthcare offerings when you need additional care products.
Setting a Schedule
Consistency is the key to an easy cleaning routine. If you wait months to clean your dog’s brush, the job will be much harder.
- After every use: Pull out the loose fur by hand or with a comb.
- Weekly: Give the brush a quick wipe down with a damp cloth to remove surface dust.
- Monthly: Perform a deep soak and thorough scrub.
- Seasonally: Inspect all tools for damage and disinfect them.
If your dog is currently going through a heavy shedding season, you may need to perform the deep soak more frequently. Dogs that spend a lot of time outdoors will also bring more dirt into the brush, requiring more attention. For another routine-care perspective, see our dog paw care guide.
Final Thoughts on Brush Maintenance
Getting dog hair out of a brush does not have to be a chore. With the right tools like a metal comb and a simple soak in pet shampoo, you can keep your grooming equipment in like-new condition. Clean tools mean a cleaner dog and a more comfortable grooming experience for everyone involved. At BaxterBoo, we are committed to helping you provide the best care for your pets through quality products and practical advice. Whether you are managing a double-coated breed or a short-haired pup, a clean brush is your best friend.
For your next grooming session, check our dog grooming supplies to find the perfect fit for your dog's coat type. If you find yourself needing to replenish your grooming kit frequently, consider our Autoship programme to save time and money on the essentials you use most.
FAQ
How often should I wash my dog's brush?
You should remove the hair from the brush after every use to prevent buildup. A deep cleaning soak with soap and water should be done at least once a month, or more often if your dog has skin issues or spends a lot of time outside.
Can I use human shampoo to clean a dog brush?
It is better to use a dedicated pet shampoo or a mild dish soap. Human shampoos often contain perfumes and chemicals that might leave a residue on the bristles, which could then irritate your dog's skin during the next grooming session.
What is the fastest way to get hair out of a slicker brush?
The fastest method is using a metal greyhound comb or a dedicated brush cleaning tool. Slide the comb under the hair at the base of the pins and lift upward to remove the entire layer of trapped fur in one motion.
Is it safe to put a dog brush in the dishwasher?
Most rubber brushes or solid plastic combs are safe for the top rack of a dishwasher. However, you should never put brushes with wooden handles, metal pins, or rubber cushions in the dishwasher, as the high heat and moisture can cause warping, rust, or mold.






