
 Save 15% on your 1st Autoship learn more

 Email us
 Live Chat
 FAQs
FAQs





Introduction
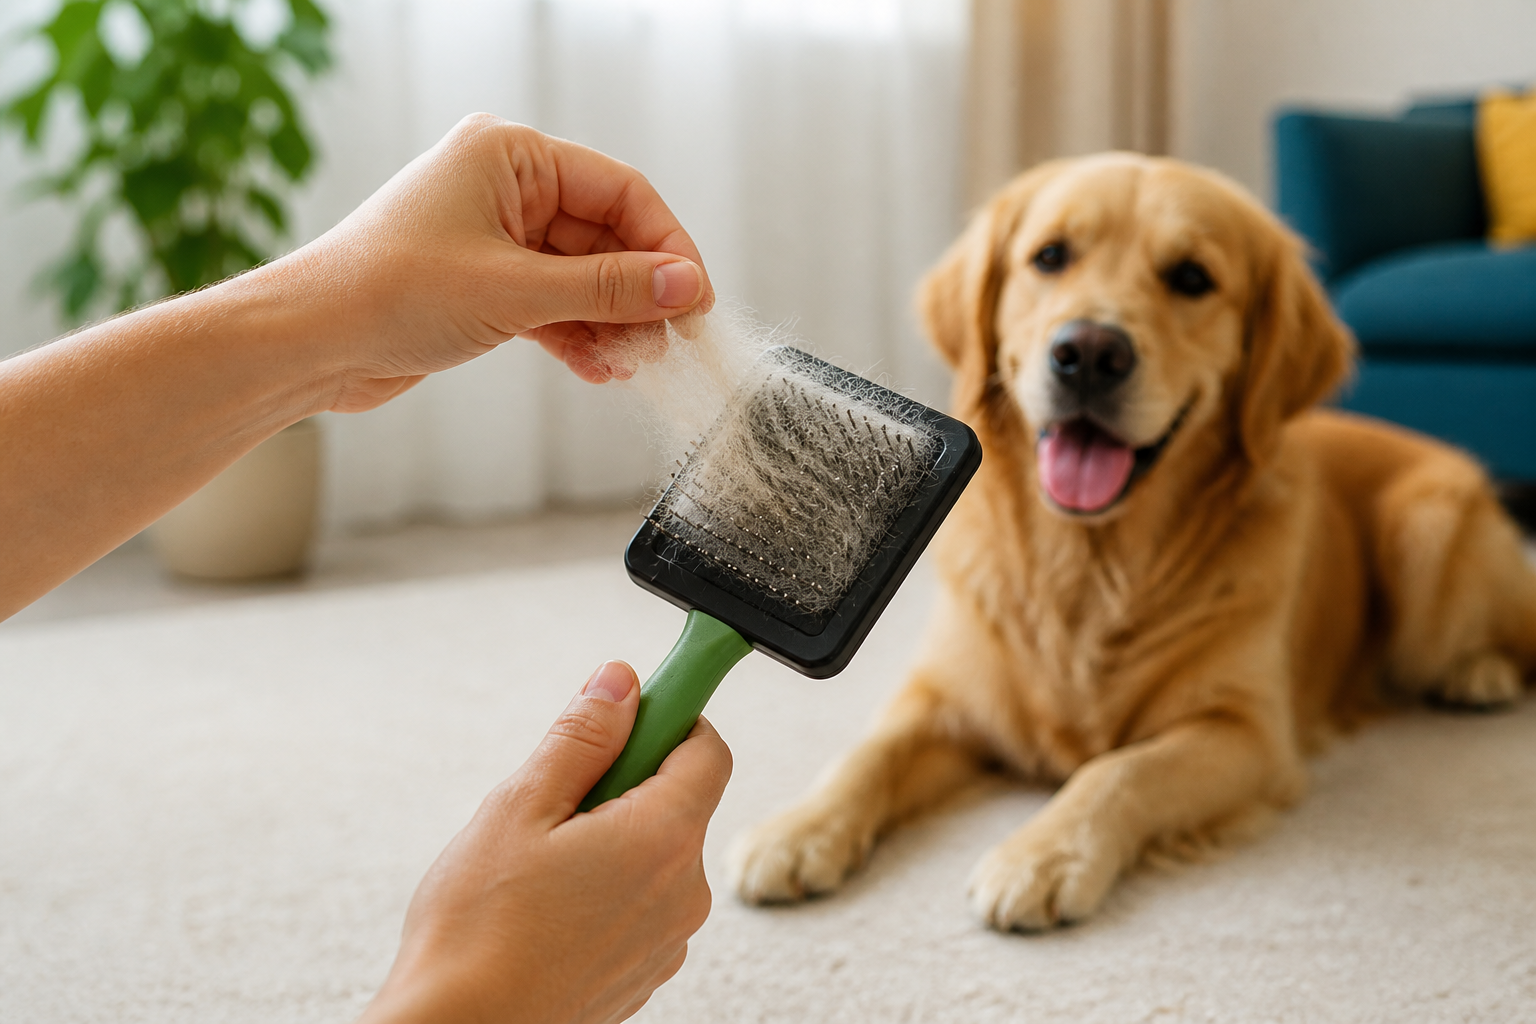
You have just finished a long grooming session with your dog. The floor is covered in fluff, and your dog looks great. However, your favorite slicker brush is now packed so tight with fur that the bristles are barely visible. If you leave that hair there, the brush becomes less effective and can even trap bacteria or skin oils. At BaxterBoo, we understand that high-quality grooming tools are an investment in your pet's health. Taking a few minutes to clean your brushes after every use keeps them in top shape for years. This guide will show you exactly how to remove stubborn hair and deep clean your equipment. Proper maintenance ensures that every brushing session is as effective as the first.
Quick Answer: The most effective way to remove hair from a grooming brush is to use a metal comb to lift the hair mat away from the base. For a deeper clean, soak the bristles in warm water with a drop of pet-safe shampoo to remove skin oils and dander.
Why Cleaning Your Dog Brush Is Essential
Grooming is about more than just looking good. It is a vital part of your dog's skin health. When you use a brush, it picks up dead hair, but it also collects skin cells, dander, and natural oils. If these remain on the brush, they can become a breeding ground for bacteria or yeast. Reusing a dirty brush on a clean dog can lead to skin irritation or even contribute to a dull coat.
A clogged brush also loses its functionality. The bristles or pins need to reach down to the skin to massage the surface and distribute natural oils. If a layer of old hair sits at the base of the pins, the brush cannot penetrate the coat. This often leads to missed mats and tangles, especially in long-haired breeds. Regular cleaning also allows you to inspect the tool for damage. Bent pins or cracked handles can scrape your dog's skin, leading to discomfort during your next session.
Key Takeaway: Regular brush maintenance prevents the buildup of bacteria and ensures the tool can effectively reach your dog's skin to remove mats and distribute healthy oils.
Tools for Efficient Hair Removal
You do not need expensive specialized equipment to keep your brushes clean. Most items are likely already in your home or your grooming kit. Having these ready will make the process much faster.
- A metal greyhound comb: This is the best tool for lifting hair out of slicker and pin brushes. A Master Grooming Tools Face and Finishing Comb can help with this step.
- A toothpick or seam ripper: These are perfect for digging out stubborn individual hairs or lint caught at the base.
- An old toothbrush: This helps scrub the base of the brush and between fine bristles.
- Pet-safe shampoo or mild dish soap: Use this for breaking down oils during a deep clean.
- A large bowl or sink: This is for soaking the tools without submerging wooden handles.
- A clean towel: Proper drying is the most important step to prevent rust.
Step-by-Step: Removing Hair from Slicker Brushes
Slicker brushes have fine, angled wire pins that are excellent at catching undercoat hair. Because the pins are so close together, the hair often forms a solid mat at the base. Trying to pull this out with your fingers can be painful and may bend the pins.
Step 1: Position your metal comb. / Place the teeth of a metal comb at the very base of the slicker brush pins on one side.
Step 2: Lift upward. / Gently pull the comb through the pins toward the tips. The entire mat of hair should lift up in one solid piece.
Step 3: Repeat across the brush. / Work in sections from one side to the other until all visible fur is gone.
Step 4: Pick out the corners. / Use a toothpick to snag any small clumps of fur or lint trapped in the corners of the brush head.
How to Clean Pin and Bristle Brushes
Pin brushes and bristle brushes require a slightly different approach. Pin brushes often have a rubber cushion that can trap moisture. Bristle brushes have dense clusters of hair that hold onto dander and dust much more tightly than wire brushes.
Cleaning Pin Brushes
Pin brushes are common for dogs with longer, silky coats. The pins are usually spaced further apart than a slicker brush. You can often use your fingers to pull the bulk of the hair away. For the hair that remains, a comb is still your best friend. Slide the comb between the rows of pins and lift. Be careful not to pull too hard on the rubber cushion, as you do not want to pop the pins out of their housing.
Cleaning Bristle Brushes
Bristle brushes are the most difficult to clear of hair. The hair tends to weave itself into the natural or synthetic bristles. Use a metal comb or a dedicated brush cleaning tool to "rake" through the bristles. Do this over a trash can, as a lot of fine dust and dander will fall out. Once the hair is removed, you will likely see a gray film of dander at the base. This is a sign that the brush needs a wet wash.
For additional coat-care guidance, read our tips on grooming a dog with curly hair.
Vet Tip: If your dog has a history of skin infections or heavy allergies, clean your grooming tools after every single use. Bacteria and allergens trapped in a dirty brush can exacerbate existing skin conditions.
Deep Cleaning and Sanitizing Your Grooming Tools
Removing the hair is only half the battle. To truly sanitize your equipment, you need to perform a wet wash. This should be done at least once a month, or more often if your dog has oily skin or spends a lot of time outdoors.
We recommend using a very small amount of pet shampoo. This is formulated to break down the specific types of oils found on a dog's coat. Fill a shallow bowl with warm water and suds. Dip the bristles or pins into the water, but try to keep the back of the brush dry. This is especially important for wooden brushes, as soaking the wood can cause it to swell and crack.
Use an old toothbrush to scrub the base of the brush. This area often collects a mix of skin cells and hair product residue. After scrubbing, rinse the bristles thoroughly with cool running water. Shake the brush out vigorously to remove as much trapped water as possible.
If you are also bathing your dog, these dog bathing tips can help you plan the grooming routine.
Preventing Rust and Damage During Drying
The biggest mistake pet owners make is leaving a brush to air dry with the pins facing up. This allows water to settle into the base of the pins or behind the rubber cushion. Over time, this leads to rust and can weaken the glue holding the brush together.
Always dry your brushes pins-side down on a clean towel. This allows gravity to pull the moisture away from the internal components. If you are cleaning a pin brush with a rubber pad, squeeze the pad several times to force out any water that may have leaked inside. Let the brushes dry in a well-ventilated area away from direct heat sources. Excessive heat from a hair dryer or radiator can warp plastic handles or damage natural bristles.
Key Takeaway: Always dry your brushes with the pins facing downward to prevent water from pooling at the base and causing rust or structural damage.
Maintaining Your Brushes for Longevity
At BaxterBoo, we see how much a good brush can improve a dog's life. To make your tools last, consistency is the most important factor. If you remove the hair after every grooming session, the task only takes a few seconds. If you wait until the brush is completely clogged, it becomes a chore that is much harder to complete without damaging the bristles.
Check the pins regularly for any signs of wear. Wire pins can sometimes develop sharp edges if they become bent and then straightened too many times. If you notice your dog flinching during grooming, it might not be the brushing itself. It could be a damaged pin scratching their skin. Keeping the brush clean makes these issues easy to spot before they cause a problem.
When it is time for a replacement, browse our dog brushes and combs collection for grooming tools suited to different coat types.
When to Replace Your Dog's Brush
No grooming tool lasts forever. Even with the best care, the materials will eventually break down. You should look for specific signs that it is time for a new one. If the rubber cushion on a pin brush starts to peel away or becomes brittle, it can no longer provide the necessary give for a comfortable grooming session.
For slicker brushes, look at the alignment of the wires. If several pins are missing or permanently bent, the brush will not move through the hair correctly. This can actually cause more tangles rather than removing them. Bristle brushes should be replaced when the bristles start to shed excessively or become permanently flattened.
If your dog develops a skin condition, your veterinarian might recommend replacing your old brushes entirely. This ensures you are not reintroducing pathogens to their skin during the healing process. Our pet pharmacy carries a variety of medications through our partnership with Pet's Choice if your dog requires treatment for skin issues or infections. Having a clean, new brush to use alongside these treatments can help your dog recover more quickly.
Conclusion
Cleaning your dog's brush is a small task that yields significant rewards for your pet's comfort and health. By removing hair regularly and performing a deep clean once a month, you ensure your tools stay effective and sanitary. Remember to use a metal comb for easy hair removal and always dry your brushes pins-side down to prevent rust. Taking care of your equipment means you are taking care of your dog. We are here to help you find the best grooming supplies for your dog's specific coat type. To keep your grooming kit fully stocked, consider joining our MVP Rewards program to earn points on every purchase of brushes, shampoos, and health supplies.
FAQ
How do I get hair out of a brush with very fine bristles?
The best way to clean a fine bristle brush is to use a metal comb or a dedicated rake tool. Gently pull the comb through the bristles starting from the base to lift out trapped hair and dander. You can also rub two bristle brushes together to loosen deeper debris before washing them.
Is it safe to soak a wooden dog brush in water?
You should never fully submerge a wooden brush in water because it can cause the wood to rot or crack. Instead, dip only the bristles into a shallow bowl of soapy water and use a toothbrush to clean the base. Wipe the wooden handle immediately with a dry cloth if it gets wet.
What can I use to sanitize a brush if my dog has had fleas or a skin infection?
For sanitizing, you can use a mixture of warm water and a pet-safe disinfectant or a very mild bleach solution (one part bleach to ten parts water). Soak only the bristles for about ten minutes, then rinse thoroughly with plain water. Consult your vet to see if they recommend disposing of the brush entirely to prevent reinfection.
Why is there a gray, dusty buildup at the base of my dog's brush?
That gray buildup is a combination of dead skin cells, dander, dust, and dried skin oils. It is perfectly normal but indicates that the brush needs a deep cleaning. Scrubbing the base with a toothbrush and pet shampoo will remove this residue and keep the brush sanitary.






