Save 15% on your 1st Autoship learn more

 Email us
 Live Chat
 FAQs
FAQs





Introduction
You might find yourself standing in the pet food aisle, staring at the price tag of a small bag of premium air dried food. It is often one of the most expensive options on the shelf. You want that high level of nutrition for your dog, but your budget might not agree with the daily cost. At BaxterBoo, we believe every dog deserves quality nutrition, even if you decide to prepare it yourself. This guide will show you how to recreate that nutrient dense, jerky like texture in your own kitchen. We will cover equipment needs, ingredient safety, and the slow drying process. By making your own batches, you gain full control over every single ingredient in your dog's bowl.
Quick Answer: To make air dried dog food, slice lean meats and dog safe vegetables into thin, uniform pieces. Use a food dehydrator or a low temperature oven set between 145 and 155 degrees Fahrenheit for 8 to 12 hours. This slow process removes moisture while preserving the natural enzymes and vitamins found in the raw ingredients.
The Difference Between Air Drying and Dehydrating
Many people use the terms air drying and dehydrating as if they are the same thing. There is a small but important technical difference. Standard dehydration often uses higher heat to pull moisture out quickly. This can sometimes result in a product that is hard and brittle. Air drying is a gentler process. It uses lower temperatures and consistent airflow to evaporate moisture over a longer period.
The result of air drying is a texture that is often compared to soft jerky. It is pliable rather than crunchy. This method is excellent for preserving the integrity of proteins and sensitive vitamins. Because the heat stays low, the food stays closer to its raw state nutritionally. It offers the shelf stability of a dry kibble with the nutrient profile of a raw diet.
Air drying is a fantastic middle ground for owners who are wary of raw feeding. The process is long enough to reduce the risk of certain pathogens while keeping the food minimally processed. It is also much lighter than canned or raw food. This makes it a perfect choice for hiking trips or traveling with your dog. For a ready-made alternative, explore our air-dried dog food selection.
Essential Equipment for Your Home Kitchen
You do not need a commercial kitchen to make air dried dog food. You do need tools that can maintain very specific, low temperatures for a long time. Precision is the most important factor here.
The Food Dehydrator
A high quality food dehydrator is the best tool for the job. Look for a model that has an adjustable thermostat and a rear mounted fan. Rear mounted fans provide more even airflow across all trays compared to bottom mounted fans. This ensures that the meat on the top tray dries at the same rate as the meat on the bottom tray.
The Conventional Oven
If you are not ready to invest in a dehydrator, your home oven can work. Most modern ovens have a "warm" or "dehydration" setting. You need to ensure your oven can stay consistently at 145 to 150 degrees Fahrenheit. Many older ovens fluctuate too much. If your oven is too hot, it will cook the meat rather than dry it. This results in "case hardening," where the outside is tough but the inside is still moist and prone to mold.
Slicing Tools
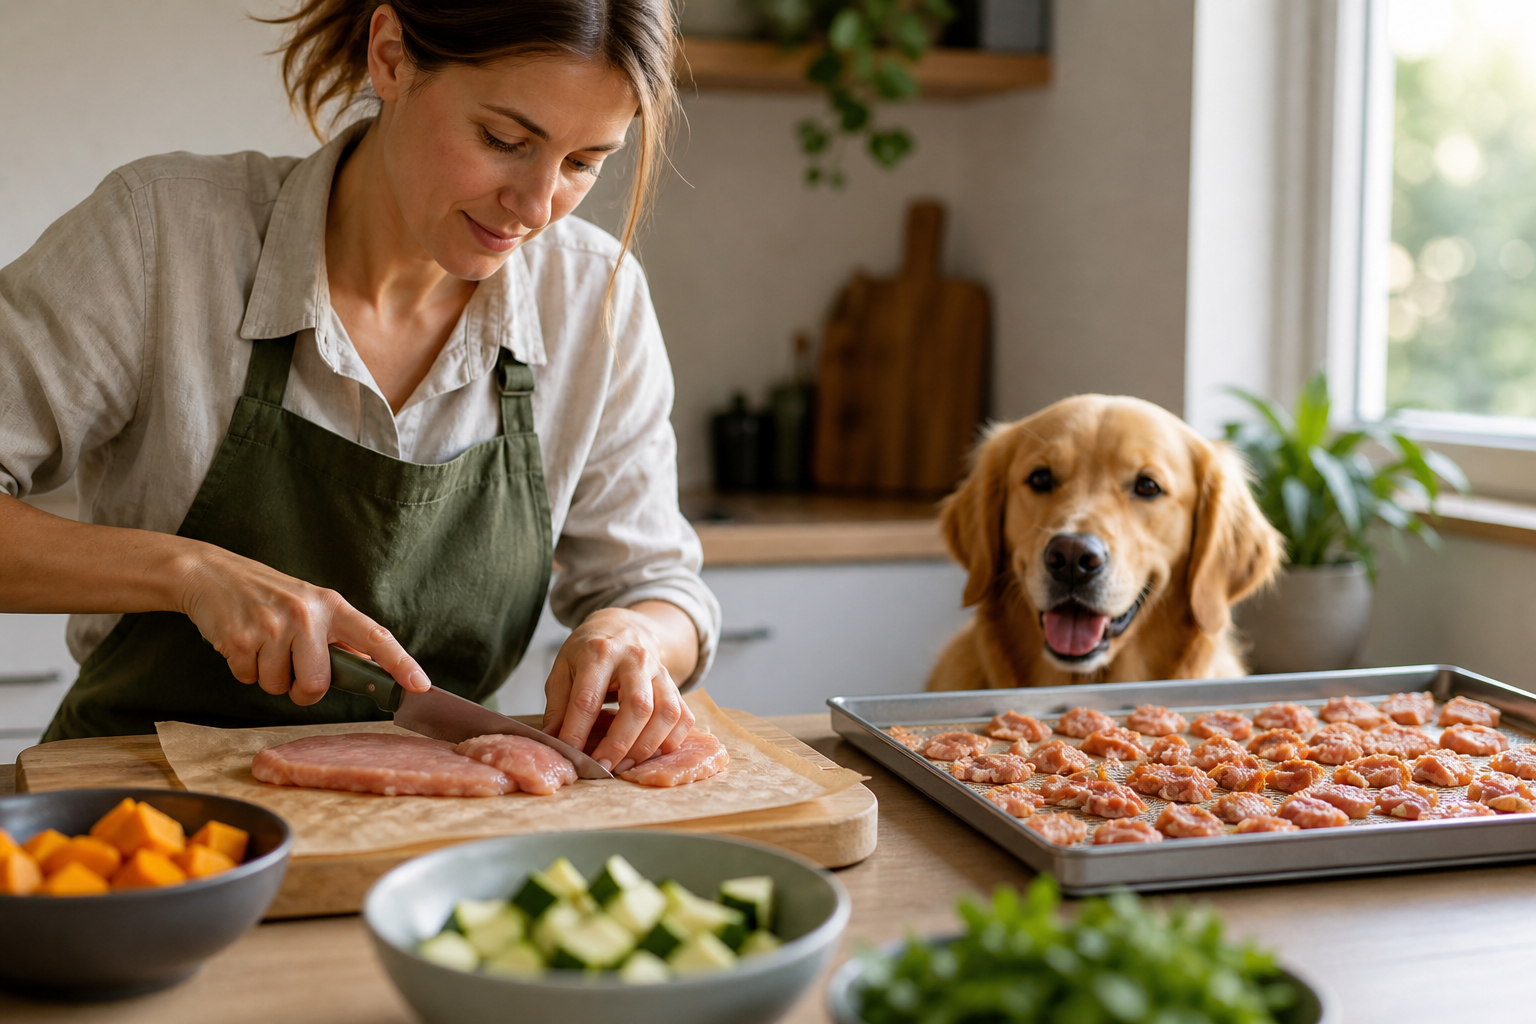
Consistent thickness is the secret to a successful batch. If one piece is a half inch thick and another is paper thin, they will not finish at the same time. A sharp chef's knife is essential. Some people prefer using a manual meat slicer for perfect uniformity.
Key Takeaway: Consistent airflow and low, steady temperatures are more important than the specific brand of equipment you use.
Selecting the Right Proteins
Not all meat is suitable for air drying. The biggest enemy of shelf stable dried food is fat. Fat does not dry out. Instead, it goes rancid over time. This can make your dog sick and ruin an entire batch of food.
Focus on Lean Cuts
When you shop for meat, look for the leanest cuts available. If you are using beef, choose top round or eye of round. For poultry, stick to skinless chicken breasts or turkey breasts. If you see any visible white fat on the edges of the meat, trim it off completely before you start slicing.
The Role of Organ Meats
In a balanced canine diet, muscle meat is not enough. Organ meats are the multivitamins of the animal kingdom. They are packed with essential minerals and vitamins that muscle meat lacks.
- Liver: High in Vitamin A and iron.
- Heart: A great source of taurine and B vitamins.
- Kidney: Provides vitamin B12 and riboflavin.
Organ meats should generally make up about 10 percent of your total recipe. Be careful not to overdo the liver, as too much Vitamin A can be problematic over long periods. You can also compare homemade ingredients with our dog food category when planning your dog's meals.
Adding Dog Safe Vegetables and Fruits
While dogs are primarily carnivores, they benefit from the fiber and antioxidants found in certain plants. Because air drying is a low heat process, you should prepare vegetables so they are easy to digest. Dogs have a short digestive tract. They cannot easily break down the tough cell walls of raw, whole vegetables.
Preparation Methods
Steaming or pureeing your vegetables before adding them to the meat mixture is highly recommended. This "pre digests" the plant matter for your dog.
- Carrots: Great for beta carotene and fiber.
- Spinach: High in iron and magnesium.
- Blueberries: Packed with antioxidants.
- Sweet Potatoes: A good source of complex carbohydrates (should be steamed first).
Foods to Avoid
Never include onions, garlic, grapes, or raisins in your homemade dog food. These are toxic to dogs. Also, avoid adding salt or heavy seasonings. Your dog does not need the extra sodium, and many spices can cause digestive upset.
The Step by Step Air Drying Process
Follow these steps carefully to ensure your food is safe and high quality.
Step 1: Prep and Trim
Clean your workspace thoroughly. Remove all visible fat from your lean muscle meats. If you are using organ meats, rinse them and pat them dry.
Step 2: Partial Freeze
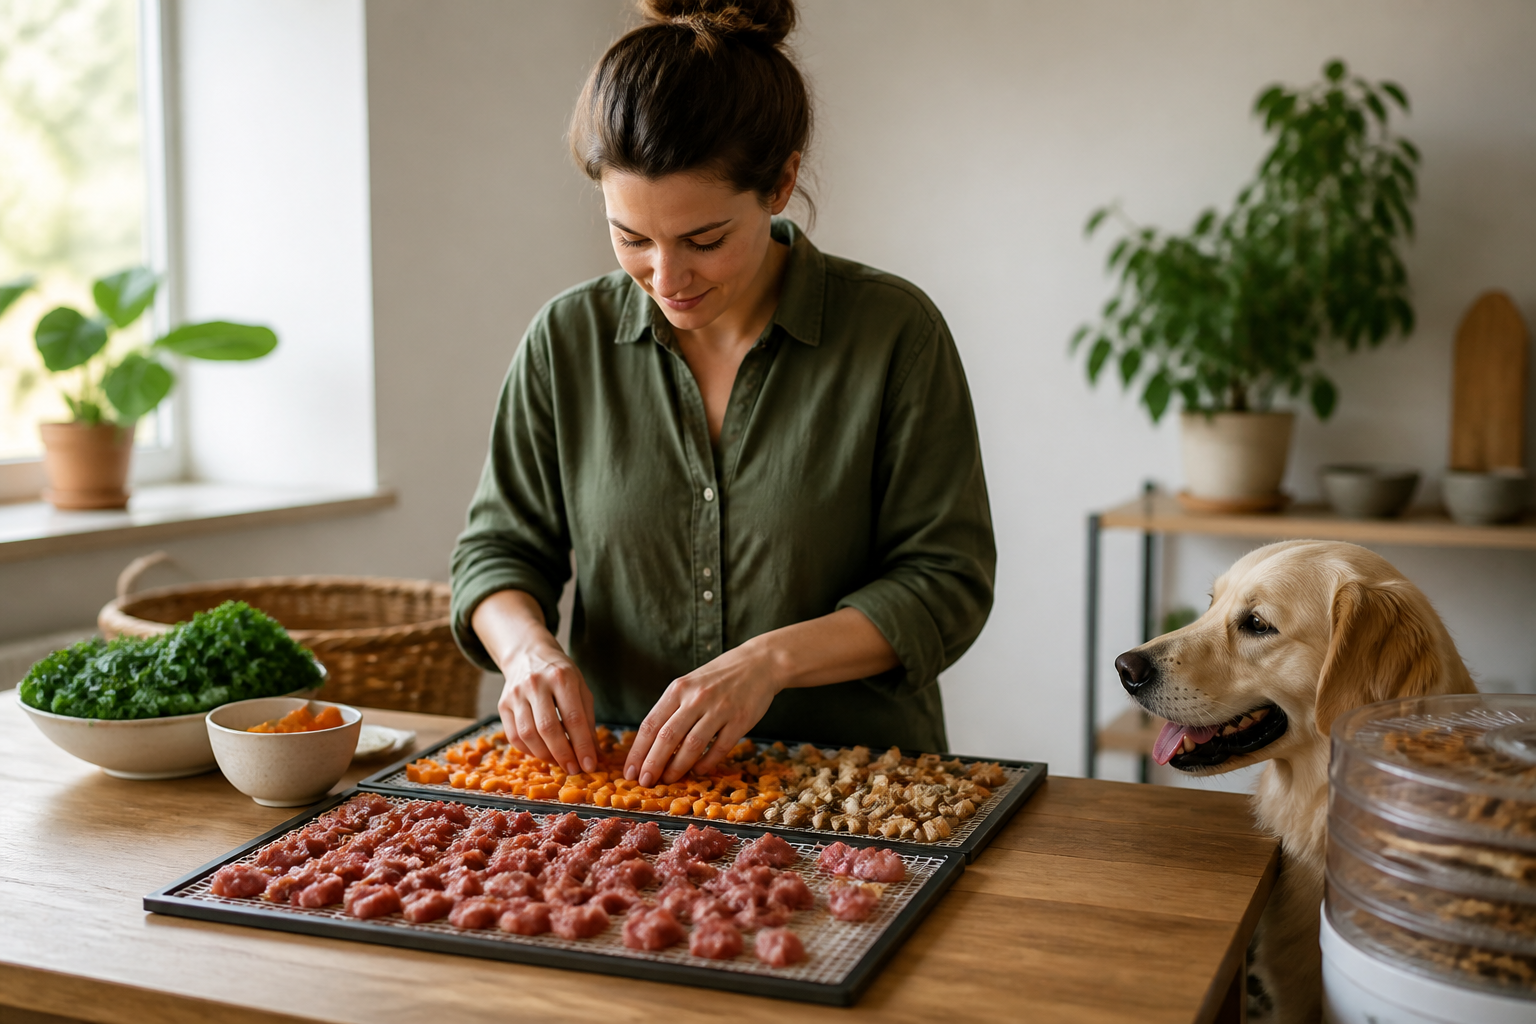
Place your meat in the freezer for about 30 to 45 minutes. You do not want it frozen solid. You want it firm. This makes it much easier to cut thin, even slices. Aim for slices that are about 1/8 to 1/4 inch thick.
Step 3: Mix Your Ingredients
If you are making a complete meal, mix your sliced meat with your pureed vegetables and organ meats. Some people prefer to grind all ingredients together and spread the mixture flat on the dehydrator trays like a large cracker. This is often called "bark."
Step 4: Arrange the Trays
Lay your pieces out in a single layer. Do not let the pieces touch or overlap. Air must be able to circulate around every surface of the meat to remove moisture effectively.
Step 5: Set the Temperature
Set your dehydrator to 145 or 150 degrees Fahrenheit. This temperature is high enough to discourage bacterial growth but low enough to preserve nutrients.
Step 6: Monitor and Test
Most batches take between 8 and 12 hours. The food is ready when it is firm and has a leathery texture. If you bend a piece, it should crack or snap rather than stretch.
Vet Tip: If your dog has a chronic health condition or requires a specific prescription diet, consult your veterinarian before switching to homemade food. Our pet pharmacy carries prescription diet options if your vet determines a specialized formula is necessary.
Ensuring Food Safety and Hygiene
Making food at home requires a strict focus on hygiene. Since you are working with raw meat and low temperatures, you must prevent cross contamination.
- Wash your hands before and after handling the meat.
- Sanitize all cutting boards, knives, and dehydrator trays after every use.
- Ensure the drying environment is dry and well ventilated.
Bacteria thrive in moisture. The goal of air drying is to reduce the "water activity" in the food to a level where bacteria cannot grow. If you are worried about surface bacteria, you can quickly blanch the meat in boiling water for 30 seconds before drying it. This kills surface pathogens without fully cooking the meat.
Key Takeaway: The "snap test" is your best friend. If the food feels soft or spongy in the middle, it needs more time in the dehydrator.
Balancing the Nutritional Profile
A common mistake in homemade dog food is failing to provide a balanced diet. If you only feed your dog dried chicken breast, they will eventually develop nutritional deficiencies.
The Calcium Factor
In the wild, dogs get calcium from eating bones. In a home environment, you need to add a calcium source. Finely ground eggshells are a popular choice. You can also use a high quality bone meal supplement.
Essential Fatty Acids
The drying process and the requirement for lean meat mean that air dried food can be low in fats. You may need to supplement your dog's meals with fresh oils at feeding time. Fish oil or flaxseed oil can provide the Omega-3 fatty acids necessary for a healthy coat and skin. At BaxterBoo, we carry a variety of dog vitamins and supplements that can be added to your homemade meals.
Recommended Ratios
- 70% to 80% Lean Muscle Meat
- 10% Organ Meat
- 10% to 15% Vegetables and Fruits
- Nutritional supplements (Calcium, Vitamins)
Storing Your Homemade Air Dried Food
Proper storage is just as important as the drying process. Even a perfectly dried batch will spoil if it is exposed to moisture or air.
Airtight Containers
Store your dried food in glass jars or airtight plastic containers. Vacuum sealing is the gold standard for storage. It removes all oxygen, which significantly extends the shelf life of the food.
Use Desiccants
Those little "do not eat" silica gel packets you find in commercial food bags are very useful. You can buy food safe desiccant packs to put in your storage containers. They will absorb any stray moisture that might be left in the bag.
Shelf Life
If stored in a cool, dark, and dry place, homemade air dried food can last for several weeks. For longer storage, you can keep the containers in the refrigerator or freezer. Always smell the food before feeding it. If it smells sour or "off," throw it away immediately. For additional storage ideas, read how to keep dry dog food fresh.
Transitioning Your Dog to Air Dried Food
If your dog is used to a standard kibble diet, do not switch them to air dried food overnight. A sudden change in protein concentration and texture can cause an upset stomach.
- Days 1 to 3: Mix 25% air dried food with 75% of their old food.
- Days 4 to 6: Move to a 50/50 split.
- Days 7 to 9: Mix 75% air dried food with 25% of their old food.
- Day 10: Complete the transition.
Watch your dog's stool during this time. If it becomes very loose, slow down the transition. Air dried food is very rich. You will likely find that you need to feed a smaller volume than you did with kibble. For another option, compare freeze-dried dog food that can be introduced gradually.
Bottom line: Slow transitions and careful monitoring of portion sizes will prevent most digestive issues.
Cost and Time Considerations
Making your own air dried dog food is a labor of love. It requires several hours of prep work and a long drying time. You must also consider the cost of high quality, lean meats. While it is often cheaper than buying high end commercial air dried brands, it is usually more expensive than standard kibble.
Many owners find that using homemade air dried food as a "topper" is a great compromise. You can feed a base of high quality kibble and add a handful of your homemade air dried food on top. This boosts the nutritional value of the meal without the high cost and time commitment of a 100 percent homemade diet. We carry many trusted brands that offer excellent base nutrition if you choose the topper route. For occasional homemade snacks, browse our dog treats category.
When to Seek Professional Guidance
While making treats or toppers at home is generally safe for healthy dogs, creating a full daily diet is a bigger responsibility. If your dog is a puppy, a senior, or has a medical condition, their nutritional needs are very specific.
Puppies need precise levels of calcium and phosphorus for bone growth. Senior dogs may need lower protein levels if they have kidney issues. In these cases, it is vital to work with a veterinary nutritionist. They can provide a recipe tailored specifically to your dog's blood work and health history.
If you find that home cooking is becoming too complex, our pet pharmacy can help. We provide a range of therapeutic diets that are formulated by experts to manage specific health concerns. This ensures your dog gets exactly what they need without the guesswork of home formulation.
FAQ
Can I make air dried dog food in a microwave?
No, a microwave is not suitable for air drying dog food. Microwaves work by heating water molecules rapidly, which cooks the food from the inside out. This process is too fast and too hot to achieve the slow evaporation required for air drying. It will result in cooked meat that is not shelf stable.
How do I know if the meat has gone rancid?
Rancid meat usually has a very distinct, sour, or "old" smell. You might also notice a change in color or a slimy film on the surface of the food. Because fat is the primary cause of spoilage, always check for any oily residue in your storage container. If the food smells anything other than meaty and dry, discard the batch.
Is air dried food the same as freeze dried food?
They are different processes. Freeze drying involves freezing the food and then placing it in a vacuum to remove moisture through sublimation. It requires very expensive equipment that most people do not have at home. Air drying uses heat and airflow to evaporate moisture. Both result in shelf stable food, but freeze dried food is usually much lighter and more porous.
Do I need to rehydrate air dried food before feeding?
You do not have to rehydrate it, but it can be beneficial. Some dogs prefer the texture of rehydrated food, and it helps increase their overall water intake. If your dog does not drink much water on their own, adding a little warm water or low sodium broth to the air dried pieces can help keep them hydrated.