Save 15% on your 1st Autoship learn more

 Email us
 Live Chat
 FAQs
FAQs





Introduction
It often happens during a routine checkup. Your veterinarian suggests a strict diet to manage your dog’s weight, allergies, or a specific health condition. Suddenly, the colorful bags of jerky and biscuits in your pantry are off-limits. You are left with a bag of specialized kibble and a dog who still expects a reward for sitting politely at the door. It can feel like the "fun" part of feeding has vanished.
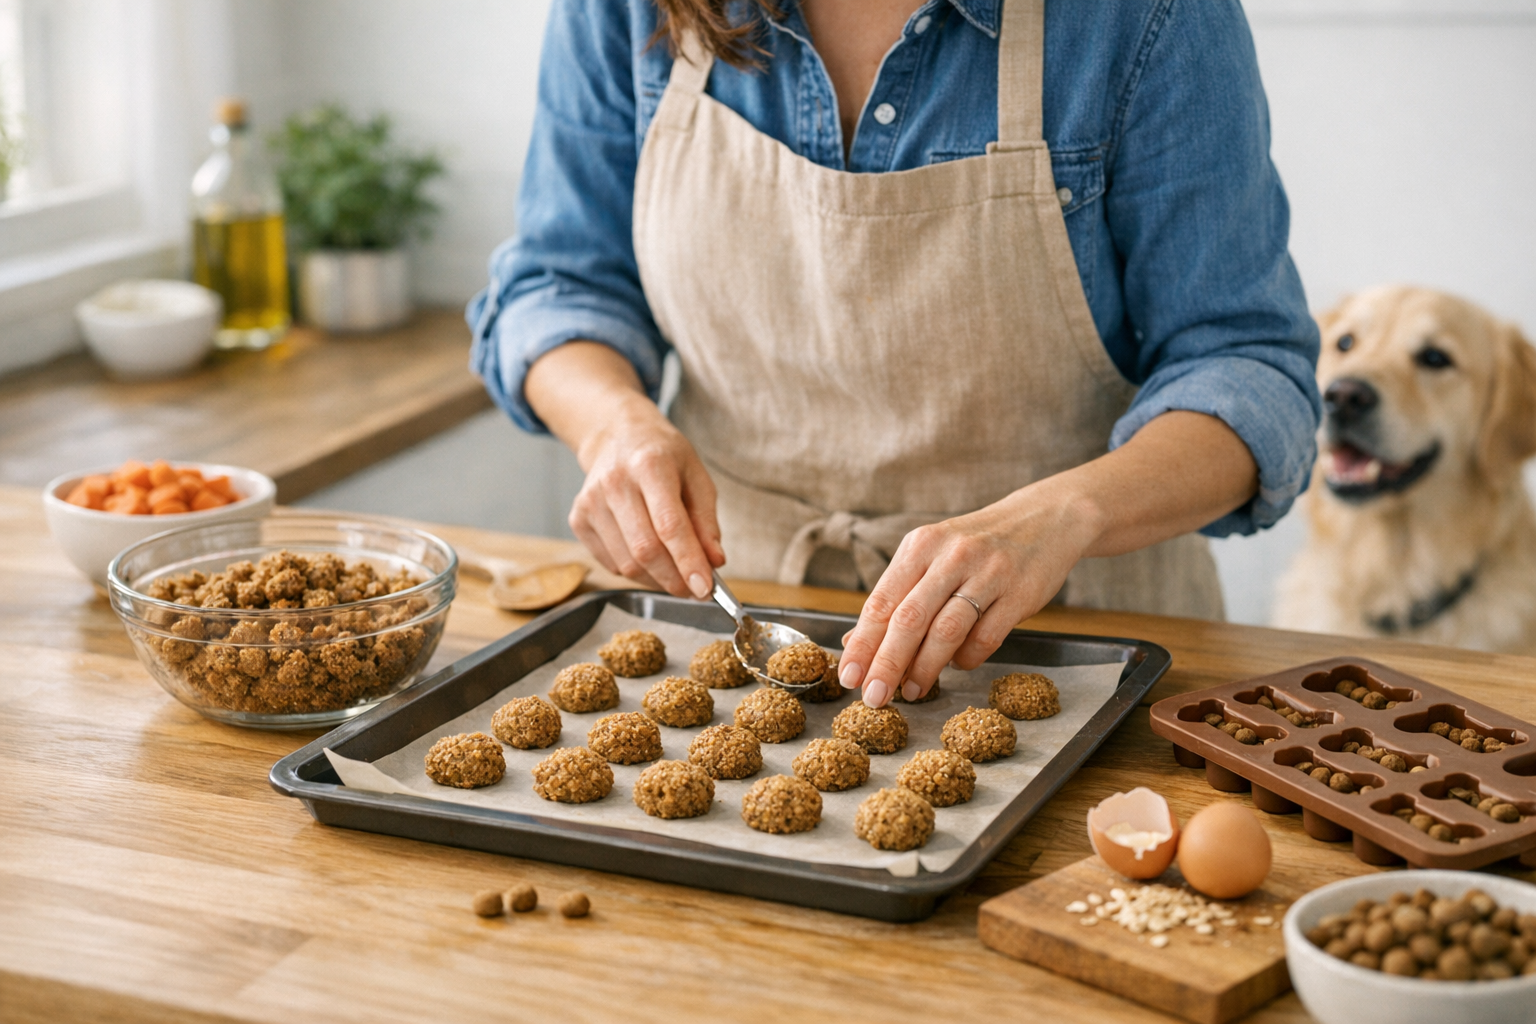
At BaxterBoo, we know that treats are about more than just extra calories. They are tools for training, bonding, and enrichment. Making your own treats using your dog’s existing dry food is a brilliant way to keep them happy without breaking their diet or your budget. This guide will walk you through the simple process of turning standard kibble into crunchy, oven-baked biscuits. We will cover the best techniques for different textures and how to ensure these DIY rewards stay safe and healthy.
The Benefits of Kibble-Based Treats
Using dry food as the base for homemade treats solves several problems at once. The most obvious benefit is dietary consistency. If your dog has a sensitive stomach or a known allergy, introducing a new treat brand is a risk. By using the food they already eat, you eliminate the guesswork. You know exactly what ingredients are in the biscuit because they are the same ones in the food bowl.
This method is also incredibly cost-effective. High-quality training treats can be expensive, especially if you are in a heavy training phase with a new puppy. A single cup of dry food can produce dozens of tiny training rewards. It allows you to save your money for other essentials like sturdy leashes or durable toys from our dog food category.
For owners of dogs on prescription diets, this is often the only way to provide a "cookie" safely. Many prescription diets do not have a matching treat line. Making your own ensures your dog does not miss out on the ritual of a reward.
Quick Answer: You can make dog treats by grinding dry kibble into a fine powder using a blender. Mix the powder with water to form a dough, shape into small cookies, and bake at 350 degrees Fahrenheit for about 30 minutes.
Essential Equipment for DIY Treats
You do not need a professional kitchen to make these treats, but a few specific tools make the process much cleaner. The goal is to change the physical form of the food while keeping the nutritional profile intact. If you are shopping for more structured options, our dog treats category is a good place to compare shapes and textures.
- A High-Powered Blender or Food Processor: This is the most important tool. You need to turn hard kibble into a flour-like consistency.
- A Large Mixing Bowl: For combining the "kibble flour" with liquid.
- Baking Sheets: Non-stick versions work best, but you can also use parchment paper.
- Silicone Baking Mats: If you want to make hundreds of tiny training treats at once, look for "pyramid" mats with small indentations.
- A Rolling Pin: This helps you get an even thickness for consistent baking.
If you are using a prescription diet, it is a good idea to dedicate a specific blender or bowl to this process. This prevents cross-contamination with other foods that might trigger an allergic reaction or upset your dog’s system.
The Basic Kibble Biscuit Recipe
This is the standard method that works for almost any brand of dry dog food. Whether you use a grain-free formula or a traditional kibble, the physics of the dough remain similar.
Step 1: Create the Flour
Measure out two cups of your dog’s dry food. Place it in your blender or food processor. Pulse the machine until the kibble is a fine, uniform powder. If there are large chunks left, the treats may crumble after baking.
Step 2: Form the Dough
Pour the powder into a mixing bowl. Gradually add water while stirring. You usually need about one cup to one and a quarter cups of water for every two cups of dry food. The goal is a dough that is firm enough to roll out but not so sticky that it clings to your hands.
Step 3: Shape the Treats
Lightly dust your workspace with a little more of the kibble powder. Roll the dough out to about a quarter-inch thickness. You can use small cookie cutters or simply use a knife to cut the dough into small squares.
Step 4: The Baking Process
Preheat your oven to 350 degrees Fahrenheit. Place the treats on an ungreased baking sheet. Bake them for approximately 30 minutes. The treats should feel firm to the touch. If you want them extra crunchy, you can turn off the oven and let them sit inside as it cools.
Step 5: Cooling and Storage
Let the treats cool completely on a wire rack. Because these treats have added moisture and no artificial preservatives, they should be stored in the refrigerator. They generally stay fresh for about five to seven days.
Key Takeaway: Always grind the kibble into a fine, consistent powder before adding water. This ensures the treats hold their shape and bake evenly without crumbling.
Advanced Techniques for Better Rewards
Once you master the basic recipe, you can adjust the technique to suit your dog’s preferences. Not every dog wants a hard biscuit. Some seniors or dogs with dental issues might prefer something a bit softer.
Using Silicone Molds
If you find rolling and cutting dough tedious, silicone mats are the answer. Use a slightly wetter dough, almost like a thick pancake batter. Use a spatula to spread the mixture over a silicone mat with tiny holes. This allows you to bake hundreds of uniform, pea-sized treats at once. These are perfect for high-repetition training like heel work or recall.
Adding Flavor Boosters
If your dog is not on a restricted diet, you can replace the water with other liquids. Low-sodium chicken or beef broth can make the treats more enticing. Some owners add a tablespoon of canned pumpkin (not pumpkin pie filling) to help with digestion and add a touch of sweetness. Always check with your vet before adding new ingredients to a specialized diet.
Dehydrating for Longevity
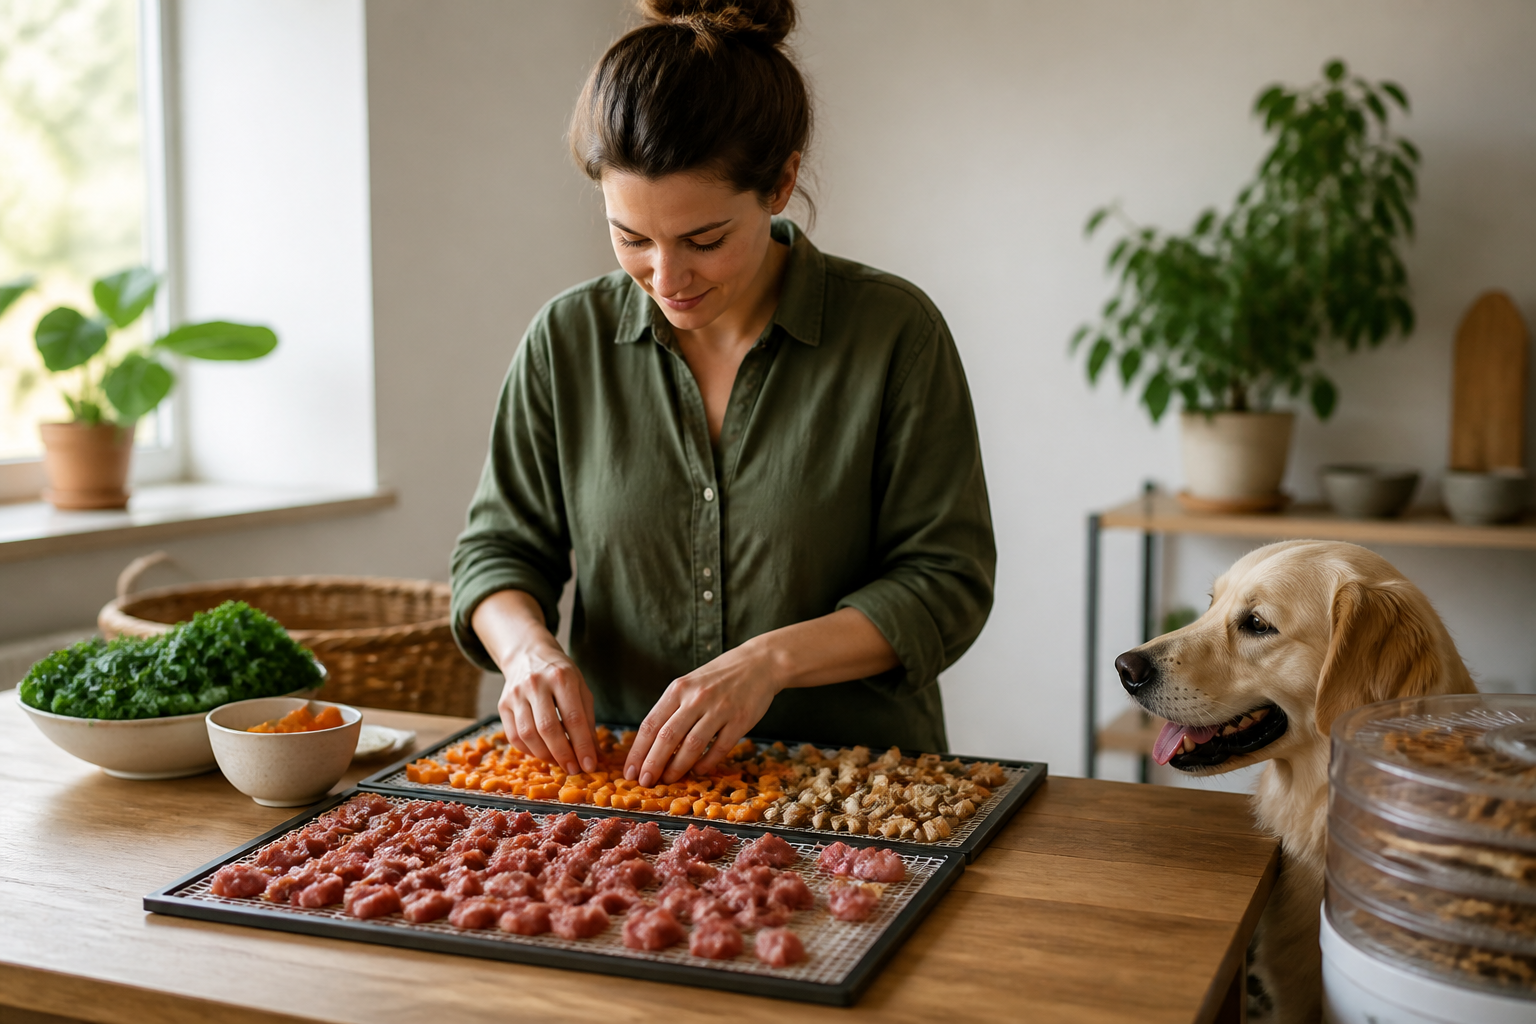
If you have a food dehydrator, you can use it instead of the oven. Dehydrating at a lower temperature for a longer period removes more moisture. This results in a treat that is very hard and has a longer shelf life. It also preserves more of the original nutrients that might be sensitive to high heat.
Managing Prescription and Medical Diets
Many people search for DIY treat recipes because their dog is on a prescription diet from our pet pharmacy. Whether it is for kidney health, urinary support, or weight management, these foods are carefully balanced. When you bake these foods, you are changing the physical structure, but the chemical components remain mostly the same.
However, you must be careful. Heating certain prescription foods can slightly alter the nutritional profile. For more background on that kind of feeding plan, our guide to veterinary diet food is a useful read. Most veterinarians agree that as long as these treats make up less than ten percent of the daily caloric intake, they are a safe alternative to commercial snacks.
Our pharmacy carries a wide range of prescription diets through our partnership with Pet's Choice. If your dog is on a specific brand like Farmina or Royal Canin, check if there is a canned version of the same formula. You can often slice and bake the canned version even more easily than the dry kibble.
Vet Tip: If your dog is on a strictly managed prescription diet, always consult your veterinarian before baking their food. They can confirm if the specific formula is safe to heat and help you calculate the correct "treat" portion for your dog's daily needs.
Training with Homemade Kibble Treats
One of the hardest parts of training a dog on a diet is the "value" of the reward. To a dog, a piece of kibble from a bowl is just dinner. But a piece of kibble that has been powdered, shaped, and baked into a crunchy biscuit is a "treat." The change in texture and the concentrated scent from the oven can make the food feel more special.
To increase the value further, you can try "scent-loading" the treats. Place the baked kibble treats in a sealed jar with a few pieces of high-value food, like freeze-dried liver or a piece of jerky. The kibble treats will absorb the aroma of the more "exciting" food without adding the actual calories or ingredients to your dog’s diet. If you want more ideas for reinforcement work, our dog training category has plenty of helpful options.
Bottom line: Homemade treats allow you to maintain training progress without compromising a dog's strict medical or weight-loss diet.
Storage and Safety Considerations
Because homemade treats do not contain the stabilizers found in commercial products, they are perishable. You cannot leave them in a treat pouch or a jar on the counter for weeks.
- Refrigeration: Keep your baked treats in an airtight container in the fridge. They will last about a week.
- Freezing: You can freeze these treats for up to three months. This is a great way to prep a large batch and just pull out what you need for a single day.
- Monitoring for Mold: Always check the treats before feeding. If you see any fuzzy spots or notice a sour smell, throw the batch away.
- Portion Control: Remember that these treats are part of your dog’s daily food allotment. If you give twenty treats, you should subtract the equivalent amount of dry food from their dinner bowl.
If you find that your dog is suddenly uninterested in their regular meals, you might be over-treating. Even though it is the same food, the novelty of the treats can sometimes make the bowl seem boring. Keep the treats small and use them purposefully. For more budget-friendly feeding ideas, our article on discounted dog food is worth a look.
Troubleshooting Common Issues
Making treats out of kibble is simple, but it might take a few tries to get the consistency right. Different brands of food have different levels of fat, fiber, and protein, which all affect how the dough behaves.
If your treats are too crumbly, you likely did not grind the food fine enough. The larger the chunks, the weaker the structure of the biscuit. Next time, let the blender run a bit longer. You can also try adding a tiny bit more water to help the powder bind together.
If the treats are too soft or "chewy" after 30 minutes, they likely need more time in the oven. Every oven is different. You can flip the treats halfway through the baking time to ensure the bottoms get as crispy as the tops. For a very hard crunch, leave them in the oven after you turn the heat off.
If the dough is too sticky to roll out, let it sit for ten minutes. This gives the kibble powder time to fully absorb the moisture. If it is still too sticky, add a little more kibble powder a tablespoon at a time until it reaches a workable consistency.
Conclusion
Finding out your dog needs a restricted diet does not have to mean the end of treat time. By turning their dry food into homemade biscuits, you provide the crunch and reward they crave while staying within the boundaries of their health needs. It is a practical, budget-friendly solution that keeps your dog's tail wagging.
We are proud to support your pet's health journey through every life stage. Whether you are using our Autoship program to stay stocked on your favorite brand or earning more through the MVP Rewards programme, we are here to help. Experiment with these recipes and find the perfect texture for your pup.
Key Takeaway: Success with DIY kibble treats depends on a fine grind, proper moisture balance, and careful refrigeration to maintain freshness.
FAQ
Can I use any brand of dry dog food to make these treats?
Yes, you can use almost any brand of dry dog food, including grain-free, high-protein, or limited-ingredient diets. The main difference will be how much water you need to add to form a stable dough. Heavier, denser kibbles may require a bit more moisture and a longer grind time in the blender to reach a fine powder.
Do I need to add flour or eggs to get the treats to stick together?
If your dog is on a strict or prescription diet, you should avoid adding extra ingredients like flour or eggs unless your vet approves them. The natural starches and proteins in the powdered kibble, when mixed with water, are usually enough to bind the dough. If the dough is very difficult to work with, letting it rest for ten minutes helps the fibers absorb the water and become stickier.
How many treats can I give my dog per day?
Even though these treats are made from your dog's regular food, you should still follow the "ten percent rule." This means treats should not make up more than ten percent of their daily calorie intake. To be safe, measure the amount of dry food you use for the treats and subtract that same amount from your dog's scheduled breakfast or dinner.
Is it safe to bake prescription dog food?
In most cases, baking prescription food is safe and is often recommended by veterinarians as a way to provide treats to dogs with medical issues. However, high heat can sometimes change the effectiveness of specific nutrients or antioxidants in specialized formulas. It is always best to double-check with your vet or contact the manufacturer to ensure that baking will not compromise the therapeutic goals of the diet.