Save 15% on your 1st Autoship learn more

 Email us
 Live Chat
 FAQs
FAQs





Introduction
You might find yourself standing in the pet food aisle and staring at a long list of ingredients you cannot pronounce. Perhaps your dog has developed sudden skin allergies or has become impossibly picky with every bag you bring home. Many pet owners reach a point where they want total control over what goes into their dog's bowl. Making dry dog food from scratch is a practical way to ensure your pet gets whole, human-grade ingredients without the mystery fillers. At BaxterBoo, we know that your dog's health starts with what they eat every single day. This guide covers the essential ingredients, the slow-baking process, and how to store your homemade kibble safely. Transitioning to a homemade diet is a big step that requires careful planning to meet all your dog's nutritional needs.
Why Consider Homemade Dry Dog Food
The most common reason people start making their own kibble is to manage health issues. If your dog suffers from chronic itchy skin or frequent stomach upsets, a limited-ingredient diet can help. When you cook at home, you eliminate artificial colors, chemical preservatives, and low-quality meat by-products. You choose the exact cut of meat and the specific vegetables that your dog enjoys.
Another benefit is freshness. Commercial kibble often sits in warehouses for months before it reaches your home. Homemade food is made in small batches and served while the nutrients are at their peak. It also allows you to cater to specific life stages. A senior dog might need more fiber and fewer calories, while a highly active dog needs more protein.
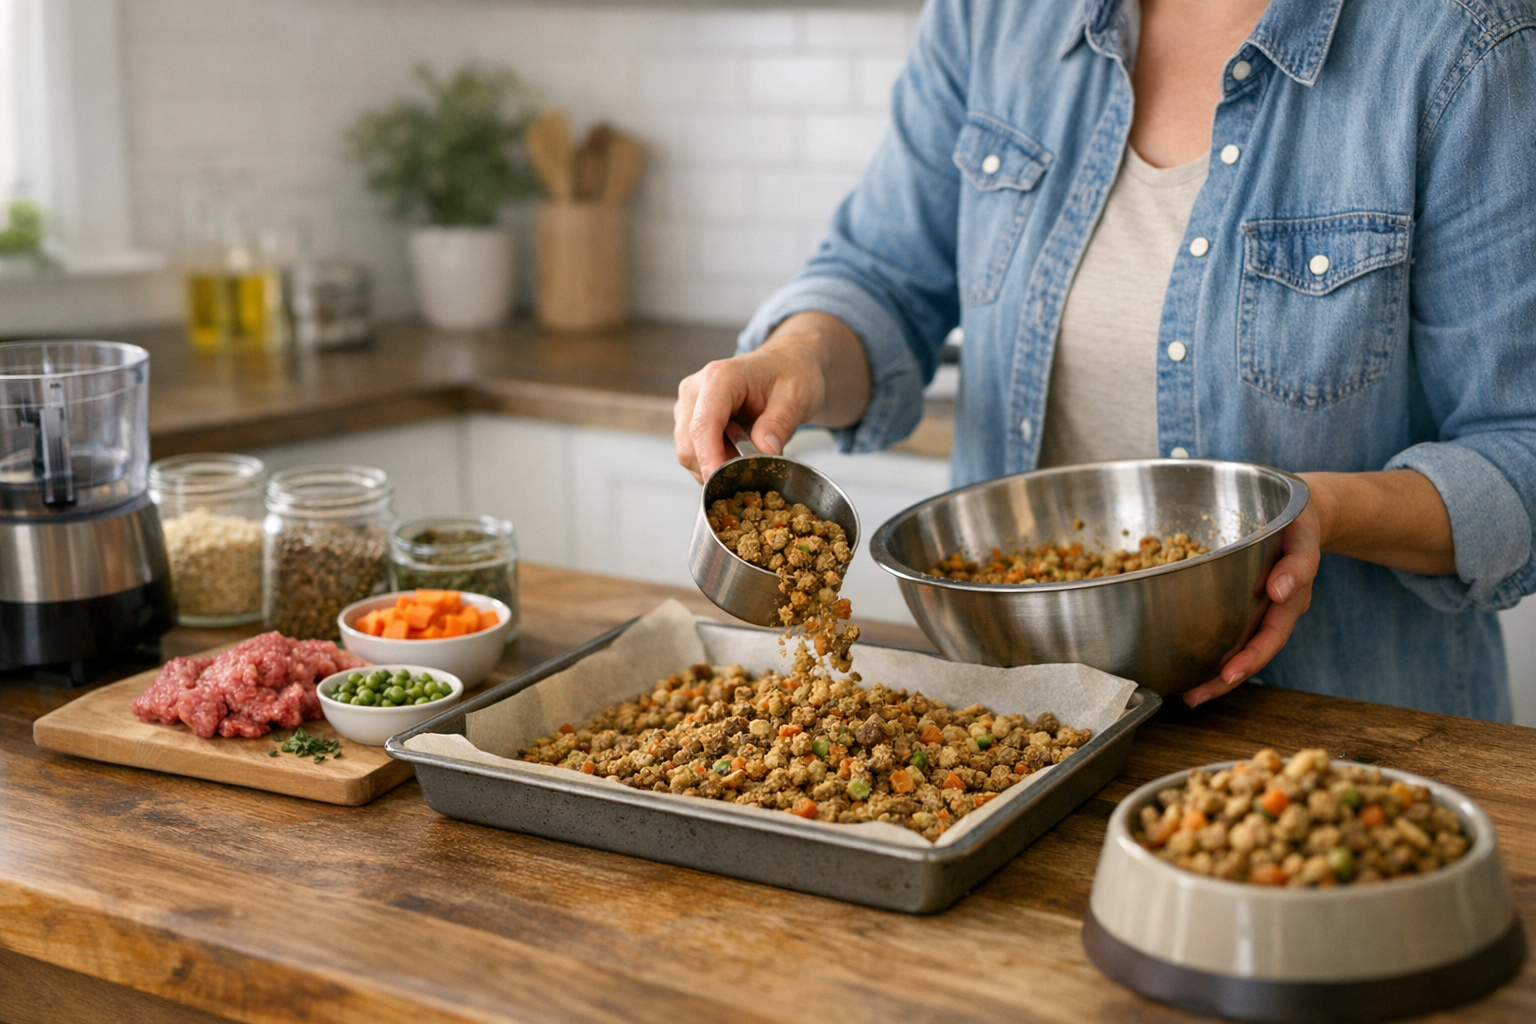
Quick Answer: Making dry dog food involves blending cooked meats, grains, and vegetables into a thick puree. You then spread this mixture on baking sheets, bake it at a low temperature, and cut it into small pieces. The final step is a second low-heat bake to remove all moisture for a crunchy, shelf-stable texture.
Essential Ingredients for Balanced Nutrition
A dog's body requires a specific balance of proteins, fats, and carbohydrates. You cannot simply feed them ground beef and rice every day and expect them to thrive long-term. They need vitamins and minerals that often come from a variety of sources.
High-Quality Proteins
Protein is the building block of your dog's muscles and immune system. Lean meats are the best choice for homemade kibble. High fat content can cause the food to go rancid quickly and may lead to weight gain or pancreatitis.
- Ground turkey or chicken breast
- Lean ground beef (90% lean or higher)
- White fish like cod or tilapia
- Pork loin with all visible fat trimmed
- Organ meats like beef liver (in very small amounts)
Healthy Carbohydrates and Fiber
Carbohydrates provide energy and help the kibble hold its shape during the baking process. Fiber is essential for healthy digestion and firm stools.
- Sweet potatoes or pumpkin (must be cooked)
- Brown rice or white rice
- Oatmeal or oat flour
- Quinoa
- Lentils (well-cooked and pureed)
Dog-Safe Vegetables and Fruits
Vegetables add essential antioxidants and vitamins. Always avoid onions and garlic, as these are toxic to dogs.
- Carrots and green beans
- Spinach or kale
- Peas and corn
- Apples (no seeds or core)
- Blueberries
Vet Tip: Homemade diets are frequently deficient in calcium, zinc, and certain B vitamins. Before switching to a 100% homemade diet, consult your veterinarian or a veterinary nutritionist to determine which supplements are necessary. Our pet pharmacy carries a range of professional-grade supplements and prescription diets if your dog has specific medical requirements.
The Equipment You Will Need
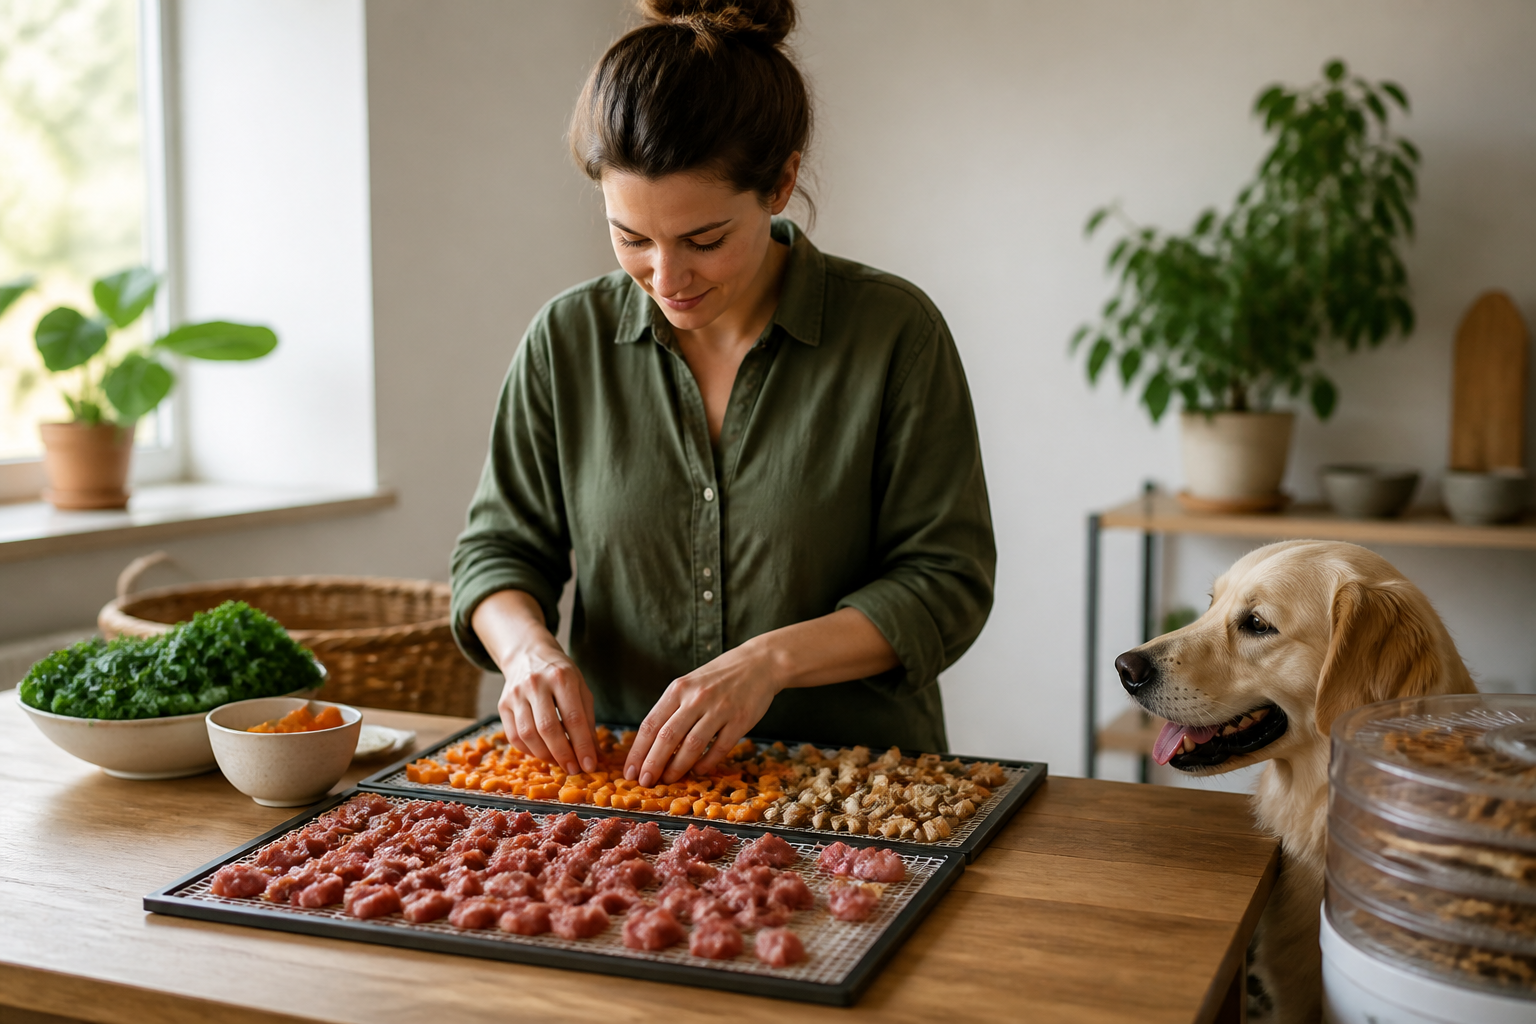
You do not need a commercial kitchen to make dry dog food. Most of the tools are already in your cupboards. Having the right gear makes the process faster and more consistent.
- A large stockpot for boiling grains and vegetables.
- A skillet for browning meats.
- A food processor or high-powered blender to create a smooth batter.
- Large rimmed baking sheets (cookie sheets).
- Parchment paper or silicone baking mats to prevent sticking.
- A pizza cutter or sharp knife for shaping the kibble.
Step-by-Step Guide to Making Homemade Kibble
This process takes time because the goal is to remove moisture without burning the food. Plan for an afternoon in the kitchen.
Step 1: Cook the Base Ingredients
Cook your protein and grains thoroughly. Boil the rice or oats until they are soft. Brown the meat in a pan and drain away any excess fat. Steam or boil your vegetables until they can be easily mashed with a fork.
Step 2: Create the Puree
Place the cooked meat, grains, and vegetables into a food processor. Add a small amount of water or low-sodium, onion-free broth if the mixture is too dry. Add a tablespoon of dog-safe oil, such as salmon oil or flaxseed oil, for healthy fats. Pulse the mixture until it becomes a thick, uniform paste.
Step 3: Spread and Bake
Preheat your oven to 300 degrees Fahrenheit. Line your baking sheets with parchment paper. Spread the mixture onto the sheets about one-quarter inch thick. Use a spatula to get the surface as even as possible for consistent drying.
Step 4: Initial Cut
Bake the sheets for about 30 to 45 minutes. Remove them from the oven. The mixture should be firm enough to cut but still somewhat soft. Use a pizza cutter to score the dough into small squares that match your dog's size.
Step 5: The Dehydration Phase
Reduce the oven heat to 225 degrees Fahrenheit. Place the trays back in the oven for another 1 to 2 hours. You want the pieces to become hard and crunchy. If they still feel spongy in the middle, they will mold quickly in storage.
Step 6: Cool Completely
Turn off the oven and let the kibble sit inside with the door slightly cracked. This helps the last bit of moisture evaporate. Do not bag the food until it is completely cool to the touch.
Key Takeaway: The secret to shelf-stable homemade kibble is the second low-heat bake. Any remaining moisture will cause the food to spoil within days, so ensure the pieces are dry all the way through.
Understanding Nutritional Gaps
While whole foods are excellent, they do not always provide the exact ratios of minerals found in nature. In the wild, dogs eat bones, organs, and connective tissue that provide calcium and phosphorus. When we cook lean muscle meat, we miss those elements.
Many owners choose to use a professional base mix. These are pre-balanced blends of vitamins and minerals that you add to your home-cooked meat. This ensures your dog gets the benefits of fresh protein without the risk of malnutrition. If your dog has a condition like kidney disease or heart issues, dietary balance is even more critical.
We work with Pet's Choice to provide a full pharmacy for our customers. This partnership allows us to offer prescription pet foods from brands like Farmina Vet Life and Royal Canin. If your vet decides a homemade diet is not right for your dog's specific health condition, these specialized diets provide the same targeted nutrition with laboratory-tested precision.
How to Store Homemade Dry Food
Commercial kibble contains preservatives that keep it safe for months. Your homemade version does not. Because of this, you must be much more careful with storage.
- Refrigerator: Store enough food for three to five days in an airtight container.
- Freezer: This is the best way to keep large batches. Use freezer bags and squeeze out all the air. It will stay fresh for up to three months.
- Countertop: Only keep food at room temperature if you are certain it is 100% dehydrated. Even then, use it within two days.
Signs of Spoilage
Always smell the food before putting it in the bowl. If it smells sour, musty, or "off," throw it away. Look for any fuzzy white or green spots, which indicate mold. If your dog hesitates to eat it or develops diarrhea, stop feeding the batch immediately.
Transitioning Your Dog to the New Food
Never switch your dog's diet overnight. Their digestive systems are sensitive to sudden changes. A fast switch often leads to gas, vomiting, or loose stools.
- Days 1 to 3: Mix 25% homemade food with 75% of their old food.
- Days 4 to 6: Mix 50% homemade food with 50% of their old food.
- Days 7 to 9: Mix 75% homemade food with 25% of their old food.
- Day 10: Feed 100% homemade food.
Monitor your dog's energy levels and coat quality during this time. A shiny coat and steady energy are signs the diet is working. If they become lethargic or their coat looks dull, they may be missing key nutrients.
Cost and Time Considerations
Making food from scratch is often more expensive than buying mid-range commercial kibble. You are paying for human-grade meat and fresh produce. However, for dogs with severe allergies, the cost of homemade food may be lower than specialized veterinary diets.
The time commitment is the biggest hurdle. You should expect to spend two to three hours every week or two on meal prep. Many owners find it helpful to make a double batch and freeze half. This ensures you always have a backup if you have a busy week.
Bottom line: Making dry dog food is a labor of love that gives you total control over ingredients, but it requires a strict commitment to nutritional balance and safe storage.
Is Homemade Kibble Right for Every Dog?
Not every dog is a good candidate for a DIY diet. Puppies are particularly at risk because they need very specific calcium-to-phosphorus ratios to grow their bones correctly. A mistake in a puppy's diet can lead to permanent joint deformities.
Senior dogs with failing kidneys also need very low phosphorus levels, which can be hard to achieve with standard grocery store meats. In these cases, a prescription diet from our pet pharmacy might be a safer choice. However, for a healthy adult dog with no major medical issues, a well-researched homemade diet can be a wonderful way to show your care.
We carry over 500 trusted brands, including high-quality options like The Honest Kitchen and Stella and Chewy's. These brands use human-grade ingredients and gentle processing methods, offering a middle ground between commercial kibble and cooking from scratch. If you want a ready-made option, our selection of The Honest Kitchen products includes convenient dehydrated formulas.
Adding Variety to the Bowl
Dogs can get bored eating the same thing every day. One of the perks of cooking at home is that you can rotate your ingredients. Switch from turkey to beef every few weeks. Change out the green beans for spinach. This variety is not just about flavor. Different ingredients provide different amino acids and phytonutrients.
You can also use your homemade kibble as a base and add fresh toppers. A spoonful of plain Greek yogurt or a few crumbles of freeze-dried liver can make mealtime exciting. Just remember that treats and extras should never make up more than 10% of your dog's total daily calories.
Final Thoughts on Homemade Dog Food
Taking the leap into home cooking is a significant commitment to your pet's wellness. It requires you to be a chef, a nutritionist, and a food safety expert all at once. By selecting lean proteins, healthy grains, and fresh vegetables, you provide a level of quality that is hard to find in a standard bag of food. Always remember that balance is more important than any single ingredient.
If the process feels overwhelming, we are here to help. You can explore our selection of premium foods or speak with your vet about using our pharmacy for balanced prescription options. Whether you cook every meal or choose a curated brand, the goal is a happy, healthy dog with a wagging tail.
Key Takeaway: Success with homemade dog food depends on three things: using lean proteins, ensuring a complete vitamin profile through supplements, and removing enough moisture during baking for safe storage.
FAQ
How long does homemade dry dog food last?
If it is fully dehydrated and stored in an airtight container, it can last up to ten days in the refrigerator. For longer storage, you should keep it in the freezer for up to three months. Because it lacks chemical preservatives, it will spoil much faster than store-bought kibble if left on the counter.
Is it cheaper to make your own dog food?
Usually, making dog food is more expensive than buying a standard bag of kibble because you are buying human-grade ingredients. However, it can be more cost-effective than some high-end prescription diets or specialty limited-ingredient foods. Most owners find the value lies in the health benefits rather than the price tag.
Can I feed my puppy homemade dry food?
Puppies have very strict nutritional requirements for bone and brain development. It is very difficult to balance these perfectly at home without expert guidance. It is generally safer to wait until your dog is a fully grown adult before switching to a 100% homemade diet.
Do I need to add vitamins to homemade dog food?
Yes, most home-cooked meals lack essential minerals like calcium, zinc, and iron in the correct ratios. Without a professional supplement or a base mix, your dog could develop serious nutritional deficiencies over time. Always check with your vet to see which specific nutrients your dog might be missing based on your recipe.