Save 15% on your 1st Autoship learn more

 Email us
 Live Chat
 FAQs
FAQs





Introduction
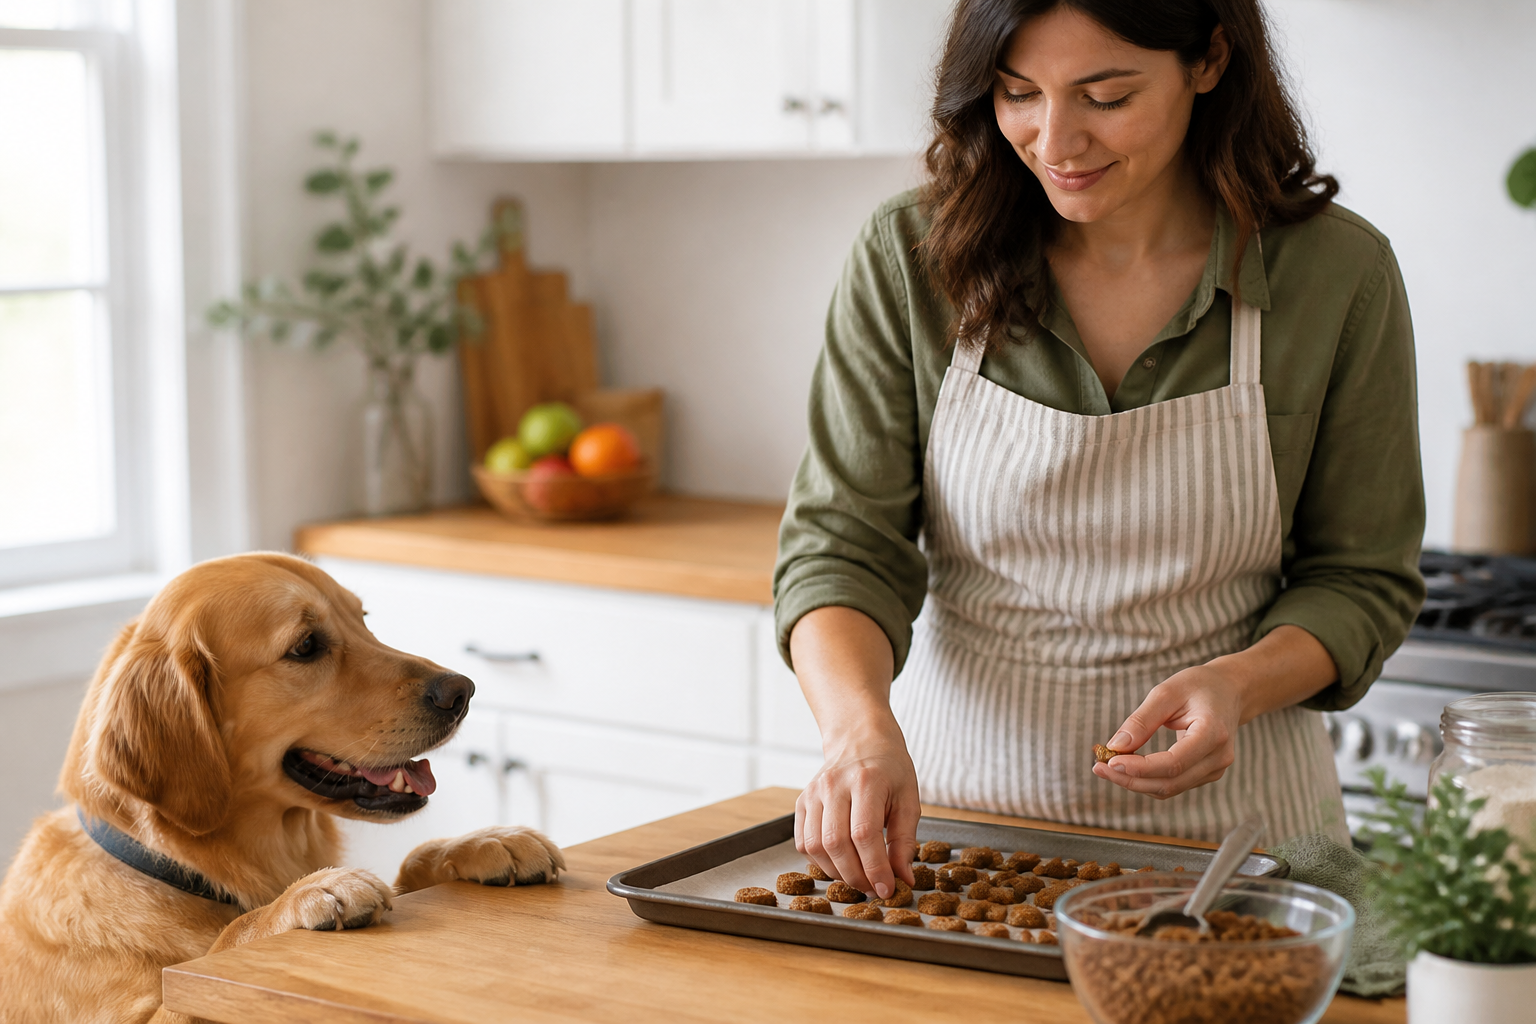
Training a new puppy or managing a dog on a strict veterinary diet often means you go through treats faster than you can restock them. You might find yourself staring at a giant bag of premium kibble and wondering why you are spending extra money on small bags of biscuits that contain almost the same ingredients. Using your dog’s existing dry food to create homemade treats is a smart way to save money while ensuring your pet stays on a consistent nutritional path. At BaxterBoo, we see many pet owners looking for ways to make their dog’s routine more exciting without breaking the bank or upsetting a sensitive stomach. This guide covers the exact steps to transform standard dry kibble into crunchy cookies or soft training rewards. We will also discuss how this strategy helps with prescription diets and picky eaters.
Quick Answer: To make treats from dry dog food, grind two cups of kibble into a fine powder using a blender or food processor. Gradually mix in about one cup of water until a stiff dough forms, shape into small pieces, and bake at 350 degrees Fahrenheit for 30 minutes.
Why Turn Dry Food Into Treats
There are several practical reasons to skip the treat aisle and head for the food bin. If you have a dog with severe food allergies or a sensitive GI tract, introducing a new protein or a different set of preservatives found in commercial treats can lead to itchy skin or an upset stomach. By using the food they already eat every day, you eliminate the risk of a bad reaction.
Cost is another major factor for many of us. High quality training treats can be expensive, especially during the early stages of puppyhood when you might be rewarding your dog dozens of times a day for basic manners. Making your own rewards from a bulk bag of kibble significantly lowers your daily expenses. It also ensures that the nutritional balance of your dog's day remains intact. Since the treats are made from their actual meals, you do not have to worry as much about "empty calories" from sugary snacks.
Finally, this method is a lifesaver for dogs on prescription diets. When a veterinarian prescribes a specific food for kidney health, weight management, or urinary care, most standard treats are strictly off limits. Turning that prescription kibble into a special shape or a different texture helps the dog feel rewarded without compromising their medical treatment.
Key Takeaway: Using dry food for treats ensures nutritional consistency, saves money during heavy training phases, and provides a safe reward option for dogs with allergies or medical restrictions.
The Equipment You Need
Before you start, gather a few basic kitchen tools. You do not need professional baking gear to make these work, but having a few specific items will make the process much easier.
- A high speed blender or food processor: This is the most important tool for turning hard kibble into a workable flour.
- A large mixing bowl: You will need space to combine the kibble powder and water.
- A sturdy spoon or spatula: The dough can become quite thick and sticky.
- Baking sheets: Standard cookie sheets work well.
- Parchment paper or silicone mats: These prevent the treats from sticking without needing to use grease or oils that could upset your dog's stomach.
- Optional: Small cookie cutters or silicone "pyramid" mats for uniform training treats.
We carry a variety of bowls and kitchen-adjacent pet gear at BaxterBoo that can help with food preparation and storage once your treats are finished. Using the right tools ensures that the kibble powder is fine enough to bind properly with the water.
Step-by-Step: The Blender Method
This is the most reliable way to get a treat that looks and feels like a traditional biscuit. The goal is to turn the hard kibble into a flour consistency so it can be reshaped.
Step 1: Grind the kibble.
Measure out two cups of your dog’s dry dog food. Place it in the blender and pulse until it looks like coarse sand or flour. Ensure there are no large chunks left, as these will cause the treats to crumble after baking.
Step 2: Add the water.
Pour the kibble powder into your mixing bowl. Slowly add one cup of water while stirring. You are looking for a dough that is firm enough to hold its shape but not so wet that it sticks to your hands. If it is too dry, add water one tablespoon at a time.
Step 3: Shape the treats.
Roll the dough out on a flat surface or simply pinch off small pieces. If you want uniform training treats, you can flatten the dough and cut it into tiny squares with a knife. Keep in mind that these treats will not spread or rise like human cookies, so the shape you make is the shape they will stay.
Step 4: Bake.
Preheat your oven to 350 degrees Fahrenheit. Place the treats on your lined baking sheet. Bake for approximately 30 minutes. If you want a softer treat, check them at 25 minutes. For a very crunchy biscuit that lasts longer, you can leave them in for up to 35 minutes.
Step 5: Cool and store.
Allow the treats to cool completely on the pan. Moving them while they are hot can cause them to break. Once cool, move them to an airtight container.
Vet Tip: If your dog is on a prescription diet for a specific health condition, always confirm with your veterinarian before adding any "human" ingredients like peanut butter or eggs to this recipe. Stick to kibble and water unless your vet gives the green light.
Making Treats for Picky Eaters
Some dogs might not be impressed by a treat that is just their regular food in a different shape. If you have a picky eater, you can "level up" the recipe by replacing the plain water with something more aromatic.
Low sodium beef or chicken broth is a great alternative, provided it does not contain onions or garlic. You can also mix in a small amount of canned wet food from the same brand. For example, if you feed Farmina or Royal Canin, using a bit of their matching wet formula as a binder adds a massive boost of scent and flavor that makes the "treat" feel much more special than a standard bowl of kibble.
If your dog is allowed to have certain vegetables, a tablespoon of plain canned pumpkin (not pie filling) can add moisture and a hint of sweetness. This is also helpful for dogs who need a little extra fiber in their diet. Just remember that these additions should still follow the rule that treats make up no more than 10 percent of your pet's daily caloric intake.
The Role of the Pharmacy and Prescription Diets
For many pet owners, the "treat problem" starts when a vet diagnoses a condition like chronic kidney disease, bladder stones, or severe food sensitivities. These conditions often require a prescription diet. Because these foods are formulated with very specific levels of minerals, proteins, and fats, a single "normal" dog treat can actually interfere with the dog's recovery or maintenance.
We understand how difficult it is to tell those puppy-dog eyes "no" when you are trying to manage a health condition. Our pet pharmacy offers a wide range of FDA-approved medications and prescription pet foods through our partnership with Pet's Choice. If your dog is on a specialized diet like Farmina Vet Life or Royal Canin Veterinary Diet, you can use the blender method described above to turn that specific food into rewards.
This allows you to maintain the strict dietary boundaries set by your vet while still enjoying the bonding experience of training and rewarding your pet. Since BaxterBoo provides home delivery for these prescription items, you can ensure you always have enough kibble on hand to set aside a portion for baking.
Key Takeaway: Prescription diets are medical tools. Making treats out of the prescribed kibble is often the only safe way to reward a dog with chronic health issues without sabotaging their treatment plan.
| Feature | Homemade Kibble Treats | Store-Bought Biscuits |
|---|---|---|
| Ingredient Control | Absolute (Uses current food) | Varies by brand |
| Cost | Very Low | Moderate to High |
| Allergy Safety | High (No new proteins) | Risk of new triggers |
| Prescription Safe | Yes (If using Rx food) | Usually No |
| Preparation Time | 40 Minutes | None |
Soft Training Treats vs. Crunchy Biscuits
Depending on what you are doing with your dog, you might want different textures. For high stakes training sessions like a busy park visit, soft treats are often better because the dog can swallow them quickly and get back to focusing on you. For a "going to bed" snack, a hard, crunchy biscuit is more satisfying.
To make soft treats, you can increase the water slightly or add a teaspoon of unsweetened applesauce to the dough. Bake them for a shorter time at a slightly lower temperature (around 325 degrees). These will have a more "rubbery" texture that is easy to break into tiny pieces.
For crunchy biscuits, follow the standard 350 degree recipe but leave them in the oven after you turn it off. The residual heat will help pull the remaining moisture out of the treats, making them very hard and shelf stable. This is great for dental health, as the mechanical action of chewing a hard biscuit can help scrape a tiny bit of plaque off the teeth.
Bottom line: Adjust your baking time and moisture levels to create either soft training morsels or long lasting crunchy biscuits.
Storage and Food Safety
Because these treats do not contain the same heavy preservatives as commercial shelf-stable bags, you have to be more careful about how you store them. Homemade treats made with water and kibble contain moisture, which can lead to mold if left in a warm pantry.
- Refrigeration: Store your baked treats in an airtight container in the fridge. They will generally stay fresh for about five to seven days.
- Countertop: Only store very crunchy, fully dried treats on the counter, and only for two or three days.
- Freezing: While some sources suggest avoiding the freezer for baked kibble treats, many owners find that they can freeze the dough or the baked treats for up to a month. However, freezing can change the texture and might make them more prone to crumbling once thawed.
- Spoilage signs: Always smell the treats before giving them to your dog. If you see any fuzzy spots or notice a sour smell, discard the entire batch.
If you find that your dog is eating the treats faster than you can bake them, consider using our Autoship program for your main bag of dry food. This ensures you never run out of the "base" for your treats and saves you money on every recurring order.
Using a Microwave for Faster Results
If you are in a rush and do not want to wait 30 minutes for the oven to preheat and bake, you can use a microwave for small batches. This works best if you are using canned food or a very wet kibble dough.
Simply shape your dough into small, flat rounds and place them on a microwave-safe plate. Heat them on high for about two and a half to three minutes. They will puff up slightly and then become chewy as they cool. Note that microwave cooking can be uneven, so keep a close eye on them to prevent burning. Burnt kibble has a very strong, unpleasant odor that can linger in your kitchen for a long time.
Nutritional Balance and the 10 Percent Rule
Even though these treats are made from your dog’s balanced daily food, the baking process can slightly alter the nutritional profile of the ingredients. Heat can break down certain vitamins or fatty acids. This is why most veterinarians recommend that even "food-based" treats do not exceed 10 percent of the daily calorie count.
If you are using these treats for heavy training, the best strategy is to measure out your dog's total daily food allowance first. Take a portion of that pre-measured amount to turn into treats. This way, you are not adding extra calories to their day. You are simply changing the form of the calories they were already going to eat. This is especially helpful for weight management. We carry several weight management formulas like Farmina Vet Life or those from NutriSource that work perfectly for this "portion-swapping" technique.
Vet Tip: If your dog is losing weight or seems less energetic after switching to homemade treats, consult your vet. They can help you determine if the baking process or the portion sizes need adjustment to keep your pet healthy.
Transitioning to Kibble Treats
Some dogs are "treat snobs" who expect a high-value reward like cheese or freeze-dried liver. If your dog turns their nose up at a piece of baked kibble, do not give up immediately. You can transition them by mixing the homemade treats in a bag with a few high-value items.
The scent of the more expensive treats will rub off on the kibble treats. Over time, your dog will begin to associate the homemade treats with the same level of excitement. This "scent marinating" is a common trick used by professional trainers to keep dogs motivated without overfeeding rich, fatty snacks.
You can also use these treats as a food topper. If your dog is going through a picky phase with their meals, crumbling one or two of your homemade "kibble cookies" over their bowl can create enough interest to get them started. The different texture and concentrated scent from the baking process often makes the food seem new and interesting again.
Conclusion
Making your own treats from dry dog food is one of the easiest ways to be a more cost-effective and health-conscious pet owner. Whether you are using a standard brand or a specialized prescription diet from our pharmacy, the process of grinding, mixing, and baking gives you total control over what your dog eats. It keeps training sessions affordable and ensures that dogs with medical needs never have to miss out on a reward.
Remember to keep your batches small so they stay fresh in the refrigerator and always stick to the 10 percent rule for supplemental feeding. By using the food your dog already loves and thrives on, you are providing the best possible care with the simplest of ingredients.
If you are ready to start your next batch, check out our selection of premium dry foods and wellness supplements at BaxterBoo. Joining the MVP Rewards programme is a great way to earn points on the food you are already buying, which you can then use for gear, toys, or even more food for your home baking projects.
FAQ
Can I make treats out of any brand of dry dog food?
Yes, almost any standard dry kibble can be ground into flour and baked into treats. However, avoid trying this with "air-dried" or "freeze-dried" raw foods like those from Ziwi Peak or Stella and Chewy’s, as their unique textures do not always respond well to being ground and re-baked. For traditional kibble brands like NutriSource, Royal Canin, or Farmina, the method works perfectly.
Do I have to use a blender to make the treats?
Using a blender or food processor is highly recommended because it creates a fine powder that binds easily with water. If you do not have one, you can try soaking the kibble in warm water until it becomes mushy and then mashing it with a fork. This "soak and mash" method takes longer and usually results in a lumpier treat that might crumble more easily after baking.
Why can't I freeze the homemade kibble treats?
While you can physically put them in the freezer, the moisture content in homemade baked treats often leads to a "mushy" or crumbly texture once they thaw. This happens because the ice crystals break down the structure of the kibble dough. For the best experience and to keep the "crunch" that dogs love, it is better to make smaller batches and store them in the refrigerator for up to a week.
What should I do if the dough is too sticky to handle?
If your dough is sticking to your hands or the rolling pin, you have added a bit too much water. You can fix this by adding a small amount of extra kibble powder if you have any left, or a tiny bit of plain flour or Cream of Wheat as a binder. To prevent sticking in the first place, try lightly dusting your hands and the work surface with a little bit of the kibble powder you created in the blender.