Save 15% on your 1st Autoship learn more

 Email us
 Live Chat
 FAQs
FAQs





Introduction
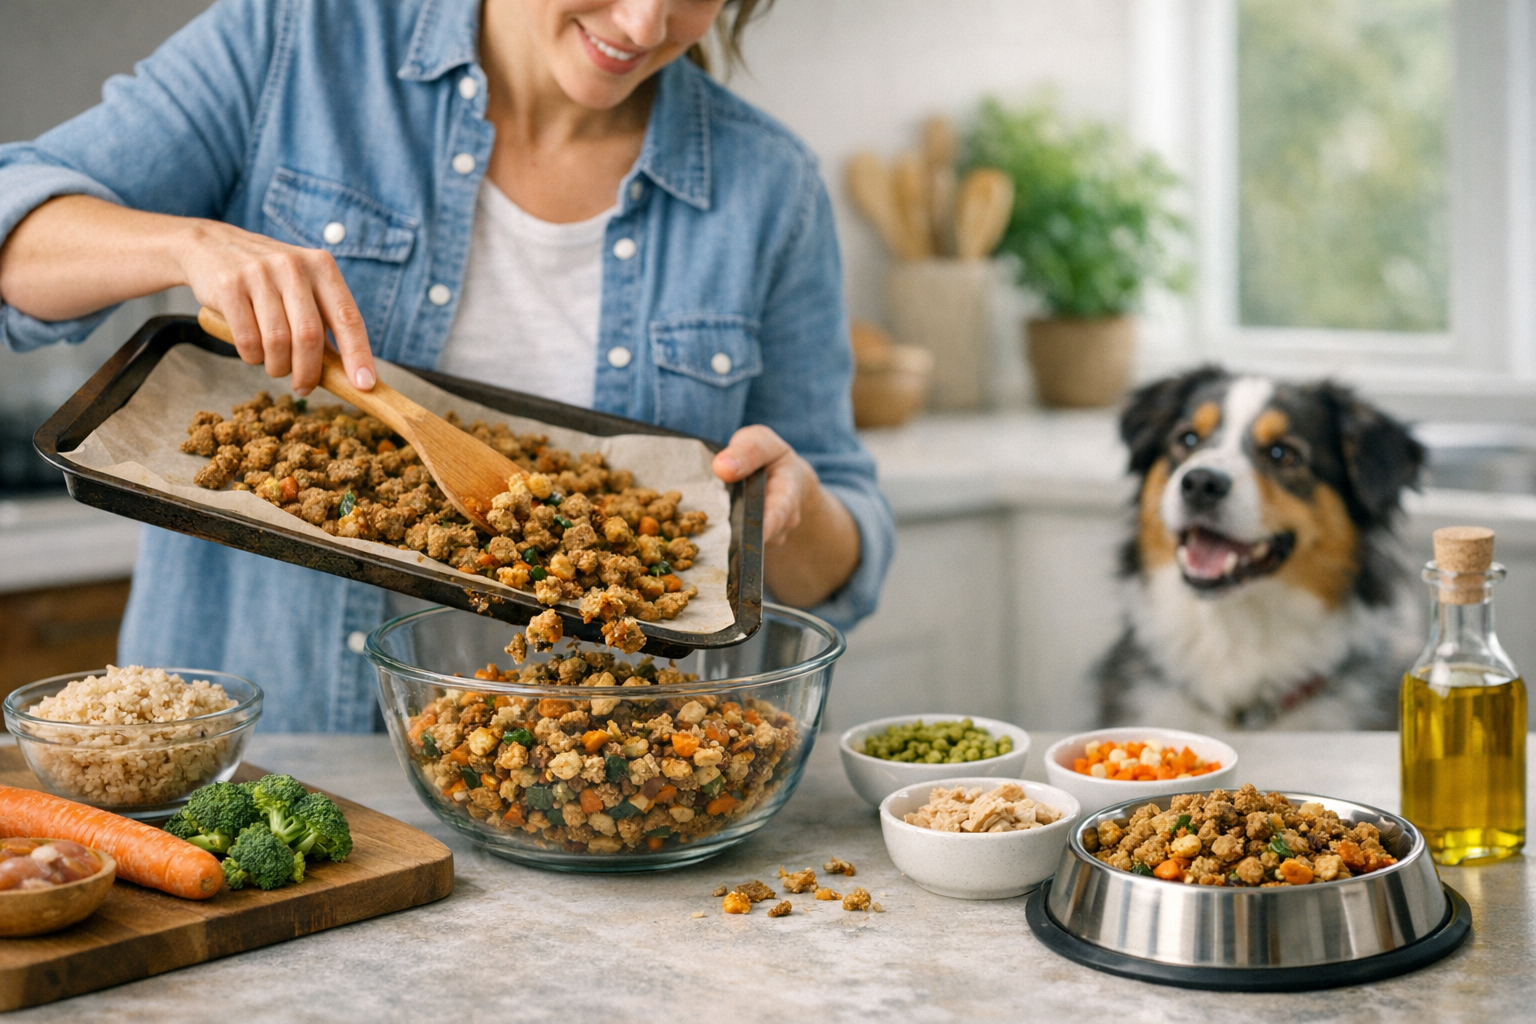
You are standing in the kitchen, looking at a bag of commercial kibble and wondering if you could do better for your pet. Perhaps your dog has developed sudden skin sensitivities, or you simply want more control over the quality of their ingredients. Whatever the reason, the transition to home cooking is a big step. At BaxterBoo, we understand that providing the best nutrition is a top priority for every pet parent. This guide will walk you through the practical steps of creating a balanced, shelf-stable dry food right in your own oven. We will cover everything from essential nutrient ratios to the specific baking techniques required to get that perfect crunch. Making your own dog food allows you to avoid fillers and tailor every bite to your dog's specific health needs.
Quick Answer: Homemade dry dog food is made by blending cooked proteins, starches, and vegetables into a puree, spreading it thin on baking sheets, and dehydrating it at a low temperature. This process creates a shelf-stable kibble that provides customized nutrition without the artificial preservatives found in many commercial brands.
The Benefits of Baking Your Own Kibble
Most pet owners are familiar with homemade wet food, but making a dry version offers unique advantages. The most obvious benefit is convenience. Unlike fresh stews that must be refrigerated and used within days, properly dried kibble can be stored longer and used as training treats or easy meals on the go. You can manage the exact fat content and protein sources, which is vital for dogs with stubborn allergies.
Many commercial kibbles are produced using high-heat extrusion. This process can sometimes strip away natural vitamins, which are then added back in as synthetic sprays. When you bake at home, you can use lower temperatures to preserve more of the natural integrity of the ingredients. You also have the peace of mind that comes from knowing every single ingredient in the bowl.
Baking your own food also helps with weight management. You can swap out heavy starches for fiber-rich vegetables like zucchini or carrots. This allows your dog to feel full without consuming excessive calories. It is a practical way to handle a "picky eater" who might turn their nose up at standard store-bought options but loves the smell of fresh turkey and sweet potato coming from the oven.
Understanding Nutritional Balance
Before you start preheating the oven, you must understand that dogs have very specific nutritional requirements. A dog cannot live on meat alone. They require a precise balance of proteins, fats, carbohydrates, calcium, and essential fatty acids. If these ratios are off for a long period, it can lead to serious health issues like bone density loss or organ strain.
Most veterinarians recommend a ratio of approximately 50 percent protein, 25 percent vegetables, and 25 percent healthy grains or starches. Protein sources should be lean to avoid digestive upset. Carbohydrates provide the energy your dog needs for daily walks and play. Vegetables offer essential fiber and antioxidants. If you want an easier place to compare complete meals and supplements, start with our dog food category.
When formulating a DIY diet, it is helpful to reference AAFCO nutrient profiles or the National Research Council (NRC) nutrient requirements for dogs. These standards ensure your pet receives the proper levels of amino acids, minerals, and vitamins. For a truly personalized and safe plan, you might even consult a Board-certified veterinary nutritionist (DACVN/ACVN) who can review your specific recipe for long-term safety.
Calcium is the most commonly missed ingredient in homemade diets. In the wild, canines get calcium from bones. In a home kitchen, you must add it through crushed eggshells or a specific supplement. Without it, the phosphorus in meat can become unbalanced. This is why professional guidance is so important when you move away from commercial diets.
Vet Tip: Always consult your veterinarian before switching to a 100 percent homemade diet. They can help you calculate the exact caloric needs for your dog and may recommend specific supplements to ensure your recipe is "complete and balanced" for your dog's life stage.
Essential Ingredients for Your DIY Recipe
Choosing the right ingredients is the foundation of a healthy kibble. You want to focus on whole foods that are easy for your dog to digest. Avoid any "human" seasonings like onion, garlic, or excessive salt, as these are toxic or harmful to dogs.
High-Quality Proteins
Lean ground turkey or chicken are excellent starting points. They are generally affordable and low in saturated fats. Lean ground beef or even white fish can also work well. If your dog is managing a condition like kidney disease, you may need to focus on proteins with lower phosphorus levels.
Healthy Carbohydrates
Brown rice and oats are the gold standard for homemade dog food. They provide steady energy and are gentle on the stomach. Lentils are another great option, as they add extra protein and fiber. If your dog has a grain sensitivity, you can use sweet potatoes or chickpeas as the primary starch.
Nutrient-Dense Vegetables
Spinach, carrots, zucchini, and peas are all dog-friendly. These should be finely chopped or pureed so your dog can actually absorb the nutrients. Steaming them before adding them to the mix can help break down the plant cell walls, making them even easier to digest.
Essential Fats and Additions
A tablespoon of olive oil or salmon oil provides the omega fatty acids necessary for a shiny coat and healthy skin. You can also add a few hard-boiled eggs into the mix for a boost of high-quality protein and vitamin D. For supportive add-ins, you can also explore our selection of Zesty Paws products.
Ingredient Substitutions and Customization
One of the best parts of learning how to make dog food kibble is the ability to customize. If your dog is allergic to chicken, you can easily swap it for ground lamb or white fish. For dogs with grain sensitivities, replace rice or oats with equal amounts of steamed sweet potato or butternut squash. If your dog needs more fiber, you can increase the ratio of green beans or pumpkin. Always introduce new ingredients one at a time to monitor for any digestive upset or allergic reactions.
Key Takeaway: A successful homemade kibble relies on a balance of lean protein, digestible carbohydrates, and fiber-rich vegetables, supplemented with a calcium source and healthy fats.
Standard Dry Dog Food Recipe
If you are ready to start baking, this basic dry dog food recipe provides a balanced starting point for most adult dogs. This formula yields approximately 5 to 7 cups of finished kibble depending on how thin it is spread and the moisture content of your ingredients.
Ingredients:
- 2 lbs lean ground meat (turkey, chicken, or 90% lean beef)
- 2 cups cooked brown rice or oats (measured after cooking)
- 1 cup pureed vegetables (a mix of carrots, spinach, and peas)
- 2 large eggs (cooked or raw, shells removed)
- 2 tablespoons salmon oil or olive oil
- 1 tablespoon finely ground eggshell powder (for calcium)
- 1/4 cup unsalted bone broth (only if needed for blending)
Yield and Serving:
This batch provides a nutrient-dense base. For most medium-sized dogs (around 40-50 lbs), the feeding guide is approximately 1.5 to 2.5 cups per day, split into two meals. However, because homemade food is often more calorie-dense than commercial options, you should monitor your dog’s weight closely and adjust portions as needed.
Equipment and Kitchen Prep
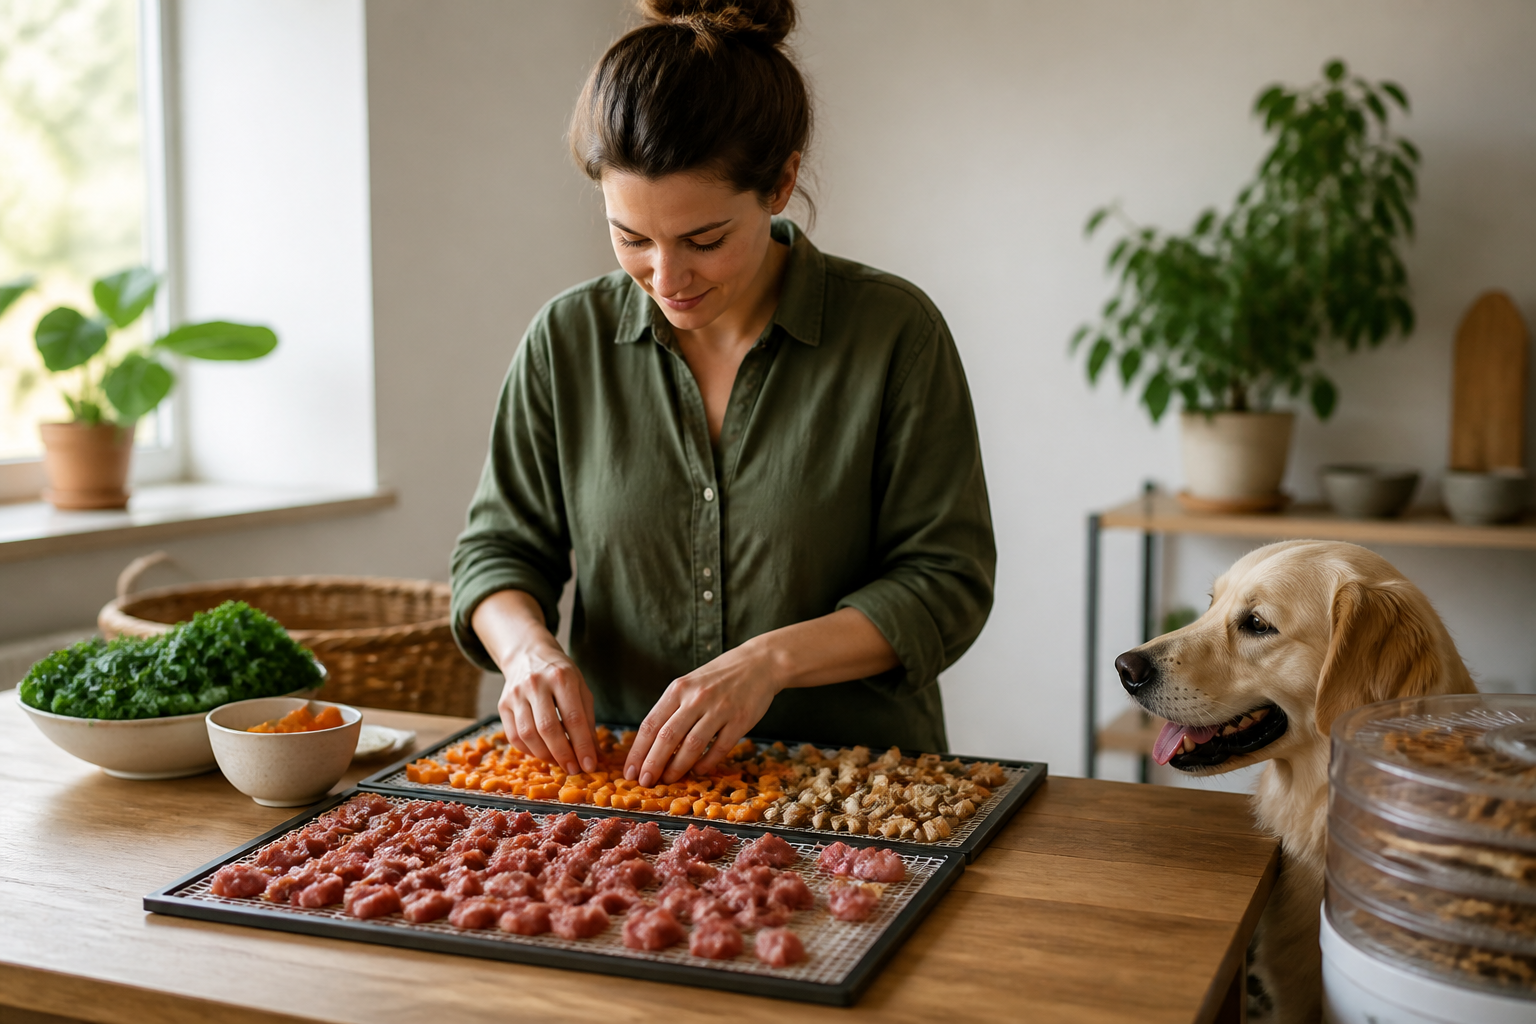
Making dry dog food is more of a "dehydrating" process than a traditional baking project. You do not need a professional kitchen, but a few specific tools will make the job much easier.
First, you will need a high-powered food processor or blender. To get a uniform "kibble" texture, you have to turn your ingredients into a smooth puree before baking. If the mixture is too chunky, it will not dry evenly, which can lead to mold growth later on.
Second, invest in several large, flat baking sheets. To ensure the food dries out completely, you need to spread the batter very thin. Silicone baking mats are helpful because they prevent sticking without the need for extra grease. If you do not have mats, high-quality parchment paper works just as well.
Finally, you need a pizza cutter or a bench scraper. You will use this to score the batter into small squares before it finishes baking. This makes it easy to "snap" the food into individual kibble pieces once it is dry.
Step-by-Step Guide to Making Dry Dog Food
Follow these steps to ensure your kibble is nutritious and shelf-stable. This process takes time, so it is best to make a large batch that will last for a week or two.
Step 1: Cook your base ingredients. / Boil or steam your grains and vegetables until they are soft. Brown your meat in a pan and drain off any excess fat. Let everything cool slightly before moving to the next step.
Step 2: Puree the mixture. / Place the cooked meat, grains, vegetables, and oils into your food processor. Pulse until the mixture is a thick, smooth paste. If it is too dry to blend, add a small amount of plain water or unsalted bone broth.
Step 3: Spread and score. / Preheat your oven to the lowest setting, usually around 200 to 250 degrees Fahrenheit. Spread the paste onto your baking sheets about a quarter-inch thick. Use a knife or pizza cutter to score the surface into small squares.
Step 4: The first bake. / Place the sheets in the oven for about two to three hours. The goal is to remove moisture, not to "cook" the food quickly. Check periodically to make sure the edges are not burning.
Step 5: The flip and finish. / Once the top feels dry, flip the entire sheet of food over. Bake for another one to two hours until the pieces are hard and brittle. They should snap easily when bent.
Step 6: Final cooling. / Turn off the oven and let the sheets sit inside with the door slightly ajar. This final cooling phase helps remove the last traces of internal moisture. Once completely cool, break the pieces apart along the score lines.
Determining Portions: Full Meal or Topper?
A common question when learning how to make homemade dry dog food is whether the result should be a primary diet or a "booster." If you are strictly following a vet-approved, balanced recipe with appropriate supplements, it can serve as a full meal. However, many pet parents prefer to use their homemade kibble as a high-quality topper. This adds fresh nutrients and flavor to commercial food while ensuring the dog still receives the base minerals provided by professional formulations.
Bottom line: The secret to shelf-stable homemade kibble is a long, slow bake at a low temperature to ensure all moisture is removed from the center of the pieces.
Storage and Shelf Life Safety
Because homemade food does not contain the chemical preservatives found in commercial bags, you must be careful with storage. Moisture is the enemy. If any water remains in the kibble, it will grow mold within days.
If you have dried the food properly until it is "cracker dry," it can stay in an airtight container on the counter for about three to five days. For longer storage, keep it in the refrigerator for up to two weeks. If you make a massive batch, the freezer is your best friend. Homemade kibble can be frozen for up to three months without losing its nutritional value.
Always perform a "snap test" before feeding. If the kibble feels soft or "bendy," it still has too much moisture. You can pop it back into a low oven for thirty minutes to dry it out further. If you ever see a fuzzy spot or smell something "off," throw the whole batch away. It is not worth the risk of a stomach upset.
Addressing Special Health Needs
Many owners turn to homemade food because their dog has a chronic health condition. This is where our pet pharmacy becomes a vital resource. For dogs with severe allergies, heart issues, or kidney disease, a homemade diet might be part of a larger treatment plan.
For instance, a dog with joint issues might benefit from homemade food supplemented with professional-grade glucosamine. We carry trusted brands like our selection of Cosequin products to help fill those gaps. If your vet prescribes a specific therapeutic diet as a base for your home-cooked additions, our pharmacy can fulfill those orders and deliver them to your door.
Life-Stage and Condition Suitability
It is important to note that nutritional needs vary wildly across life stages. Puppies, for example, require a much more precise calcium-to-phosphorus ratio to support rapid bone growth; a general homemade recipe may not meet these needs without expert formulation. Senior dogs may require lower protein or phosphorus if they have declining kidney function. If your pet has a diagnosed health condition like pancreatitis or diabetes, never attempt a homemade recipe without direct supervision from your vet, as ingredient ratios can drastically impact their stability.
Managing a pet's health is a team effort between you, your vet, and your supplier. Using high-quality ingredients at home is a great start, but keeping up with flea and tick prevention or heartworm medication is just as important. Our pharmacy makes it simple to manage all these needs in one place.
Transitioning to the New Diet
You should never switch your dog's food overnight. Their digestive systems are sensitive to sudden changes in protein and fiber levels. A sudden swap can lead to diarrhea, gas, or vomiting.
Start by mixing about 25 percent of your homemade kibble with 75 percent of their old food. Do this for two or three days. If their stool remains firm and they seem energetic, move to a 50/50 mix for another few days. Gradually increase the homemade portion over the course of a full week.
Watch your dog closely during this time. Look for changes in their coat, energy levels, and bowel movements. If you notice any itching or lethargy, consult your vet. They may suggest tweaking the ingredients or adding a specific probiotic to help the transition. If you want more guidance on portioning, our post on how many cups of dry dog food per day can help you plan meals.
- Day 1-3: 25% homemade, 75% old food.
- Day 4-6: 50% homemade, 50% old food.
- Day 7-9: 75% homemade, 25% old food.
- Day 10: 100% homemade food.
Using Supplements and Toppers
Even the best homemade recipe can benefit from a little extra support. Since it is difficult to perfectly mimic the complex vitamin profiles of commercial food, many owners use "toppers" or supplements.
Nutrient Balancing and Supplements
In a home kitchen, achieving the micronutrient density found in commercial kibble is a challenge. Most experts recommend using a "balancer" supplement—a powder designed specifically to be added to homemade meals to provide zinc, iron, Vitamin D, and taurine. This bridges the gap between whole food ingredients and the comprehensive requirements set by the NRC.
At BaxterBoo, we offer a wide range of vitamins and minerals designed to balance out home-cooked meals. Adding a pump of salmon oil can help with skin health, while a probiotic powder can assist with digestion. We carry brands like our selection of Honest Paws products that are perfect for this purpose.
If you are worried about dental health, remember that homemade dry food is often slightly softer than commercial kibble. You may want to include dental chews like Greenies Dental Dog Chews in your routine to help keep their teeth clean. These small additions ensure that while you are handling the main meals, your dog's secondary health needs are still being met.
Key Takeaway: Supplements are often necessary in a homemade diet to ensure your dog receives vital nutrients like calcium, taurine, and specific vitamins that may be lost during the baking process.
Cost and Value Considerations
Is making your own dog food cheaper? That depends on your sourcing. If you buy meat in bulk and use seasonal vegetables, it can be very cost-effective. However, the real value is in the quality. You are trading your time for a product that is significantly fresher than anything that has sat in a warehouse for six months.
We carry 500+ brands at BaxterBoo, and we know that not everyone has the time to bake every week. If you find the process too demanding, you can always use your homemade kibble as a "booster" mixed with high-quality commercial brands like The Honest Kitchen or Stella and Chewy's. This gives your dog the benefits of fresh food without the full-time kitchen commitment.
Our Autoship programme is a great way to save on the ingredients and supplements you need for this journey. You can earn points on every purchase, which helps offset the cost of premium oils or the prescription medications you might get through our pharmacy.
Conclusion
Creating homemade dry dog food is a rewarding way to take charge of your pet's health. By selecting lean proteins, healthy grains, and fresh vegetables, you provide a level of nutrition that is hard to match with standard processed options. Remember to bake at low temperatures to ensure the food is dry and shelf-stable. Always keep your veterinarian in the loop to ensure your dog is getting all the vitamins and minerals they need for a long, happy life. If you need help with supplements, prescription diets, or medications to support your dog's new lifestyle, visit our dog food category. We are here to provide the expert gear and pharmacy services you need to keep your pup thriving.
FAQ
Is homemade dry dog food better than store-bought kibble?
Homemade food allows for total control over ingredients and quality, which can be better for dogs with specific allergies or sensitivities. However, it is only "better" if it is nutritionally balanced with the correct ratios of protein, fat, and minerals. Commercial kibbles are formulated to meet strict AAFCO standards, so if you go the DIY route, you must work with a vet to ensure your recipe is complete.
How long does homemade dry dog food stay fresh?
If the food is dehydrated until it is completely brittle, it can stay in an airtight container for about three to five days at room temperature. For better safety, it should be kept in the refrigerator for up to two weeks or in the freezer for up to three months. Always check for signs of moisture or mold before feeding, as homemade food lacks the heavy preservatives of commercial brands.
Can I make dog food without a dehydrator?
Yes, you can easily use a standard kitchen oven set to its lowest temperature. Most ovens go down to 170 or 200 degrees Fahrenheit, which is perfect for slowly removing moisture from the kibble batter. The process takes several hours, but it achieves the same shelf-stable result as a dedicated dehydrator.
Do I need to add vitamins to homemade dog food?
In almost all cases, yes. It is very difficult to get the exact levels of calcium, zinc, and Vitamin D through whole foods alone in a home kitchen. Most vets recommend adding a specific "balancer" supplement or a high-quality multivitamin to prevent nutritional deficiencies over time. You can find many of these supplements in our dog healthcare category.