
 Save 15% on your 1st Autoship learn more

 Email us
 Live Chat
 FAQs
FAQs





Introduction
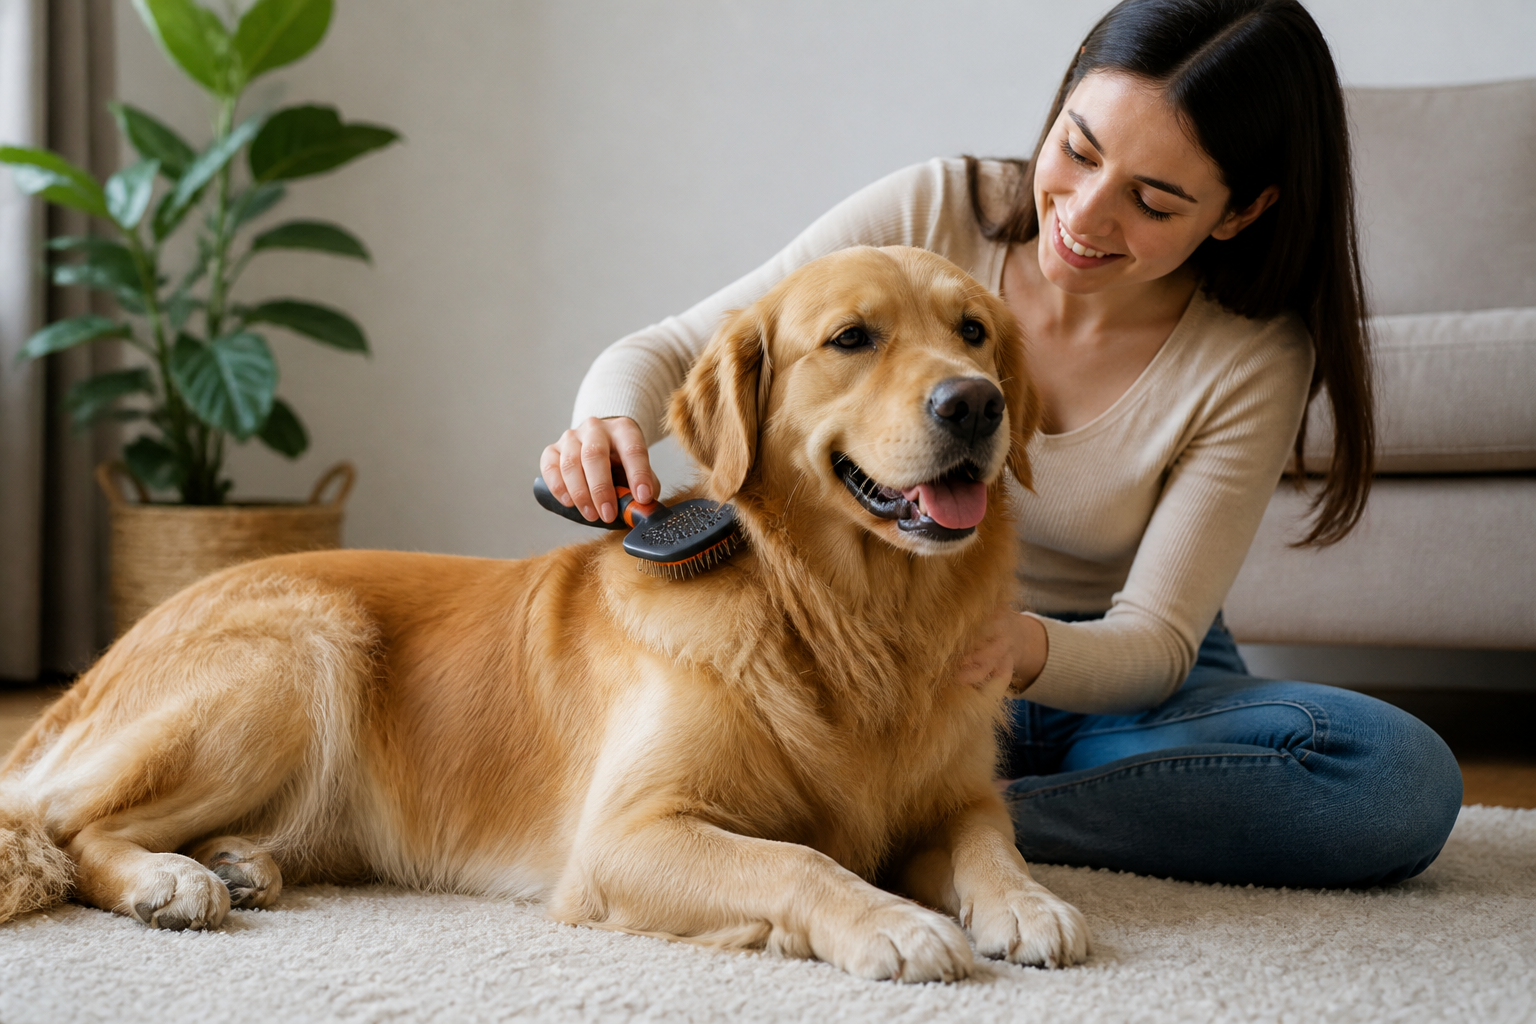
You are standing in the living room with a brush in one hand and treats in the other while your dog eyes the nearest exit. Brushing can feel like a struggle if your pet is squirmy or if you are unsure which tool actually works for their fur. At BaxterBoo, we believe grooming should be a relaxing ritual rather than a chore you both dread. Proper brushing does more than just keep your dog looking tidy. It distributes natural oils, removes painful tangles, and allows you to check for hidden skin issues. This post covers how to match a brush to your dog's specific coat and the best techniques to ensure a comfortable experience. Learning these steps will help you maintain a healthy coat and a happy pup.
Quick Answer: To use a dog brush correctly, choose a tool designed for your dog's specific coat type and always brush in the direction of hair growth. Use gentle, firm strokes to reach the skin without scratching it, and always finish by checking your work with a metal comb.
Choosing the Right Tool for the Job
Before you start, you must have the right equipment. Using a brush meant for a short-haired Boxer on a thick-coated Husky will not yield good results. It might even cause discomfort or skin irritation. We carry over 500 trusted brands to help you find the exact match for your dog's needs. Browse our dog brushes and combs to compare tools for different coat types.
Slicker Brushes
A slicker brush has fine, short wires close together on a flat or curved surface. These are the workhorses of the grooming world. They work well for medium to long hair and curly coats like Poodles or Goldendoodles. They are excellent for removing loose undercoat and breaking up small tangles. For curly-coated dogs, our guide to grooming a curly-haired dog offers additional brushing context.
Rubber Brushes and Curry Combs
If your dog has a short, smooth coat like a Beagle or a Bulldog, a rubber brush is your best friend. These tools use soft rubber nubs to pull away loose fur while giving the dog a gentle massage. They are very safe for dogs with sensitive skin because there are no sharp metal points.
Undercoat Rakes and Deshedding Tools
For double-coated breeds like German Shepherds or Labs, a rake is necessary. These tools reach through the topcoat to pull out the thick, fuzzy undercoat that ends up on your furniture. Use these with a light touch to avoid "brush burn" on the skin. You can find undercoat rakes and deshedding tools for dogs with heavier coats.
Metal Combs
Often called Greyhound combs, these are essential for every coat type except the shortest hair. A metal comb is your "truth teller." After you think you are finished brushing, run the comb through the fur. If it catches, you still have a knot to work out.
Preparing Your Dog for Grooming
Success starts with a calm environment. If your dog is full of energy, take them for a long walk before you begin. A tired dog is a much more cooperative grooming partner.
If you have a small dog, do not try to brush them in your lap. They will likely try to crawl away or roll over. Instead, place them on a stable counter or table with a non-slip mat. For large dogs, it helps to have them stand while someone else holds a leash. Keeping the dog in a standing position makes it much easier to reach the belly, chest, and "trousers" on the back legs.
Introduce the brush slowly. Let your dog sniff the tool and give them a treat. This creates a positive association with the equipment. If they are nervous, start by using the back of the brush against their side so they get used to the feeling of the tool moving over their body.
Key Takeaway: Proper preparation and the right tools prevent grooming from becoming a painful experience for your dog.
Step-by-Step Brushing Technique
The most important rule is to always brush in the direction the hair grows. Brushing against the grain can be uncomfortable and may pull the skin. Use firm but gentle strokes. You want to reach the skin, but you should never scrape or press hard enough to cause redness.
Step 1: Start at the rear. / Begin at the tail or the back legs. These areas are usually less sensitive than the face or ears.
Step 2: Use the "line brushing" method. / For dogs with long or thick hair, lift a section of fur with one hand. Brush the hair underneath that section down toward the skin. This ensures you are not just skimming the top layer of fur.
Step 3: Work in sections. / Move from the back legs to the sides, then the chest, and finally the neck and head. Save the ears and tail for last, as these are often the most sensitive spots.
Step 4: Check with a comb. / Once you have finished a section, run a metal comb through it. If it glides through from skin to tips, you are done with that area.
Vet Tip: While brushing, keep an eye out for lumps, bumps, or red patches. If you notice unusual skin irritation, persistent itching, or hair loss, consult your veterinarian. Our dog pharmacy offers medications for skin conditions and allergies when your vet identifies a medical need.
Managing Mats and Tangles Safely
Mats are more than just an eyesore. They pull on the skin and can trap moisture, leading to painful sores or infections. If you find a mat, do not reach for the kitchen scissors. It is incredibly easy to accidentally cut a dog's thin skin, especially when the mat is tight.
Try to pick the mat apart with your fingers first. You can then use a dematting tool or the end tooth of a metal comb to gently pick at the knot starting from the outside edge. Work your way toward the center of the mat. If the mat is tight against the skin and will not budge, it is time to see a professional groomer. They have the training to safely shave the mat away without hurting the animal. A coat mat and tangle splitter can help with difficult grooming jobs.
- Never use regular scissors on a dog's coat.
- Apply a detangling spray to help the hair slide apart.
- Hold the base of the fur near the skin so you don't yank while brushing the knot.
- Reward your dog frequently when working on a difficult spot.
Bottom line: Patience is the most important tool for removing mats without causing pain.
Brushing and the Bathing Routine
A common mistake is putting a matted dog into the bathtub. Water acts like a glue for tangles. When a mat gets wet and then dries, it tightens significantly. This can make a small knot nearly impossible to remove without clippers.
Always brush your dog thoroughly before a bath. Once the dog is clean and completely dry, brush them again. This second brushing removes any loose hair that was shaken loose during the washing process and helps the coat lay flat and shiny. For more bathing guidance, read these dos and don'ts for bathing your dog.
For dogs that shed heavily, the change of seasons is the most important time for grooming. In the spring and fall, most double-coated dogs "blow" their coats. During these weeks, you may need to brush your dog every single day to keep the hair under control. This is a great time to use our Autoship program for grooming supplies like deshedding sprays or replacement brush heads so you never run out during the heavy shedding season.
How to Keep Your Dog Calm
If your dog hates being brushed, you must go slowly. Do not try to do the whole body in one sitting. Start with just two minutes of brushing and follow it up with a high-value treat. Gradually increase the time as your dog becomes more comfortable.
If they try to bite the brush, stop immediately. Do not pull the brush away quickly, as this can turn into a game of chase. Instead, wait for them to settle, then offer a treat for a calm behavior. Some owners find that using a lick mat with a bit of peanut butter keeps the dog occupied and stationary while they work on the back half of the body.
Key Takeaway: Short, positive sessions are more effective for training a nervous dog than one long, stressful session.
Summary of Brushing Frequency
How often you should brush depends entirely on the coat type. Use this list as a general guide for your home routine:
- Short, Smooth Coats: Brush once a week to remove loose hair and skin flakes.
- Double Coats: Brush two to three times a week, or daily during shedding season.
- Long, Silky Coats: Brush daily to prevent tangles and mats from forming.
- Curly or Wavy Coats: Brush daily or every other day to keep the hair from felting near the skin.
At BaxterBoo, we want to help you feel confident in your pet care journey. Whether you are managing a puppy's first grooming session or keeping a senior dog comfortable, having the right technique makes all the difference. Regular brushing keeps your home cleaner and your pet much more comfortable. For dogs with seasonal shedding, this guide to managing dog shedding offers another helpful perspective.
Bottom line: Consistent grooming is the best way to prevent skin issues and reduce shedding in your home.
FAQ
Should I brush my dog when their fur is wet?
It is generally better to brush your dog when their fur is dry. Wet hair is more elastic and prone to breakage, and water can make existing mats much tighter and harder to remove. If you must brush a wet dog, use a wide-toothed comb or a brush specifically designed for wet hair to avoid causing damage.
Why does my dog's skin look red after I brush them?
Redness is often a sign of "brush burn," which happens when you use too much pressure or go over the same spot too many times. This is common when using slicker brushes or deshedding tools with metal pins. To avoid this, use lighter strokes and check the skin frequently to ensure you are not causing irritation.
My dog sheds a lot even with daily brushing. Is this normal?
Some shedding is normal for most breeds, but excessive hair loss can sometimes indicate a health issue or a nutritional deficiency. If your dog has bald patches or the skin looks inflamed, it is a good idea to talk to your vet. They may recommend a specific diet or supplement from our pharmacy to support skin and coat health.
Can I use a human hairbrush on my dog?
Human brushes are not designed for the density and texture of dog fur. They often fail to reach the undercoat where most shedding occurs and can sometimes scratch a dog's sensitive skin. It is much safer and more effective to use a tool specifically engineered for pet anatomy and coat types.






