Save 15% on your 1st Autoship learn more

 Email us
 Live Chat
 FAQs
FAQs





Introduction
It is a familiar scene for many dog owners. You just finished a long day of work, but your pup is pacing the living room with an abundance of pent-up energy. Maybe it is raining outside, or perhaps your dog just finished their dinner in approximately four seconds flat. When physical exercise is not an option or your dog needs to slow down at the bowl, a snuffle mat is a lifesaver. At BaxterBoo, we believe that mental stimulation is just as important as a walk around the block. This post covers everything you need to know to create a custom foraging mat from scratch. You will learn about the best materials to use, the step by step assembly process, and how to introduce the mat to your pet safely. Making your own enrichment toy is a budget friendly way to keep your dog sharp and satisfied.
Understanding the Power of the Snuffle Mat
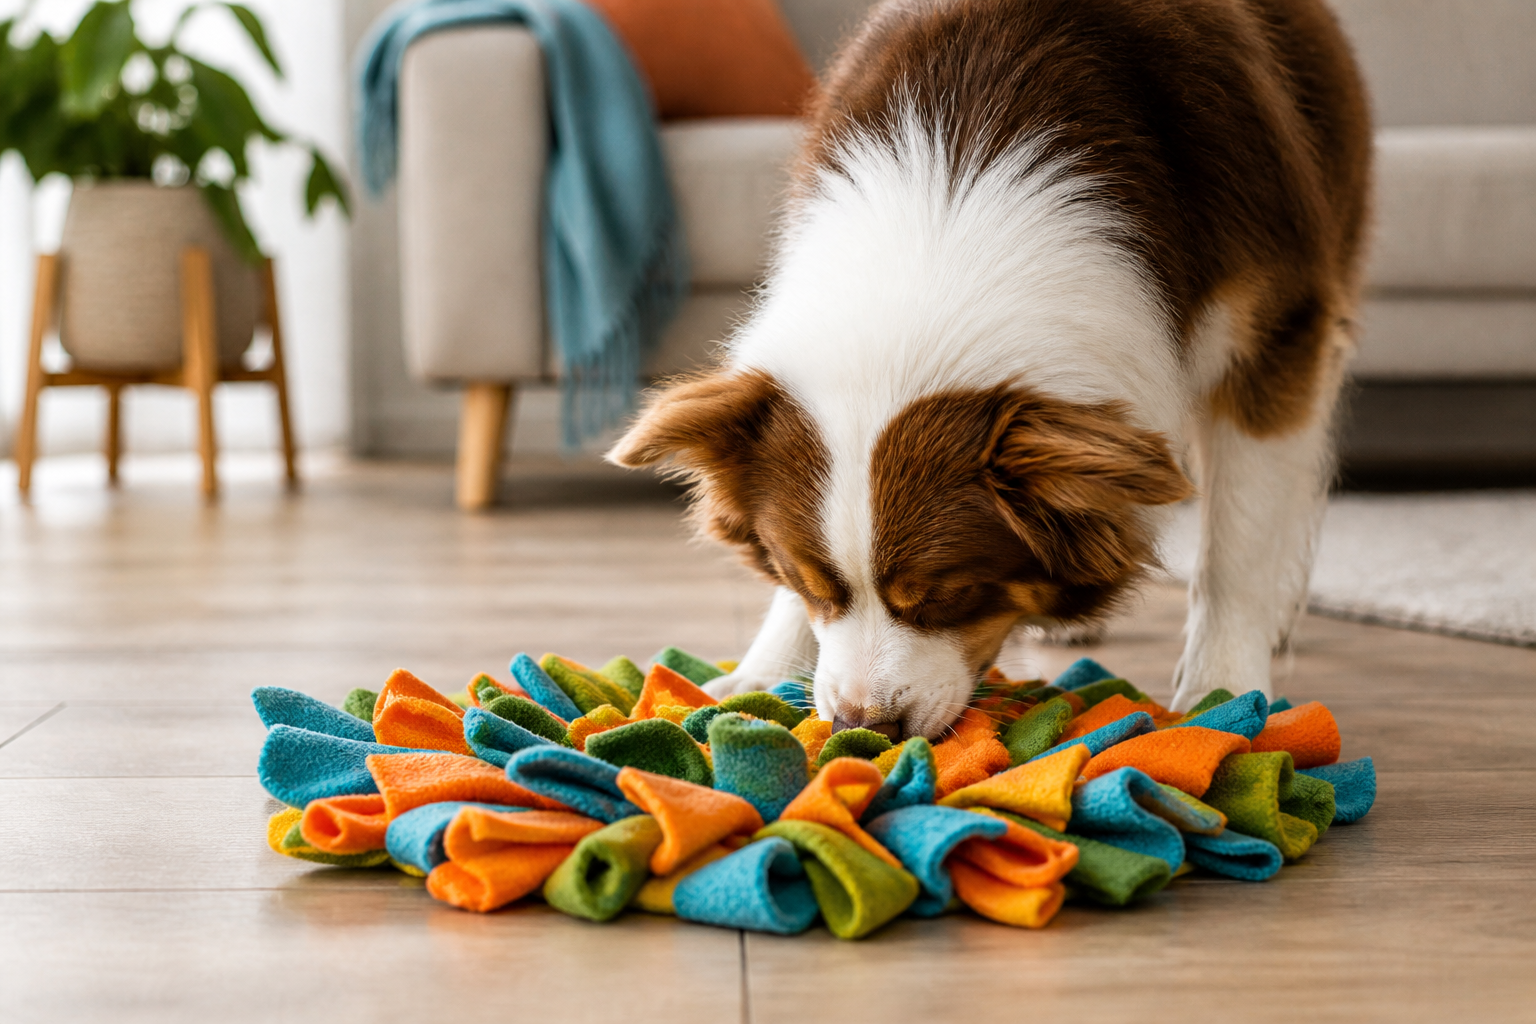
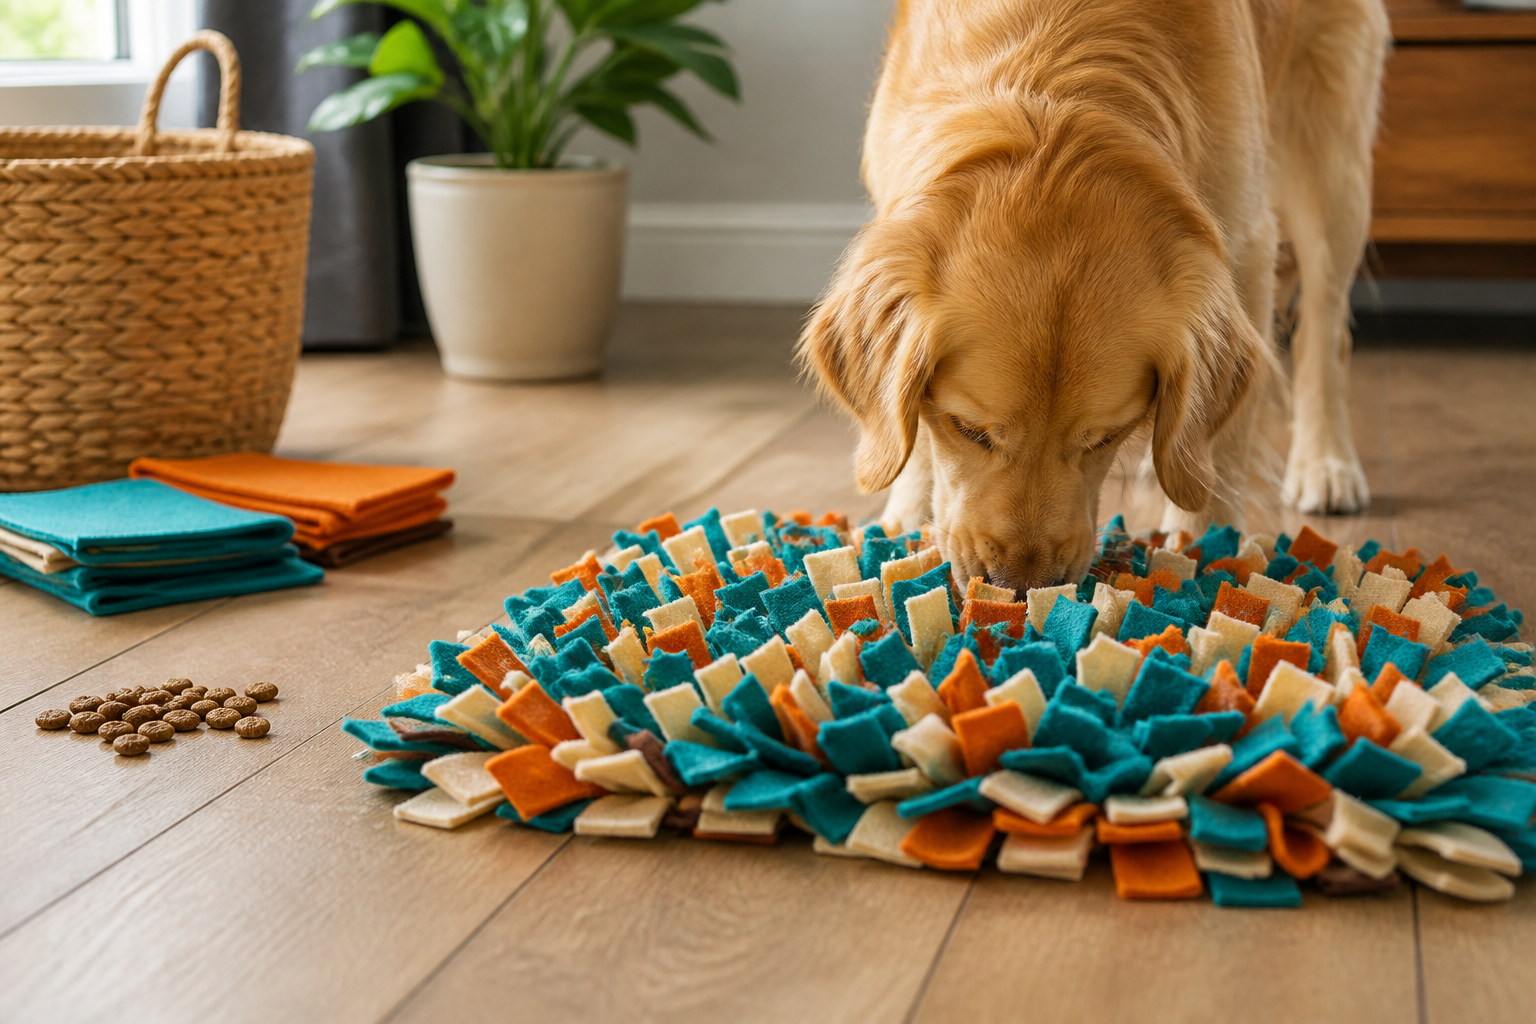
A snuffle mat is a simple but brilliant tool designed to mimic the natural foraging behaviors of wild canines. It consists of a sturdy base with hundreds of fabric strips tied through it. These strips create a dense, grass-like surface where you can hide dry kibble or small treats. Instead of eating from a ceramic bowl, your dog has to use their nose to hunt for every single morsel.
The science behind this is fascinating. A dog’s sense of smell is their primary way of processing the world. When a dog engages in focused sniffing, it lowers their heart rate and releases endorphins. This makes it an excellent activity for high energy puppies, senior dogs with limited mobility, or anxious pets who need a grounding task. It turns a mundane meal into a rewarding puzzle that tires them out mentally.
Quick Answer: A snuffle mat is a DIY enrichment toy made from fleece strips tied to a rubber base. It encourages dogs to use their sense of smell to find hidden treats, which provides mental stimulation and slows down fast eaters.
For more ideas, explore these engaging brain games for dogs.
Why You Should Choose a DIY Approach
While you can certainly buy pre-made enrichment toys, the DIY route offers several advantages. First, it is significantly more affordable. Most of the supplies can be found at local craft stores or even repurposed from items you already have at home. Second, you can control the quality and safety of the materials. You can ensure the fleece is thick enough and the base is durable enough for your specific dog.
Customization is another big factor. If you have a large breed like a Labrador, you can connect multiple mats together to create a massive foraging zone. For a smaller dog like a Yorkie, you can make a compact version that is easier for them to navigate. You can even choose colors that match your home decor or your dog's favorite sports team.
Key Takeaway: Making a snuffle mat yourself allows for total customization of size and density while saving money compared to retail versions.
If you prefer a ready-made option, browse our interactive and treat dog toys.
Necessary Supplies for Your Project
Before you start, gather your materials. You do not need a lot of specialized equipment, but choosing the right types of fabric and backing is important for longevity.
- A Rubber Sink Mat: This serves as the base. Look for a heavy duty rubber or silicone mat with plenty of holes. These are usually found in the kitchen section of a department store.
- Fleece Fabric: You will need about one to two yards of fleece. Fleece is the best choice because it does not fray when cut and it is soft on a dog's nose.
- Fabric Scissors or a Rotary Cutter: You will be doing a lot of cutting, so make sure your tools are sharp.
- A Ruler or Measuring Tape: This helps keep your strips consistent, though perfection is not required.
- A Sturdy Work Surface: This project takes some time, so find a comfortable spot to sit.
Avoid using fabrics like cotton or wool. Cotton will fray and create loose threads that your dog might swallow. Wool can be too abrasive for the sensitive skin on a dog's snout. Stick to polyester fleece for the best results.
Preparing the Fleece Strips
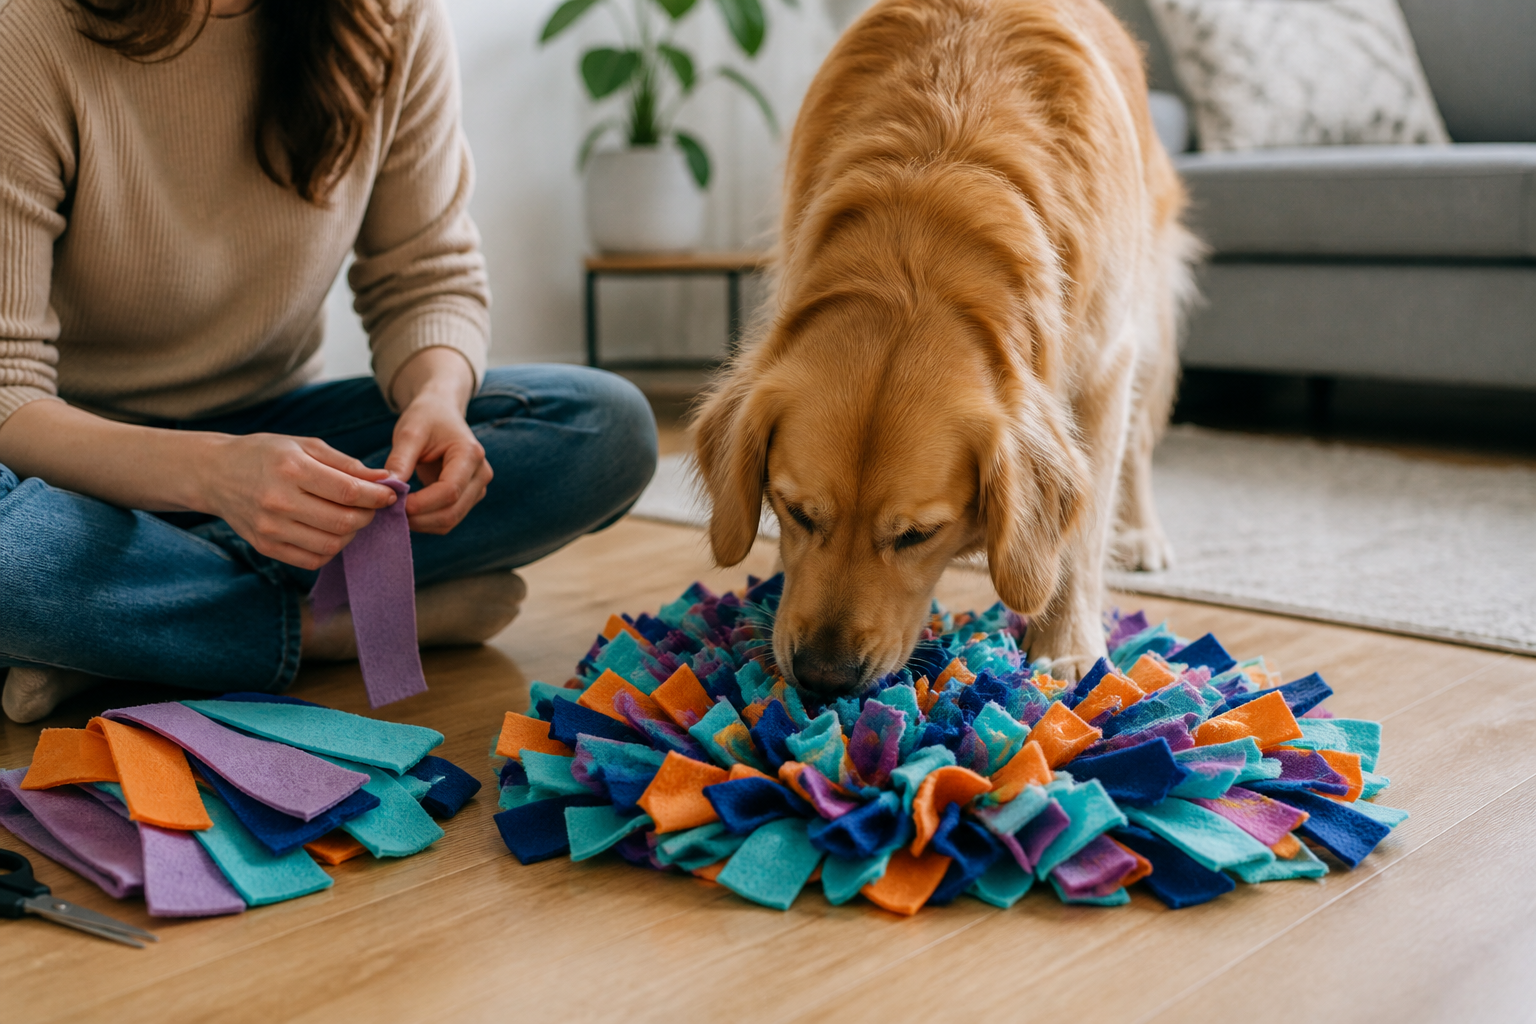
The first active step in your dog snuffle mat DIY project is preparing the fabric. The density of the mat depends entirely on how many strips you use. Most people find that strips about one inch wide and six to eight inches long work best.
If you are using a rotary cutter and a self healing mat, you can layer the fabric to cut multiple strips at once. If you are using scissors, you might find it easier to cut long fringe and then snip the fringe into individual pieces. Do not worry about the edges being perfectly straight. Your dog will not care about the aesthetics of the cuts. They only care about the treats hidden inside.
Determining How Much Fabric You Need
The number of strips required depends on the size of your base mat. A standard 12 by 15 inch sink mat usually requires between 200 and 300 strips to be truly dense. If the mat is too sparse, the treats will just sit on the bottom and the game will be too easy. If it is too dense, your dog might get frustrated. Aim for a thickness that allows the strips to stand up on their own when the mat is finished.
The Assembly Process: Tying the Knots
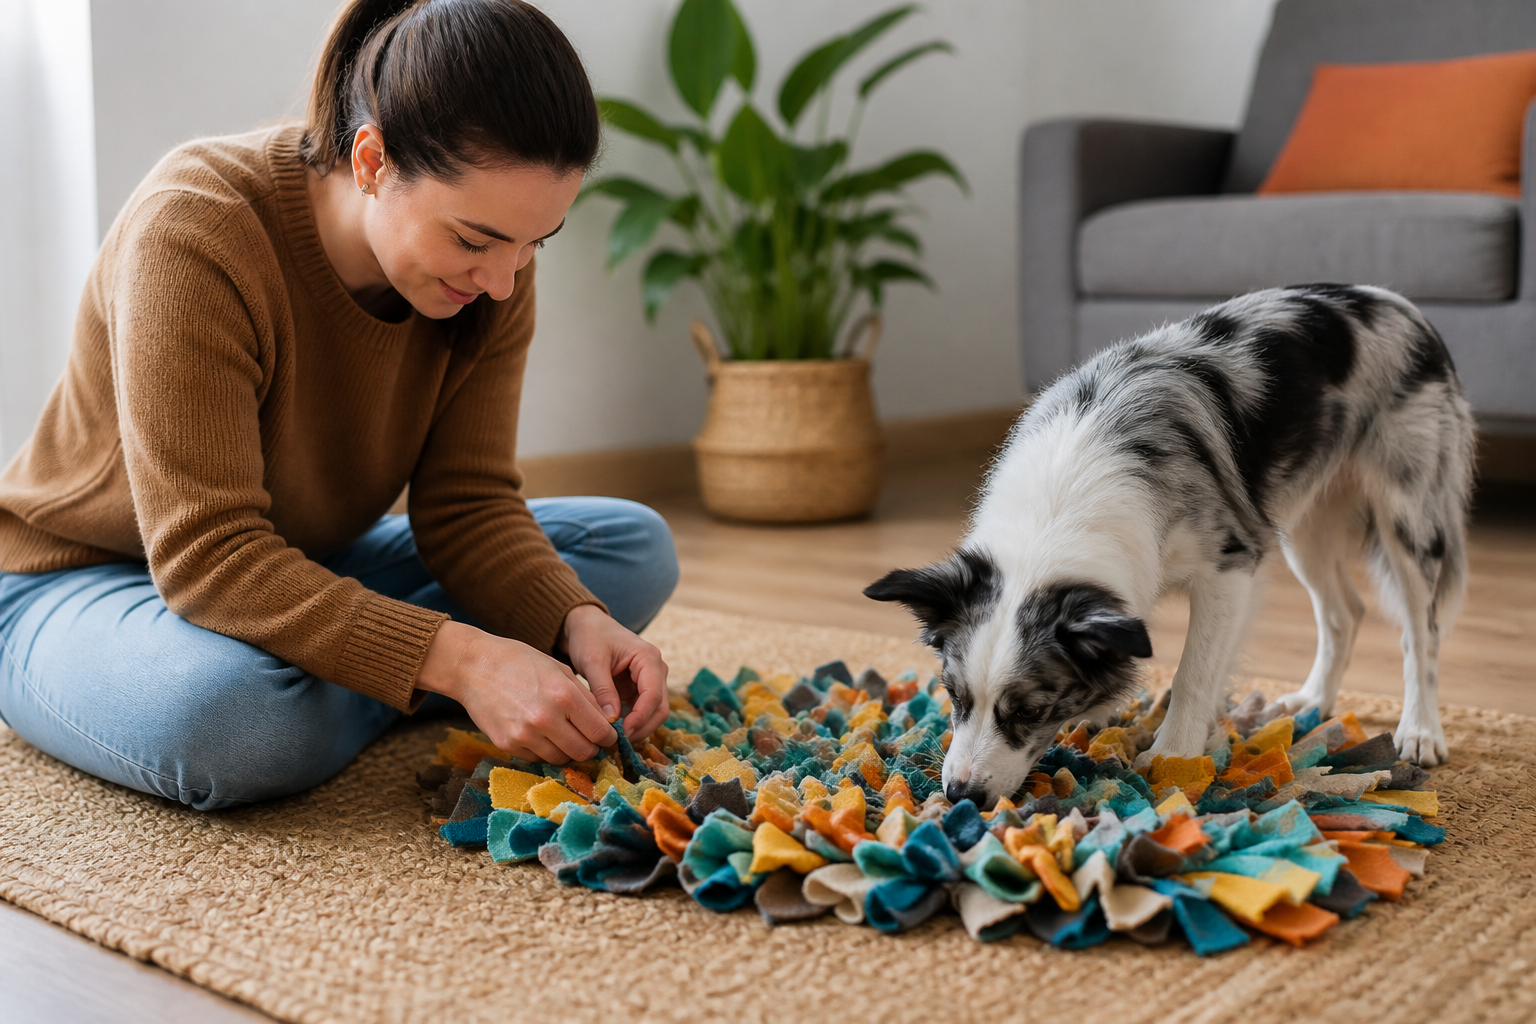
Now comes the part that requires a bit of patience. You are going to tie the fleece strips to the rubber base one by one. This is a great activity to do while watching a movie or listening to a podcast.
Step 1: Thread the first strip. Take one piece of fleece and push one end through a hole in the mat. Push the other end through the adjacent hole.
Step 2: Tie a single knot. Pull the ends tight so the knot sits firmly against the rubber. There is no need to double knot fleece. The friction of the fabric will keep it in place.
Step 3: Complete a row. Continue tying strips into every pair of holes along a single row.
Step 4: Cross tie for density. Once you finish the vertical rows, go back and tie strips horizontally between the holes. This creates a "cross hatch" pattern that fills in any gaps and makes the mat much fluffier.
Note: If you see any of the rubber base peeking through after you finish, simply add more strips to those areas until the mat looks like a thick shag carpet.
For additional DIY ideas, see these indoor enrichment activities.
Introducing the Mat to Your Dog
Once your DIY masterpiece is finished, it is time for the fun part. However, you should not just dump a pile of food on it and walk away. Some dogs need to learn how the game works.
For the first few sessions, make it very easy. Sprinkle a few high value treats right on top of the fleece. Let your dog see you do it. Use a command like "find it" or "search" to signal that the game has started. As they get the hang of it, start tucking the treats deeper into the fabric. Eventually, you can bury them all the way at the bottom of the knots.
If your dog starts to bite or pull on the fleece strips, gently redirect them. The goal is for them to use their nose, not their teeth. If they try to pick up the whole mat and shake it, you might need to place your foot on the edge of the mat to keep it stationary until they calm down and start sniffing.
Vet Tip: Always supervise your dog when they are using a snuffle mat. If your dog is a heavy chewer, they might try to eat the fleece strips or the rubber base, which can cause an intestinal blockage. If you notice any damage to the mat, take it away immediately and repair it.
Benefits for Fast Eaters and Weight Management
One of the most practical uses for a snuffle mat is for dogs who "inhale" their food. Eating too quickly can lead to digestive upset or a dangerous condition called bloat. By spreading a dog's kibble across a snuffle mat, you can turn a thirty second meal into a ten minute activity.
For dogs on a weight loss journey, this is particularly helpful. It gives the brain time to register that the stomach is full. If your veterinarian has prescribed a specific weight management diet, our pet pharmacy carries a variety of prescription pet foods through our partnership with Pet's Choice. Using a snuffle mat with these specialized diets can make the restricted portions feel more satisfying for your dog.
You can also find more options in our dog treats collection.
Cleaning and Maintenance
Because your dog will be drooling on this mat and it will be holding food, you need to keep it clean. Fortunately, since you used fleece and rubber, most DIY snuffle mats are easy to maintain.
You can usually wash the mat in a washing machine on a gentle, cold cycle. It is a good idea to put the mat inside a pillowcase or a large laundry bag to prevent the strips from getting tangled in the machine's agitator. Use a fragrance free detergent to avoid irritating your dog's sensitive nose.
Air drying is the safest method. Hanging the mat up allows the fleece to stay fluffy. Avoid the dryer, as high heat can melt the rubber base or cause the fleece to pill. If you find that the mat is losing its fluff after a wash, simply give it a vigorous shake to stand the strips back up.
Advanced Foraging: Increasing the Difficulty
Once your dog is a snuffle mat pro, you might want to level up the challenge. You can do this by using smaller treats or even hiding a few pieces of freeze dried raw food, which has a very enticing scent. We carry brands like Stella and Chewy's and Vital Essentials that work perfectly for this.
Another way to increase difficulty is by "layering" the mat. You can hide some treats deep in the knots and then place a few larger, flatter treats on top. You can even roll the mat up and tie it loosely with a piece of scrap fleece, forcing the dog to unroll it before they can even start the sniffing process.
Key Takeaway: Varying the types of treats and the way you hide them keeps the activity fresh and prevents your dog from becoming bored with the routine.
For more scent-based options, browse our freeze-dried treats.
Troubleshooting Common Issues
Not every dog takes to a snuffle mat immediately. If your dog seems uninterested, make sure the treats you are using are smelly enough to get their attention. Bland kibble might not be enough of a motivator for a picky eater. Try using small pieces of dried liver or heart.
If your dog gets frustrated and starts pawing at the mat, go back a few steps. Make the treats visible and easy to reach. The goal is to build their confidence. Enrichment should be a stress reducer, not a source of frustration.
If the mat is sliding around on your hardwood floors, look for a sink mat with suction cups on the bottom for your next project. Alternatively, you can place the mat on a non skid rug or yoga mat to keep it in place while your dog works.
Summary of the DIY Project
Creating a snuffle mat is a rewarding weekend project that directly improves your dog's quality of life. By focusing on scent work, you are providing a healthy outlet for their natural instincts. It is a tool that serves multiple purposes: it is a toy, a slow feeder, and a calming aid all in one.
At BaxterBoo, we love seeing owners take an active role in their pet's wellness. Whether you are using the mat for a high energy puppy or a senior dog who needs some quiet engagement, it is a versatile addition to your pet care toolkit.
Bottom line: A DIY snuffle mat is an inexpensive, effective way to provide mental enrichment and slow down fast eaters by tapping into their natural scavenging instincts.
DIY Checklist for Success
Before you start your first tie, run through this quick checklist to ensure a great result.
- Verify the rubber mat has no sharp edges or small detachable parts.
- Ensure the fleece is clean and free of any chemical odors.
- Cut at least 250 strips for a standard size mat to ensure proper density.
- Check that each knot is secure by giving the strips a firm tug.
- Have a handful of your dog's favorite treats ready for the grand unveiling.
The Role of Enrichment in Overall Health
Mental health is a huge part of a dog's overall well being. Dogs who are bored are more likely to develop destructive behaviors like chewing furniture or excessive barking. Providing a snuffle mat is a proactive way to prevent these issues.
While enrichment toys are great, they are just one piece of the puzzle. Regular checkups with your veterinarian are essential to ensure your dog is healthy enough for various activities. If your dog has allergies or skin sensitivities that make them react to certain fabrics or foods, always consult a professional. Our pharmacy is available to help with prescription needs that may arise from these consultations, ensuring your pet gets the exact care they need.
Final Thoughts on Your Foraging Mat
Building a snuffle mat is about more than just fabric and rubber. It is about the bond you share with your pet. Watching them successfully navigate the puzzle you built for them is incredibly satisfying. It shows that you understand their needs and are willing to put in a little extra effort to make them happy.
Once you finish your first mat, you might find yourself wanting to make more for friends or local shelters. It is a gift that keeps on giving, providing hours of entertainment for dogs of all shapes and sizes. We hope this guide helps you get started on your DIY journey. For more gear to support your dog’s active lifestyle, explore our dog toys and training aids.
FAQ
Can I use a snuffle mat for my cat?
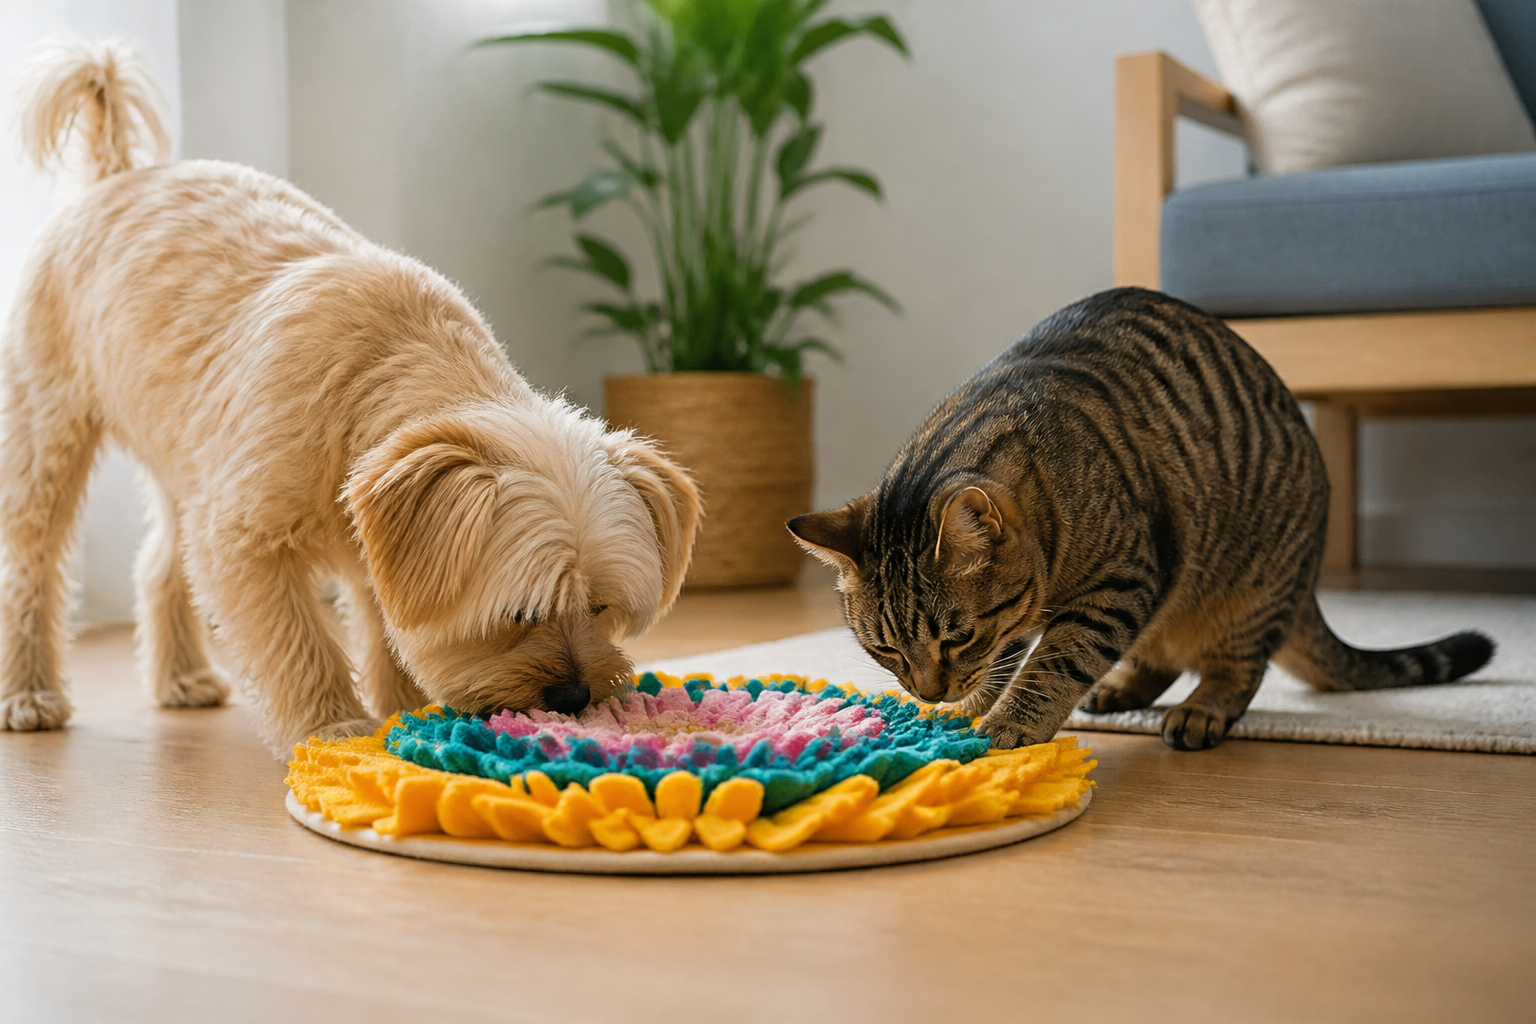
Yes, cats can absolutely use snuffle mats. While the keyword focuses on dogs, cats are also natural hunters and foragers who enjoy searching for dry treats or catnip hidden in the fleece. It is a great way to keep indoor cats active and mentally engaged. You can also explore interactive toys for cats.
How long does it take to make a DIY snuffle mat?
For a beginner, it typically takes between two and three hours to cut the strips and tie them all to the base. It is a repetitive process, so it is best done while you are doing something else, like listening to music or a podcast. The more strips you add, the longer it will take, but the better the final result will be.
Is a snuffle mat safe for puppies?
A snuffle mat is generally safe for puppies and is an excellent way to introduce them to basic nose work. However, puppies are more likely to chew on the fabric strips than adult dogs. You must supervise them closely to ensure they are sniffing for treats rather than trying to shred and swallow the fleece.
What should I do if my dog is afraid of the mat?
Some dogs are naturally more timid and might be wary of the new object. Start by placing the mat near their bed or food bowl without any treats so they can get used to its scent and appearance. Once they are comfortable being near it, place a single treat on the very edge of the mat and gradually move further into the center as their confidence grows.