Save 15% on your 1st Autoship learn more

 Email us
 Live Chat
 FAQs
FAQs





Introduction
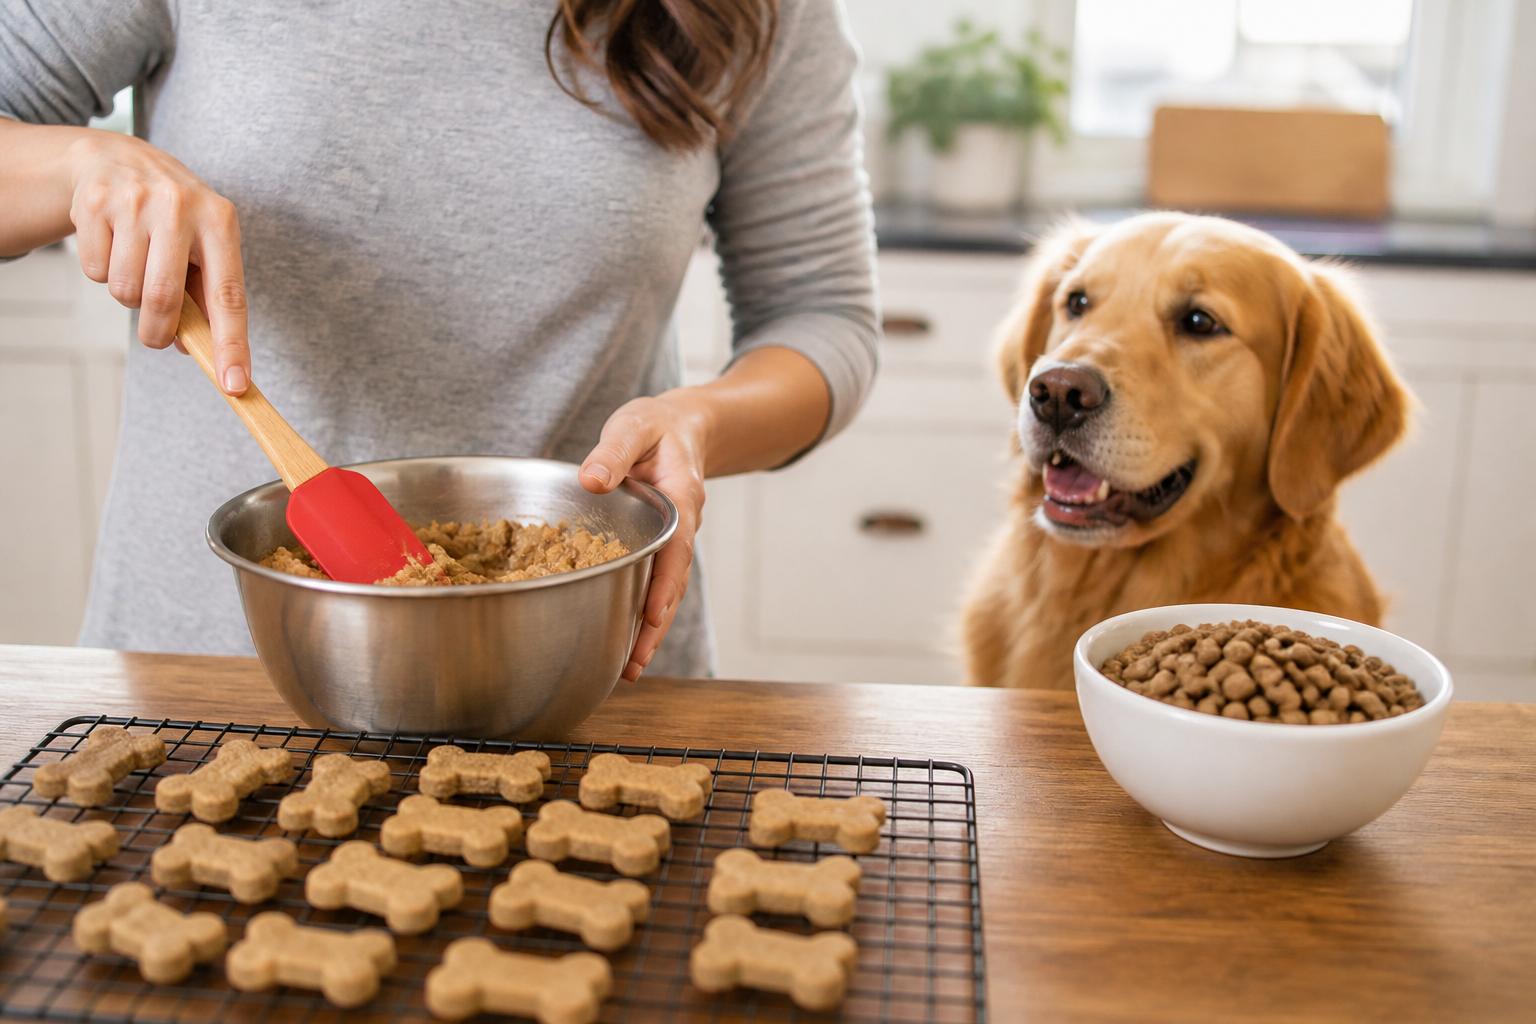
You are at the bottom of the treat bag and realize you forgot to add snacks to your last shopping list. Or perhaps your dog has a very sensitive stomach and reacts poorly to every store-bought biscuit you try. You have a full bag of their regular kibble in the pantry, but giving them a plain piece of food does not feel like a special reward. Making biscuits from their own dry food is a brilliant way to give them a "new" snack without introducing unfamiliar ingredients. At BaxterBoo, we believe that the best care often comes from using what you already have in creative ways. This post covers exactly how to turn standard kibble into crunchy, homemade biscuits that your dog will love. We will walk through the equipment you need, the basic recipe, and how to store these treats safely.
Why Make Treats From Dry Food?
The most obvious reason to make biscuits from dry food is consistency. Many dogs struggle with food allergies or digestive sensitivities. If you find a food that works for them, you usually want to stick with it. By using their daily kibble as the base for a biscuit, you remove the guesswork of how they will react to a new protein or filler.
Cost is another significant factor. High-quality treats can be expensive. Since you already buy kibble in bulk, you are essentially making premium treats for a fraction of the price. This is especially helpful if you are using high-end brands we carry, such as Orijen or Acana. You are simply changing the texture and shape of the nutrition they already receive.
Finally, this method is excellent for weight management. When you use their regular food to make treats, you can subtract that amount from their daily meal portion. This helps prevent the "hidden calories" that often lead to weight gain. You are giving them the same amount of food but in a more exciting format.
Quick Answer: You can make dog biscuits from dry food by grinding the kibble into a fine powder and mixing it with water to form a dough. Bake the shapes at 350 degrees Fahrenheit for about 30 minutes until they are crispy and dry.
Essential Equipment and Ingredients
You do not need a professional kitchen to make these biscuits. Most of the tools are already in your cupboards. The goal is to turn a hard pellet into a workable dough, which requires a bit of mechanical help.
The Grinder
A blender or food processor is the most important tool. You need to break the kibble down into a fine, flour-like powder. A high-powered blender works best for very hard kibbles. If you do not have a blender, a clean coffee grinder can work for small batches.
The Liquid Base
Water is the standard liquid used to turn the powder into dough. However, you can use low-sodium chicken or beef broth for extra flavor. Just ensure the broth does not contain onions or excessive garlic. Most owners find that plain water is enough because the kibble already has a strong scent and flavor that dogs enjoy.
Baking Supplies
- A large mixing bowl.
- A sturdy spoon or spatula.
- A baking sheet.
- Parchment paper or a silicone baking mat.
- Cookie cutters (optional).
Key Takeaway: The finer you grind the dry food, the smoother your dough will be. Aim for a consistency similar to whole wheat flour to ensure the biscuits hold their shape during baking.
The Step-by-Step Recipe
This process is straightforward and takes about 45 minutes from start to finish.
Step 1: Measure and grind. / Place two cups of your dog’s dry food into the blender. Pulse until it becomes a fine powder with no large chunks.
Step 2: Add the liquid. / Pour the powder into a bowl and gradually add one cup of water. Stir as you go. The dough should be thick and slightly sticky, similar to play dough.
Step 3: Roll and cut. / Place the dough on a lightly floured surface. You can use a small amount of oat flour or even a little more of the ground kibble to keep it from sticking. Roll it to about a quarter-inch thickness.
Step 4: Shape the treats. / Use cookie cutters to make fun shapes or simply use a pizza cutter to make small squares. Remember that these treats do not spread or rise much in the oven.
Step 5: Bake. / Place the pieces on a baking sheet. Bake at 350 degrees Fahrenheit for 30 minutes. If you want them extra crunchy, you can turn off the oven and let them sit inside for another 10 minutes.
Step 6: Cool completely. / This is a vital step. The treats will continue to firm up as they cool. Do not put them in a container while they are still warm, as the steam will make them soggy and prone to mold.
Vet Tip: Homemade treats should never exceed ten percent of your dog's total daily calorie intake. Even though these are made from their regular food, the baking process can slightly alter the nutritional profile. Consult your veterinarian if your dog is on a strictly managed therapeutic diet for a specific health condition.
Handling Prescription Diets
Many dogs are on prescription diets for kidney issues, urinary health, or severe allergies. Finding treats for these dogs is notoriously difficult. Our dog pharmacy offers a wide range of these specialized foods through our partnership with Pet's Choice. If your vet has your dog on a specific diet from Royal Canin or Farmina Vet Life, you can often use this recipe to make safe treats.
Using the prescribed dry food ensures you do not violate the parameters of the diet. For example, if your dog is on a low-protein kidney diet, a standard store-bought treat might have too much phosphorus or protein. By making a biscuit from the prescription kibble, you stay within the health plan your vet created.
Always check with your veterinarian before baking prescription food. Some specific nutrients can be sensitive to high heat. In those cases, your vet might suggest a lower baking temperature for a longer period. This extra step keeps your pet safe while still allowing them to enjoy a reward.
Customizing Your Biscuits
If your dog does not have strict dietary restrictions, you can add a few extras to the dough. This can make the treats more enticing or add a boost of nutrition.
- Pumpkin Puree: A tablespoon of canned pumpkin (not pie filling) adds fiber and helps bind the dough.
- Egg: Adding one egg can make the biscuits richer and give them a glossier finish.
- Mashed Banana: This is a great way to add a bit of natural sweetness and potassium.
- Dried Parsley: A teaspoon of dried parsley can help freshen your dog’s breath.
If you add wet ingredients like pumpkin or egg, you will need to reduce the amount of water you use. Add the wet ingredients first, then add water one tablespoon at a time until the dough reaches the right consistency.
Flour Alternatives for Binding
Sometimes certain kibbles do not have enough "stickiness" to hold together as a dough. If your dough is too crumbly, you can add a small amount of a binder. Oat flour is a popular choice because it is generally easy on canine stomachs. You can also use a small amount of tapioca starch. Avoid using standard white flour if your dog is sensitive to wheat.
Texture and Training
The texture of your biscuits depends on the baking time. If you have a senior dog with dental issues, you might want a softer treat. In that case, bake them for only 15 to 20 minutes. They will be more like a soft cookie than a hard biscuit.
For training purposes, smaller is better. You can roll the dough into tiny balls the size of a pea before baking. These "training bits" are perfect for high-repetition sessions where you do not want to overfeed your pup. Since they are made from the dog's regular food, you can use many of them during a session without worrying about a stomach ache later that night. For more ideas, explore natural dog treats for training and enrichment.
Use for Enrichment Toys
These homemade biscuits are also perfect for stuffing into enrichment toys. If you make them in shapes that fit snugly inside a toy, it provides a fun challenge for your dog. Because they are crunchier than plain kibble, they take longer to break apart. This keeps your dog occupied for longer periods. You can find additional ideas in this guide to dog boredom busters and puzzle play, or browse our dog toy collection.
Safety and Storage Considerations
Since these treats do not contain the chemical preservatives found in commercial bags, they have a shorter shelf life. Moisture is the enemy of any homemade pet treat. If there is any moisture left in the biscuit, mold can grow quickly.
Cooling and Drying
After the 30-minute bake time, the biscuits should feel hard to the touch. If they feel soft or "spongy," they need more time. A good trick is to turn the oven down to 200 degrees and let them dry out for an hour. This mimics the dehydration process and makes them much more shelf-stable.
Proper Storage
Store the cooled biscuits in an airtight container. At room temperature, they will typically stay fresh for about three to five days. For longer storage, keep them in the refrigerator for up to two weeks.
Freezing
If you make a large batch, the freezer is your best friend. These biscuits freeze exceptionally well. You can keep them in a freezer bag for up to three months. You do not even need to thaw them for most dogs. Many pups enjoy the extra crunch of a frozen treat, especially in the summer.
- Check for mold before every feeding.
- Discard any treats that have a sour or "off" smell.
- Keep the storage container in a cool, dry place.
- Use a desiccant pack if you have one to help pull out residual moisture.
Bottom line: Proper drying and airtight storage are the keys to making your homemade dog biscuits last more than a few days.
Making Treats From Canned Food
While the primary focus is dry food, you can also use canned food to make treats. This is often even easier than using kibble. You can slice the loaf of canned food into thin rounds and bake them on a parchment-lined sheet at 350 degrees.
The canned food will shrink as the moisture evaporates, leaving behind a chewy or crunchy "chip." This is a fantastic option for dogs on specialized canned diets from our pharmacy selection. It provides a different texture than the mushy consistency of canned food, which many dogs find very exciting.
Comparison of Homemade vs. Store Bought
| Feature | Homemade Kibble Biscuits | Store-Bought Treats |
|---|---|---|
| Ingredients | Exactly what is in your kibble | Variable, often with fillers |
| Cost | Very low (uses existing food) | Moderate to High |
| Preservatives | None | Often present for shelf life |
| Customization | High (add pumpkin, etc.) | Limited to what is on the shelf |
| Shelf Life | 1-2 weeks (refrigerated) | 6-12 months |
Transitioning to Homemade Snacks
When you start introducing these biscuits, do it slowly. Even though the ingredients are the same as their food, the cooked nature of the biscuit is different. Start with just one or two a day to make sure your dog's digestion stays on track.
If you notice any changes in their stool or energy levels, consult your veterinarian. Sometimes the concentrated nature of a baked treat can be different for highly sensitive dogs. However, for the vast majority of pets, these biscuits are a safe and joyful addition to their day.
We see many owners at BaxterBoo who struggle to find the right balance between rewarding their dogs and maintaining their health. This "kibble hack" is one of the most practical tips we can share. It empowers you to be the chef for your pet while maintaining the nutritional integrity of their diet.
Conclusion
Making dog biscuits from dry food is a simple, cost-effective way to spoil your pup. It ensures they get the nutrition they need without the additives they do not. Whether you are managing a strict prescription diet or just want to save a bit of money, these biscuits are a great solution. We love seeing pet owners take an active role in their dog’s wellness through home-prepared snacks. Remember to keep an eye on total calories and store your creations properly to keep them fresh. For more tools to help with your dog’s nutrition, including high-quality kibble and specialized diets, visit our dog food category or check out our pet pharmacy for prescription needs. Using the right base food makes all the difference in the quality of your homemade treats.
Key Takeaway: Turning kibble into biscuits is the safest way to give treats to dogs with allergies or sensitive stomachs because it uses a protein source you already trust.
FAQ
Can I use a different brand of kibble than what my dog usually eats?
You can, but it defeats one of the main benefits of this method. Using their regular food prevents digestive upset. If you want to try a different brand for treats, introduce it slowly to make sure it does not cause any stomach issues. Many owners like to use a "premium" kibble brand for treats while keeping their regular food for meals.
My dough is too crumbly and won't hold a shape. What should I do?
This usually happens if the kibble is not ground finely enough or if there is not enough water. Try running the powder through the blender again. If it is still crumbly, add a teaspoon of plain canned pumpkin or a tiny bit of oat flour. These act as natural glues to help the dough stick together.
Do these biscuits have the same nutritional value as the raw kibble?
The basic nutrients like protein and minerals remain, but high heat can diminish some vitamins and probiotics. This is why it is important that these remain "treats" rather than a full meal replacement. For most dogs, the slight change in vitamin levels is not an issue since treats only make up a small part of their day.
Why did my homemade biscuits go moldy so fast?
Mold is caused by residual moisture. If the biscuits are even slightly soft in the middle, they will mold within a few days. To prevent this, bake them longer at a lower temperature to ensure they are completely dry. Storing them in the refrigerator or freezer also significantly extends their lifespan.