Save 15% on your 1st Autoship learn more

 Email us
 Live Chat
 FAQs
FAQs





Introduction
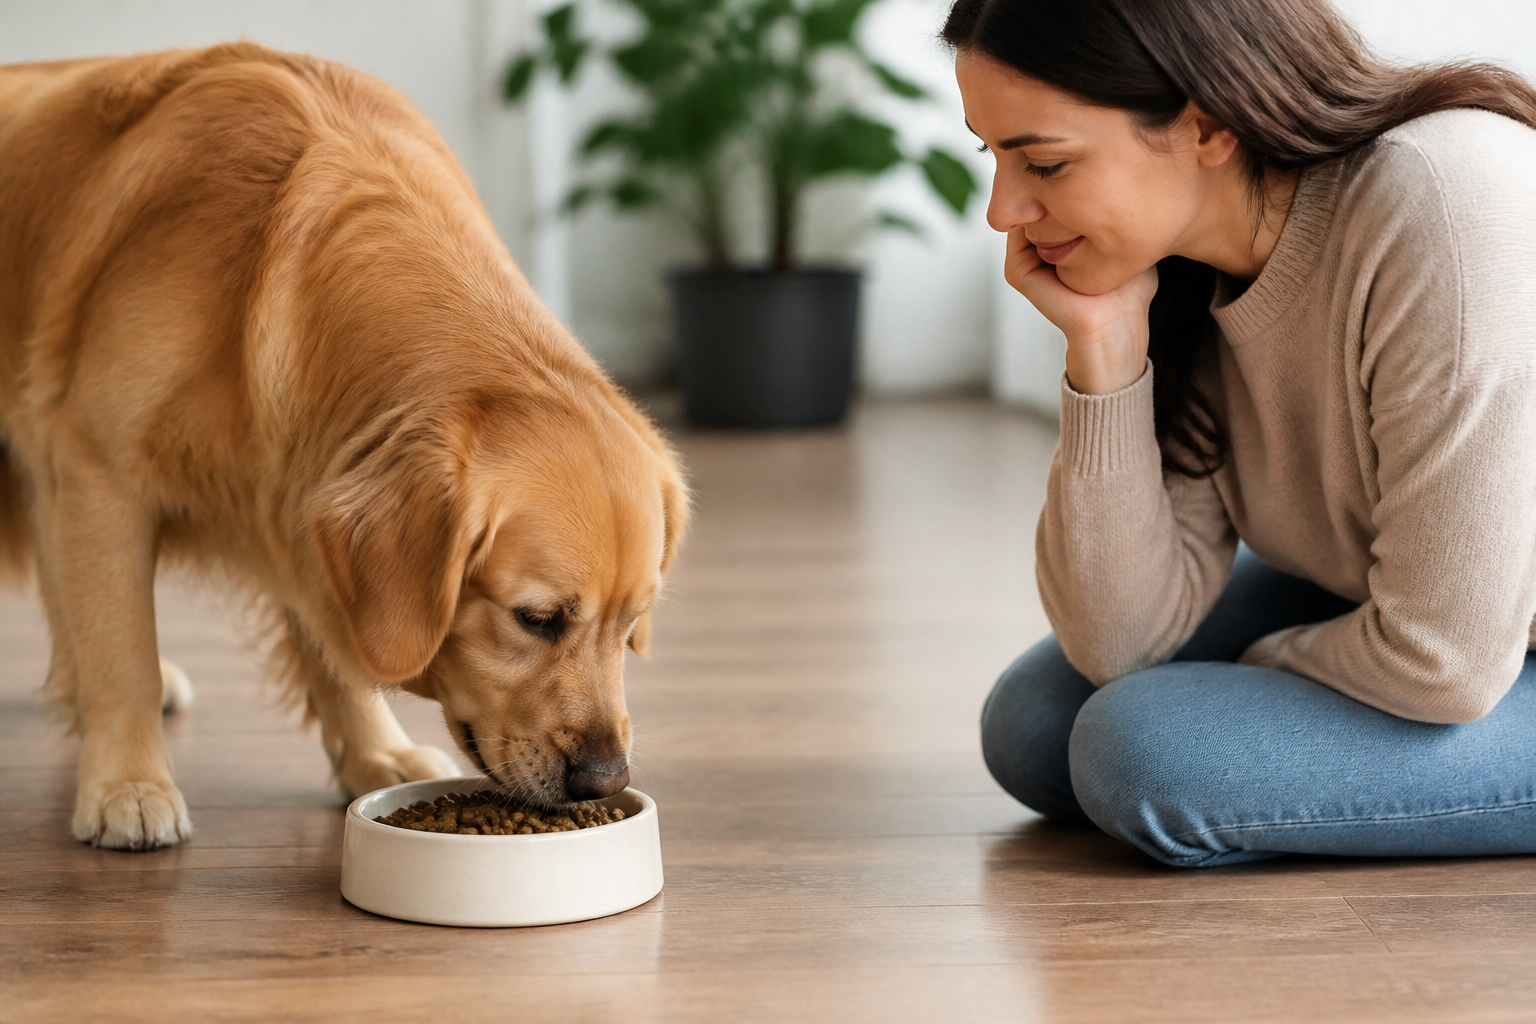
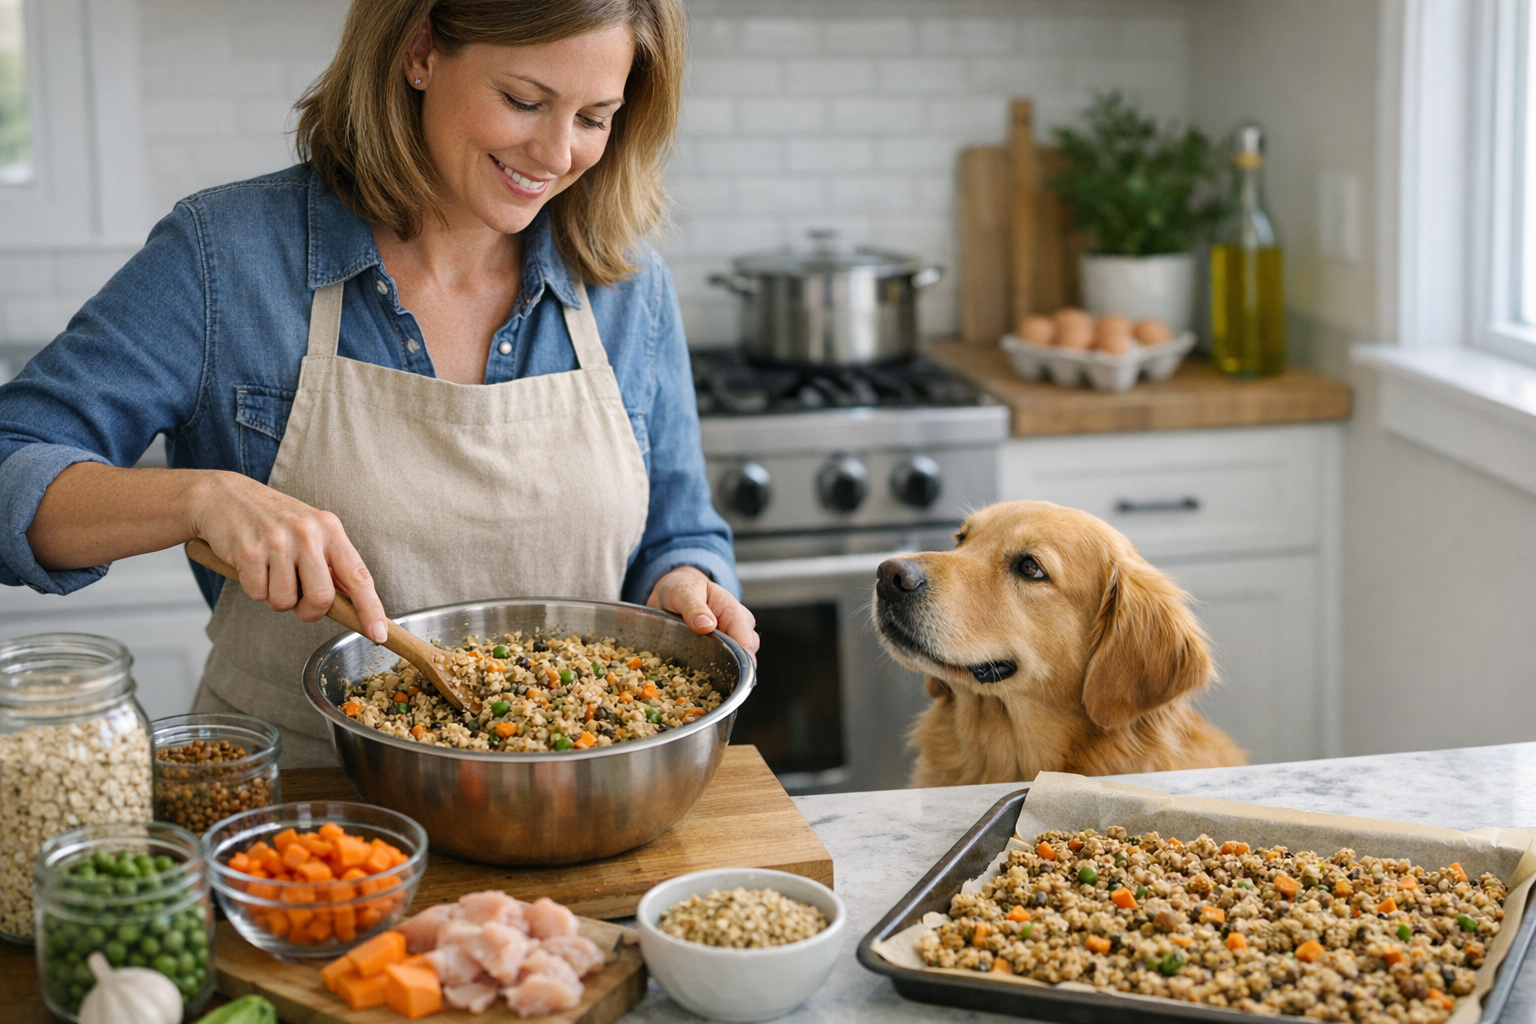
You are standing in the pet food aisle, squinting at a label filled with words you cannot pronounce. You want the best for your dog, but sometimes commercial kibble feels like a mystery box of fillers and preservatives. Many owners turn to homemade meals to manage allergies, sensitive stomachs, or simply to ensure their best friend eats high-quality ingredients. At BaxterBoo, we have helped thousands of pet parents navigate nutrition since 2006. We know that switching to a DIY diet is a big step that requires careful planning to get the balance right. This guide covers the essential ingredients, the drying process, and how to ensure your dog stays healthy while eating from your kitchen. Making your own dry dog food allows for total control over every calorie and nutrient your pet consumes. If you are still comparing options, start by browsing our dry dog food category.
Why Consider Making Your Own Dry Dog Food?
Control is the primary reason most people start making their own dog food. When you prepare the meals yourself, you know exactly what is going into the bowl. There are no hidden "meat by-products" or chemical dyes. For dogs with severe skin allergies or chronic digestive upset, a limited ingredient diet can be a lifesaver. You can select a single protein source that you know is safe for your pet.
Cost is another factor. While high-end boutique kibble can be very expensive, buying fresh ingredients in bulk can sometimes be more budget-friendly. You can buy chicken or turkey when it is on sale and freeze it until you are ready to bake a batch of kibble. This hybrid approach of saving money while increasing quality is a win for many households.
Homemade food also allows for variety. Just like humans, dogs can get bored eating the exact same flavor every day for years. By making your own dry food, you can rotate between different vegetables and proteins. This keeps mealtime exciting and provides a broader range of natural vitamins and minerals. For budget-conscious shoppers, our discounted dog food guide is a helpful next read.
Quick Answer: Making dry dog food involves blending cooked proteins and vegetables with a binder like flour or oats, then baking and dehydrating the mixture until it is crunchy. This process creates a shelf-stable kibble that gives you total control over ingredients and allergens.
The Importance of Nutritional Balance
Cooking for a dog is not the same as cooking for a human. If you only feed your dog chicken and rice, they will eventually develop serious nutritional deficiencies. Dogs require a specific balance of proteins, fats, carbohydrates, vitamins, and minerals to thrive. Calcium is a major concern in homemade diets. Without bone meal or eggshell powder, a dog's bones can become brittle over time.
You must also consider the ratio of phosphorus to calcium. Meat is naturally high in phosphorus. To balance this, you need a reliable source of calcium. Many DIY recipes use finely ground eggshells to bridge this gap. You should also ensure there is enough taurine and heart-healthy fats, especially if you are using very lean meats.
Vet Tip: Always consult your veterinarian or a board-certified veterinary nutritionist before switching to a 100 percent homemade diet. They can help you calculate the exact nutrients your dog needs based on their age, weight, and activity level to prevent long-term health issues.
Essential Ingredients for Homemade Kibble
Every batch of dry dog food needs four main components. These are protein, carbohydrates, healthy fats, and vitamins. Choosing the right ingredients in each category ensures the kibble is both tasty and nutritious.
High-Quality Proteins
Protein is the building block of your dog's muscles and immune system. Lean ground beef, turkey, chicken, and pork are excellent choices. If your dog has a sensitive stomach, fish like salmon or whitefish can be easier to digest. Organ meats like chicken liver or beef heart are packed with nutrients, but they should only make up a small percentage of the total recipe.
Healthy Carbohydrates and Binders
Carbohydrates provide energy and help hold the kibble together. Brown rice, oats, and quinoa are popular gluten-free options. If you want to avoid grains entirely, you can use chickpeas or lentils. For the "dry" part of the food, you will need a flour to create a dough. Buckwheat flour, chickpea flour, or whole wheat flour (if your dog tolerates gluten) work well to create that signature crunch.
Fruits and Vegetables
Vegetables add fiber and essential vitamins. Carrots, peas, green beans, and spinach are standard favorites. Pumpkin is especially helpful for digestion. Avoid onions, garlic, grapes, and raisins, as these are toxic to dogs. Some fruits like blueberries or chopped apples (without seeds) can add a boost of antioxidants to the mix.
Necessary Fats and Supplements
Dogs need fats for skin and coat health. Olive oil, flaxseed oil, or fish oil should be added to the recipe. Since it is hard to get every single vitamin from whole foods alone, many owners add a high-quality multivitamin powder or specific supplements like glucosamine for joint health. If you want a supplement option that fits a homemade routine, take a look at our Cosequin joint health supplement.
Key Takeaway: A balanced homemade kibble must include a protein source, a carbohydrate binder, dog-safe vegetables, and a source of calcium to ensure long-term wellness.
Step-by-Step Guide to Making Dry Dog Food
The process of making dry food is different from making a wet "stew." You need to remove almost all the moisture so the food stays shelf-stable and crunchy. Follow these steps to create your first batch.
Step 1: Cook Your Base Ingredients
Start by cooking your protein and vegetables. You can boil, steam, or roast them. If you are using meat, ensure it is cooked through to an internal temperature of 165 degrees to kill any bacteria. Once cooked, let the ingredients cool.
Step 2: Create a Puree
Place your cooked meat, vegetables, and oils into a food processor. Pulse until the mixture is a smooth paste. This ensures your dog cannot pick out the "good stuff" and leave the vegetables behind. It also makes it easier to mix with your flour or binders.
Step 3: Mix the Dough
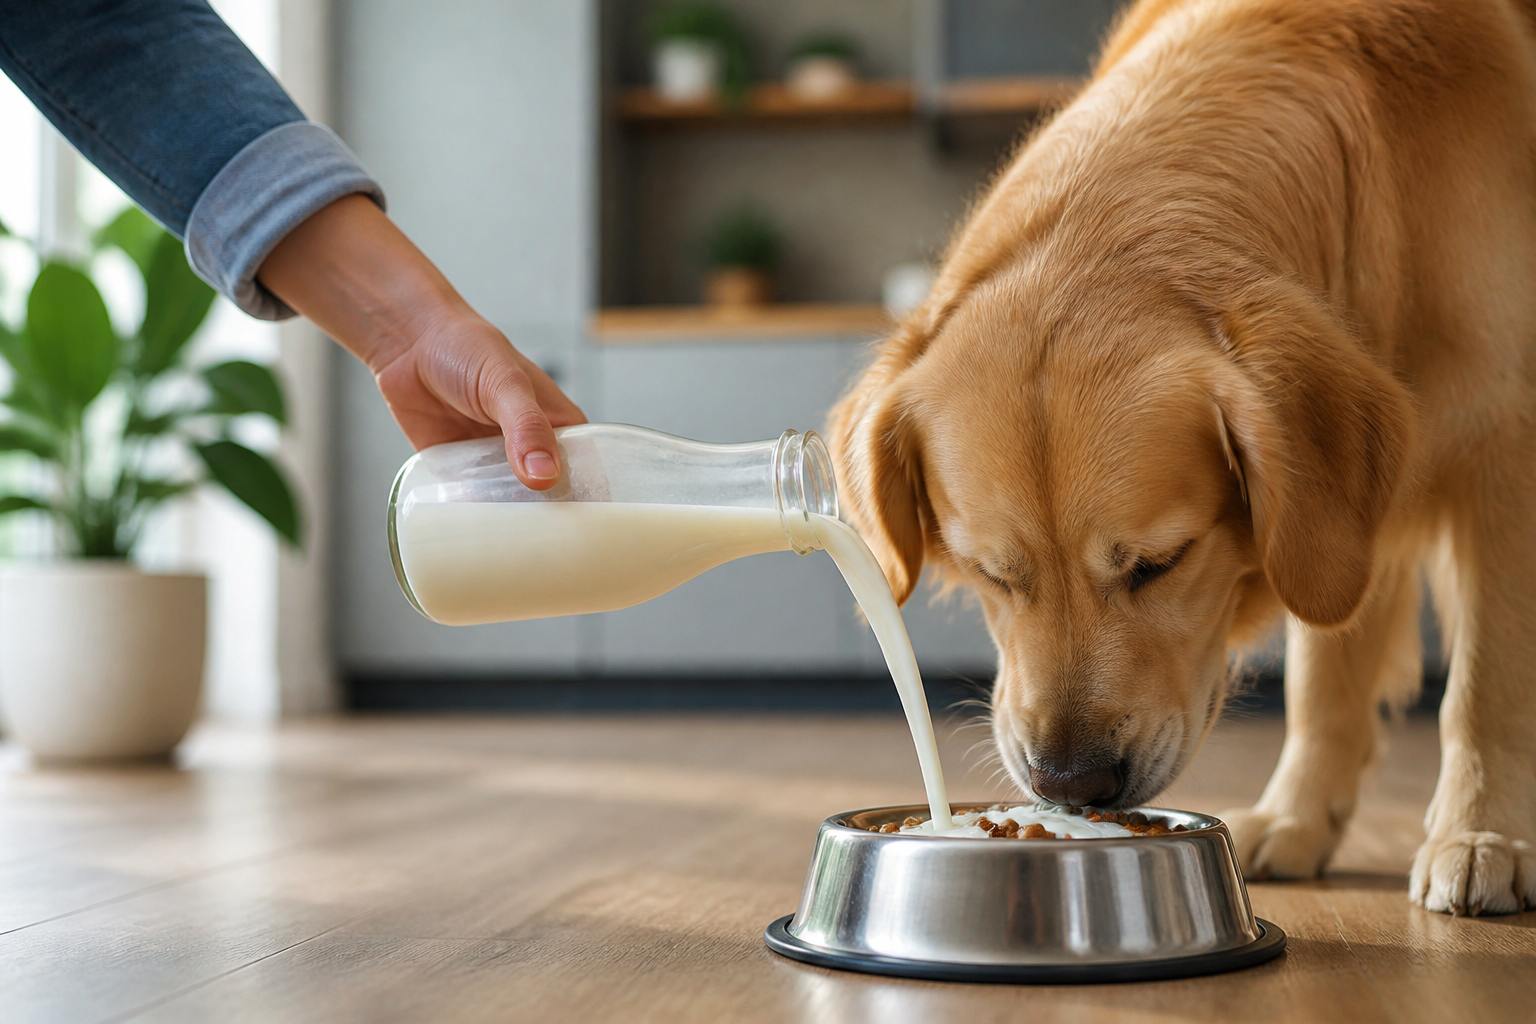
In a large bowl, combine your puree with your chosen flour or oats. Add your supplements and calcium source now. You are looking for a stiff, tacky dough that can be rolled out. If it is too wet, add more flour. If it is too crumbly, add a small amount of water or low-sodium bone broth.
Step 4: Roll and Score
Preheat your oven to 300 degrees. Line a baking sheet with parchment paper. Roll the dough out until it is about a quarter-inch thick. Use a knife or a pizza cutter to score the dough into small, bite-sized squares. You do not need to cut all the way through yet, but scoring makes it easier to break apart later.
Step 5: Bake and Dehydrate
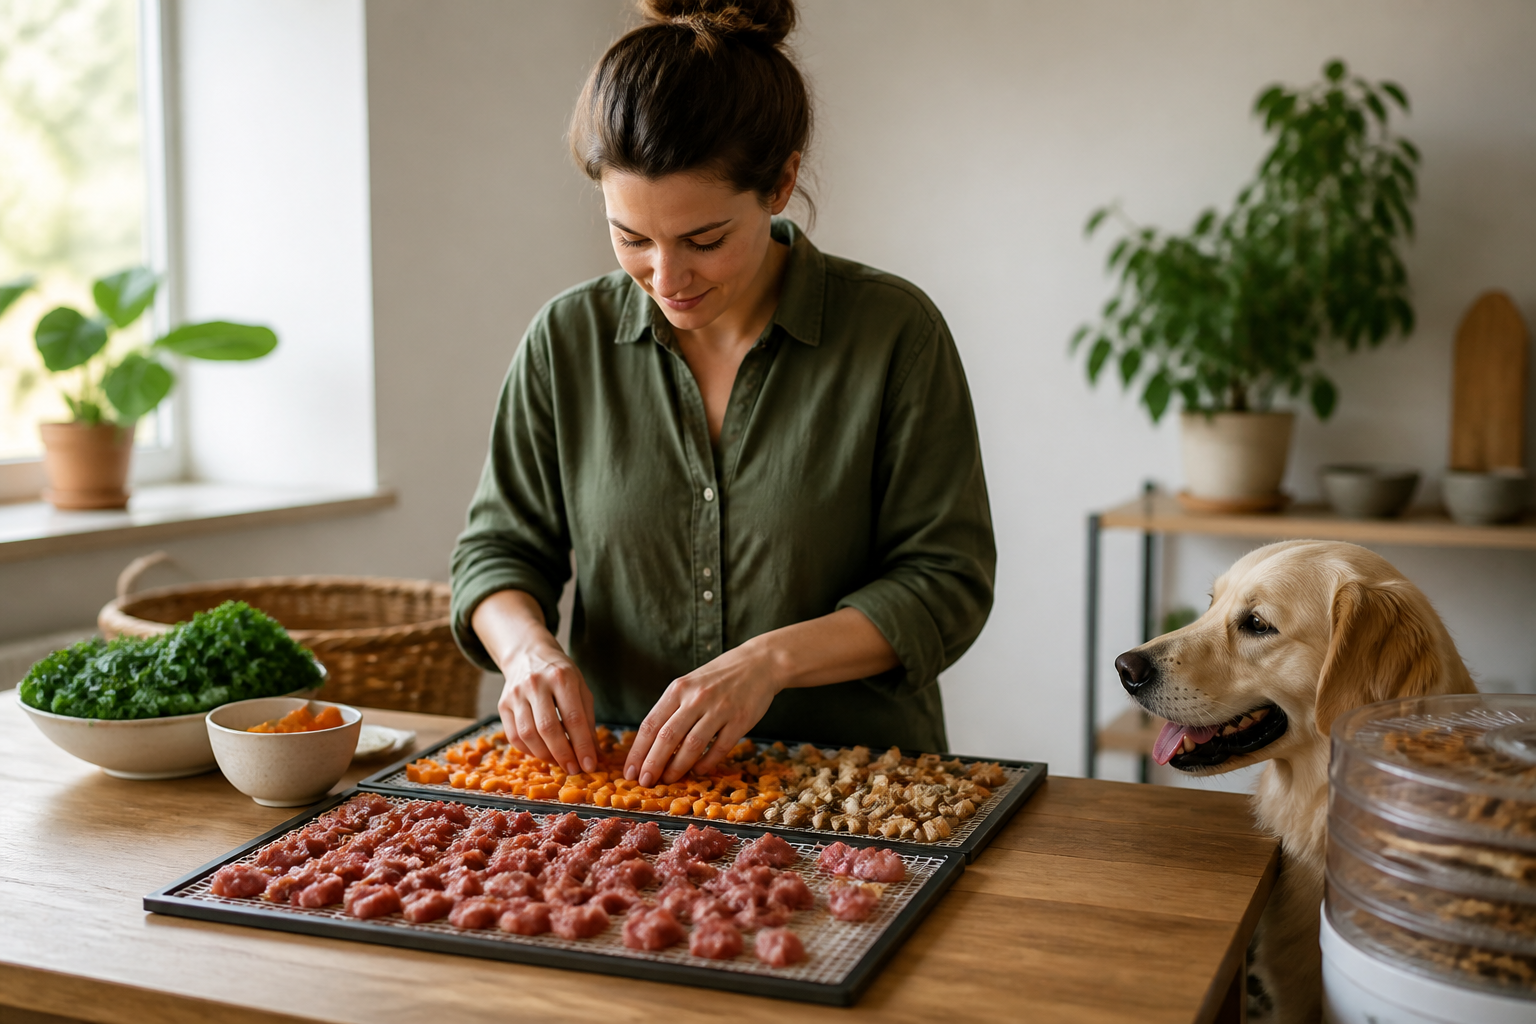
Bake the dough for about 45 to 60 minutes. Once it is firm, turn the oven down to its lowest setting (usually 140 to 170 degrees). Leave the kibble in the oven for several hours to dry out completely. If you have a food dehydrator, you can move the pieces there for the final drying phase. The goal is for the pieces to be "bone dry" and snap when broken.
Safe Storage and Shelf Life
Commercial kibble contains preservatives that allow it to sit in a bag for months. Your homemade version does not. Because of this, storage is the most important part of the process. If even a tiny bit of moisture remains, the food will grow mold within days.
Store your homemade dry food in an airtight container in a cool, dry place. It will generally stay fresh for about one week at room temperature. If you make a large batch, keep one week's worth out and store the rest in the freezer. Frozen homemade kibble can last for up to three months. If you want a deeper look at freshness, read our guide to dry dog food storage and spoilage.
Bottom line: Removing all moisture during the baking process is the only way to ensure your homemade kibble stays safe and mold-free.
Managing Health Conditions with DIY Food
Sometimes owners choose the DIY route because their dog has a specific medical condition. For example, dogs with kidney disease require lower phosphorus levels. This can be very difficult to achieve in a home kitchen without professional help. If your dog has a chronic illness, you might need a more specialized solution.
Our pharmacy for dogs offers a variety of prescription diet options for pets with more complex needs. These diets are formulated to help manage conditions like urinary stones, kidney concerns, and severe skin allergies. We also carry trusted brands like Royal Canin that require a veterinarian's authorization. If the balancing act feels overwhelming, a prescription diet can provide peace of mind.
Transitioning Your Dog to Homemade Food
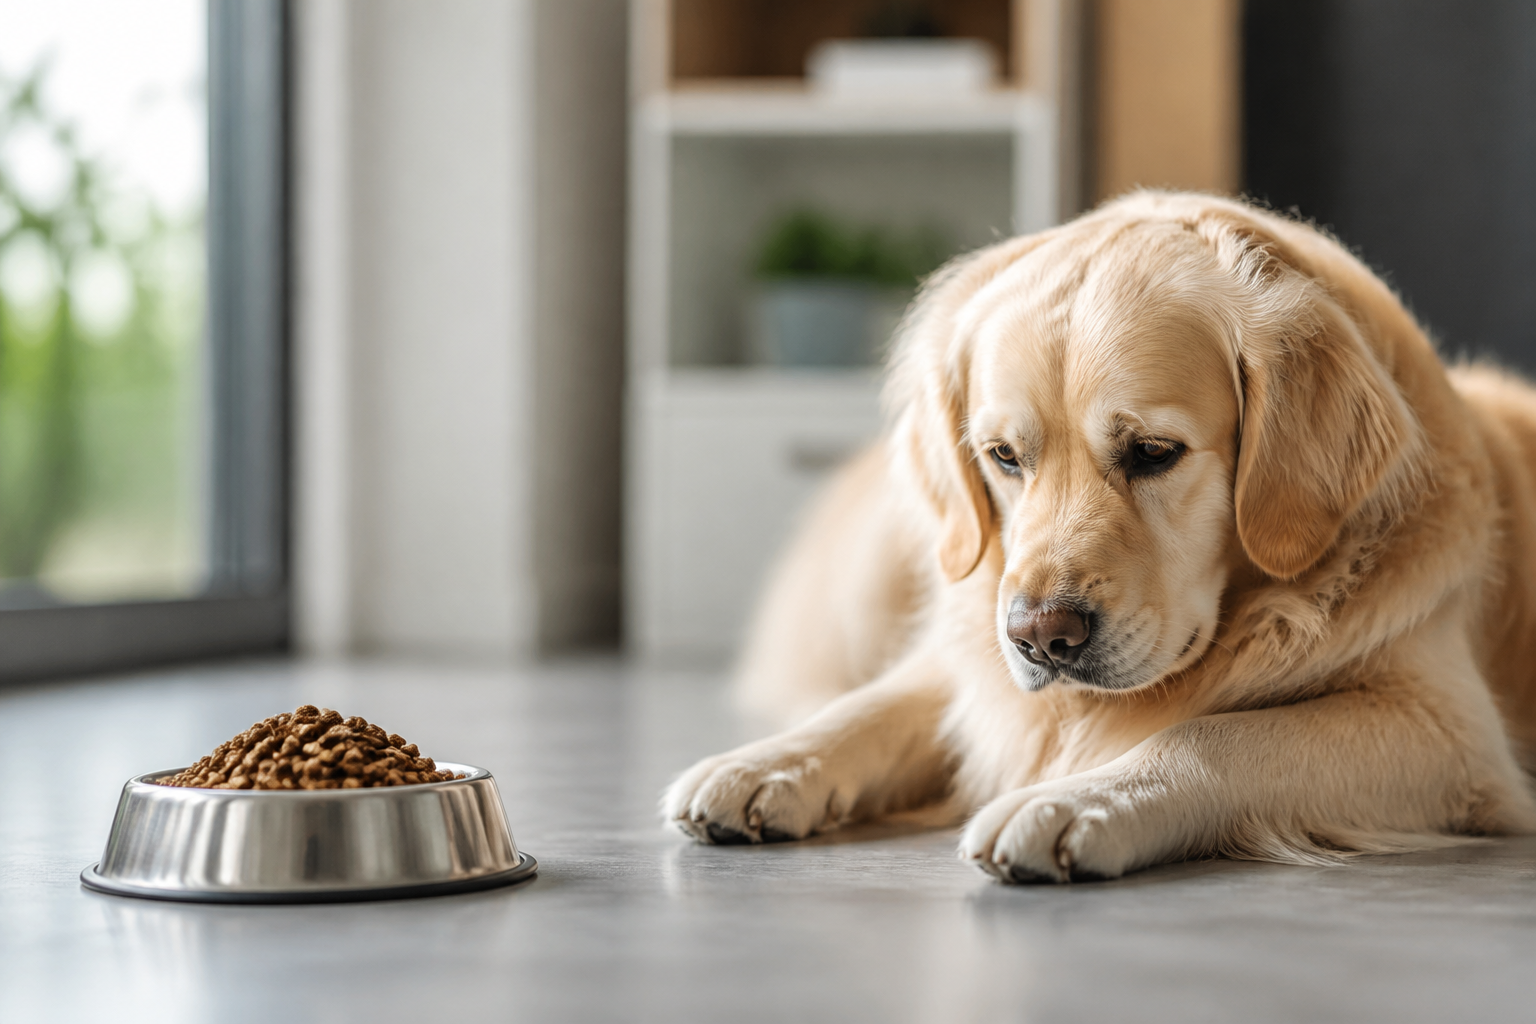
You should never switch your dog's food overnight. Their digestive systems are sensitive to sudden changes. A fast switch can lead to diarrhea, gas, and vomiting. Use a gradual transition period over seven to ten days.
- Days 1-3: Feed 25 percent homemade food and 75 percent old food.
- Days 4-6: Feed 50 percent homemade food and 50 percent old food.
- Days 7-9: Feed 75 percent homemade food and 25 percent old food.
- Day 10: Feed 100 percent homemade food.
Watch your dog closely during this time. Look for changes in their energy levels, stool consistency, and coat quality. If you notice any itching or redness, they may be allergic to one of the new ingredients you have introduced. For more on making dietary changes, see our guide to mixing wet and dry dog food.
Using Supplements to Fill the Gaps
Even the best homemade recipe can have tiny nutritional gaps. Adding supplements is a great way to ensure your dog is getting everything they need. We carry a wide range of supplements that are easy to mix into your homemade dough.
- Probiotics: These support a healthy gut and help with the transition to new food.
- Omega Fatty Acids: These keep the skin hydrated and the coat shiny.
- Joint Support: Supplements like Cosequin or Zesty Paws can be added for senior dogs.
- Multivitamins: A general powder ensures your dog gets essential trace minerals.
If you are a frequent shopper, our MVP Rewards programme allows you to earn points on every supplement purchase. This is a great way to save money on the "extras" that make a homemade diet successful. We also offer Autoship for these items so you never run out of the vitamins your dog needs.
Common Mistakes to Avoid
One common mistake is using too much fat. While dogs need fat, an excess can lead to pancreatitis, a painful and dangerous inflammation of the pancreas. Stick to lean meats and measure your oils carefully. Another mistake is forgetting the "crunch" factor. Dry food helps scrape plaque off teeth. If your homemade kibble is too soft, you should supplement with dental treats or regular tooth brushing.
Finally, do not eyeball the measurements. In the beginning, use a kitchen scale to ensure you are following your recipe exactly. Small changes in ingredient amounts can lead to big changes in the nutritional profile. Once you have a system that works for your dog, stay consistent. If your recipe needs extra support, browse our dog healthcare category.
Key Takeaway: Consistency and precise measurements are vital for maintaining your dog's health on a homemade diet.
Conclusion
Making your own dry dog food is a labor of love that can lead to a healthier, happier pet. By selecting fresh proteins and vegetables, you eliminate the guesswork often found in commercial bags. Remember to prioritize nutritional balance and consult your veterinarian before making the switch. Whether you choose to bake every batch from scratch or supplement with a prescription diet from our pharmacy, the goal is always a thriving dog. We invite you to explore our dog healthcare section for supplements that can enhance your homemade recipes.
Bottom line: Successful DIY kibble requires high-quality ingredients, total dehydration, and a slow transition to protect your dog's digestive health.
FAQ
Is homemade dry dog food healthier than store-bought?
It can be healthier if it is nutritionally balanced and made with high-quality ingredients. However, commercial foods are formulated to meet strict AAFCO standards, so you must ensure your DIY recipe includes all necessary vitamins and minerals. Homemade food is often better for dogs with specific allergies that are hard to avoid in mass-produced kibble.
How long does homemade kibble last?
Since it does not contain the preservatives found in commercial brands, homemade kibble lasts about one week in an airtight container at room temperature. For longer storage, you should keep it in the freezer, where it can last up to three months. Always check for any signs of mold or an "off" smell before feeding it to your dog.
Can I make dog food without a dehydrator?
Yes, you can use a standard oven set to its lowest possible temperature to dry out the kibble. This process takes several hours and requires you to monitor the food so it does not burn. A dehydrator is more efficient and uses less energy, but an oven works perfectly well for beginners.
What should I do if my dog gets diarrhea after eating homemade food?
If your dog experiences digestive upset, go back to the previous step in your transition plan or feed a bland diet of plain boiled chicken and rice. Consult your veterinarian if the symptoms persist for more than 24 hours or if your dog appears lethargic. You may need to adjust the fiber or fat content in your recipe.