Save 15% on your 1st Autoship learn more

 Email us
 Live Chat
 FAQs
FAQs





Introduction
Watching your dog rush to the bowl is one of the best parts of being a pet owner. Many owners are looking for ways to provide the highest quality nutrition through raw or minimally processed diets. Freeze dried dog food has become a favorite because it offers the benefits of raw food with the convenience of a shelf stable product. However, the price tag on premium bags can lead many to wonder if they can handle the process at home.
At BaxterBoo, we know that understanding what goes into your pet's bowl is your top priority. This guide covers the equipment you need, the safety steps to follow, and a reliable process for making your own batches. We will also look at how to ensure your dog gets a balanced meal. Learning how to make freeze dried dog food allows you to control every ingredient your pet eats, and our freeze-dried food hub is a helpful place to compare commercial options.
How Freeze Drying Actually Works
Freeze drying is a unique preservation method that is quite different from standard dehydration. Dehydration uses low heat over a long period to evaporate moisture. This often changes the texture and can reduce the nutritional value of some vitamins. Freeze drying uses a process called sublimation. This turns ice directly into water vapor without it ever becoming a liquid.
The process begins by flash freezing the food at extremely low temperatures. This prevents large ice crystals from forming, which keeps the cellular structure of the meat and vegetables intact. Once the food is frozen, it goes into a vacuum chamber. The pressure drops, and a tiny amount of heat is applied. The ice turns to gas and is pulled away from the food.
The result is a product that is about 98 percent free of moisture. Because the food was never cooked at high heat, the enzymes and nutrients remain largely unchanged. The food becomes very light and airy while retaining its original shape and color. This makes it highly palatable for even the pickiest eaters, and our freeze-dried dog food category shows the kinds of textures shoppers usually expect.
Quick Answer: Making freeze dried dog food at home requires a dedicated freeze dryer machine to remove moisture through sublimation. You prepare a balanced mix of proteins and produce, freeze them solid, and then process them in the vacuum chamber for about 24 to 48 hours.
The Required Equipment for Home Processing
Making your own pet food in this style is an investment. You cannot achieve true freeze drying with a standard freezer or a dehydrator. You will need specific tools to ensure the food is safe for long term storage and healthy for your dog.
The Freeze Dryer
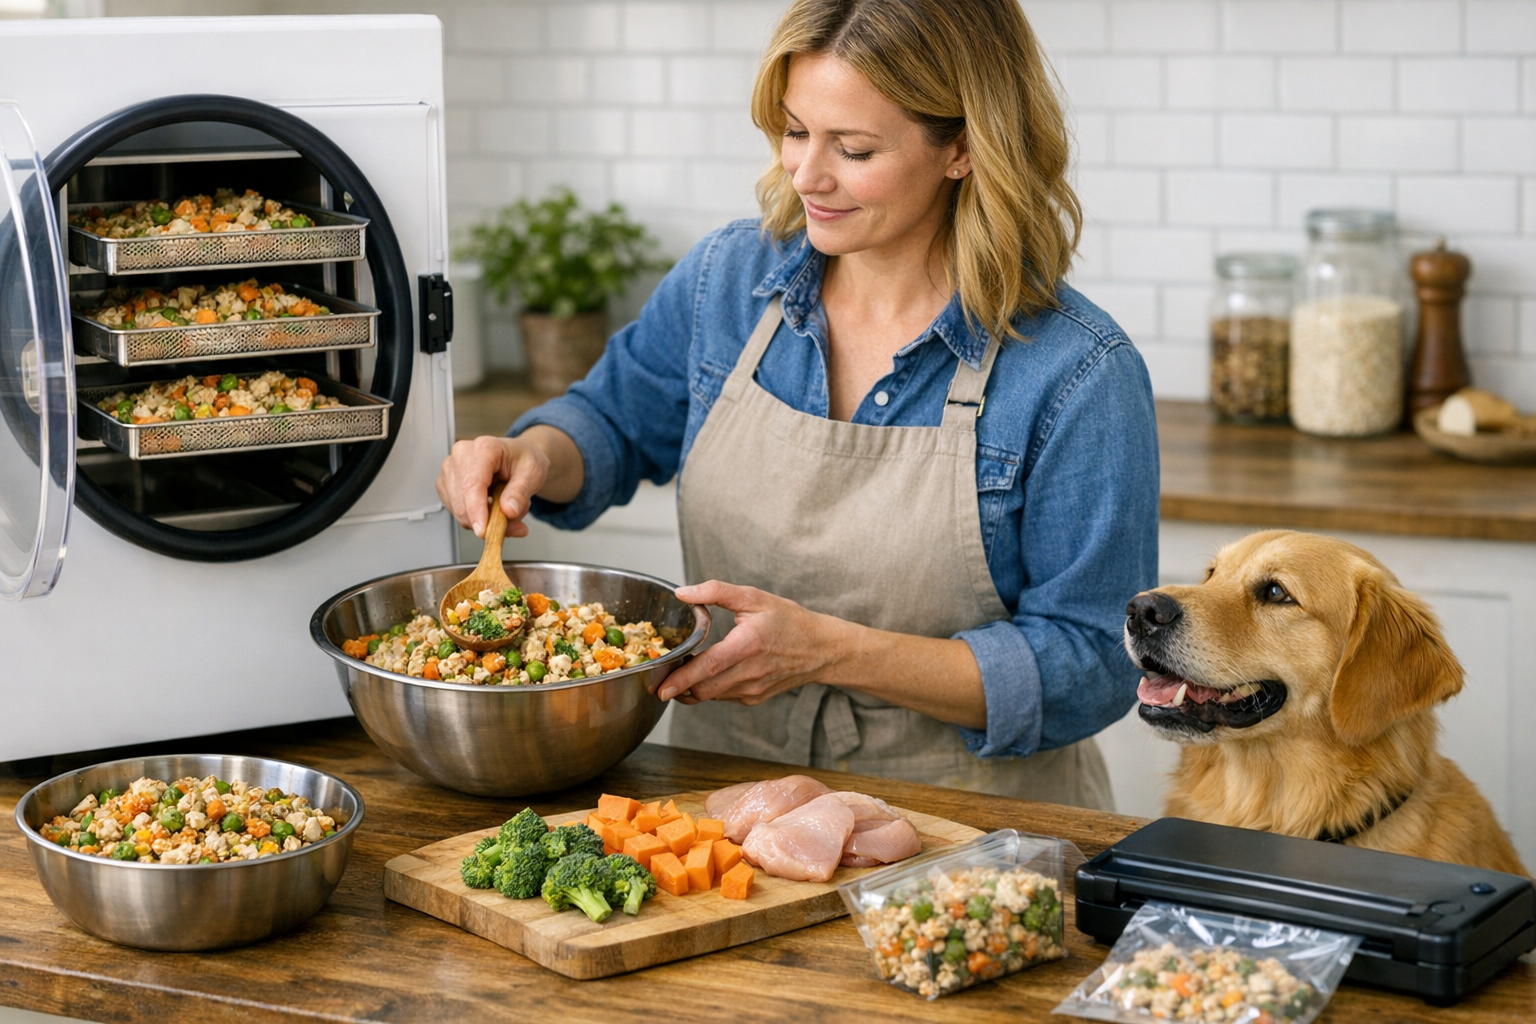
A home freeze dryer is the most significant purchase. These machines are roughly the size of a large microwave or a small refrigerator. They are designed to create a vacuum and manage the temperature shifts required for sublimation. Most home units come with several trays, allowing you to process multiple pounds of food at once.
Kitchen Preparation Tools
You will need a high quality blender or food processor. Many owners prefer to grind or puree the ingredients into a uniform consistency before freezing. This ensures that every bite contains a balance of meat, organs, and vegetables. A sturdy kitchen scale is also vital. You must weigh your ingredients to ensure you are following a recipe that meets your dog's caloric and nutritional needs.
Storage Supplies
Once the food is finished, it must stay away from oxygen and moisture. Mylar bags are the gold standard for storage because they block out light and air. You can also use glass Mason jars if you have a vacuum sealer attachment for the lids. Oxygen absorbers are small packets you place inside the container to soak up any remaining air. These are essential for keeping the food shelf stable for months or even years.
Bottom line: A home freeze dryer is a major investment, but it provides the only way to safely remove moisture while keeping nutrients intact.
Selecting High Quality Ingredients
The quality of your finished product depends entirely on the raw materials you start with. When you make your own food, you can source humanely raised meats and organic produce. This is a great way to avoid fillers like corn, wheat, or soy.
Protein Sources
Protein should be the foundation of any dog food recipe. You want to look for muscle meats like beef, chicken, turkey, or lamb. It is also important to include organ meats. Liver, heart, and kidney are packed with vitamins that muscle meat lacks.
- Muscle meat: 70 to 80 percent of the protein mix
- Organ meat: 10 percent (half of this should be liver)
- Ground bone or bone meal: 10 percent for calcium
Fruits and Vegetables
Dogs benefit from the fiber and antioxidants found in produce. Blueberries, spinach, kale, and carrots are excellent choices. Pumpkin is also a popular addition for supporting healthy digestion. Avoid onions, grapes, raisins, and macadamia nuts, as these are toxic to dogs.
Healthy Fats and Omegas
Adding a source of Omega-3 fatty acids helps maintain a shiny coat and healthy skin. Salmon or other fatty fish are great options. You can also mix in a small amount of fish oil after the freeze drying process is complete and you are ready to serve.
Key Takeaway: A balanced DIY recipe should mimic the ancestral diet by focusing on high quality muscle meat, nutrient dense organs, and a small percentage of fresh produce.
Safety Protocols for Home Preparation
Handling raw meat requires strict hygiene to prevent the spread of bacteria like Salmonella or Listeria. Commercial companies like Stella and Chewy's often use High Pressure Processing (HPP). This uses cold water and intense pressure to kill pathogens without using heat. At home, you do not have access to HPP technology.
If you are worried about raw safety, you can cook the meat before freeze drying it. This eliminates the risk of bacteria while still giving you a shelf stable, convenient food. If you choose to stay raw, you must be extremely careful. Use separate cutting boards for meat and vegetables. Wash your hands and all surfaces with hot, soapy water immediately after use. If your dog needs a therapeutic diet, our pet pharmacy is the place to start.
Vet Tip: Always consult your veterinarian before switching your dog to a home prepared or raw diet. They can help you determine if the recipe meets your dog's specific health needs and ensure you are not missing vital micronutrients.
Step by Step Instructions for Home Freeze Drying
Once you have your ingredients and equipment ready, follow these steps to create your first batch.
Step 1: Prep and Mix
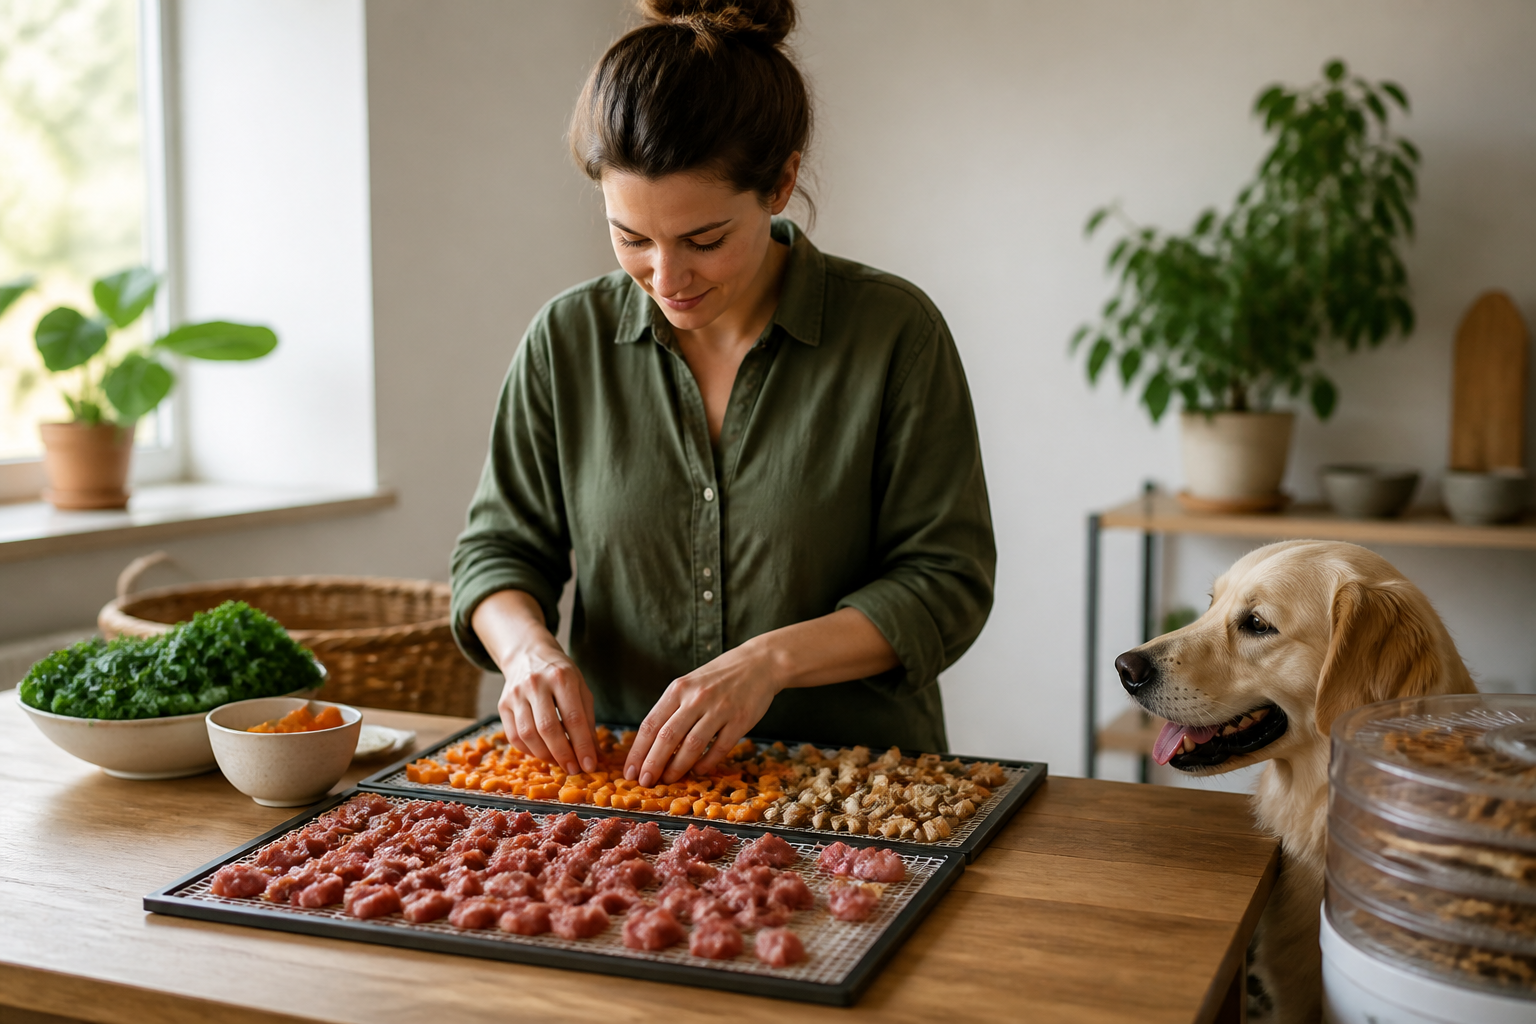
Cut your meats and vegetables into small, uniform pieces. Most owners find it easiest to put everything through a meat grinder or a food processor. This creates a "mash" that you can easily spread onto trays. If you are using supplements like bone meal or specific vitamins, mix them in thoroughly now.
Step 2: Load the Trays
Spread the mixture onto your freeze dryer trays. Keep the layer about half an inch thick. You can also use silicone molds to create small "nibs" or patties. This makes portioning much easier once the food is dry. Ensure the food is spread evenly so it dries at the same rate.
Step 3: Pre-Freeze
Most freeze dryers have a freezing cycle, but you can save time and energy by pre-freezing the trays in your kitchen freezer. Leave them for at least 24 hours. The food must be frozen solid before the vacuum pump starts.
Step 4: The Freeze Drying Cycle
Place the trays into the machine and start the cycle. Depending on the moisture content and the thickness of the food, this usually takes between 24 and 48 hours. The machine will notify you when the sensors detect that the moisture is gone.
Step 5: Testing for Dryness
When the cycle ends, check a few pieces from different trays. Break them in half. They should be bone dry all the way through and feel warm to the touch. If they feel cold, there is still ice inside. If this happens, run the machine for a few more hours.
Bottom line: Consistency is the key to success. Grinding ingredients and ensuring a deep pre-freeze leads to a much better finished product.
Achieving a Balanced Nutritional Profile
The biggest challenge with DIY dog food is balance. While a chicken breast is healthy, it does not contain all the minerals a dog needs to thrive over the long term. Puppies and senior dogs have even more specific requirements.
Commercial brands like Open Farm or NutriSource spend years perfecting their formulas to meet AAFCO standards. When you make food at home, you are the formulator. You may need to add specific supplements to ensure your dog gets enough zinc, iron, and vitamin D, and our selection of Open Farm products is a good example of how complete recipes are built.
If your dog has a specific health condition, such as kidney disease or severe allergies, home preparation can be even more complicated. In these cases, your vet might recommend a prescription diet. Our pharmacy at BaxterBoo offers a wide range of FDA-approved medications and prescription foods through our partnership with Pet's Choice. This is a great resource if your pet needs a specialized diet that is difficult to replicate safely at home, and our selection of Stella & Chewy's products is another useful benchmark for complete feeding.
Storing and Rehydrating Your Dog Food
Proper storage is the only way to protect your hard work. Oxygen and light cause fats to go rancid and vitamins to break down.
Airtight Containers
As soon as the food comes out of the machine, put it into your storage containers. Do not let it sit on the counter, as it will immediately begin absorbing moisture from the air. Add an oxygen absorber to each bag or jar before sealing it. When stored correctly in a cool, dark place, freeze dried dog food can last for years, and our guide to how long dry dog food stays fresh once opened covers the same storage basics for everyday kibble.
How to Rehydrate
One of the best things about freeze dried food is how easy it is to serve. You can feed it dry as a crunchy topper, but most experts recommend rehydrating it for full meals. This adds essential moisture back into your dog's diet, which supports kidney and bladder health.
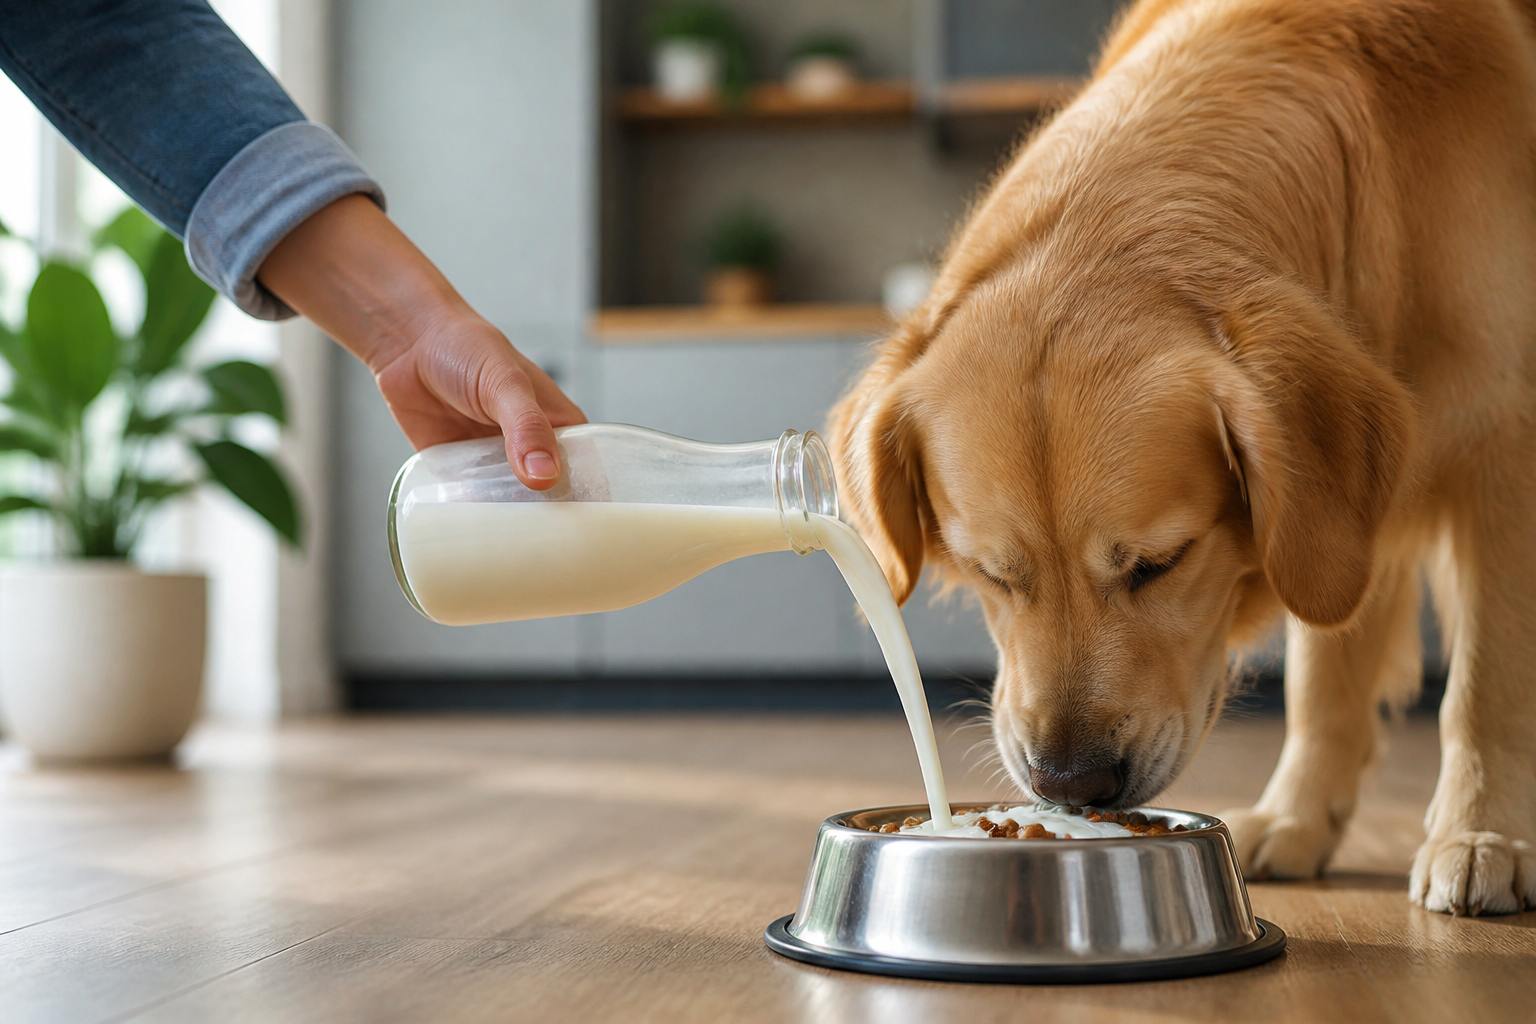
To rehydrate, simply add warm water or bone broth to the bowl. Use about one part water for every two parts food. Let it sit for about five minutes. The food will soak up the liquid and return to a texture very similar to fresh raw food, which is why our post on mixing dry dog food with wet is a useful related read.
- For travel: Pack dry pieces in a zip-top bag and add water at mealtime.
- For picky eaters: Use warm goat milk or bone broth instead of water for extra flavor.
- For snacks: Use the small, dry pieces as high-value training treats.
Commercial vs. Homemade: Finding the Right Balance
Making your own freeze dried food is a rewarding hobby that can save money over several years. However, it requires a lot of time and a high upfront cost. Many pet owners find a middle ground. They might make their own treats but rely on trusted brands for daily meals.
We carry many brands that prioritize minimal processing and high quality sourcing. Stella and Chewy's, for example, uses organic produce and grass-fed meats while ensuring every batch is tested for safety. This provides peace of mind that can be hard to achieve with a home setup. If you are busy or traveling, having a bag of professional freeze dried food on hand is very helpful, and our guide to discounted dog food can help you keep premium meals within budget.
Whether you choose to make your own or buy premium brands, the goal is the same. You want to provide a diet that supports your dog's energy, skin health, and longevity. Using our Autoship programme is a great way to ensure you never run out of your favorite bases or toppers while saving money on every order.
Key Takeaway: Homemade food offers total control, but commercial freeze dried options provide guaranteed nutritional balance and rigorous safety testing.
Conclusion
Learning how to make freeze dried dog food is an excellent way to take charge of your pet's health. By investing in the right equipment and sourcing fresh ingredients, you can create a shelf stable, nutrient dense diet. Remember to prioritize safety by handling raw meats carefully and consulting with your veterinarian about your specific recipe. While the DIY process is involved, the result is a meal you can feel proud to serve.
- Invest in a high quality home freeze dryer.
- Use a balance of muscle meat, organ meat, and dog-safe vegetables.
- Store finished food in Mylar bags with oxygen absorbers.
- Always consult a vet to ensure your recipe is nutritionally complete.
If you decide that the DIY route is a bit too time consuming, we are here to help. You can explore our full collection of premium freeze dried dog food and treats or earn savings through our MVP Rewards programme to find the perfect match for your pup's needs.
FAQ
Is freeze dried dog food the same as dehydrated dog food?
No, these two methods use different processes to remove moisture. Dehydration uses heat to evaporate water, which can change the texture and reduce some nutrients. Freeze drying uses a vacuum and extremely cold temperatures to turn ice into vapor, preserving the food's original structure and nutritional value much better.
Do I have to add water to freeze dried dog food before serving?
You do not have to add water, but it is highly recommended if you are serving it as a full meal. Rehydrating the food helps keep your dog hydrated and makes the meal more digestible. If you are using the food as a quick treat or a meal topper, serving it dry is perfectly fine.
Can I make freeze dried dog food without a machine?
Unfortunately, you cannot truly freeze dry food without a dedicated freeze dryer. Some people try to use "dry ice" or leave food in a standard freezer for weeks, but these methods do not remove enough moisture to make the food shelf stable. To get the light, airy texture and long shelf life of freeze dried food, a vacuum chamber is required.
How long does homemade freeze dried dog food last?
If it is processed correctly and stored in an airtight container with an oxygen absorber, it can last for several years. For the best nutritional quality, most home processors aim to use the food within 12 to 18 months. Always check for any off smells or changes in color before feeding it to your dog.