Save 15% on your 1st Autoship learn more

 Email us
 Live Chat
 FAQs
FAQs





Introduction
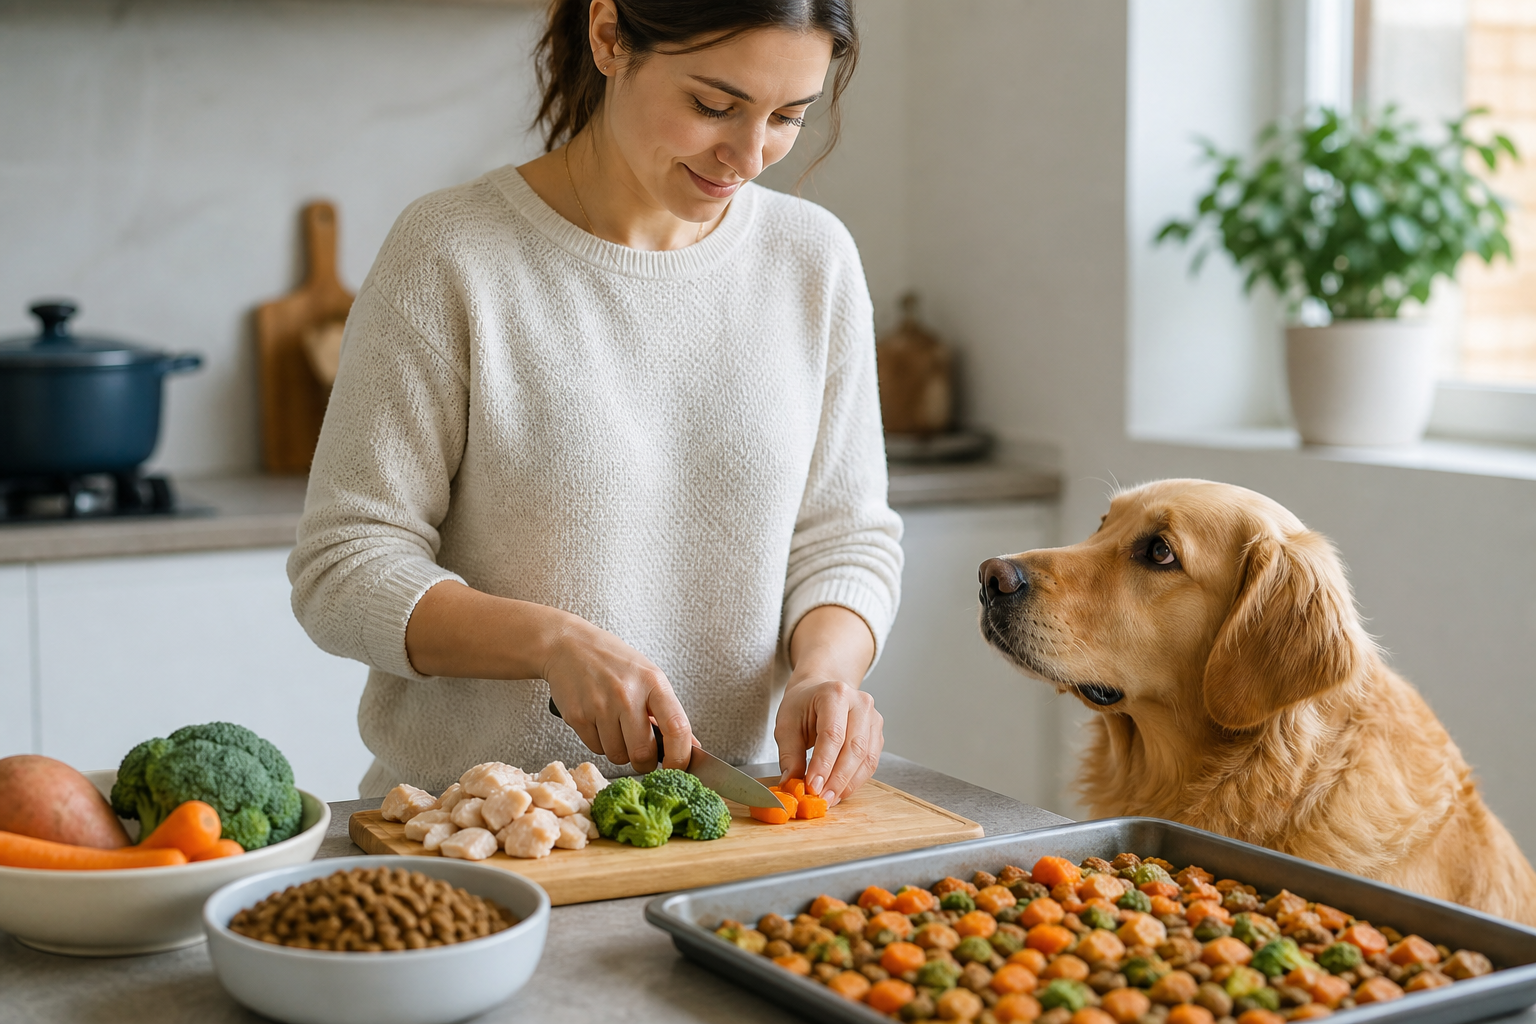
You are standing in the pet food aisle, squinting at a label filled with words you cannot pronounce. Many dog owners reach a point where they want total control over what goes into their pet's bowl. Whether your dog has a sensitive stomach or you simply want to avoid mystery fillers, making your own kibble is a rewarding way to support their health. At BaxterBoo, we know that nutrition is the foundation of a happy life for your four-legged best friend, and our dog food category is a helpful place to compare options while you plan your recipe. This guide will walk you through the process of selecting fresh ingredients and using your oven to create a crunchy, shelf-stable meal. You will learn the correct ratios of protein to vegetables and how to ensure the finished product provides a balanced diet.
The Benefits of Homemade Dry Food
Standard store-bought kibble is made using a process called extrusion. This involves high heat and pressure, which can sometimes diminish the nutritional value of the raw ingredients. When you make dry food at home, you use a slow-baking method. This preserves more of the natural vitamins and minerals found in fresh meat and produce.
Making your own food also allows you to skip the artificial preservatives and dyes often found in commercial bags. You can tailor the recipe to your dog's specific needs. If they struggle with grain sensitivities, you can use chickpeas or lentils. If they need a leaner protein, you can opt for turkey or white fish instead of beef.
Quick Answer: You can make healthy dry dog food by blending cooked proteins, starches, and vegetables into a dough, then baking it at a low temperature until it is fully dehydrated. This creates a crunchy texture similar to commercial kibble but with fresh, human-grade ingredients.
Essential Nutritional Components
Dogs are not strict carnivores, but they do require a significant amount of high-quality animal protein to thrive. A healthy homemade recipe generally follows a ratio of 50 percent protein, 25 percent vegetables, and 25 percent carbohydrates or grains.
Protein provides the amino acids necessary for muscle repair and immune function. Carbs offer the energy your dog needs for daily walks and play. Vegetables add essential fiber for digestion and a boost of antioxidants. You must also consider fats, which keep their coat shiny and support brain health.
Choosing Your Proteins
Ground turkey and lean beef are popular choices because they are easy to mix into a dough. You can also use chicken, pork, or even venison. If you use fish, ensure it is thoroughly deboned before processing. Always cook the meat fully before incorporating it into your dry food mixture to eliminate the risk of pathogens.
Selecting Healthy Carbs
Brown rice and oats are excellent grains that provide sustained energy. If you prefer a grain-free approach, sweet potatoes and lentils are fantastic alternatives. Sweet potatoes must be cooked and mashed until they are smooth. Lentils should be boiled until they are soft enough to puree easily.
Adding Vital Vegetables
Spinach, carrots, and zucchini are favorites for many dog owners. These vegetables are packed with vitamins A, C, and K. Avoid onions, garlic, and chives, as these are toxic to dogs. Steaming the vegetables before blending them helps break down the plant fibers, making them easier for your dog to digest.
The Role of Supplements and Vitamins
One challenge of a homemade diet is ensuring it is "complete and balanced." Even the best fresh ingredients might lack specific levels of calcium, zinc, or iodine that a dog needs daily. Missing these nutrients over a long period can lead to serious health issues.
We recommend working with your veterinarian to find a high-quality multivitamin or a "completer" powder designed for homemade diets. Our dog healthcare category is a useful place to explore supportive options when you are looking for supplements and wellness products. This is especially helpful if your dog requires a specific diet for a chronic condition.
Vet Tip: Always consult your veterinarian before switching to a 100% homemade diet to ensure the recipe meets your dog's specific life stage and health requirements. They can help you calculate the exact caloric needs for your pet's weight and activity level.
A Step-By-Step Guide to Making Kibble
Making dry food at home is a multi-step process. It requires more time than making a "wet" stew because you must remove the moisture to achieve that signature crunch.
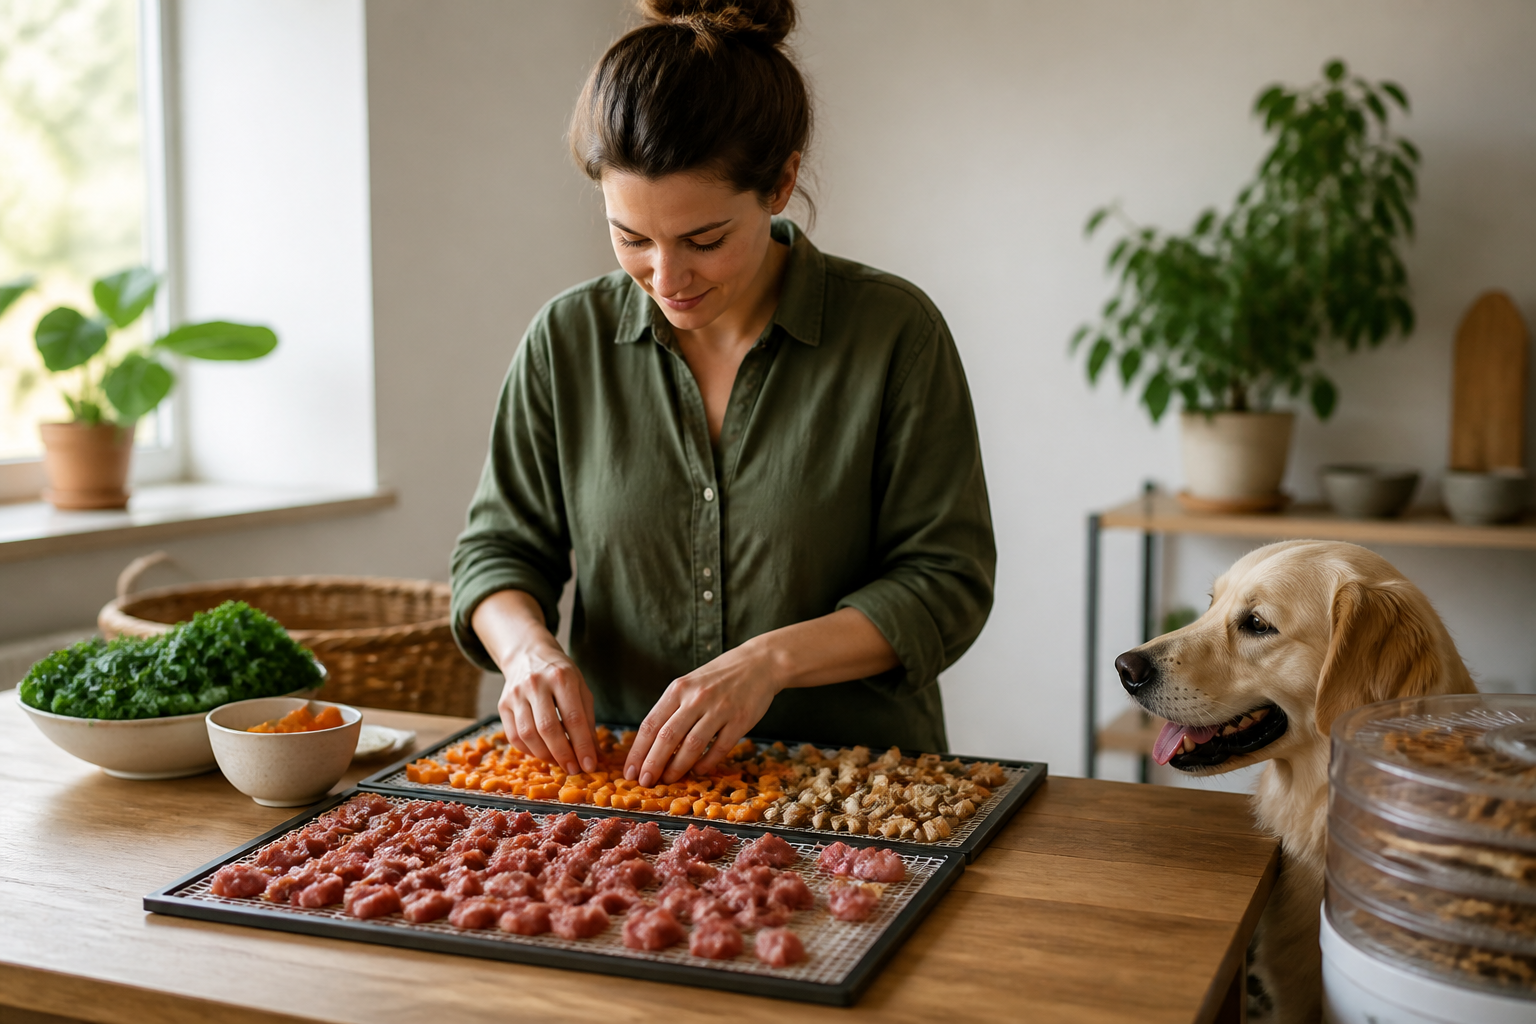
Step 1: Cook your base ingredients. / Boil your grains and steam your vegetables until they are soft. Brown your meat in a pan and drain any excessive fat.
Step 2: Create a smooth puree. / Place the cooked meat, vegetables, and grains into a food processor. Add a tablespoon of healthy oil, like olive or salmon oil, and pulse until the mixture looks like a thick paste.
Step 3: Spread the dough. / Line a large baking sheet with parchment paper. Spread the mixture across the sheet so it is about a quarter-inch thick. Try to keep the thickness even so it dries at the same rate.
Step 4: The first bake. / Place the tray in an oven preheated to 350 degrees Fahrenheit. Bake for about 45 minutes until the top feels firm to the touch.
Step 5: Score and dry. / Remove the tray and use a pizza cutter to slice the dough into small, kibble-sized squares. Lower the oven temperature to 225 degrees Fahrenheit and bake for another two hours.
Step 6: Cool and test. / Turn off the oven and let the pieces sit inside as it cools. This helps pull out the last bit of moisture. The finished pieces should snap easily and feel hard.
Mastering the Texture and Crunch
The texture is the hardest part to get right when making dry food. If the kibble is too soft, it will mold quickly. If it is too hard, it might be difficult for senior dogs to chew. The goal is a texture similar to a thick cracker or pita bread.
If your dog prefers a softer bite, you do not have to dry it out completely. However, you will need to store "soft" kibble in the refrigerator and use it within a few days. For true dry food that can sit in a container, the dehydration phase is the most important part of the process.
Troubleshooting Common Issues
If your kibble is crumbling, you may need a binder. Adding an egg to the food processor can help hold the dough together. If the kibble is taking too long to dry, your layer might be too thick. Aim for a very thin spread on the baking sheet next time.
Key Takeaway: Proper dehydration is the secret to homemade kibble. Reducing the oven temperature for the final phase prevents burning while ensuring the center of each piece is dry.
Storing Your Homemade Dog Food
Commercial kibble lasts a long time because it contains preservatives and is sealed in airtight bags. Your homemade version is fresh, which means it has a shorter shelf life. You must keep it in an airtight container to prevent it from going stale.
A batch that is fully dried and stored in a cool, dark pantry will usually stay fresh for about ten days. If you make a large batch, it is best to freeze a portion of it. Frozen homemade kibble can last for several months. Simply thaw a few days' worth of food in the refrigerator as you need it.
- Use airtight glass jars or BPA-free plastic bins.
- Label your containers with the date you made the batch.
- Check for any "off" smells before every feeding.
- If you see any signs of moisture or mold, discard the entire batch immediately.
For more on keeping dry food at its best, our guide to dry dog food freshness is a useful companion read.
Bottom line: Fresh, homemade dry food lacks artificial preservatives, so proper storage in a cool, dry place is essential for safety.
Transitioning from Commercial Food
You should never switch your dog's diet overnight. Their digestive systems are sensitive to sudden changes. A fast transition can lead to an upset stomach, vomiting, or diarrhea.
Start by mixing about 25 percent of your homemade kibble with 75 percent of their current food. Do this for three or four days while watching their energy levels and stool quality. If they seem to be doing well, move to a 50-50 mix for another few days. Slowly increase the amount of homemade food until it makes up the entire meal.
If you notice your dog is itching more or having digestive trouble, they might be reacting to a specific ingredient. This is common with proteins like beef or chicken. If you want a related read on making diet changes, our guide to transitioning a dog to a new food is a helpful next step.
Special Considerations for Life Stages
Puppies and senior dogs have very different nutritional needs. Puppies require more calories and higher levels of calcium and phosphorus for bone growth. A senior dog might need fewer calories to prevent weight gain but more joint support like glucosamine.
If you are cooking for a puppy, you must be extremely precise. Small errors in mineral ratios can impact their development. Many owners find it easier to use high-quality commercial brands for the first year of life, and our Puppy Shop is a convenient place to browse age-appropriate options.
Keeping it Budget Friendly
One worry pet owners have is the cost of human-grade ingredients. You can keep costs down by buying meat in bulk or using seasonal vegetables. Many local markets offer discounts on "ugly" produce that is perfectly safe for dogs to eat.
Using organ meats like beef liver or chicken hearts is another way to save money while adding a nutritional punch. These parts are often much cheaper than muscle meat and are loaded with vitamins. Just remember that organ meats are very rich. They should only make up about five to ten percent of the total protein content.
Health and Wellness Beyond the Bowl
Feeding your dog a healthy diet is a major part of their wellness, but it works best alongside regular veterinary care. Managing fleas, ticks, and heartworm is just as important as what goes in the bowl. Our flea and tick collection can help you stay on top of those everyday wellness needs.
When you pair fresh nutrition with consistent medical care, you are giving your dog the best chance at a long, active life. Many owners who switch to homemade food notice their dogs have more energy and a softer coat within just a few weeks.
Conclusion
Creating healthy dry dog food at home is a labor of love that gives you peace of mind. By selecting fresh proteins and wholesome vegetables, you eliminate the fillers and additives found in many mass-produced bags. Remember that balance is key. Always use a supplement to fill in the nutritional gaps and keep your kitchen standards high.
- Focus on a balance of protein, carbs, and vegetables.
- Bake at low temperatures to ensure a safe, dry crunch.
- Store your batches in airtight containers to maintain freshness.
- Consult your veterinarian before making major dietary changes.
Key Takeaway: Homemade kibble offers superior ingredient quality, but it requires careful attention to nutritional balance and dehydration to be a safe, long-term diet.
To ensure your dog is getting all the nutrients they need, we invite you to explore our dog healthcare category. You can also sign up for our Autoship program to save on the essential tools and toppers that make homemade feeding even easier.
FAQ
Is homemade dry dog food cheaper than store-bought?
The cost depends on the ingredients you choose and where you shop. While buying fresh meat can be more expensive than a budget bag of kibble, it is often comparable to the price of premium, human-grade commercial brands. Buying in bulk and using organ meats can help keep your costs lower.
How long does homemade kibble last?
If you dehydrate the food thoroughly in the oven, it can last about ten days in an airtight container at room temperature. For longer storage, you can keep the kibble in the refrigerator for two weeks or in the freezer for up to three months. Always check for mold or a rancid smell before serving.
Can I skip the grains in my homemade recipe?
Yes, you can make grain-free dry food by replacing rice or oats with legumes like lentils or starchy vegetables like sweet potatoes. However, you should discuss grain-free diets with your veterinarian first. Some studies have looked into links between certain grain-free diets and heart health, so expert guidance is recommended.
Do I need to add vitamins to homemade dog food?
Most homemade recipes lack a few essential nutrients like vitamin D, calcium, or certain trace minerals. It is highly recommended to use a vet-approved supplement powder to ensure the meal is nutritionally complete. Our dog food supplement selection can help you explore useful add-ins for homemade feeding.