Save 15% on your 1st Autoship learn more

 Email us
 Live Chat
 FAQs
FAQs





Introduction
You may have noticed the rising cost of premium kibble or felt unsure about the long list of preservatives in standard store brands. Many dog owners are looking for ways to provide fresh, nutrient-dense meals while maintaining the convenience of a shelf-stable product. Freeze drying at home has become a popular solution for those who want total control over what goes into their dog’s bowl. At BaxterBoo, we see many customers transitioning to freeze-dried diets to help with allergies, pickiness, or weight management. This process involves removing moisture from raw or cooked food while preserving nearly all the original vitamins and minerals. We will walk you through the equipment you need, the best ingredients to use, and how to store your finished batches safely. Understanding the steps for successful freeze drying ensures your dog gets the highest quality nutrition in every bite.
Quick Answer: To freeze dry dog food, you must prepare small, uniform pieces of raw or cooked ingredients and place them in a specialized home freeze dryer. The machine uses a process called sublimation to remove moisture while the food is frozen, resulting in a shelf-stable product that retains its nutritional value.
The Science Behind Freeze Drying
Freeze drying is technically known as lyophilization. It is much different than traditional dehydration. Dehydration uses heat to evaporate water, which can often cook the food and destroy sensitive vitamins. Freeze drying works by freezing the food to extremely low temperatures and then creating a vacuum.
In this vacuum, the ice in the food turns directly into water vapor without ever becoming a liquid again. This is called sublimation. Because the food never gets hot, the cellular structure remains intact. This keeps the flavor, aroma, and nutritional profile almost exactly the same as the fresh version.
When you freeze dry dog food, you are creating a product that is incredibly light. It is also porous, which makes it easy to rehydrate later. Most bacteria and mold need moisture to grow. By removing 98 percent of the water, you make the food safe for long-term storage without needing chemical preservatives.
Essential Equipment for DIY Freeze Drying
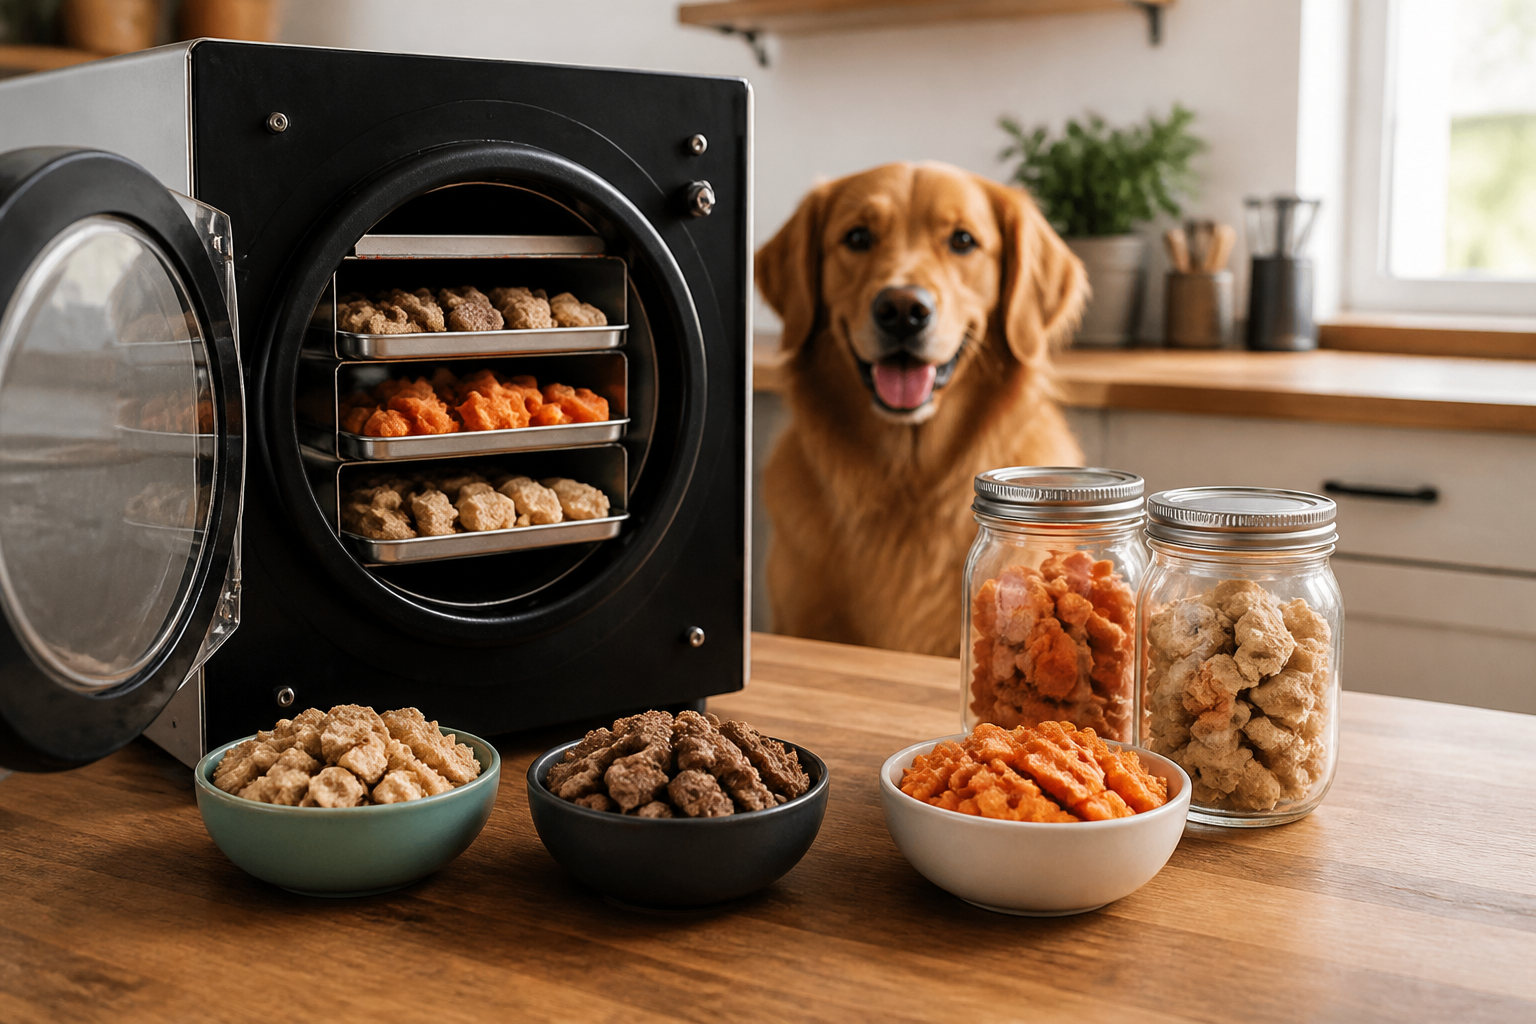
You cannot achieve true freeze-dried results with a standard oven or a basic dehydrator. You will need a dedicated home freeze-drying machine. These units are an investment, but they are the only way to perform the sublimation process correctly.
A typical setup includes the freeze dryer unit itself, a vacuum pump, and stainless steel trays. You will also need storage supplies like Mylar bags, oxygen absorbers, and an impulse sealer. These tools ensure that once the food is dry, it stays protected from light and air.
If a home machine is not in your budget right now, we carry several expertly curated brands that do the hard work for you. Brands like Stella and Chewy's or Steve’s Real Food offer the same nutritional benefits with much less labor. However, for those committed to the DIY path, having the right machine is the first step toward success.
Key Takeaway: Proper freeze drying requires a specialized machine to remove moisture via sublimation. Traditional dehydration or freezing will not produce the same shelf-stable, nutrient-dense results.
Choosing the Best Ingredients
The quality of your finished product depends entirely on the quality of your starting ingredients. Most dog owners focus on high-quality proteins. Lean meats are better for freeze drying than fatty meats. Fat does not dry well and can turn rancid over time, even in a vacuum-sealed bag.
Safe Proteins
- Chicken breast (skinless)
- Lean ground beef (90/10 or leaner)
- Turkey breast
- White fish like cod or tilapia
- Organ meats like beef liver or heart
Healthy Additions
- Carrots (sliced or shredded)
- Green beans
- Blueberries
- Sweet potatoes (steamed first)
- Spinach or kale
Avoid using bones in your home freeze dryer. While commercial brands have industrial grinders to process bone into a safe powder, home machines cannot handle large bone chunks. Stick to boneless meats and supplement with a calcium source recommended by your veterinarian.
Preparing the Food for the Machine
Consistency is the most important factor when prepping your dog’s food. If some pieces are large and others are small, they will not dry at the same rate. This can leave moisture in the center of larger pieces, leading to spoilage.
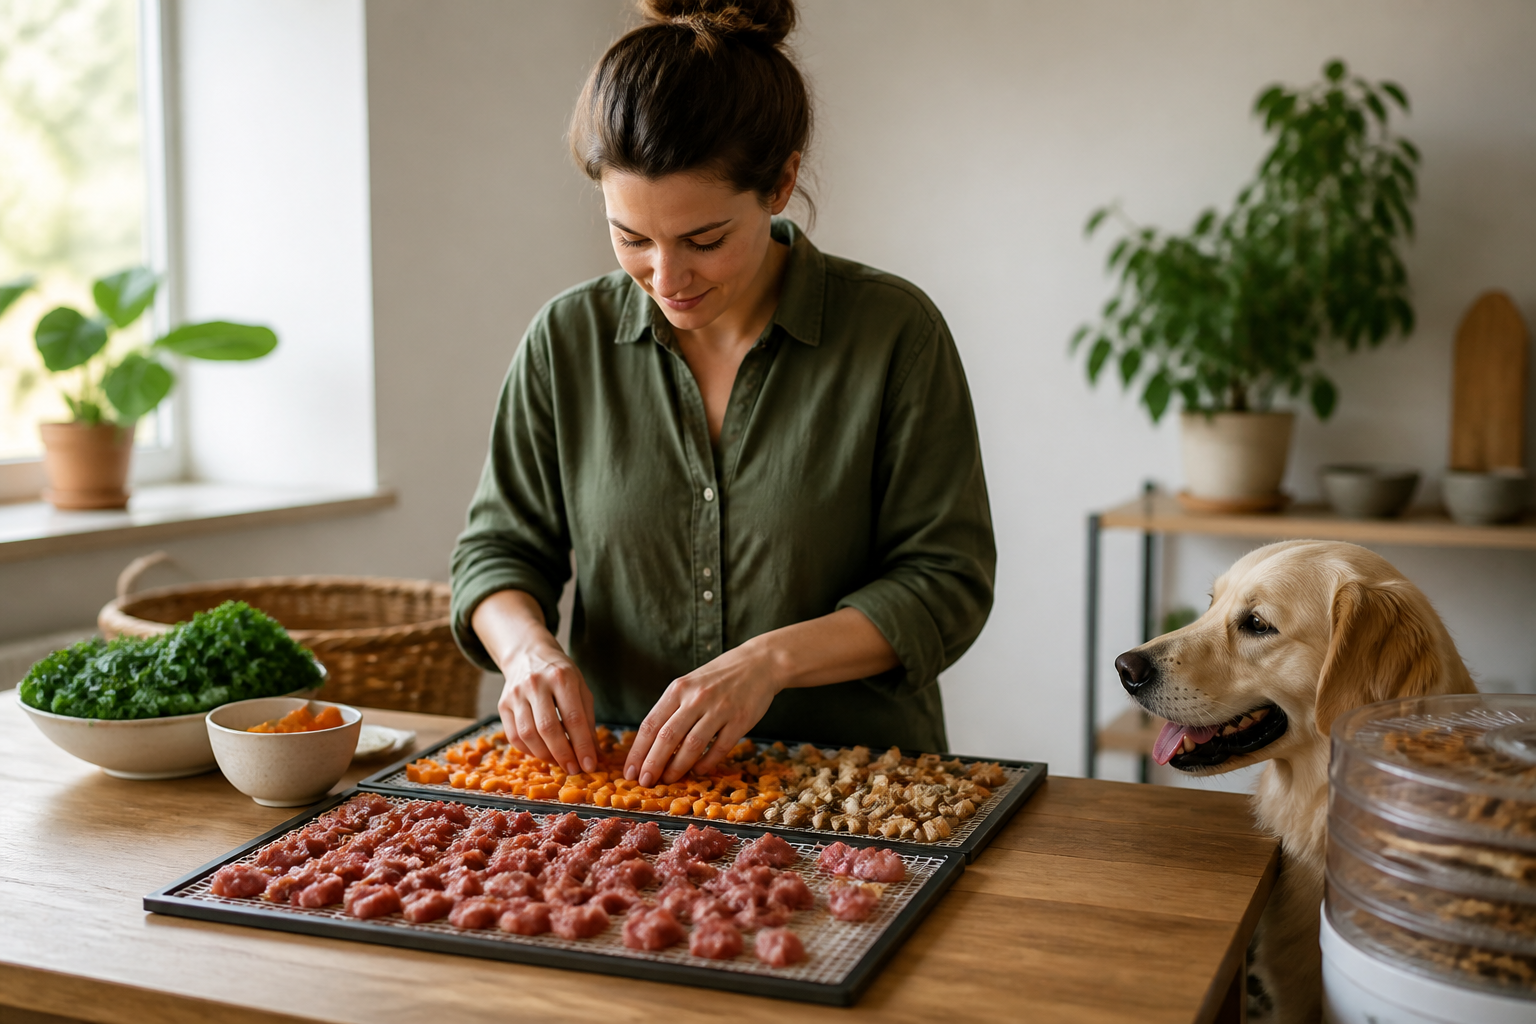
Cut all meats and vegetables into uniform bite-sized pieces or small cubes. Many people prefer to make small "nuggets" or patties. This makes measuring out meal portions much easier once the food is dry. If you are using a recipe that includes ground meat and vegetables mixed together, you can spread the mixture thinly across the tray.
You can freeze dry food raw or cooked. If you choose to go the raw route, you must be extremely careful with food safety. Handle the raw meat with the same precautions you would use for your own meals. If your dog has a sensitive stomach or a compromised immune system, lightly steaming the ingredients before freeze drying is often the safer choice.
Vet Tip: Always consult your veterinarian before switching your dog to a completely homemade diet. They can help you ensure the recipe is balanced with the correct ratio of proteins, fats, vitamins, and minerals to prevent long-term nutritional deficiencies.
The Step-by-Step Freeze-Drying Process
Once your food is prepped and your machine is ready, you can begin the drying cycle. Most home machines are automated, but understanding the stages helps you troubleshoot any issues.
Step 1: Pre-freezing
Place your trays in your regular kitchen freezer for a few hours before putting them in the machine. This saves time and wear on your freeze dryer's compressor. The food should be frozen solid before the vacuum pump starts.
Step 2: Loading the Trays
Slide the trays into the freeze dryer. Ensure they are level. Do not overfill the trays or stack pieces on top of each other. Air needs to circulate around every piece of food to remove the vapor effectively.
Step 3: The Vacuum Cycle
Start the machine. The unit will lower the temperature even further and then engage the vacuum pump. This stage can take anywhere from 20 to 40 hours depending on the thickness of the food and the moisture content.
Step 4: Testing for Dryness
When the machine indicates the cycle is done, check the thickest piece of food. Break it in half. If the center feels cold or looks moist, it needs more time. Any remaining moisture will cause the whole batch to spoil in storage.
Bottom line: Uniformity and patience are required for a safe batch. Never rush the drying cycle or ignore cold spots in the food.
Storage and Shelf Life
Once the food is completely dry, you must move quickly. Freeze-dried food acts like a sponge for humidity. If you leave it sitting on the counter, it will begin to absorb moisture from the air immediately.
The gold standard for storage is Mylar bags with oxygen absorbers. Place a portion of food into the bag, drop in a fresh oxygen absorber, and seal it with an impulse sealer. This setup can keep dog food fresh for years if stored in a cool, dark place. For food you plan to use within a week or two, a glass jar with a tight-sealing lid works well.
Always label your bags with the date and the ingredients. Since you are not using chemical preservatives, tracking the age of your batches is important for safety. Most DIY enthusiasts prefer to pack food in daily or weekly portions to minimize how often the main storage bag is opened. For additional storage guidance, read our guide to keeping dry dog food fresh.
How to Rehydrate and Serve
One of the best things about freeze-dried food is its versatility. You can serve it as a dry, crunchy treat, or you can turn it back into a fresh meal. For most dogs, rehydrating the food is the best way to ensure they stay hydrated.
To rehydrate, place the desired amount of food in a bowl and add warm water. Use a ratio of about one part water to three parts food, though you can adjust this based on your dog’s preference. Let it sit for about five to ten minutes. The food will soak up the water and return to its original texture and volume.
If you are using the freeze-dried food as a topper for kibble, you can crumble it directly over the bowl. This is a great way to entice a picky eater at mealtime. At BaxterBoo, we find that adding a little warm bone broth instead of water can make the meal even more appealing for senior dogs or dogs with a low appetite. For another serving idea, see our guide to mixing dry dog food with wet food.
Nutritional Balance and Supplements
Making your own dog food is a big responsibility. While freeze drying preserves the nutrients that are already there, it does not magically create a balanced meal if your recipe is lacking. A diet of just chicken breast and carrots will eventually lead to health problems.
Most homemade diets require the addition of specific vitamins and minerals. This often includes calcium, Omega-3 fatty acids, and taurine. You should add these supplements after the freeze-drying process or during rehydration to ensure they remain potent.
Our pharmacy offers a variety of FDA-approved supplements and wellness products through our partnership with Pet's Choice. If your veterinarian recommends a specific vitamin mix or a prescription supplement to balance your dog's DIY diet, we can help you fulfill those needs through our pet pharmacy. Using a professional-grade supplement is the best way to bridge the gap between "homemade" and "nutritionally complete."
Why Some Owners Choose Pre-made Options
While freeze drying at home is rewarding, it is also time-consuming. The cost of electricity and the initial price of the machine can be high. Many of our customers choose to buy high-quality pre-made freeze-dried food instead.
Commercial brands use high-pressure processing (HPP) to eliminate pathogens like Salmonella or Listeria without using heat. This provides an extra layer of safety that is hard to replicate in a home kitchen. Brands such as Open Farm, Vital Essentials, and Acana offer a wide range of proteins and specialized formulas.
If you decide that the DIY route is too much work for every meal, you can use your home machine for treats and rely on trusted brands for their main nutrition. This balance allows you to save money on high-value training treats while ensuring their primary meals are formulated by veterinary nutritionists. You can also compare our freeze-dried dog food collection when choosing a ready-made option.
Safety Considerations for Homemade Diets
When you take over the manufacturing of your dog’s food, you are in charge of quality control. This means you must be vigilant about kitchen hygiene. Clean all surfaces, knives, and the freeze-dryer trays with hot, soapy water after every use.
If you notice any off-smells or color changes in your stored food, throw it away. "When in doubt, toss it out" is the safest rule for pet food. Bacterial growth can happen quickly if a seal is broken or if the food was not dried completely.
Watch your dog for any changes in their coat, energy levels, or digestion after starting a new food. If they develop diarrhea, vomiting, or lethargy, stop feeding the homemade batch and contact your veterinarian. These can be signs of a nutritional imbalance or a food-borne illness.
Key Takeaway: Success with homemade freeze-dried food requires strict hygiene and a commitment to nutritional balance. Using the pharmacy for vet-recommended supplements can help ensure your dog stays healthy.
Transitioning to Freeze-Dried Food
If your dog has been eating kibble their whole life, do not switch them to freeze-dried food overnight. Their digestive system needs time to adjust to the change in protein density and moisture levels. A slow transition helps prevent stomach upset.
- Days 1-3: Mix 25% freeze-dried food with 75% of their old food.
- Days 4-6: Mix 50% freeze-dried food with 50% of their old food.
- Days 7-9: Mix 75% freeze-dried food with 25% of their old food.
- Day 10: Feed 100% freeze-dried food.
Monitor their stool during this time. If it becomes too soft, slow down the transition. Remember that freeze-dried food is very concentrated. You will likely be feeding a smaller volume of food than you did with kibble, so follow the caloric guidelines provided by your vet rather than just filling the bowl to the same level. Our article on switching from dry to wet dog food offers another gradual-transition reference.
Conclusion
Learning how to freeze dry dog food gives you the power to provide a fresh, healthy, and convenient diet for your pet. By choosing lean proteins, maintaining strict hygiene, and ensuring a proper dry cycle, you can create a shelf-stable product that rivals commercial options. Whether you are using it for full meals or high-value treats, the nutritional benefits are worth the effort. For those times when you need a break from the machine, we are here to provide the best prepared options on the market. Explore our collection of premium freeze-dried dog food and treats to see how these high-quality proteins can benefit your dog's health.
Bottom line: Home freeze drying is a commitment to quality that requires the right equipment, balanced recipes, and careful storage.
FAQ
Is it cheaper to freeze dry my own dog food?
The initial cost of a freeze dryer is quite high, often ranging from two to four thousand dollars. However, if you have access to affordable bulk meat or have multiple dogs, the cost per meal can be lower than buying premium commercial freeze-dried brands over several years. You must also factor in the cost of electricity and storage supplies like Mylar bags.
Can I freeze dry any type of dog food?
You can freeze dry raw meat, cooked meat, vegetables, and even some types of wet canned food. You should avoid foods with high fat or oil content, as fat does not freeze dry properly and will spoil quickly. Do not attempt to freeze dry large bones, as they do not dry through to the center and can pose a safety risk.
How long does DIY freeze-dried dog food last?
If the food is dried completely and sealed in a Mylar bag with an oxygen absorber, it can technically last for 10 to 20 years. For most home users, it is best to rotate through your stock within one to two years to ensure the best flavor and vitamin potency. Always store your containers in a cool, dark, and dry location.
Do I have to add water to freeze-dried dog food before feeding?
You do not have to add water, but it is highly recommended. Many dogs, especially those prone to urinary issues, benefit from the extra hydration. If you feed the food dry, ensure your dog has constant access to plenty of fresh drinking water, as the dry food will absorb moisture from their digestive tract.