Save 15% on your 1st Autoship learn more

 Email us
 Live Chat
 FAQs
FAQs





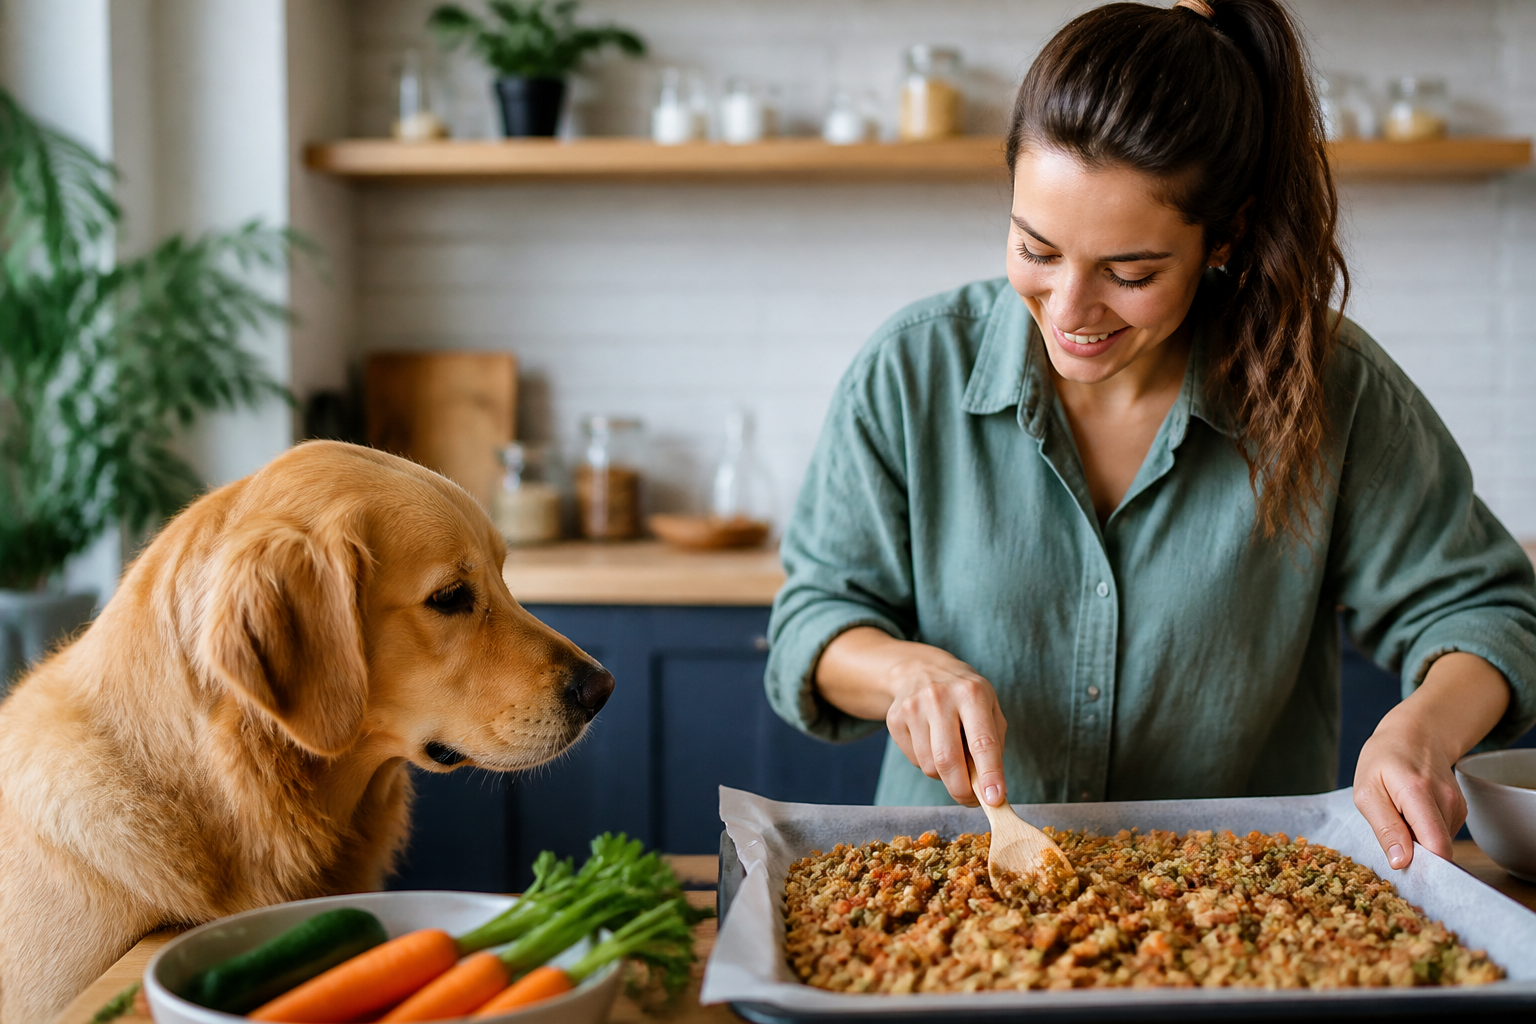
Introduction
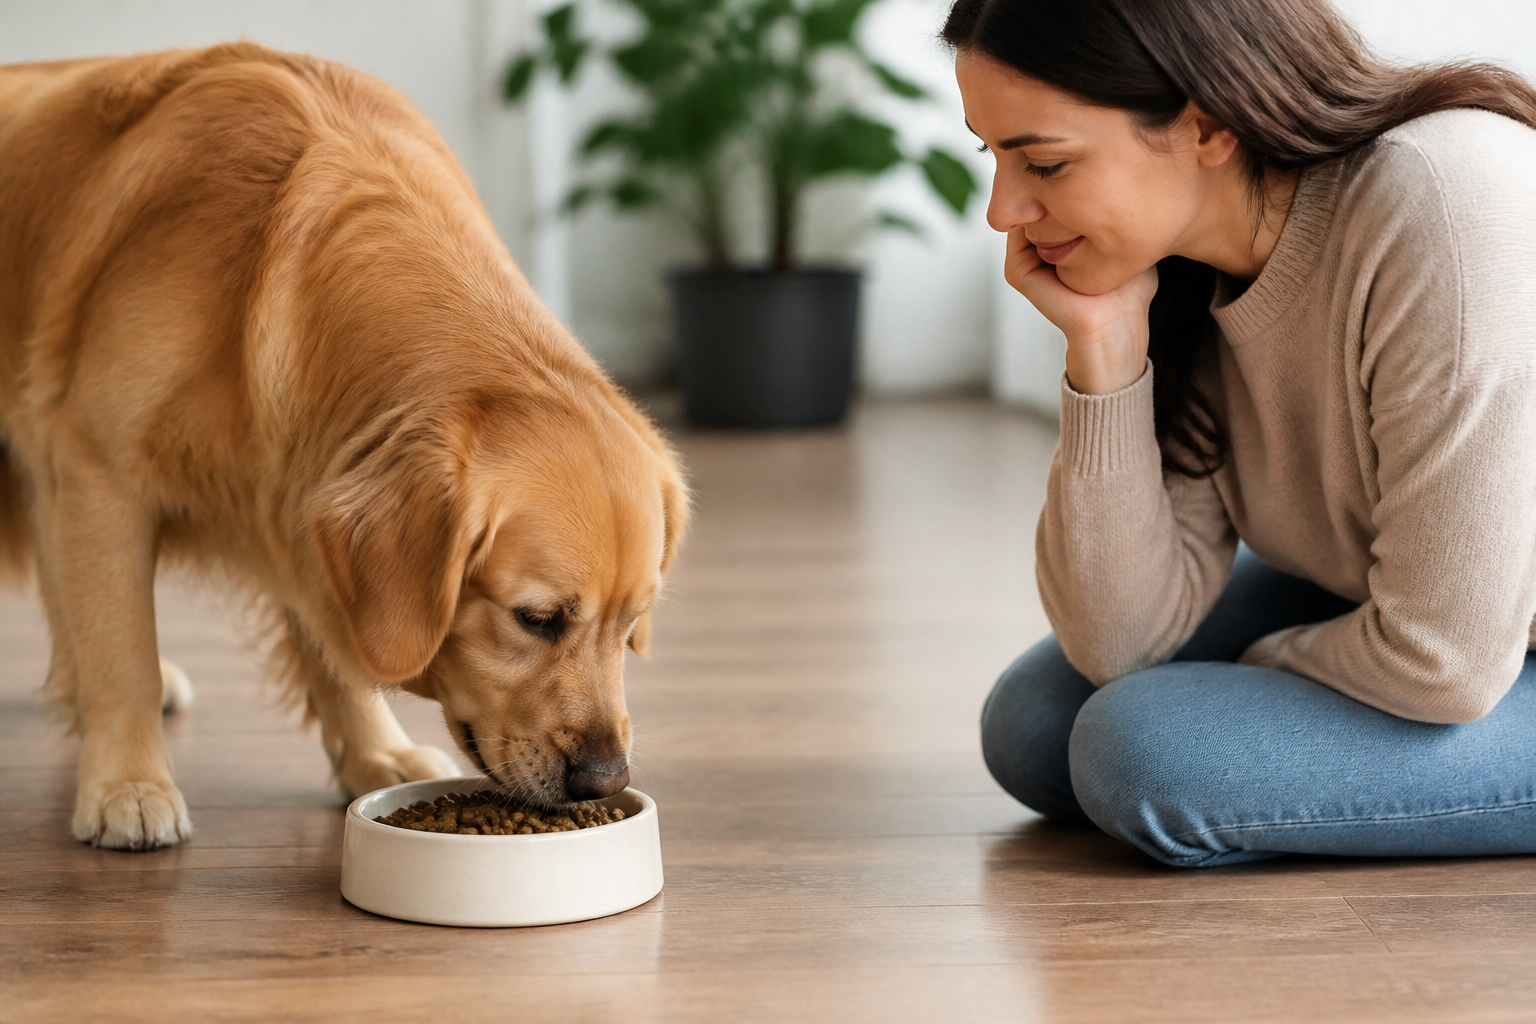
You are standing in the pet food aisle staring at a long list of ingredients you can barely pronounce. Or perhaps you just realized the bag of kibble is nearly empty and the store is closed. Many of us at BaxterBoo have been in that exact spot. We want the best for our dogs but sometimes commercial options feel too processed or disconnected from what we know as real food. Making dry dog food at home is a practical way to take full control over what goes into your pet's bowl. This guide covers the nutritional basics, the step-by-step baking process, and how to store your creation safely. By the time you finish reading, you will understand how to turn fresh proteins and vegetables into a crunchy, shelf-stable meal for your dog.
Understanding the DIY Kibble Concept
Making homemade dog food usually brings to mind "wet" meals like stews or rice bowls. Dry food, or kibble, is a different challenge because it requires removing moisture to achieve that signature crunch. Commercial kibble is made using a process called extrusion where dough is cooked under high pressure and temperature. At home, you will be using your oven to dehydrate the food slowly. This method preserves many nutrients that high-heat commercial processing might destroy.
The goal of making dry food at home is to create a balanced meal that is easy to portion and handle. It is not just about the convenience of the crunch. Dry food also helps provide some mechanical scraping for dental health, although it is never a substitute for regular brushing. When you make it yourself, you can skip the artificial dyes and chemical preservatives that keep store-bought bags sitting on shelves for months. If you are comparing homemade recipes with ready-made options, browse our dog food category for commercially prepared choices.
Quick Answer: Making dog dry food at home involves blending cooked proteins, starches, and vegetables into a thick paste, spreading it thin on baking sheets, and dehydrating it in a low-temperature oven until it is crisp. This process creates a shelf-stable alternative to commercial kibble using human-grade ingredients.
The Importance of Nutritional Balance
Before you start preheating the oven, you must address the most critical part of DIY pet food: balance. Dogs require a specific mix of proteins, fats, carbohydrates, vitamins, and minerals to stay healthy. A dog eating an unbalanced diet for a few days will likely be fine, but long-term deficiencies can lead to serious health issues. Calcium and phosphorus ratios are particularly important for bone health and kidney function.
In the wild, canines eat the entire animal, including organs and bones, which provides a wide array of nutrients. When we cook with just muscle meat like chicken breast or ground beef, we miss those vital components. You will need to talk with your veterinarian before switching to a 100 percent homemade diet. They may recommend specific supplements or a "pre-mix" that you can add to your homemade base to ensure all nutritional gaps are filled. For commercially prepared meal toppers and supplemental options, you can also explore our dog food supplement collection.
Vet Tip: Always consult your veterinarian before transitioning your dog to a completely homemade diet. They can help you calculate the correct caloric intake and recommend essential supplements like calcium or fish oil to prevent long-term nutritional deficiencies.
Essential Ingredients for Homemade Kibble
Choosing high-quality ingredients is the main perk of cooking at home. You can source local meats and organic vegetables that meet your own standards for food safety.
Lean Proteins
Protein is the building block of your dog's muscles and immune system. Lean options are usually best to prevent digestive upset or weight gain.
- Ground turkey or chicken
- Lean ground beef (90 percent lean or higher)
- White fish like cod or tilapia
- Organ meats like chicken liver (use in small amounts)
Healthy Carbohydrates
Carbs provide energy and help bind the kibble together so it doesn't crumble into dust.
- Brown rice or white rice
- Oat flour or rolled oats
- Cooked lentils or chickpeas
- Sweet potatoes or pumpkin puree
Dog-Safe Vegetables
Vegetables add fiber and essential vitamins. Always avoid onions, garlic, and chives, as these are toxic to dogs.
- Carrots (shredded or steamed)
- Green beans
- Spinach or kale
- Peas
Vital Fats and Oils
Fats support brain health and a shiny coat. However, heat can damage some oils, so you might add these after the baking process or choose heat-stable options.
- Wild-caught salmon oil
- Olive oil
- Coconut oil
- Sunflower oil
Preparing the Kibble Base
The first step in your kitchen will be cooking the individual components. You cannot simply mix raw meat and flour and hope for the best. Cooking the meat and grains first ensures that the final dehydration step in the oven is focused on removing moisture rather than killing bacteria.
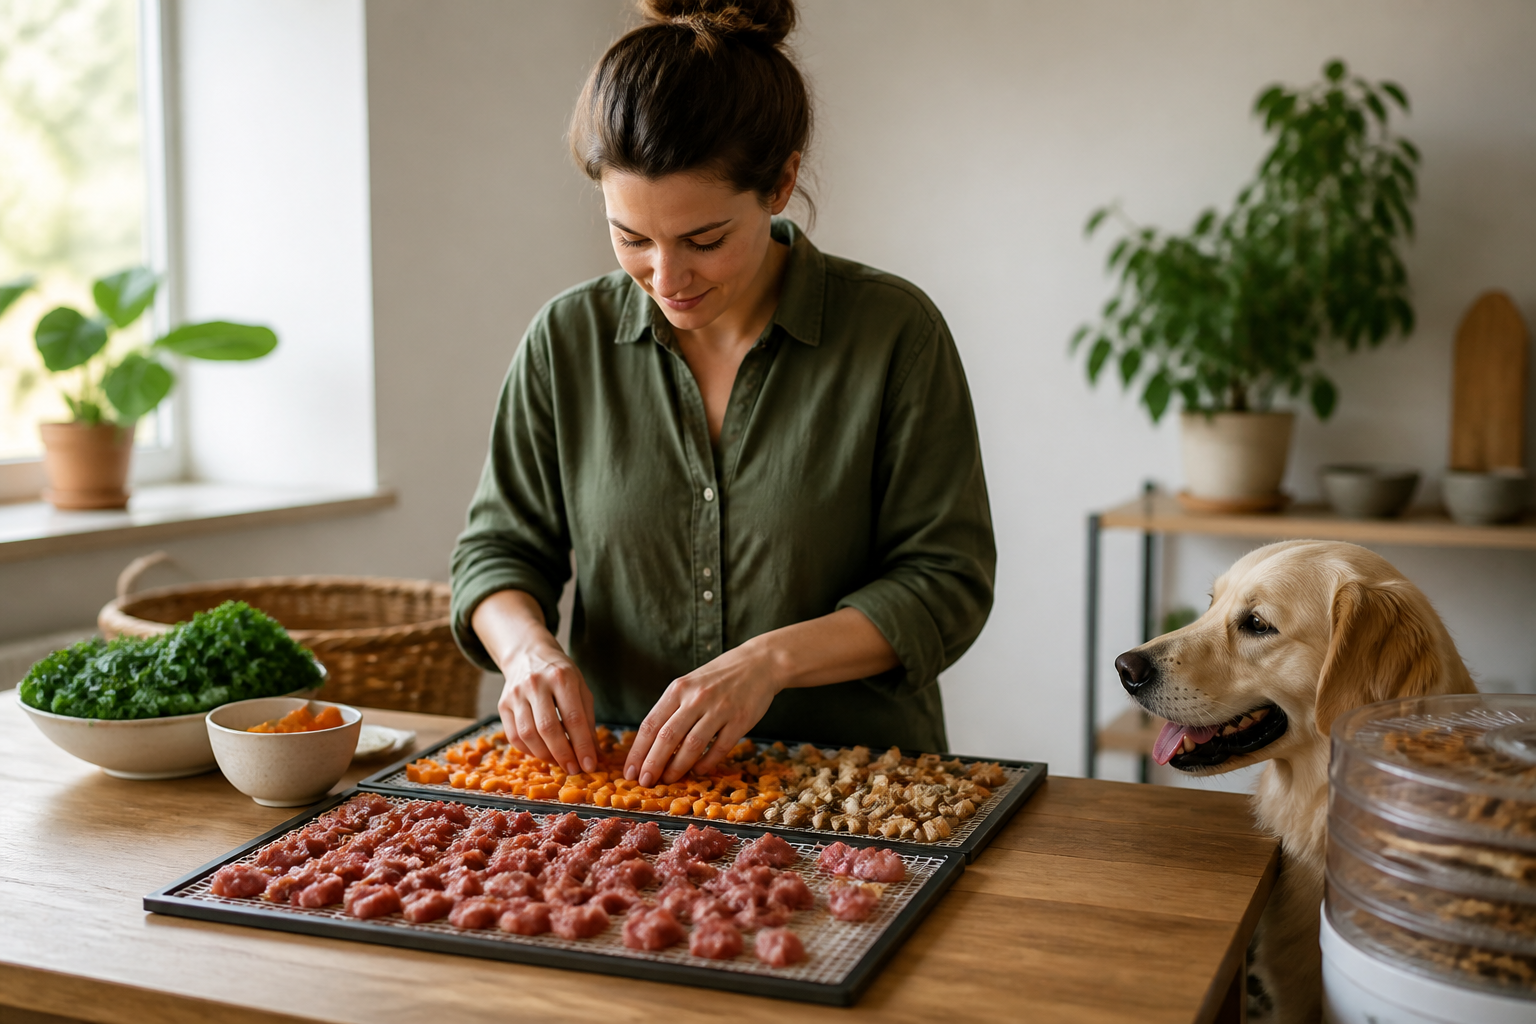
Start by boiling or steaming your vegetables until they are soft. At the same time, cook your grains according to the package instructions. Brown rice is a favorite among many owners because of its fiber content, but white rice is gentler on sensitive stomachs. While the grains simmer, brown your lean meat in a pan. Drain any excess fat to keep the calorie count in check and to prevent the kibble from becoming greasy, which can lead to faster spoilage.
Once everything is cooked, it is time to blend. Using a food processor is the most efficient way to get the right texture. You want a thick, smooth puree that looks like heavy dough. If the mixture is too dry and crumbly, add a small amount of water or low-sodium chicken broth. If it is too runny, add more oat flour or mashed sweet potato. For another approach to minimally processed meals, read about how air-dried dog food works.
Key Takeaway: The secret to a good homemade kibble is the consistency of the "dough." It must be smooth enough to spread thinly but thick enough to hold its shape once cut into small pieces.
Step-by-Step Baking and Dehydration
This is the most time-consuming part of the process, but it is what turns your "wet" food into "dry" food.
Step 1: Prep the baking sheets. Line two or three large baking sheets with parchment paper. Do not use heavy amounts of cooking spray or oil, as this can make the kibble go rancid more quickly during storage.
Step 2: Spread the mixture. Pour your puree onto the sheets. Use a spatula to spread it to a uniform thickness of about one quarter of an inch. If some parts are thicker than others, they will remain soft while the thin parts burn.
Step 3: The initial bake. Place the sheets in an oven preheated to 350 degrees Fahrenheit. Bake for about 45 to 60 minutes. At this point, the mixture should feel firm to the touch, similar to a large, flat cracker or a piece of leather.
Step 4: Score and cut. Remove the sheets from the oven and let them cool for a few minutes. Use a pizza cutter or a sharp knife to score the dough into small, bite-sized squares. The size should match your dog's breed. Small dogs need tiny pieces, while larger dogs can handle chunks the size of a nickel.
Step 5: The final dehydration. Reduce your oven temperature to its lowest setting, usually around 170 to 200 degrees Fahrenheit. Place the cut pieces back into the oven. Leave them there for another two to three hours. You are not "cooking" anymore. You are removing every last bit of moisture.
Step 6: The "Snap" test. Take a piece out and let it cool completely. Try to break it in half. If it bends or feels chewy, it needs more time. If it snaps cleanly, it is ready.
Managing Special Health Needs
While homemade food is great, some dogs have complex health issues that require precise medical nutrition. Conditions like chronic kidney disease, severe food allergies, or urinary crystals often require prescription diets. These diets are formulated with very specific levels of minerals that are difficult to replicate at home without professional guidance.
For these situations, we recommend looking into professional prescription diets. Our pet pharmacy offers a wide range of prescription pet foods and medications. Through our partnership with Pet's Choice, we can help you manage these chronic conditions with diets from brands like Farmina Vet Life or Royal Canin. If your vet has prescribed a specific therapeutic diet, you can easily fulfill that need through our pharmacy services while using your homemade treats as a supplement.
Vet Tip: If your dog has a diagnosed medical condition, do not attempt a DIY diet without a recipe formulated by a board-certified veterinary nutritionist. In these cases, prescription diets are often the safest and most effective way to manage the disease.
Proper Storage for Homemade Dry Food
Store-bought kibble is loaded with preservatives like BHA, BHT, or tocopherols that allow it to stay in a bag for a year. Your homemade food does not have these. Even though it is "dry," it is still more perishable than commercial options. For more storage guidance, read how long dry dog food can stay fresh.
The biggest enemies of your homemade kibble are air, light, and heat. After the food has cooled completely, place it in an airtight glass or BPA-free plastic container. If you put warm kibble in a container, the residual heat will create condensation, which leads to immediate mold growth.
For the best results, keep a small portion for the week in the refrigerator. The rest should be stored in the freezer. Frozen homemade kibble can last for up to three months. When you are ready to use it, just move a few days' worth to the fridge to thaw. Never leave homemade dry food out in a bowl all day like you might with commercial kibble. If your dog does not eat it within 20 minutes, pick it up and put it back in the refrigerator.
Storage Timeline Checklist
- Room Temperature: Only during feeding time.
- Refrigerator: Up to 5–7 days in an airtight container.
- Freezer: Up to 3 months in freezer-safe bags or containers.
Bottom line: Because it lacks artificial preservatives, homemade dry food must be treated more like fresh food and kept in the refrigerator or freezer to prevent spoilage.
Transitioning Your Dog to Homemade Food
You should never switch your dog's food overnight. Their digestive systems are full of specific bacteria that are used to their current diet. A sudden change can cause diarrhea, gas, or vomiting. This is especially true when moving from a highly processed commercial food to a nutrient-dense homemade diet. For additional guidance, see how to transition your dog to a new dry food.
Start by mixing about 25 percent of your homemade kibble with 75 percent of their old food. Do this for two or three days while watching their stool consistency and energy levels. If everything looks good, move to a 50/50 mix for another three days. Gradually increase the homemade portion until the old food is completely phased out. This process should take about seven to ten days in total.
If your dog is a picky eater, you can enhance the flavor of the homemade kibble by adding a splash of warm bone broth. Many owners find that their dogs are much more excited about mealtime once they realize the food is fresh. If you notice any itching, ear infections, or loose stools during this transition, consult your vet. It might be that your dog has a sensitivity to one of the specific ingredients you chose, such as beef or wheat.
Essential Gear for the Home Cook
Having the right tools makes the process of making dog dry food at home much less of a chore. You do not need professional-grade equipment, but a few staples will save you hours in the kitchen.
- A high-capacity food processor: This is the only way to get the meat and veggies into a spreadable paste.
- Heavy-duty baking sheets: Thin sheets may warp under the long dehydration times.
- Parchment paper: This prevents sticking without adding unnecessary fats and oils to the recipe.
- Pizza cutter: This is the fastest way to score the dough into uniform kibble shapes.
- Digital kitchen scale: Use this to ensure your ingredient ratios are consistent every time.
If you find that the baking process is taking too long, you might consider a dedicated food dehydrator. Dehydrators are excellent because they use a fan to circulate air, which dries the food more evenly than most standard ovens. However, you still need to bake the "dough" briefly first to ensure the meat is fully cooked and the starch is set.
Key Takeaway: Efficiency in the kitchen comes down to preparation and the right tools. Batch cooking and freezing will save you from having to bake every single week.
Evaluating the Cost of DIY vs. Store-Bought
Many owners start making food at home to save money. Whether this works depends on the ingredients you choose. If you are buying premium organic bison and fresh berries, your costs will quickly exceed even the most expensive commercial brands. However, if you buy lean ground turkey in bulk and use seasonal vegetables, it can be very cost-effective.
Remember to factor in the cost of supplements. Because muscle meat and rice alone are not enough, the price of a high-quality vitamin and mineral pre-mix must be added to your budget. You also have to consider your time. Baking and dehydrating can take four to five hours from start to finish. Most people find that making one massive batch once a month is the best way to balance the labor with the rewards.
At BaxterBoo, we see many owners find a middle ground. They might use a high-quality commercial kibble as a base and use their homemade dry food as high-value training treats or "toppers" to add variety and fresh nutrients to the bowl. This is a great way to provide the benefits of fresh food without the stress of balancing a 100 percent homemade diet. For another convenient option, explore freeze-dried pet food.
Conclusion
Making dog dry food at home is a rewarding way to ensure your pet is eating high-quality, human-grade ingredients. By selecting lean proteins, healthy starches, and safe vegetables, you can create a crunchy meal that your dog will love. The process requires patience during the dehydration phase and careful attention to storage, but the result is a fresh alternative to traditional kibble. Always remember to check with your veterinarian to ensure your recipe meets your dog's specific nutritional needs.
- Consult your vet about nutritional balance and supplements.
- Bake at low temperatures to ensure a complete "snap" and long shelf life.
- Store the majority of your batch in the freezer to maintain freshness.
- Transition slowly over 7 to 10 days to avoid digestive upset.
Bottom line: Homemade kibble offers total ingredient control, but success depends on proper dehydration and veterinary-approved nutritional balancing.
If you find that the DIY path is too time-consuming, or if your dog needs a more specialized diet, we are here to help. You can explore our wide selection of premium foods or visit our pharmacy for prescription options. Setting up our Autoship programme is a great way to ensure you never run out of the essentials while you experiment with your own kitchen creations.
FAQ
Is homemade dry dog food cheaper than store-bought kibble?
It depends on the ingredients you choose and whether you buy in bulk. While you can save money by using seasonal vegetables and affordable lean proteins, the cost of necessary nutritional supplements and the time spent baking can make it comparable in price to mid-range commercial foods. Many owners find the value lies in the quality and transparency of the ingredients rather than the price tag alone.
How long does homemade dog dry food last?
Because it lacks chemical preservatives, homemade dry food is much more perishable than commercial kibble. It will last about five to seven days in the refrigerator when stored in an airtight container. For longer storage, you should keep it in the freezer, where it can remain fresh for up to three months. Always perform a "sniff test" and check for mold before feeding it to your dog.
Can I make dog dry food without a food processor?
While it is possible to mash ingredients by hand or use a blender, a food processor is the best tool for achieving the thick, uniform paste needed for kibble. Hand-mashing often leaves chunks of meat or vegetables that may not dehydrate at the same rate as the rest of the mixture. This can lead to soft spots in the kibble that are prone to mold growth.
Do I need to add vitamins to my homemade dog food?
Yes, most homemade recipes using only muscle meat, grains, and vegetables are deficient in certain minerals, such as calcium, or vitamins like Vitamin D and E. To provide a truly balanced diet, you will likely need to add a veterinary-recommended supplement or a "pre-mix" powder. Failing to do this can lead to long-term health issues, especially in growing puppies or senior dogs.