Save 15% on your 1st Autoship learn more

 Email us
 Live Chat
 FAQs
FAQs





Introduction
Standing in the kitchen with an empty bag of dog food can be a stressful moment for any pet owner. Perhaps you are dealing with a dog who has severe food sensitivities, or you simply want more control over the quality of every ingredient that goes into their bowl. Making your own dry dog food pellets allows you to customize nutrition and avoid fillers that often cause digestive upset. At BaxterBoo, we know that the health of your dog starts with what they eat. This guide covers everything from nutritional balance and ingredient selection to the actual process of baking and drying kibble for long term storage. We will explain how to create a safe, crunchy meal that supports your pet's well-being.
The Foundations of Balanced Canine Nutrition
Before you start preheating your oven, you must understand that making dog food is more complex than just mixing meat and vegetables. Dogs require a specific balance of proteins, fats, carbohydrates, vitamins, and minerals to thrive. If a diet is unbalanced for a long period, it can lead to serious health issues like bone density loss or organ dysfunction.
Proteins are the building blocks of your dog's body. They provide essential amino acids that support muscle growth and tissue repair. Fats are a concentrated energy source and are necessary for the absorption of certain vitamins. They also keep the skin healthy and the coat shiny. Carbohydrates provide fiber for digestion and additional energy.
Micro-nutrients like calcium and phosphorus must exist in a very specific ratio. For most adult dogs, this is roughly 1.2 parts calcium to 1 part phosphorus. Achieving this balance at home is difficult without professional guidance.
Vet Tip: Creating a nutritionally complete diet at home is challenging. Always consult with a board-certified veterinary nutritionist before switching your dog to a 100% homemade diet to ensure they are getting all necessary vitamins and minerals.
Essential Ingredients for Homemade Kibble
When selecting ingredients for your dry pellets, quality is everything. Unlike some mass-produced options, you have the power to choose human-grade meats and organic produce.
High-Quality Proteins
Beef, turkey, chicken, and lamb are excellent choices. Organ meats like liver and heart are also incredibly nutrient-dense but should only make up a small percentage of the total recipe. Organ meats provide a natural source of Vitamin A and taurine.
Carbohydrates and Fiber
While some owners prefer grain-free diets, many dogs do well with healthy grains like brown rice, oats, or barley. If you are going grain-free, use sweet potatoes, chickpeas, or lentils. These ingredients help the "dough" bind together, which is essential for forming a pellet that holds its shape.
Fats and Oils
Healthy fats like salmon oil or flaxseed oil provide Omega-3 fatty acids. These are great for reducing inflammation and supporting brain health. You can also use small amounts of coconut oil or animal fat from the meat you are cooking.
Vegetables and Fruits
Blueberries, spinach, carrots, and green beans add antioxidants and natural fiber. Avoid toxic ingredients like onions, garlic, grapes, or raisins. Pureed pumpkin is a fantastic addition because it helps bind the ingredients and supports gut health.
Key Takeaway: Every ingredient in your homemade kibble should serve a nutritional purpose. Avoid "empty" calories and focus on whole foods that are easy for your dog to digest.
Necessary Kitchen Equipment
You do not need a commercial factory to make dry dog food, but a few specific tools will make the process much easier. Consistency in size is important because it ensures all the pellets dry at the same rate.
- Food Processor: This is vital for grinding meat and vegetables into a fine paste. The smoother the consistency, the easier it is to form pellets.
- Large Mixing Bowl: You need plenty of space to incorporate dry and wet ingredients thoroughly.
- Baking Sheets and Parchment Paper: These prevent the pellets from sticking and help with even heat distribution.
- Pizza Cutter or Bench Scraper: These tools are the fastest way to score the dough into small, uniform squares.
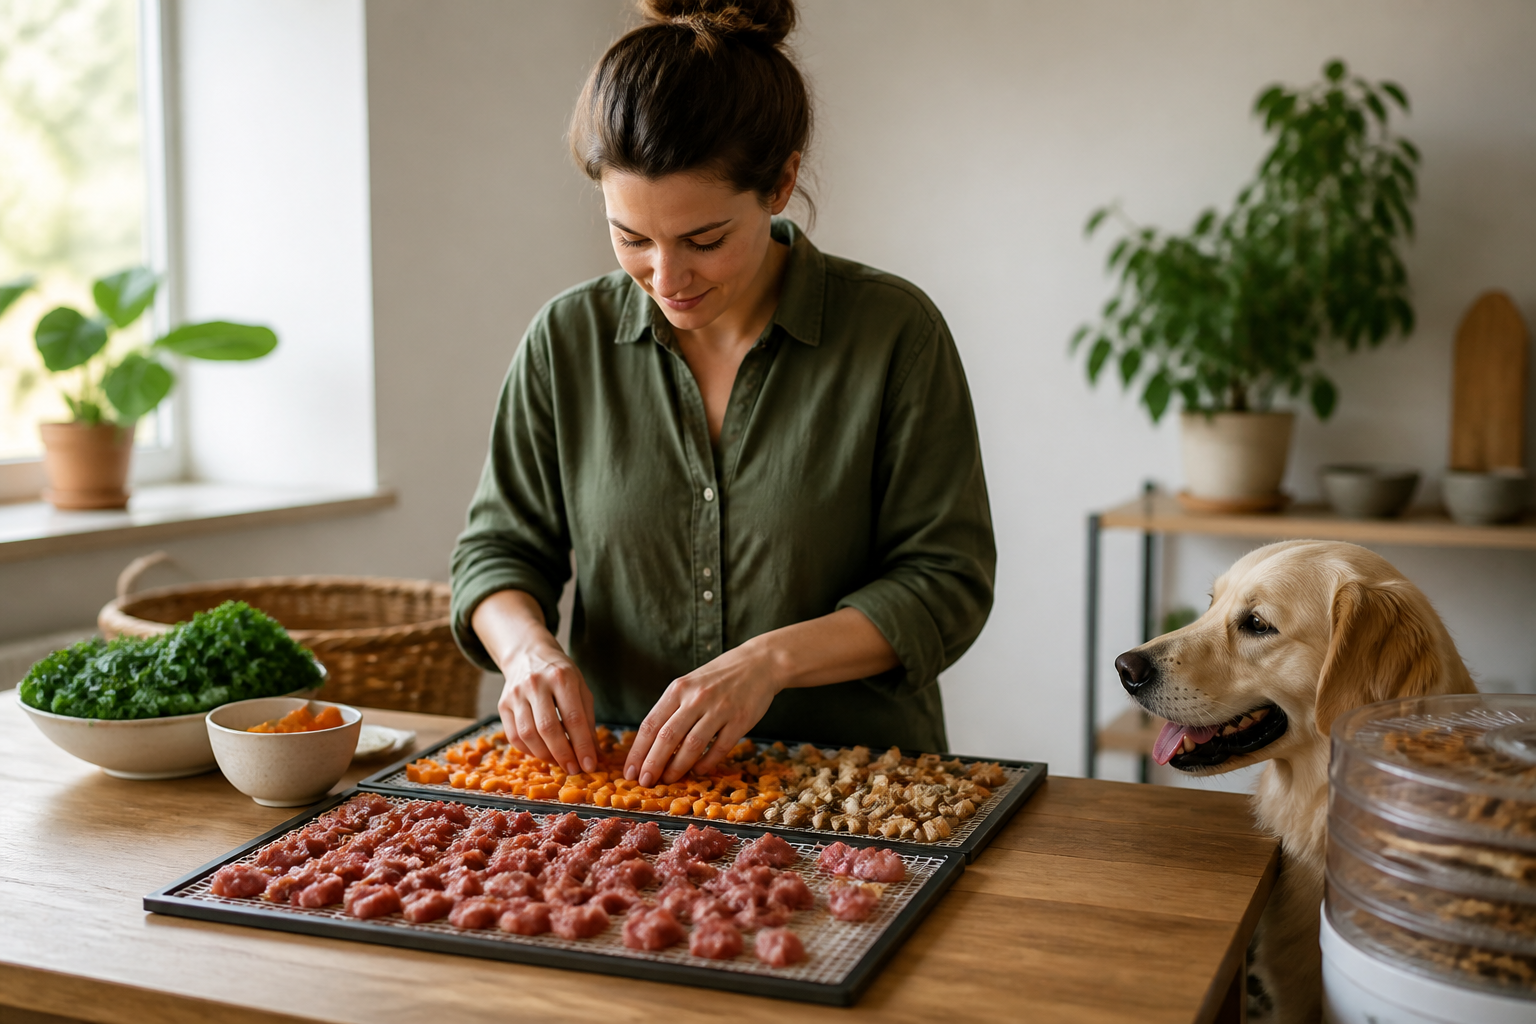
- Dehydrator (Optional): While an oven works, a dehydrator is the best way to remove every bit of moisture for a longer shelf life.
Step-by-Step Guide to Making the Pellets
Making dry pellets is a multi-stage process. You are essentially making a dense, nutritious dough, cooking it, and then removing the moisture until it becomes shelf-stable.
Step 1: Prepare the Base
Cook your proteins and vegetables until they are soft. Grinding raw meat into the dough is possible, but cooking it first helps reduce the risk of bacterial contamination and makes it easier to blend. Put the cooked meat, vegetables, and any oils into a food processor. Pulse until you have a thick, uniform puree.
Step 2: Incorporate Dry Ingredients
In a large bowl, mix your flour or starch source with any powdered supplements your vet has recommended. Add the wet puree to the dry mixture. You want to reach a consistency similar to cookie dough. It should be tacky but not so sticky that it clings to your hands. If it is too wet, add more flour. If it is too dry, add a little water or unsalted bone broth.
For commercially prepared options, browse our dog food category to compare dry, air-dried, and other food formats.
Step 3: Rolling and Shaping
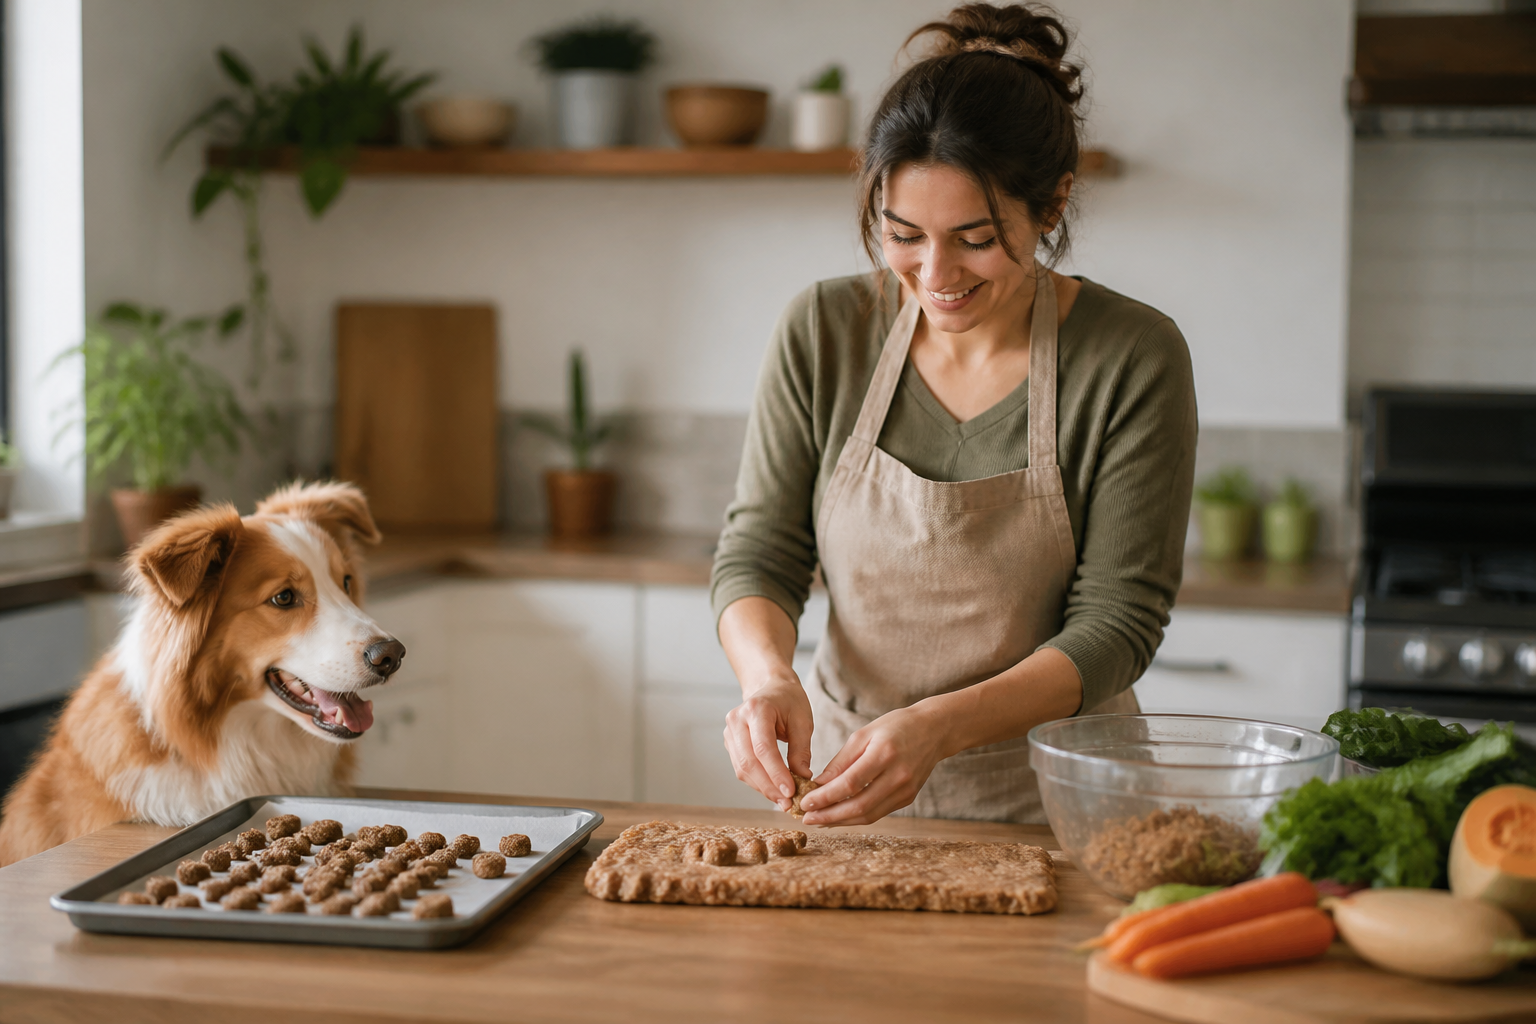
Place the dough on a piece of parchment paper. Roll it out until it is about a quarter-inch thick. Try to keep the thickness even across the entire sheet. Use a pizza cutter to score the dough into small squares or rectangles. The size should be appropriate for your dog's mouth. Smaller dogs need tiny pellets, while larger breeds can handle bigger chunks.
Step 4: Initial Baking
Preheat your oven to 350 degrees Fahrenheit. Bake the sheets for about 20 to 25 minutes. This initial bake sets the structure of the pellets and cooks the ingredients thoroughly. At this stage, the food is still "soft" kibble.
Step 5: The Drying Phase
This is the most important part of making "dry" food. Turn your oven down to its lowest setting, usually around 150 to 170 degrees Fahrenheit. Leave the pellets in the oven for 2 to 4 hours with the door slightly cracked. This low-heat process pulls the moisture out of the center of each pellet.
Bottom line: Removing moisture is the secret to creating a crunchy texture and preventing the food from spoiling quickly.
Storage and Shelf Life
Commercial kibble contains preservatives to keep it fresh for months. Since your homemade version likely lacks these, storage requires more care. Even a small amount of leftover moisture can cause mold to grow within days.
Once the pellets are completely cool, check them for any "give" or softness. They should be hard and snap when broken. Store them in an airtight glass jar or a BPA-free plastic container.
For additional guidance, read how long dry dog food stays fresh once opened.
For the best results, keep only a three-day supply in the pantry. Store the rest in the refrigerator for up to a week. If you made a large batch, the freezer is your best friend. Homemade dry food can last for up to three months in the freezer. Simply thaw the daily portion in the fridge the night before.
- Cool pellets completely before sealing.
- Use airtight containers.
- Store in a cool, dark place.
- Freeze large batches in individual portions.
Alternatives to Making It Yourself
We understand that not everyone has several hours a week to spend in the kitchen. If you want the benefits of high-quality ingredients without the labor, there are excellent commercial options. Many brands use low-temperature cooking or air-drying techniques that mimic the homemade process.
At our warehouse in Vernon Hills, Illinois, we stock brands like The Honest Kitchen and Stella and Chewy’s. These brands use human-grade ingredients and gentle processing to preserve nutrients. We also carry specialized diets from brands like Farmina and Royal Canin for pets with specific medical needs.
You can compare minimally processed options in our freeze-dried pet food hub.
If your dog requires a prescription diet for a condition like kidney disease or severe allergies, our pharmacy can help. We partner with Pet's Choice to provide FDA-approved medications and prescription foods. This allows you to get exactly what your vet ordered delivered right to your door.
Quick Answer: Homemade kibble is a great way to control ingredients, but it requires careful balancing of nutrients. If you lack the time, consider premium air-dried or freeze-dried commercial foods that offer similar quality with less effort.
For another perspective on home food preservation, explore this practical guide to making freeze-dried dog food.
Transitioning to Your New Food
Whether you are switching to homemade pellets or a premium brand from us, you must go slowly. A dog's digestive system needs time to adjust to new protein levels and fiber sources. A sudden change can lead to diarrhea, gas, or vomiting.
Start by mixing 25% of the new food with 75% of the old food. Feed this mixture for three days. If your dog's stools remain firm and their energy is good, move to a 50/50 split for another three days. Gradually increase the new food until the transition is complete over about ten days.
For more food-selection guidance, read our guide to choosing dry dog food.
If you notice any signs of an allergic reaction, such as itchy skin, ear infections, or chronic paw licking, stop the new food and talk to your vet. Our pharmacy carries many allergy management options if your dog needs extra support during food trials.
Why Quality Matters
At BaxterBoo, we have been helping pet owners since 2006. We believe that every pet deserves food that is handled with care and sourced responsibly. Whether you are baking pellets in your kitchen or ordering a trusted brand from our site, the goal is the same: a long, healthy life for your dog.
Our MVP Rewards programme makes it easier to afford the best for your pet by giving you points on every purchase. If you find a food your dog loves, our Autoship program ensures you never run out, saving you from those last-minute trips to the store. We handpick every product we carry because we are pet lovers first and retailers second.
Key Takeaway: Quality nutrition is an investment in your dog's future health. Whether homemade or expertly curated, the best food is the one that meets your dog's unique biological needs.
To keep repeat purchases organized, learn how our Autoship programme can simplify recurring deliveries.
FAQ
Is homemade dry dog food cheaper than store bought?
The cost depends on the ingredients you choose. While buying bulk meat and grains can save money, the cost of high-quality supplements and the time spent cooking often makes it comparable to premium commercial kibble. Many owners find the real value is in the improved health of their pet rather than the price tag.
Can I make dog food pellets without a dehydrator?
Yes, you can use a standard oven set to its lowest temperature. The key is to leave the oven door slightly ajar to allow moisture to escape. It takes longer than a dehydrator and requires more monitoring to ensure the pellets do not burn, but it produces a similar result.
How do I know if my homemade pellets are nutritionally complete?
It is almost impossible to know without a professional analysis. You should work with a veterinarian or use a reputable recipe creator like Balance.it. They can help you determine which specific vitamin and mineral powders you need to add to your base recipe to meet AAFCO standards.
Can I use any flour to make the pellets?
Oat flour, chickpea flour, and whole wheat flour are common choices for binding dog food. However, if your dog has a known grain sensitivity, you should stick to grain-free options like coconut flour or tapioca starch. Always ensure the flour you choose is safe for canine consumption and does not contain additives.