Save 15% on your 1st Autoship learn more

 Email us
 Live Chat
 FAQs
FAQs





Introduction
If you have ever stood in the pet food aisle staring at a bag of premium freeze-dried nuggets and felt a bit of sticker shock, you are not alone. Many dog owners want to provide the nutritional benefits of a raw diet without the mess of thawing frozen meat or the high cost of commercial bags. At BaxterBoo, we understand that you want the best for your pet while also managing a realistic household budget. Making your own freeze-dried raw dog food allows you to control every ingredient that goes into your dog's bowl. This post covers the equipment you need, the safety protocols for handling raw meat, and the exact steps to create shelf-stable meals. Learning this process helps you provide high-quality nutrition that fits your lifestyle and your dog’s specific needs.
Understanding the Freeze-Drying Process
Freeze-drying is a unique preservation method that is fundamentally different from traditional dehydration. Most people are familiar with jerky, which is made by circulating warm air to evaporate moisture. Heat can change the texture of food and diminish some sensitive vitamins or enzymes. Freeze-drying uses a process called sublimation to remove water. This involves freezing the food to an extremely low temperature and then creating a vacuum. In this vacuum, the ice turns directly into vapor without ever melting back into liquid.
The result is a product that retains about 97 percent of its original nutritional value. Because no high heat is used, the proteins and fats remain in their raw state. The food becomes incredibly light and airy. It also becomes shelf-stable for months or even years because bacteria need moisture to grow. When you remove nearly all the water, you create an environment where spoilage is delayed significantly. For a ready-to-serve alternative, you can browse our freeze-dried pet food collection.
Quick Answer: To make freeze-dried raw dog food, you must prepare a balanced raw mixture of meat, organs, and produce, then process it in a dedicated home freeze-dryer machine. This method uses a vacuum and freezing temperatures to remove moisture through sublimation, preserving the nutrients without using high heat.
The Benefits of a Raw Diet for Dogs
Many dog owners choose raw feeding because it mimics the ancestral diet of canines. A raw diet is typically high in protein and healthy fats while being very low in carbohydrates. This can be particularly helpful for dogs that struggle with weight management or have sensitivities to the grains and fillers often found in traditional kibble. Owners often report seeing shinier coats, cleaner teeth, and smaller, firmer stools after transitioning to raw food.
Because freeze-dried food is so concentrated, a little goes a long way. It provides high-density nutrition that is easy for the body to digest. For senior dogs or those with picky appetites, the intense aroma and flavor of freeze-dried raw meat can be a great motivator to eat. It offers the same benefits as frozen raw food but with the convenience of a dry product that you can store in your pantry or take on a hike. For more information about feeding this type of food, read our guide to feeding freeze-dried dog food.
Essential Equipment for Home Production
Making freeze-dried food at home requires a significant upfront investment in a home freeze-dryer. These are specialized machines that are different from standard freezers or dehydrators. Brands like Harvest Right are the most common options for home use. While the initial cost is high, many owners find it pays for itself over time if they are feeding multiple dogs or focusing on high-end organic ingredients.
Necessary Tools and Supplies
- A home freeze-dryer unit with stainless steel trays.
- A high-quality meat grinder or food processor.
- A digital kitchen scale for accurate ingredient ratios.
- A sharp set of knives and a dedicated cutting board.
- Mylar bags or glass Mason jars for long-term storage.
- Oxygen absorbers to maintain freshness after sealing.
Key Takeaway: While the equipment for home freeze-drying is a major investment, it provides total control over ingredient quality and reduces the long-term cost of feeding a premium raw diet.
Sourcing and Balancing Ingredients
The most important part of making dog food at home is ensuring the recipe is balanced. Dogs require a specific mix of protein, fat, vitamins, and minerals to thrive. A common starting point for raw feeding is the 80-10-10 rule. This means the mixture consists of 80 percent muscle meat, 10 percent secreting organs, and 10 percent edible bone.
For home freeze-drying, you may want to use a high-quality calcium supplement or finely ground bone meal instead of whole bones. Whole bones do not always freeze-dry consistently and can be difficult for the machine to process if they are too large. We carry a variety of supplements that can help fill nutritional gaps if you are worried about the precise balance of your homemade recipe. You can also compare commercial options in our dog food category.
Protein Options
- Muscle Meat: Beef, turkey, chicken, or lamb are great bases.
- Organ Meat: Liver is essential, but try to include kidney or spleen for a wider nutrient profile.
- Fish: Small amounts of salmon or sardines provide essential Omega-3 fatty acids.
Adding Produce
While dogs are primarily carnivores, many benefit from the fiber and antioxidants found in vegetables. Pureed pumpkin, steamed broccoli, or fresh blueberries can be mixed into the raw meat before processing. Avoid onions, grapes, and macadamia nuts, as these are toxic to dogs.
Vet Tip: Before starting a homemade raw diet, consult with your veterinarian or a veterinary nutritionist. They can help you create a recipe that meets your dog's specific life stage requirements and ensure you are not missing critical micronutrients.
Step-by-Step Guide to Making the Food
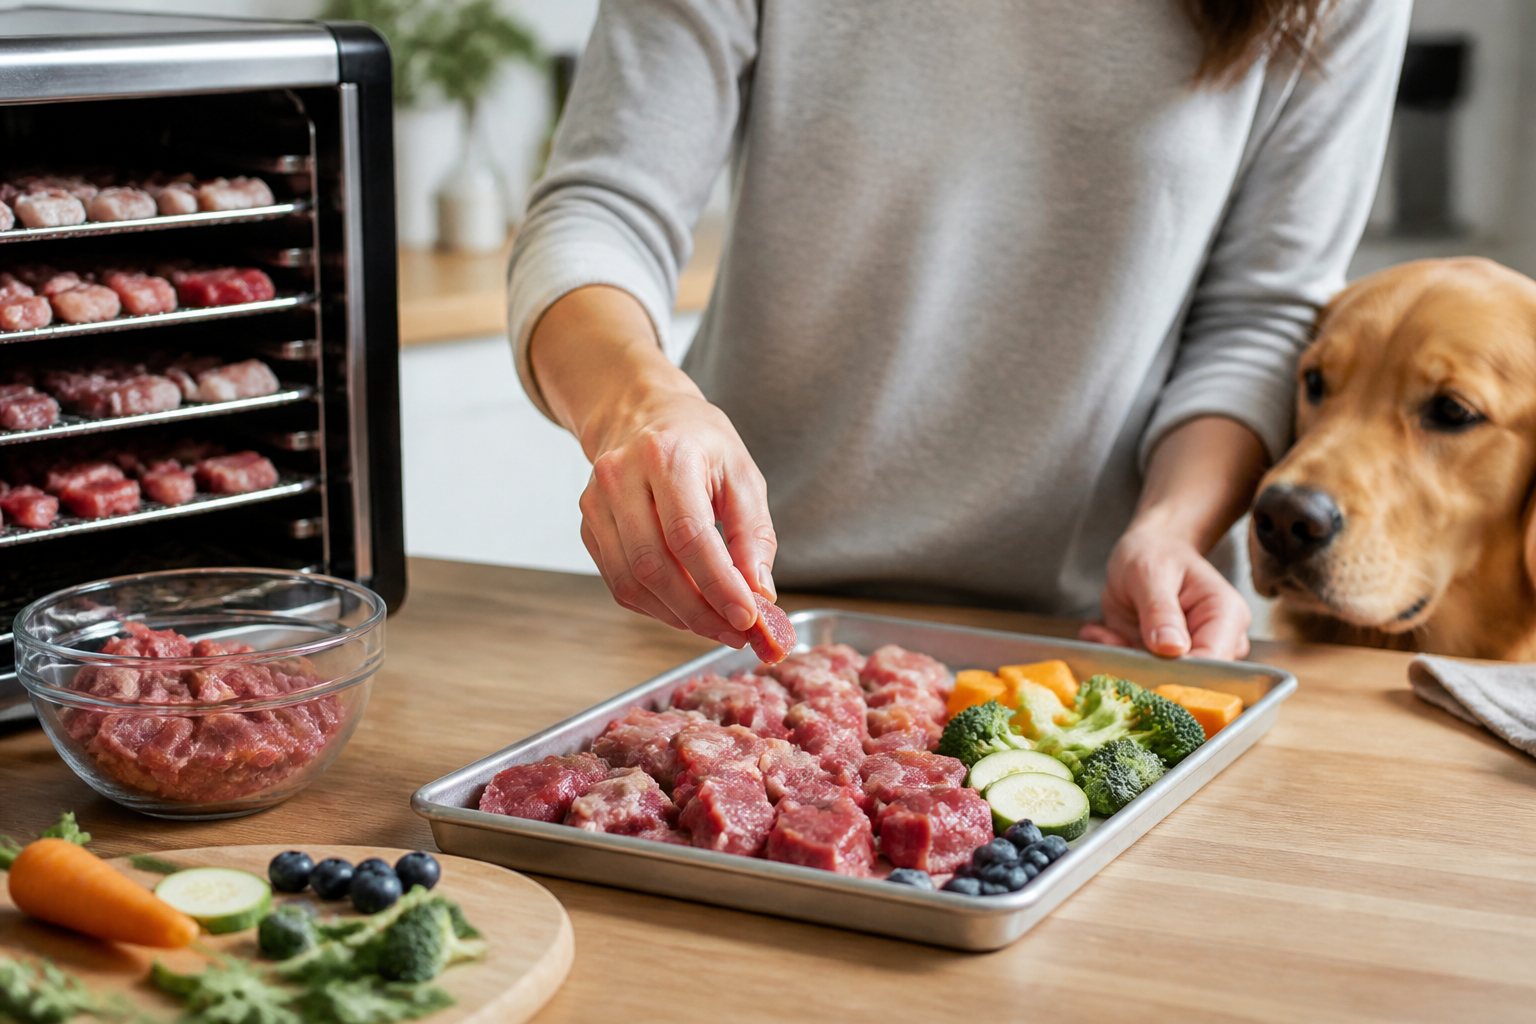
Once you have your ingredients and equipment ready, you can begin the preparation. Cleanliness is the most vital part of this process. You are working with raw meat that will not be cooked, so any bacteria introduced during prep will remain in the final product.
Step 1: Prep and Grind
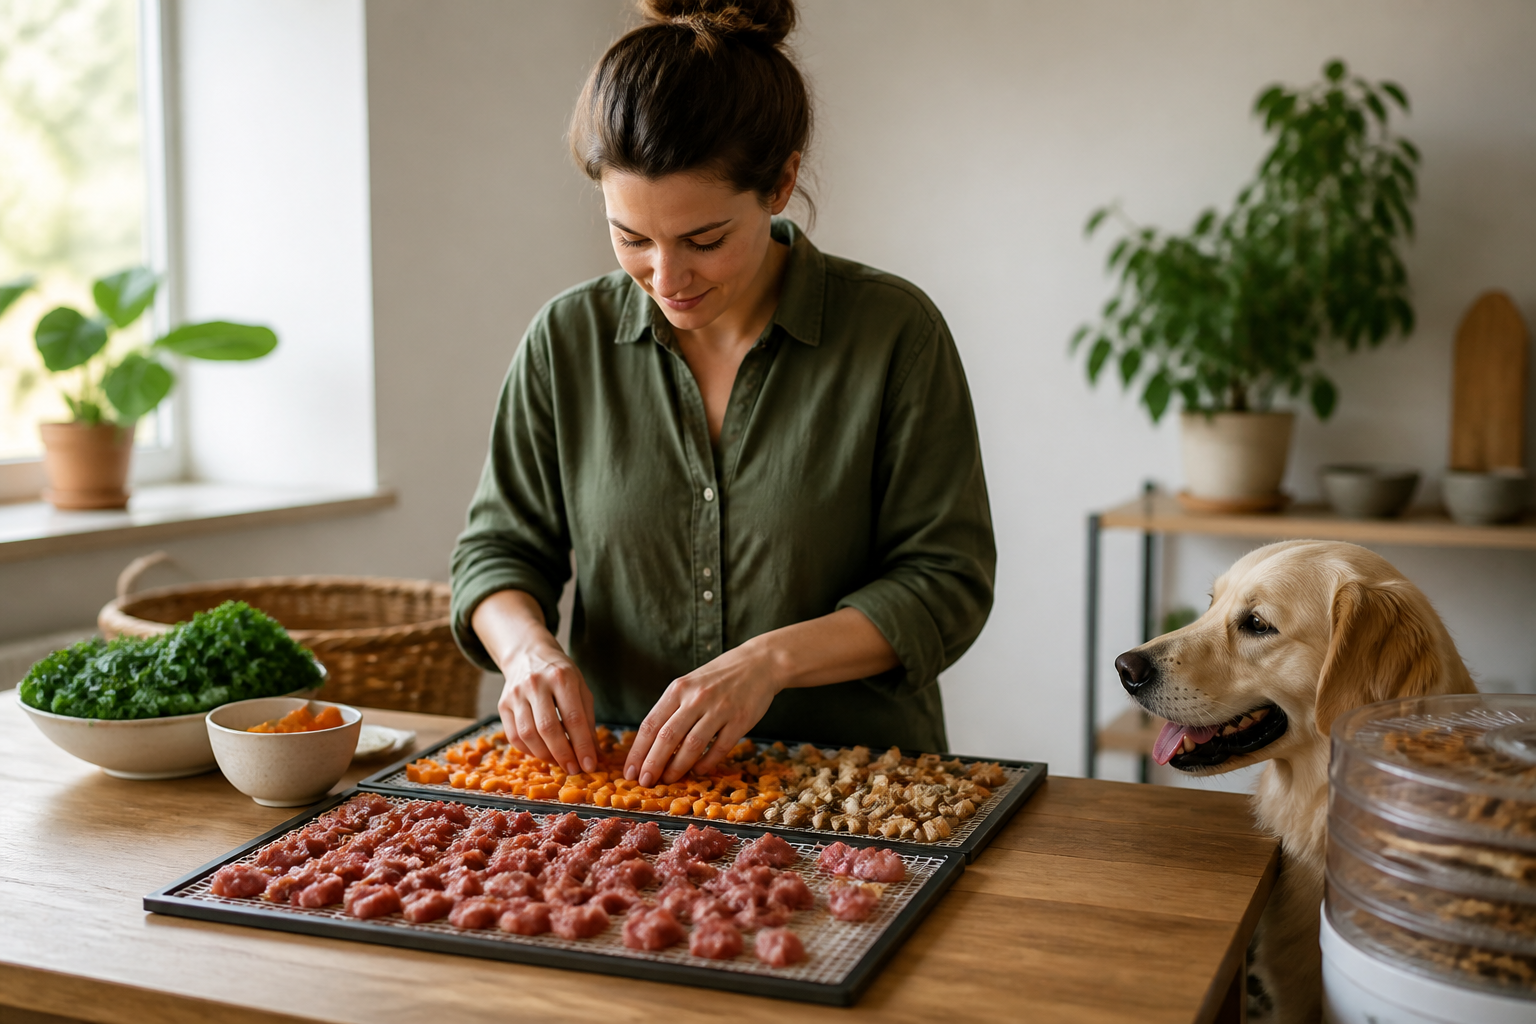
Cut your meats and organs into small, uniform pieces. Use a meat grinder to create a consistent texture that is easy to spread. If you are adding vegetables or supplements, mix them thoroughly into the meat at this stage. Using a food processor can help create a smooth "batter" that is easy to portion.
Step 2: Portioning the Trays
Spread the mixture onto your freeze-dryer trays. You can spread it in a flat layer about half an inch thick and cut it into squares later. Alternatively, use a small cookie scoop to create individual nuggets. Nuggets are often easier to serve and rehydrate because they have more surface area.
Step 3: Pre-Freezing
Most home freeze-dryers work more efficiently if the food is already frozen before it goes into the machine. Place your loaded trays in your kitchen freezer for several hours or overnight. This helps the machine reach the necessary vacuum state faster and can save on your electricity bill.
Step 4: The Freeze-Drying Cycle
Slide the trays into the freeze-dryer and start the cycle. A typical batch of raw meat can take anywhere from 24 to 48 hours to complete. The machine will freeze the food further, create a vacuum, and then slowly apply very low heat to the trays to encourage sublimation.
Step 5: Testing for Dryness
When the cycle is finished, check the thickest pieces of food. They should feel warm to the touch and be light and airy. If you break a piece in half, there should be no ice or moisture in the center. It should crumble easily into a powder. If any moisture remains, put the trays back in for extra drying time.
Bottom line: Precise preparation and thorough drying are the keys to creating a safe, shelf-stable product that will not spoil in storage.
Safety and Pathogen Management
One of the biggest concerns with making raw dog food is the risk of bacteria like Salmonella, Listeria, or E. coli. It is a common misconception that freeze-drying kills these pathogens. While the process removes the water that bacteria need to multiply, it does not necessarily destroy them. The bacteria simply go dormant. When you rehydrate the food, they can become active again.
Commercial manufacturers often use High-Pressure Processing (HPP) to kill bacteria without using heat. Home cooks do not have access to this technology. To stay safe, you must start with the freshest, human-grade meats possible. Always wash your hands, utensils, and surfaces with hot, soapy water after every session. If your dog has a compromised immune system, you might consider lightly steaming the meat before freeze-drying it to reduce the bacterial load.
If your dog requires a specific diet for a medical condition like kidney disease or severe allergies, our pet pharmacy can help. Through our partnership with Pet's Choice, we offer prescription diets that are formulated to meet these strict medical needs. Sometimes a professionally formulated prescription diet is the safest route for dogs with complex health issues.
Storage and Shelf Life
The enemy of freeze-dried food is oxygen and moisture. Once the food is removed from the machine, it will immediately begin to absorb humidity from the air. You should move the food into airtight containers as quickly as possible. Mylar bags with an oxygen absorber are the gold standard for long-term storage. If you plan to use the food within a few weeks, glass jars with a tight-sealing lid work well.
Store your containers in a cool, dark, and dry place. A pantry or a climate-controlled basement is ideal. Properly stored freeze-dried dog food can last for several years, though the fats may eventually go rancid if exposed to too much heat. For daily use, keep a small amount in a smaller jar and keep the bulk of your supply sealed to maintain freshness. You can also review our guide to freeze-dried food portions when planning your supply.
Rehydrating and Serving
While you can feed freeze-dried nuggets as treats, they should be rehydrated if you are using them as a full meal. Dogs that eat dry food without enough water intake can experience dehydration or kidney stress over time. Rehydrating the food also makes it more palatable and easier to digest.
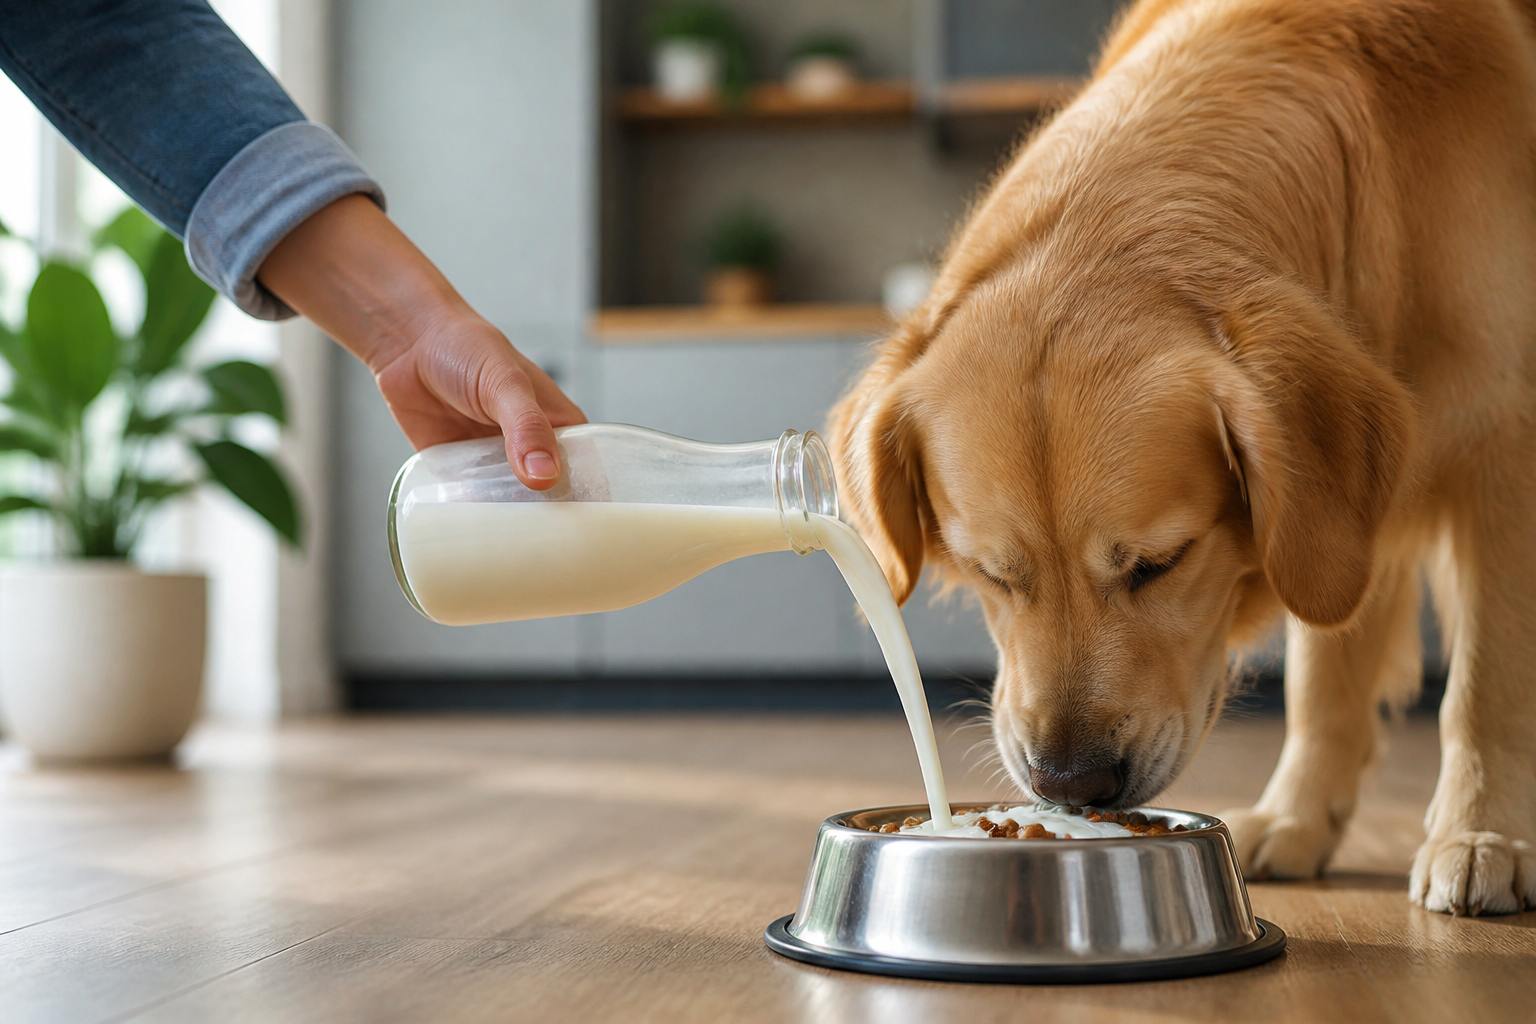
To rehydrate, simply add warm water, bone broth, or goat milk to the food. Let it sit for about five to ten minutes until the liquid is absorbed and the meat feels soft again. You can use a fork to mash the pieces and ensure the moisture has reached the center. If you are using the food as a topper for kibble, you can crumble it over the top, but adding a splash of water is still a good idea.
Tips for Serving
- Start slow when introducing the new food to avoid digestive upset.
- Always provide plenty of fresh, clean water in a separate bowl.
- Wash your dog's bowl thoroughly after every meal to prevent bacterial growth.
- Do not leave rehydrated food out for more than 30 minutes.
Key Takeaway: Rehydration is essential for long-term health, as it ensures your dog stays hydrated and helps the body process the high protein content of a raw diet.
Cost Comparison and Value
The cost of making your own freeze-dried food is mostly tied to the meat you choose and the electricity for the machine. If you can buy meat in bulk or find good sales at a local butcher, the savings are significant. A 20 ounce bag of commercial freeze-dried food can be quite expensive. When you make it yourself, you might be able to produce the same amount for a fraction of that price.
However, do not forget to factor in your time. Sourcing, grinding, and tray-loading takes effort. For many, the value lies in knowing exactly what is in the food. There are no mysterious "meat by-products" or hidden preservatives. You are paying for the peace of mind that comes with total transparency. We see many customers who use a mix of homemade and high-quality commercial brands to balance cost and convenience. Our selection of Stella & Chewy's products offers ready-to-serve options for households that want a simpler routine.
Transitioning Your Dog to Homemade Food
Switching from kibble to raw food should be a gradual process. A dog's digestive system needs time to adjust to the different protein levels and the absence of starch. Start by replacing about 10 percent of their current meal with the new freeze-dried food. Over the course of two weeks, slowly increase the amount of raw food while decreasing the old food.
Monitor your dog's energy levels, coat condition, and bowel movements during this time. Some minor changes in stool are normal, but if you notice persistent diarrhea or vomiting, stop the transition and talk to your vet. Every dog is an individual, and what works for one might not work for another. For additional guidance, read our article about whether freeze-dried dog food is a good choice.
If you find that the DIY route is too time-consuming, we carry over 500 trusted brands at our Vernon Hills warehouse and online store. Many of these brands, like Stella & Chewy's or Northwest Naturals, offer the same high-quality freeze-dried raw nutrition in a ready-to-serve format. You can explore our selection of Northwest Naturals products or use our Autoship programme for recurring deliveries of your favorite mixers or complete meals.
Conclusion
Making freeze-dried raw dog food at home is a rewarding way to take charge of your pet's health. It combines the nutritional power of raw ingredients with the practical convenience of shelf-stable storage. By investing in the right equipment and following strict safety protocols, you can provide a diet that supports your dog’s vitality and longevity. Whether you are looking to save money in the long run or simply want to ensure your dog is eating the best possible ingredients, the effort is well worth it. Remember to always consult your veterinarian before making major dietary changes, especially for dogs with existing health conditions.
- Invest in a quality home freeze-dryer for the best results.
- Follow the 80-10-10 rule for a balanced raw diet.
- Prioritize hygiene to manage the risks of raw meat.
- Always rehydrate the food before serving it as a meal.
If you are ready to start your journey into raw feeding, explore our freeze-dried pet food collection for convenient alternatives or visit our pet pharmacy for specialized nutritional support. Making your own dog food is a big step, but with the right tools and knowledge, you can feel confident in every bowl you serve.
FAQ
Can I make freeze-dried dog food in a regular freezer?
No, a standard kitchen freezer cannot make freeze-dried food. While it can freeze the food, it lacks the vacuum chamber and controlled heating elements required for sublimation. Without the vacuum process, the moisture stays in the food, and you simply have frozen raw meat rather than a shelf-stable dry product.
Is it safe to feed my dog homemade raw meat?
Feeding raw meat carries inherent risks of bacterial contamination for both the dog and the people in the home. You can minimize these risks by using high-quality meat, maintaining a very clean workspace, and practicing proper handwashing. Always consult with a veterinarian to ensure your raw recipe is nutritionally complete and appropriate for your dog’s health status.
How long does homemade freeze-dried dog food last?
If it is processed correctly and stored in an airtight container with oxygen absorbers, it can last for several years. For the best nutritional quality, most home cooks aim to use their supply within one to two years. Once you open a container and expose it to air, you should try to use the contents within a few weeks to ensure maximum freshness.
Do I have to add water to freeze-dried food?
If you are using the food as a full meal, it is highly recommended to rehydrate it with water, broth, or goat milk. Freeze-dried food is extremely dry and can pull moisture from your dog's digestive tract, leading to dehydration. Adding liquid back into the food helps with digestion and ensures your dog stays properly hydrated throughout the day.