Save 15% on your 1st Autoship learn more

 Email us
 Live Chat
 FAQs
FAQs






Introduction
You are standing in the pet food aisle. You pick up a bag of premium kibble and turn it over to read the label. Instead of recognizable ingredients, you see a long list of chemical names and fillers. Many pet owners feel this same frustration. We at BaxterBoo understand the desire to know exactly what goes into your dog's bowl. This guide will walk you through the practical steps of making your own shelf-stable dry dog food. We will cover ingredient selection, nutritional balance, and the critical drying process. By the end of this article, you will have the knowledge to create a healthy, homemade alternative to commercial kibble.
Quick Answer: To make dry dog food, blend cooked lean meats, vegetables, and grains into a thick paste. Spread this mixture thin on baking sheets and dehydrate it in a low-heat oven (150 to 200 degrees Fahrenheit) for several hours. The food must be completely brittle and moisture-free to stay shelf-stable.
The Motivation for Homemade Kibble
Feeding your dog a homemade diet is often about control. You get to choose the quality of the protein. You can avoid specific allergens that might cause itchy skin or upset stomachs. While many owners start with "wet" home-cooked meals, making dry food offers the convenience of a scoopable, shelf-stable product.
Cost is another factor. Buying ingredients like chicken, turkey, or brown rice in bulk can often be more affordable than high-end boutique brands. It also reduces packaging waste. You are essentially cutting out the middleman and the marketing costs.
Consistency matters for a dog's digestion. When you make a large batch of dry food, every meal provides the same nutrient profile. This is much easier on a dog's gut than switching between different canned brands or protein sources every week. If you are comparing commercial options, our dry dog food category is a good place to browse.
Understanding Nutritional Balance
A dog's nutritional needs are complex. They are not strict carnivores like cats. They require a blend of proteins, healthy fats, and carbohydrates to thrive. A common starting point for a DIY kibble recipe is the 50-25-25 rule. This means your batch is roughly 50 percent protein, 25 percent vegetables, and 25 percent complex carbohydrates.
Protein provides amino acids for muscle repair. Carbohydrates offer energy and fiber. Vegetables supply essential vitamins and minerals. However, these ratios can change based on your dog's age and activity level. A high-energy puppy needs more protein and fat than a senior dog. For help with age-based portions, our guide to feeding puppies dry food can be a useful companion read.
Vet Tip: Before switching to a 100 percent homemade diet, consult your veterinarian or a veterinary nutritionist. They can help you identify if your recipe needs specific supplements. This ensures your dog gets enough calcium and phosphorus for bone health.
Selecting Your Protein Sources
Lean meats are the best choice for homemade dry food. Excess fat can go rancid over time. This ruins the shelf life of your kibble. Good options include ground turkey, chicken breast, or lean ground beef.
Organ meats like liver or heart are packed with nutrients. They should be used sparingly. Aim for about 5 to 10 percent of the total protein portion. Organ meats are rich in Vitamin A and iron, but too much can lead to digestive issues.
If your dog has allergies, consider "novel" proteins. These are meats your dog has never eaten before. Lamb, venison, or even duck can be great alternatives. If you want to compare ingredient-forward formulas, our Canine Caviar selection and Primal selection both feature protein-focused options.
Choosing Carbs and Vegetables
Carbohydrates act as the "glue" for your kibble. They help the dough hold its shape. Brown rice is a popular choice because it is easy to digest and full of fiber. Sweet potatoes and oats are also excellent options.
Avoid using white flour or simple sugars. These can lead to weight gain and blood sugar spikes. Stick to whole grains or starchy vegetables that provide sustained energy.
For vegetables, think about color. Carrots, peas, spinach, and green beans are all excellent choices. They add texture and vital antioxidants. Many owners find it easier to use frozen vegetable blends. These are flash-frozen at peak ripeness and are easy to blend into a paste.
Essential Tools for the Kitchen
Making dry food in bulk requires the right equipment. You will need a high-capacity food processor. This is necessary to grind the ingredients into a uniform paste. A blender might work for smaller batches, but it can struggle with thick dough.
You also need several large baking sheets. The goal is to spread the food as thin as possible. Having 4 to 6 rimmed sheets allows you to fill your oven completely. This makes the long drying process more efficient.
Parchment paper or silicone baking mats are non-negotiable. The dough is often sticky. Without a liner, you will spend hours scrubbing your pans. A pizza cutter is another handy tool. It allows you to score the dough before it dries. This makes it easy to break into small kibble pieces later.
The Step-by-Step Prep Process
Making kibble is a multi-stage process. You cannot simply mix raw ingredients and put them in the oven. Proper preparation ensures the food is safe and easy to handle.
Step 1: Cook the Base Ingredients
Start by lightly cooking your meat. This kills bacteria and makes the protein easier to blend. Boil or steam your starches. If you use sweet potatoes, cook them until they are very soft. If you use rice, make sure it is fully hydrated.
Step 2: Create the Dough
Place your cooked meat, vegetables, and starches into the food processor. Pulse the mixture until it becomes a thick paste. It should look like heavy mashed potatoes. If the mixture is too dry, add a small amount of plain water or unsalted bone broth. If it is too wet, add a few more oats or a bit of flaxseed meal.
Step 3: Spread and Score
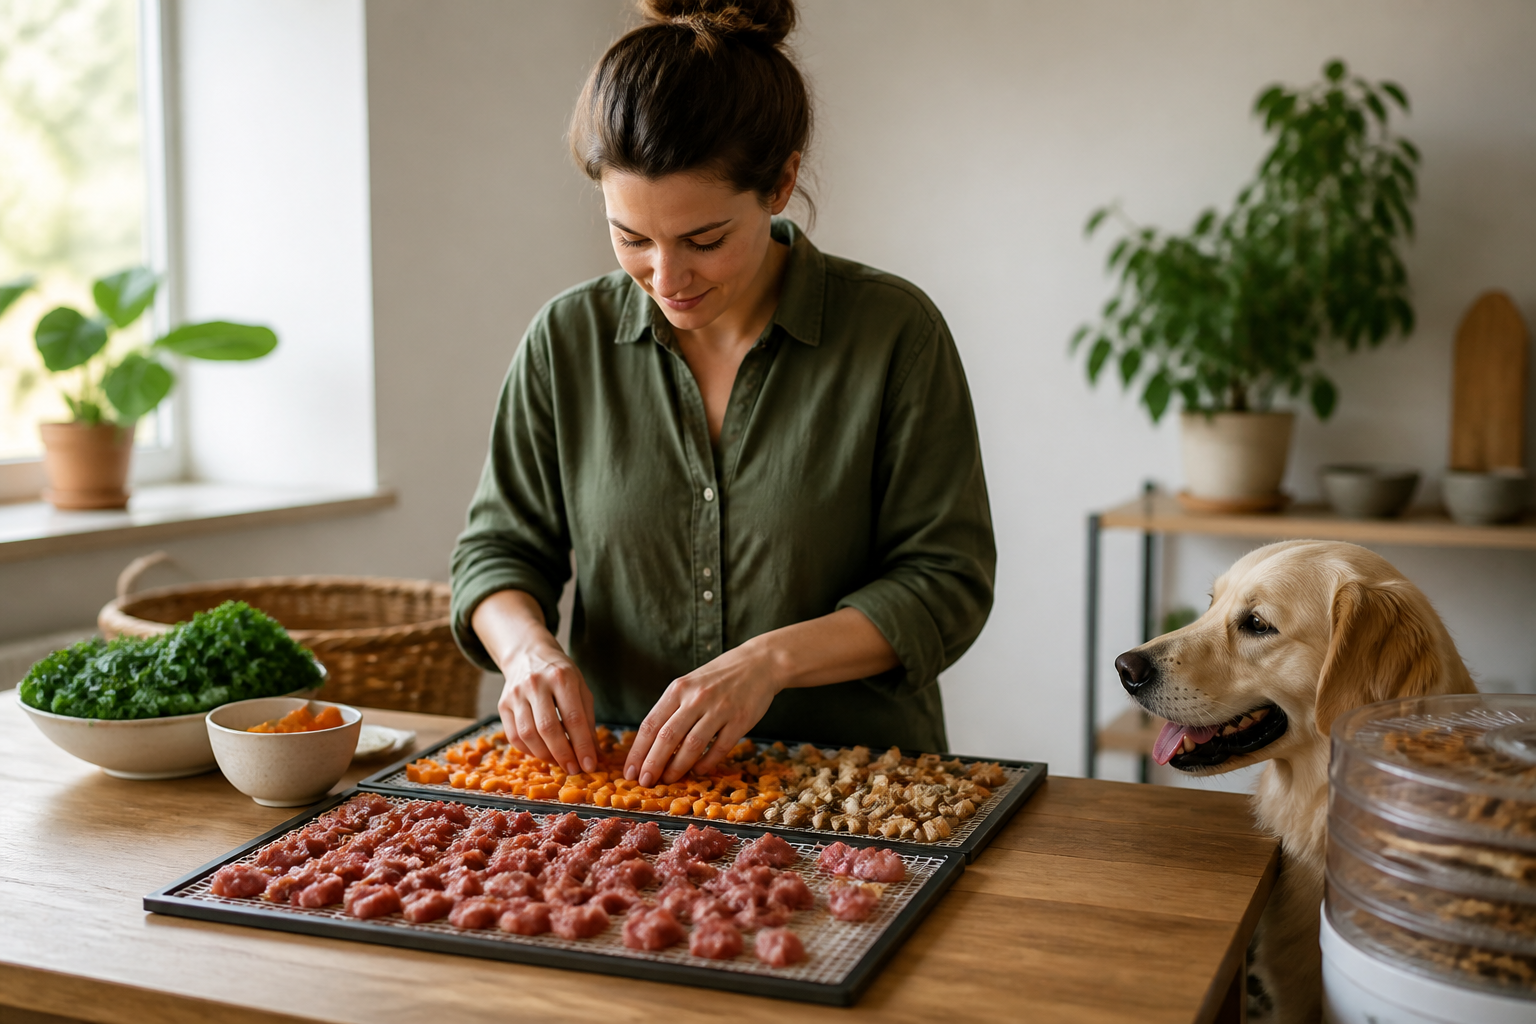
Line your pans with parchment paper. Spread the dough about a quarter-inch thick. Try to make the layer as even as possible. Use your pizza cutter to score the dough into small squares. These squares should match the size of kibble your dog usually eats.
Step 4: The Low and Slow Bake
Set your oven to its lowest setting. This is usually between 150 and 200 degrees Fahrenheit. You are not "baking" the food in the traditional sense. You are dehydrating it. This process can take anywhere from 4 to 8 hours.
Managing the Drying Phase
Moisture is the enemy of homemade dry food. If any water remains in the center of the kibble, mold will grow within days. This is why the low temperature is so important. High heat will cook the outside but leave the inside soft.
About halfway through the process, you may want to flip the kibble. This allows air to reach the bottom. If you have a convection setting on your oven, use it. The circulating air speeds up evaporation significantly. For more on keeping kibble crisp after storage, our freshness guide covers what to watch for.
Key Takeaway: Proper dehydration is the only way to make homemade food shelf-stable. The finished kibble should be hard, brittle, and snap easily. If there is any "give" or chewiness, it needs more time in the oven.
The Snap Test for Freshness
To check if your food is done, use the "snap test." Take a few pieces from the middle of the tray. Let them cool completely on the counter. Once cool, try to break them in half.
The kibble should snap cleanly. The inside should look dry and porous. If the interior looks darker or feels gummy, put the trays back in for another hour. Even a tiny amount of moisture can ruin a large batch of food.
If you live in a very humid environment, your kibble might soften after it comes out of the oven. In these cases, you might want to finish the drying process in a dedicated food dehydrator. These machines are designed for constant airflow and can be very effective.
Storing Your Homemade Food
Once the kibble is completely dry and cool, store it in an airtight container. Glass jars or high-quality plastic bins work well. Store the container in a cool, dark place like a pantry.
Because homemade food lacks the heavy preservatives found in commercial brands, its shelf life is shorter. Most batches will stay fresh for 2 to 3 weeks in a cool pantry. If you make a massive batch, you can store half in the freezer. Frozen kibble stays fresh for several months. Just make sure to thaw it completely before serving.
Check the food daily for any off-smells or signs of mold. If you see any fuzzy growth, discard the entire container. It is better to be safe than to risk your dog's health. If you are shopping for convenient store-bought food instead, our Dog Treats category offers plenty of snack options.
Transitioning to the New Diet
Never switch your dog's food overnight. Their digestive system needs time to adjust to new ingredients and different fiber levels. A sudden change can lead to diarrhea or gas.
The transition should take about 7 to 10 days. Follow this schedule for the best results:
- Days 1-3: 75 percent old food, 25 percent new food.
- Days 4-6: 50 percent old food, 50 percent new food.
- Days 7-9: 25 percent old food, 75 percent new food.
- Day 10: 100 percent new homemade food.
Watch your dog's stool during this time. If it becomes very loose, slow down the transition. Stay at the current ratio for a few extra days until things normalize.
Enhancing the Flavor
Some dogs might be hesitant to try a new texture. Homemade kibble doesn't have the oily coatings found on commercial brands. You can make the food more appealing by adding toppers.
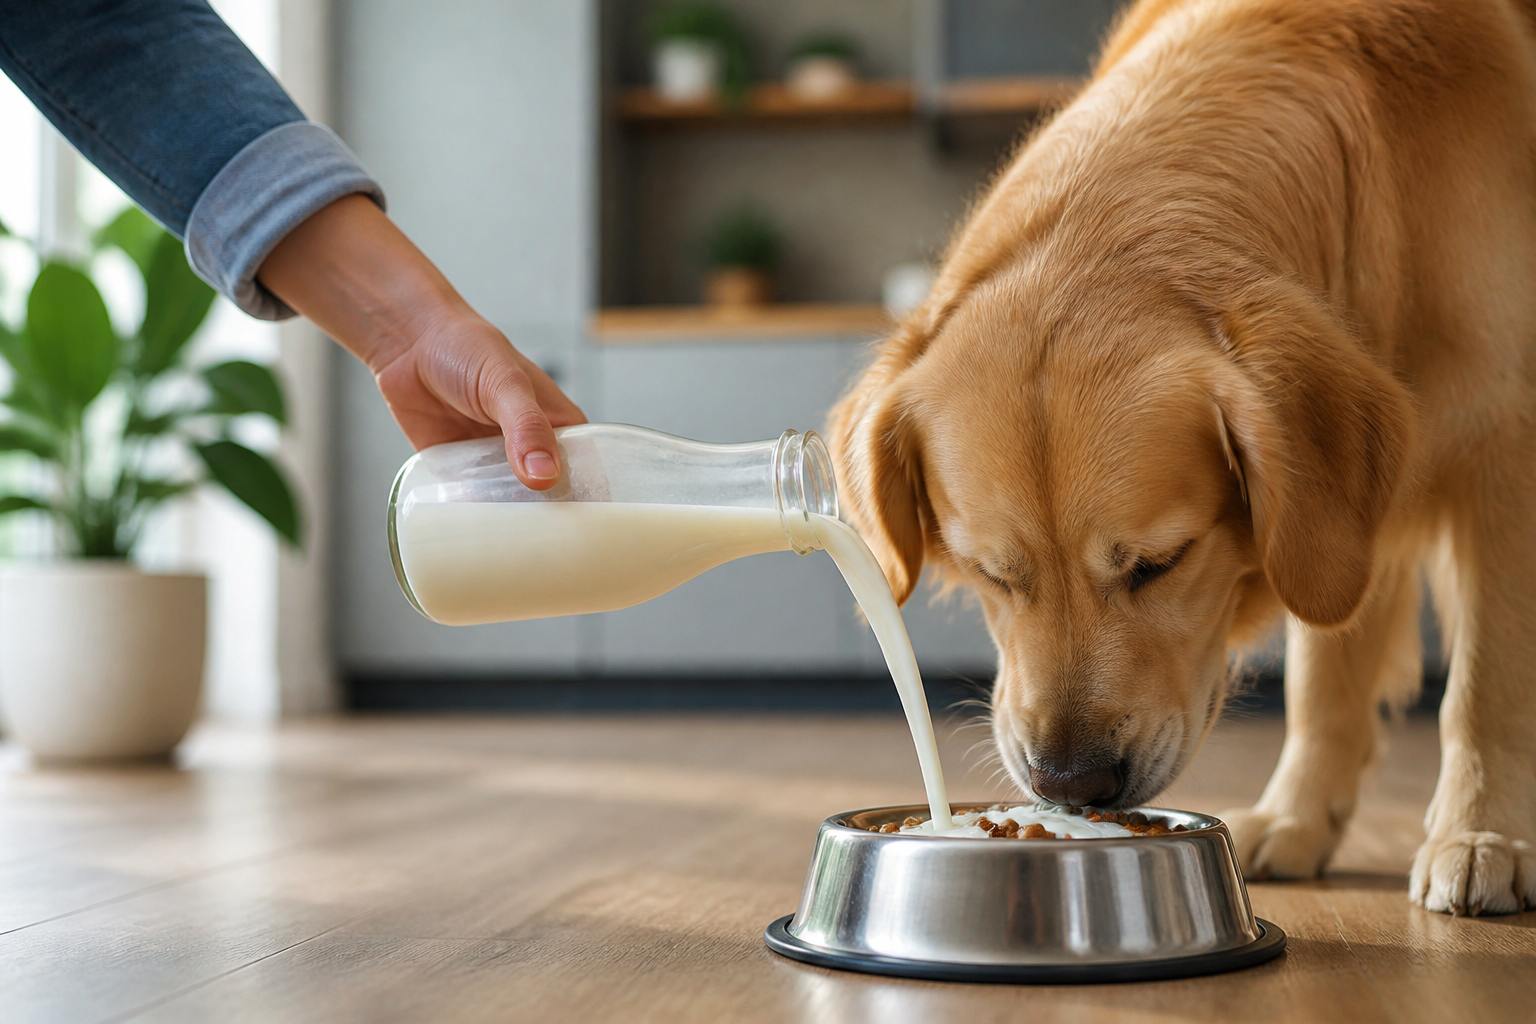
A splash of warm water or unsalted bone broth can release the aroma of the meat. You can also add a small spoonful of plain canned pumpkin. We carry various healthy meal toppers at BaxterBoo that can help picky eaters adjust to their new homemade diet. If you want more ideas for fussy pups, our guide for picky eaters is worth a look.
Be careful with seasonings. Never use onions, garlic, or excessive salt. These are toxic to dogs. Stick to dog-safe herbs like parsley or turmeric if you want to add flavor and health benefits.
Addressing Special Health Needs
If your dog has a chronic condition like kidney disease or severe allergies, making food becomes more complicated. These dogs often require very specific levels of phosphorus, protein, or fats.
In these cases, the homemade route requires even closer veterinary supervision. You may need to use specific supplements or prescription bases. If your dog needs extra support beyond homemade meals, our Dog Health category is a helpful place to start browsing.
Vet Tip: If your dog has a history of urinary stones or pancreatitis, do not attempt a homemade diet without a detailed plan from a specialist. Small errors in mineral balance or fat content can cause serious medical relapses.
Common Pitfalls to Avoid
Many owners make mistakes when first learning how to make dry dog food. One common error is using too much liver. While it is healthy, it is very rich and can cause vitamin A toxicity in high amounts.
Another mistake is forgetting the calcium. In the wild, dogs get calcium from bones. In a homemade diet, you must add it. This can be through crushed eggshells (ground into a fine powder) or a specific calcium supplement.
Finally, do not eyeball the measurements. Use a kitchen scale. Consistency is the key to a balanced diet. If you change the ratios every time you cook, your dog's nutrition will be inconsistent.
Adding Variety Over Time
One of the joys of making your own food is variety. Once you have a base recipe that works, you can rotate ingredients. If you used chicken and carrots this month, try turkey and green beans next month.
Rotating proteins can actually help prevent new food allergies from developing. It also keeps your dog excited about mealtime. Just remember to keep the ratios the same so the nutritional balance stays intact.
Keep a notebook of your recipes and how your dog reacted to them. Note their energy levels, coat quality, and stool consistency. This helps you fine-tune the perfect diet for your specific pet.
Final Steps for Success
Making your own dry dog food is a commitment of time and energy. However, the peace of mind is worth it. You will never have to worry about a recall or a mystery ingredient again.
Checklist for a successful batch:
- Select a lean protein and high-fiber carb.
- Cook all ingredients before blending.
- Blend into a very smooth, thick paste.
- Spread thin and score before drying.
- Dry at a low temperature until completely brittle.
- Perform the snap test on cooled pieces.
- Store in an airtight container in a cool place.
Key Takeaway: The success of homemade kibble depends on two things: a vet-approved nutritional balance and a thorough drying process to prevent spoilage.
Conclusion
Taking control of your dog's nutrition through homemade dry food is a rewarding way to care for your pet. It requires a bit of kitchen work and a watchful eye on the drying process, but the result is a high-quality, recognizable meal. Remember to start with a solid nutritional plan and transition your dog slowly to avoid digestive upset. We at BaxterBoo are here to support your journey with high-quality gear and more. For the best value on your regular pet supplies, consider joining our MVP Rewards programme to earn points on every purchase. If you prefer recurring convenience, our Autoship programme can help keep essentials coming on schedule.
FAQ
Is homemade dry dog food actually shelf-stable?
Yes, it can be shelf-stable if you remove almost all the moisture during the drying process. Most homemade kibble lasts 2 to 3 weeks in an airtight container in a cool, dry place. For longer storage, you should keep the food in the freezer and thaw it as needed. For more storage tips, see our dry dog food freshness guide.
Can I use raw meat when making dry dog food?
It is much safer to lightly cook the meat before blending it into the dough. Cooking kills harmful bacteria like Salmonella and E. coli. Since the dehydration process uses very low heat, it may not be enough to reach a safe internal temperature to kill pathogens if you start with raw meat. If you want to compare other food formats, our Dog Food category is a useful starting point.
Do I need to add vitamins to my homemade kibble?
Most homemade recipes require some form of supplementation to be fully balanced. This often includes calcium, omega fatty acids, and specific vitamins that might be lost during the low-heat drying process. Always work with your vet to determine which supplements your specific dog needs based on their recipe.
How do I know if my homemade kibble has gone bad?
Check the food for any sour or rancid smells, which indicates that the fats have spoiled. Look closely for any signs of white, green, or black mold on the surface of the pieces. If the kibble feels soft or "bendy" instead of snapping, it has absorbed moisture and should be discarded to be safe.